Ableton Push 1 is Ableton’s premier MIDI controller/drum pad hybrid, released as the first push device followed by Push 2 and Push 3. I say hybrid because when I first saw it, aesthetically, it looked very much like the AKAIs, MPK drum pads, and samplers that came before it. From the soft drum pads, the resemblance to me was apparent. What sets Push 1 from these tools, is that Push 1 acts as a recorder, sampler, sample editor, and composition tool, and when in the hands of a seasoned producer, it can also be a mixing tool.
Recommended Read: Best Ableton Push Alternatives
In this review, I will go over Push 1 as a user and a producer – everything from unboxing and what you will get straight from the box, to the features you will see when you examine it. The whole set up and integration process and how you can use it in your session and finally, provide my final thoughts on the advantages and drawbacks of this device.
Getting Started
Unboxing
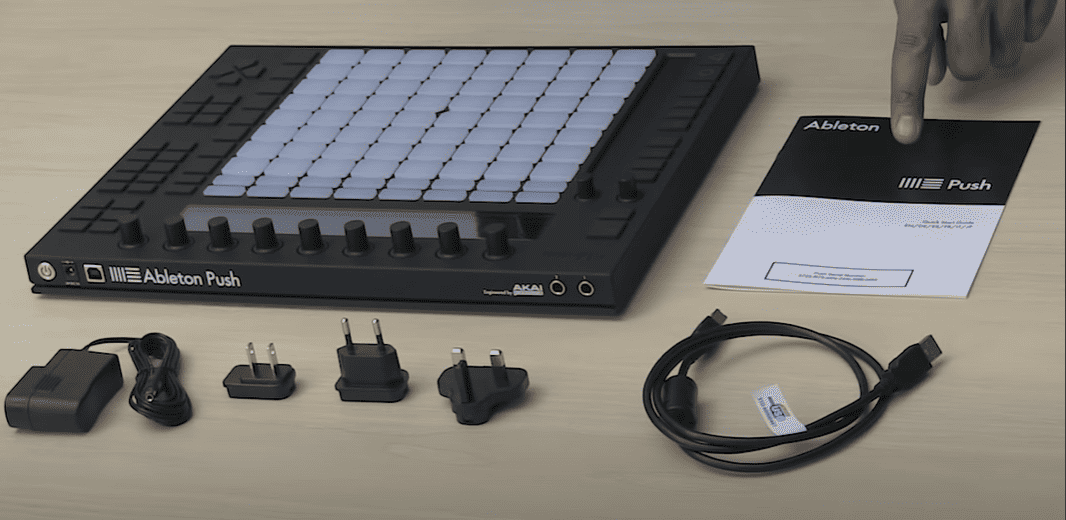
When I first unboxed the Push 1, this is what I found in the box: the Ableton Push 1 hardware, a universal charger, three wall plug adapters, a USB cable and the user manual. When you get yours, make sure to always keep the manual safe, because it will be your main guide to setting up the Push 1. It also contains your unique serial number which is essential to setting up and registering the device.
Features
At first glance and first use, all the different controls of the Push 1 (touch pads, knobs, and digital display) may be visually overwhelming. To break this down simply, here is an image that shows the different quadrants of Push 1.
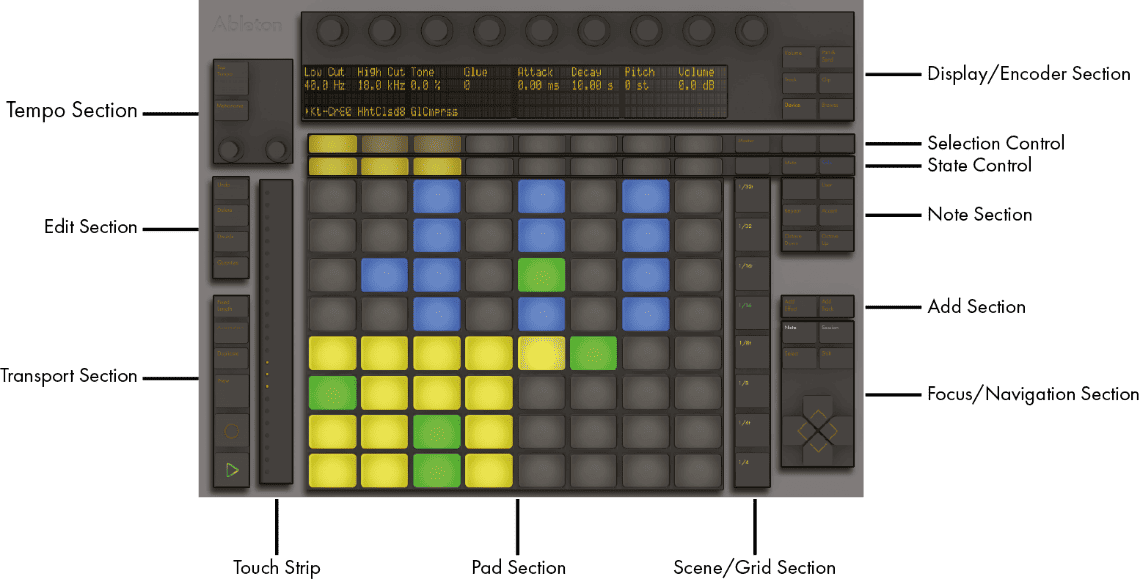
If you are still confused about the functionality of these segments, do not worry, I will walk you through the utility of these sections to provide you with clarity. For now, I will show you how to setup the Push 1 so you can start messing around and see all that it has to offer.
Setup and Interfacing
Once you connect Push 1 to your computer and have Ableton running, most of the time, you will not need to do anything or install any drivers. Ableton will recognize Push 1 automatically and it will be ready to use right out of the box. However, if this does not happen, this is what you need to do:
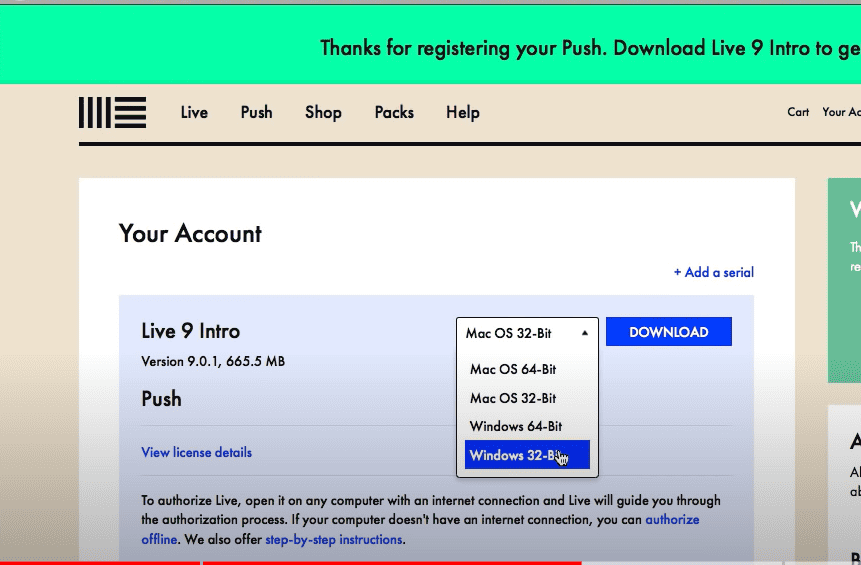
Step 1: got to the official Ableton website. and log in/sign-up
Step 2: if you are a new user, you will be requested to input your new serial number which is on the cover of the Ableton Push 1 manual.
Step 3: After you have registered your serial number, Ableton will guide you through the acquisition process of getting the latest version of Ableton Live
Once you have the latest version of Ableton Live is successfully installed, connect Push 1 to your computer using the USD cable, and it should be ready to go. Ableton can handle multiple MIDI controller inputs; in most cases, you will not need to set up Push 1 manually.
Push 1 draws power from your computer to run and power up its under-pad LEDs and display screen. Alternatively, you can connect Push 1 to a power source using the universal power cable to make the LEDs and display screen clearer and brighter.
Note: You must have Ableton Live 9 or above to use Push 1.
Using Push 1
I will demonstrate the utility of Push 1 by showing you how to create beats, melodies and harmonies, and how to edit your samples, (Production). Let us begin!
Productions
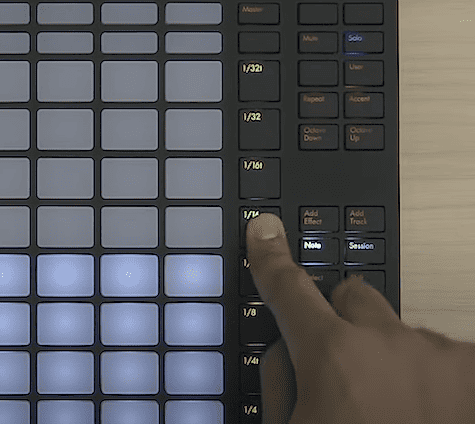
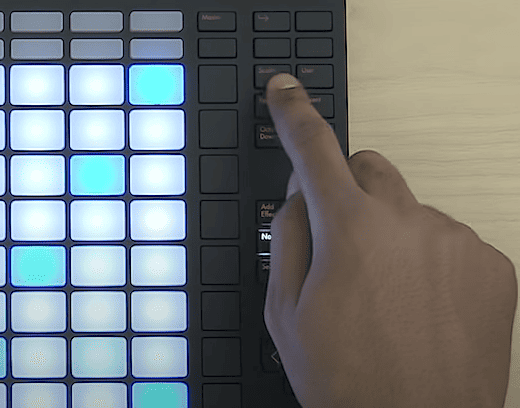
Before you load any instrument into Push 1 you will need to create a new MIDI track in Ableton Live using Push. You can simply do this by pressing the ‘Add Track’ button on push in the bottom right corner of the Push 1 hardware.
I find this process simple and fast when creating a MIDI track, more so than how you would do it inside Ableton Live. If you have a session loaded and Push 1 connected, you can use this step to quickly create MIDI tracks even if you are not actively using push in youe production.
Once this is done, you will see the Ableton Live browser view loaded per each folder the display of Push 1 as is on your browser.
Beats
Step 1: Use the knobs above the display or the navigation buttons below the display to navigate to the correct instrument or drum pads
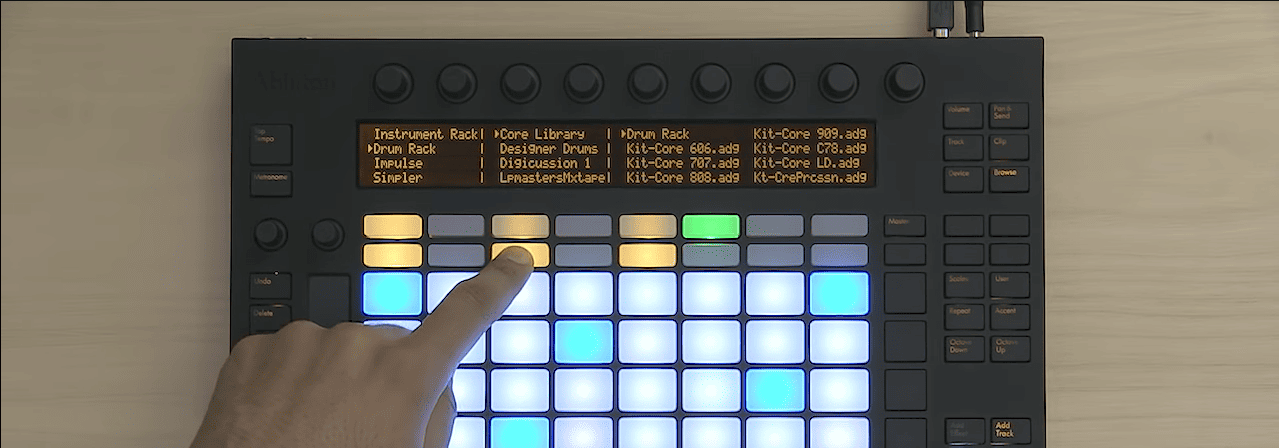
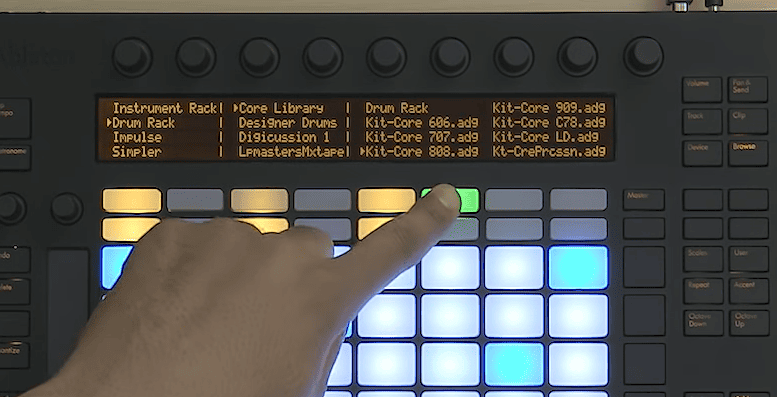
Step 2: once you have found a good drum set, select the green button next to your scroll button to load your drum kit
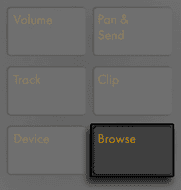
Step 2: Now Press the browse button on the top-right of Push 1 to exit the Ableton browse.
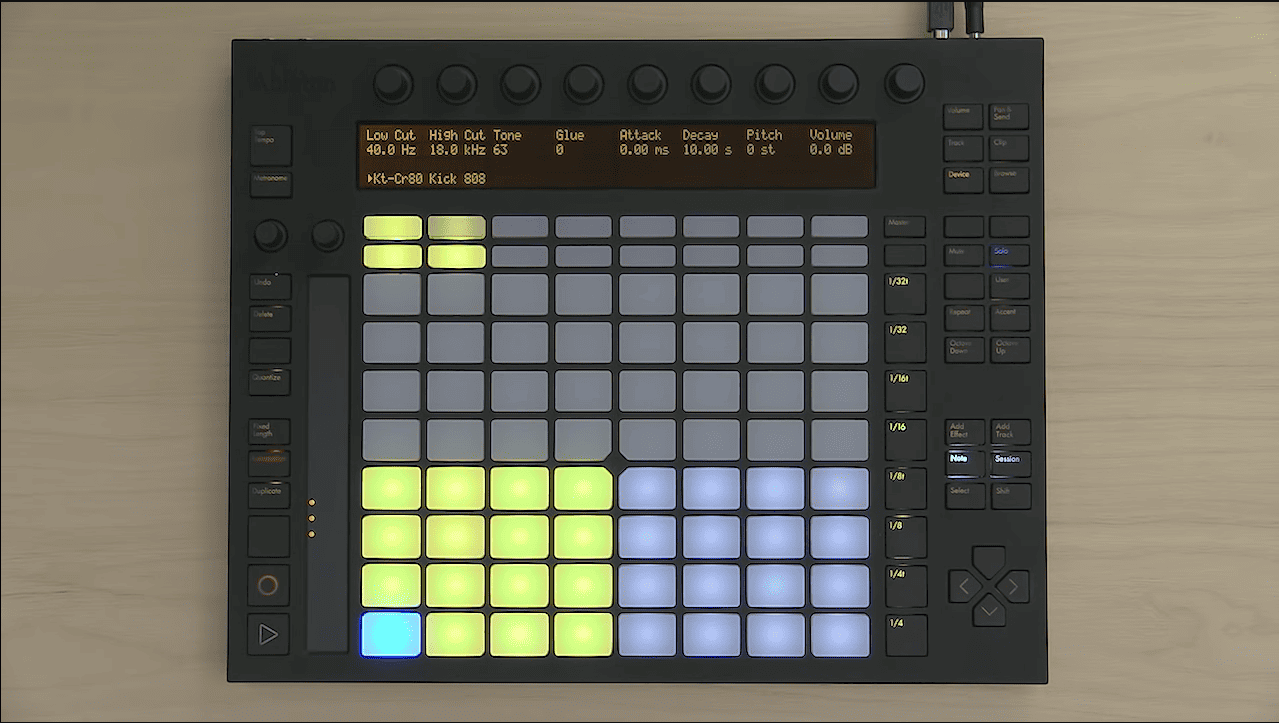
You will now notice that your drums have been loaded into the drum pads and are directly playable, you will also notice that once you have clicked on the ‘Browse’ button you are now able to edit the ADSR (attack, delay, sustain and release) parameters of whichever samples you are currently playing using the corresponding knobs above the display.
I find this process extremely simple as Push 1 allows you to scroll through you drum kits, though the only drawback I find in this process is that, you cannot preview your drum kits to listen to which one suits your production best before loading it into the Push.
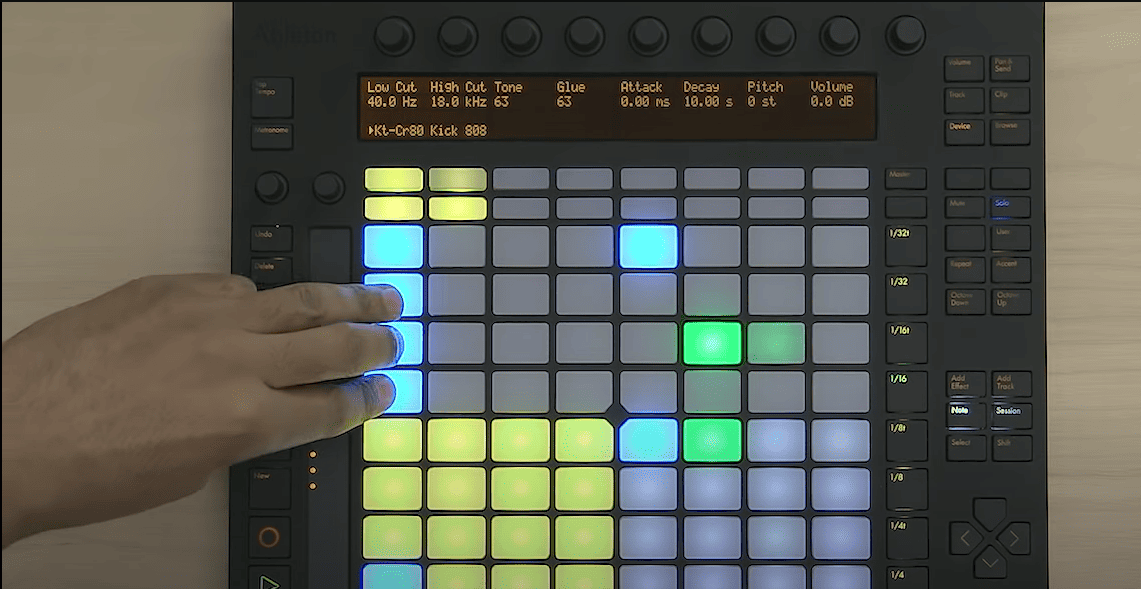
You will now notice that your 64 drum pads have been divided into groups of three, this is what they mean:
- Bottom left: here is where your drum sounds are loaded and are made playable via finger-tapping, the highlighted sample will glow blue.
- Top 16: This segment affects sequencing and pattern creation. Just to the left of the main drum pad area is the sequence resolution area where you can select the appropriate grid divisions of your session
- Bottom Right: this affects the loop lengths of your drum patterns.
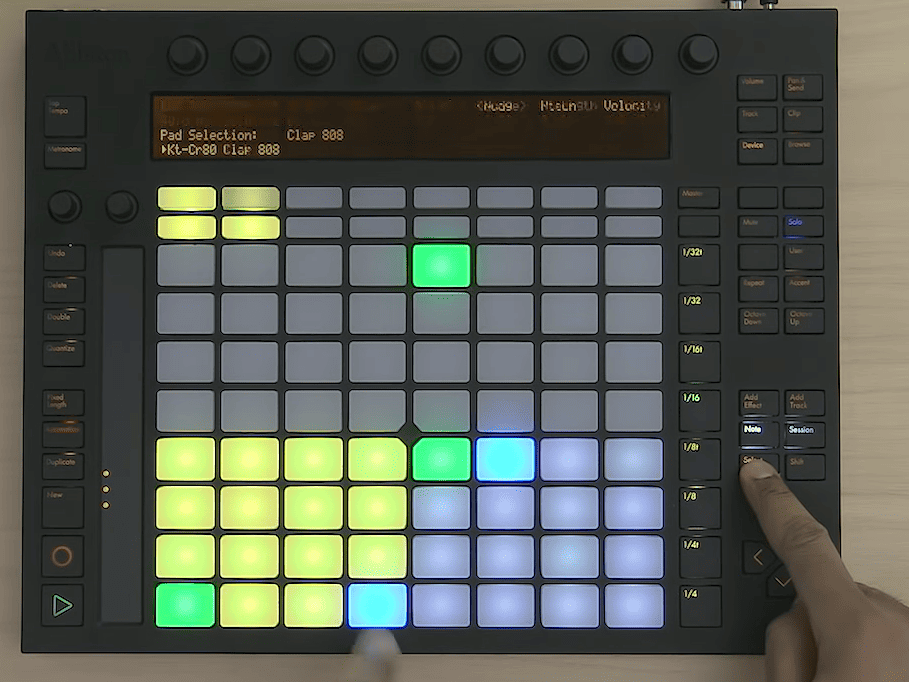
Once you have the kit loaded, you can select on your sequencer section, how you want your sounds to loop. Listen to the magic as the sequencer runs.
You can keep building on your sequencer patterns by holding down the select button and selecting a new kit sound. This process is highly interactive and fun to do as you can experiment more with drum patterns on the go!
You can now overdub your recording with other sounds by pressing the record button. This process is much easier and to execute on Push than it would be on Live as it is very interactive. It allows you to engage with your drum pattern creation from a performance angle.

Melodies, Harmonies and Chords
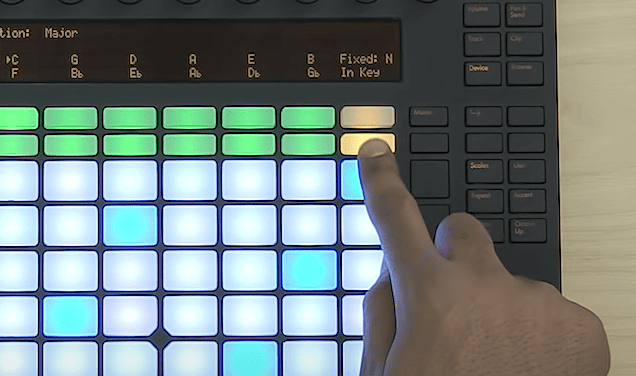
For this segment, you will need to follow the instrument loading steps I have provided in the Beats section, as Push 1 functions similarly for all instrument loadings. The only difference here is the drum pad load-outs. Unlike the fractured drum load-outs, with instruments, the notes are loaded into your drum pads respective to every note of the key to your composition. Innately, in Ableton and Push 1, this is done in the key of C major.
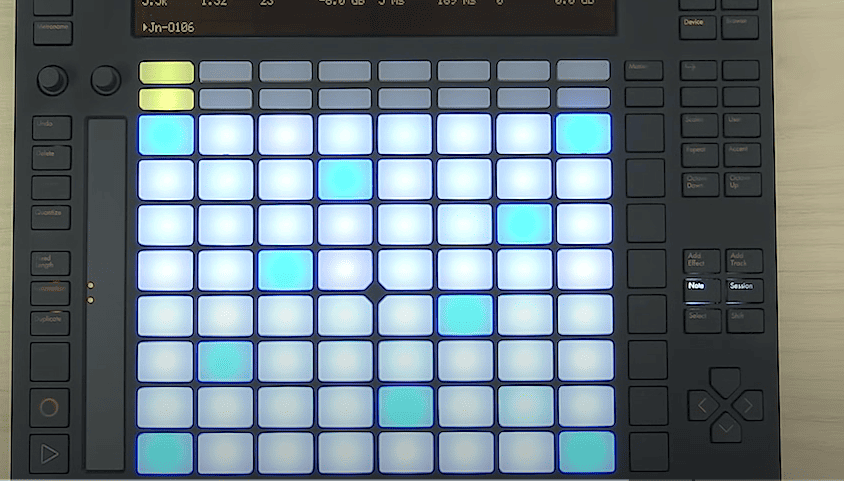
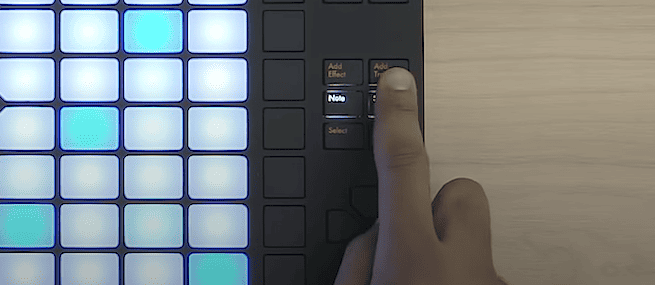
By pressing the scale button, you can now change the scale of your instrument to suit your production
You can deactivate the scale mode and activate the chromatic mode with this button, and the glowing pads will represent the notes in the chosen scale.
You can easily create chords in this mode by holding down different pads. Note that, this may require a little bit of knowledge in the field of music theory to successfully create chords.
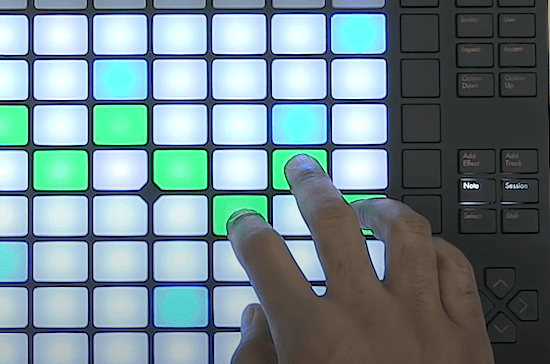
If you are using diminished, suspended, major or minor 3rds, 7th or 11th, you may opt to go with the chromatic scale option. the option to choose the scale type and notation types (chromatic or scale) makes using the Push 1 as a production tool very intuitive. I personally use the chromatic notation mode, as this allows me to add in different chord types.
The only drawback i find is this process is, if you are a beginner with no history in music theory, you may find yourself spending a lot of time finding the chorrect chords and notes for your song.
Now that I have discussed the hardware, features, and utility of Push 1, let me provide my final thoughts and verdict on this piece of hardware.
Final Thoughts and Verdict
Ableton cannot be compared with any other DAW when it comes to its research and development into interpretable hardware. Push 1 was the beginning of a successful and highly acclaimed line of Ableton native hardware, specifically, MIDI controllers.
With my personal use of the Push 1, the only drawback I have with the Push 1 is the lack of Ableton presets or the ability to load samples into this device to make it a standalone instrument. The absolute advantage of Push 1 in my opinion is its ability to mimic what Ableton Live is famous for, speed, ease of use, and adaptability. Push is usable for most DAWs without the need to download drivers or an internet connection. This versatility is incomparable!
This tutorial is the first of many regarding Ableton Push reviews, Push comparisons with other Push hardware, and competing brands, or for a more in-depth review on how to use Push 1, stay posted, and have fun!
- How to Use Ableton Live’s Arpeggiator? - September 18, 2023
- How to Use the Piano Roll in Ableton Live + Shortcuts - September 18, 2023
- Ableton Arrangement View (Optimization & Usage) - September 16, 2023

![Ableton Could not Decode Video File [FIXED]](https://ProRec.com/wp-content/uploads/2023/08/haali-media-splitter-180x180.png "Ableton Could not Decode Video File [FIXED]")
