If you have studied music theory or have some knowledge of music performance, analysis or production, then you will have heard of the terms arpeggiate, arpeggiation or arpeggiator before.
An arpeggitor simply breaks down a note, chord or musical phrase into smaller melodic bits. It can sometimes be a shortcut to digitally create a ‘beat drop’ or melodic solo lines, using an arpeggiation MIDI effect.
It is a MIDI effect, which is why you cannot use it on audio tracks but on MIDI tracks only. Before we begin, you must know that Live comes with numerous MIDI effects, anything from arpeggiators, and chord creators, to velocity modulators.
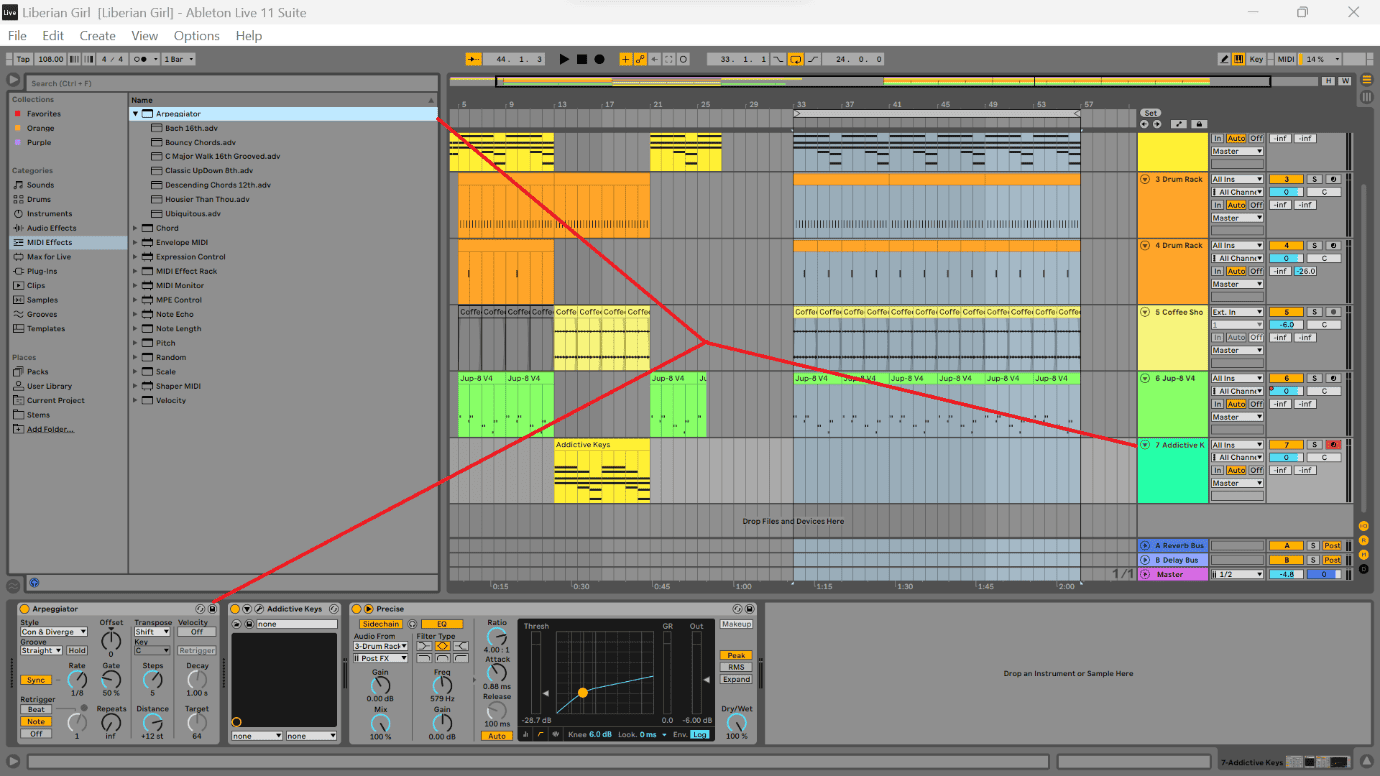
You should know that if you want to load a MIDI effect, it can only be loaded before your virtual instrument, and your audio effects load after your instrument. Check out the screenshot below to see what I mean.
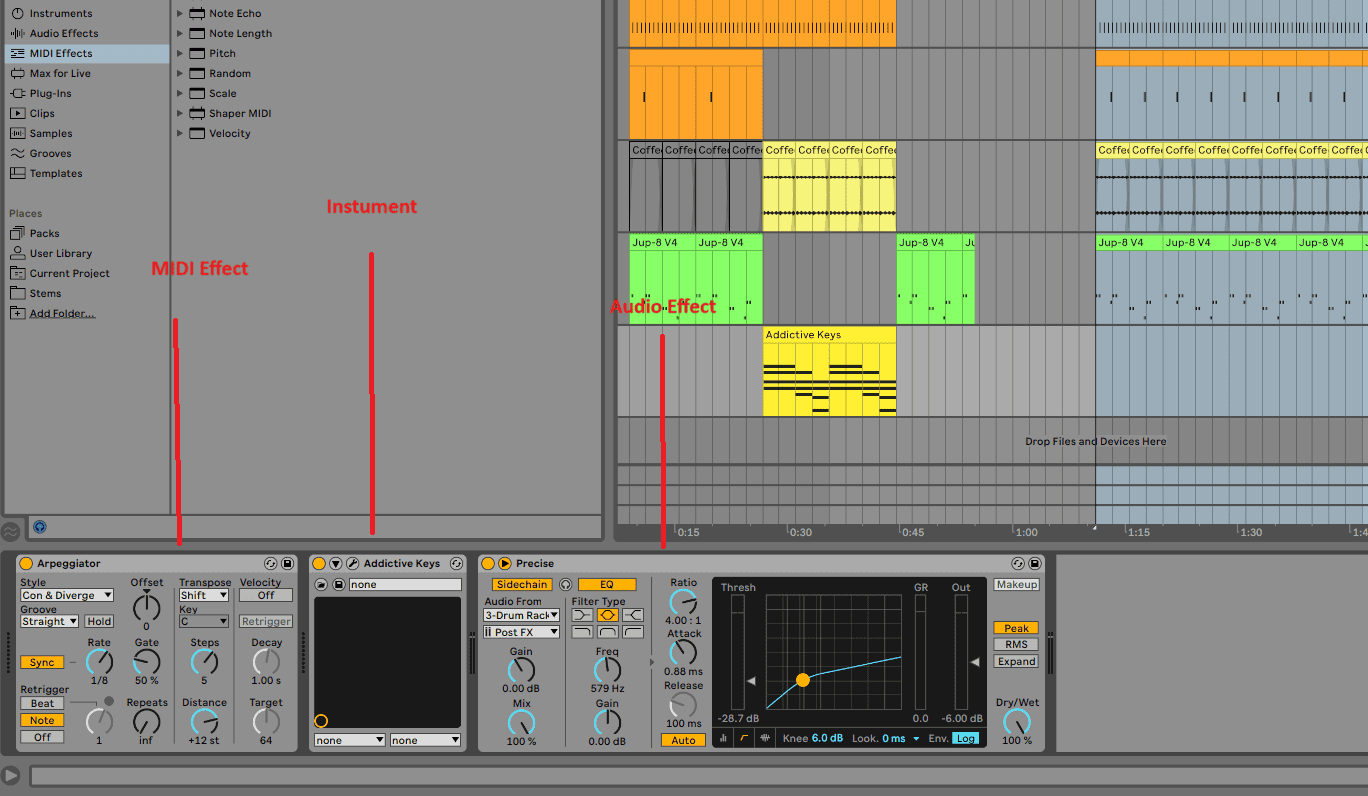
MIDI effects will primarily affect your MIDI clips. This means that just like the chord plugin, your MIDI notation will provide the arpeggiator with the basic information which Live will use to create arpeggiation, depending on which algorithm you choose for Live to create arpeggiation.
In this tutorial, I will begin with where to find, and how to load the arpeggiator, some of the presets that Live provides you to get started, and the parameters available in the arpeggiator to make your productions true to you and your production style.
Where is the Arpeggiator?
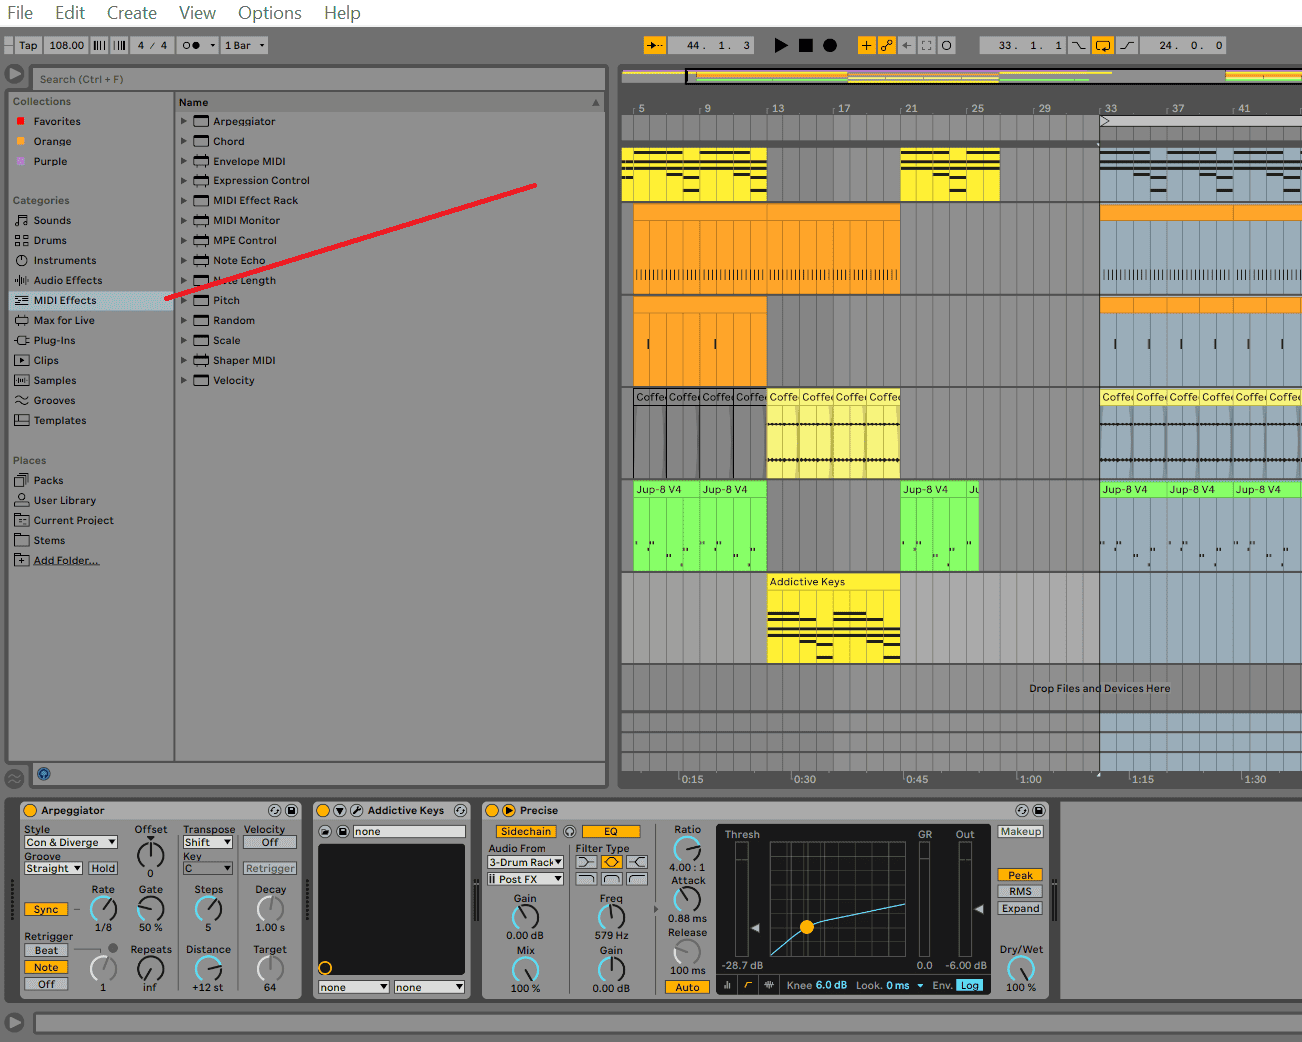
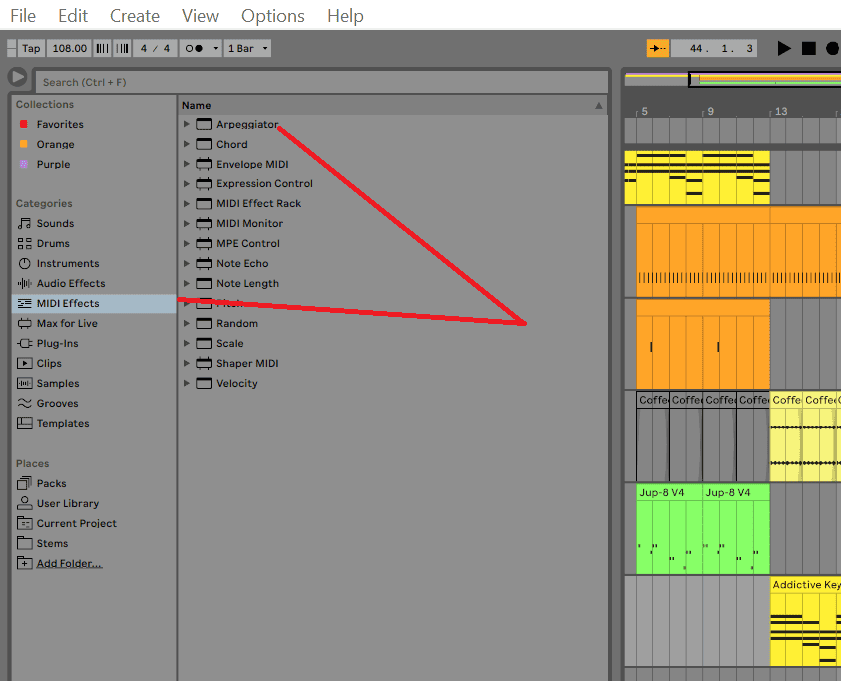
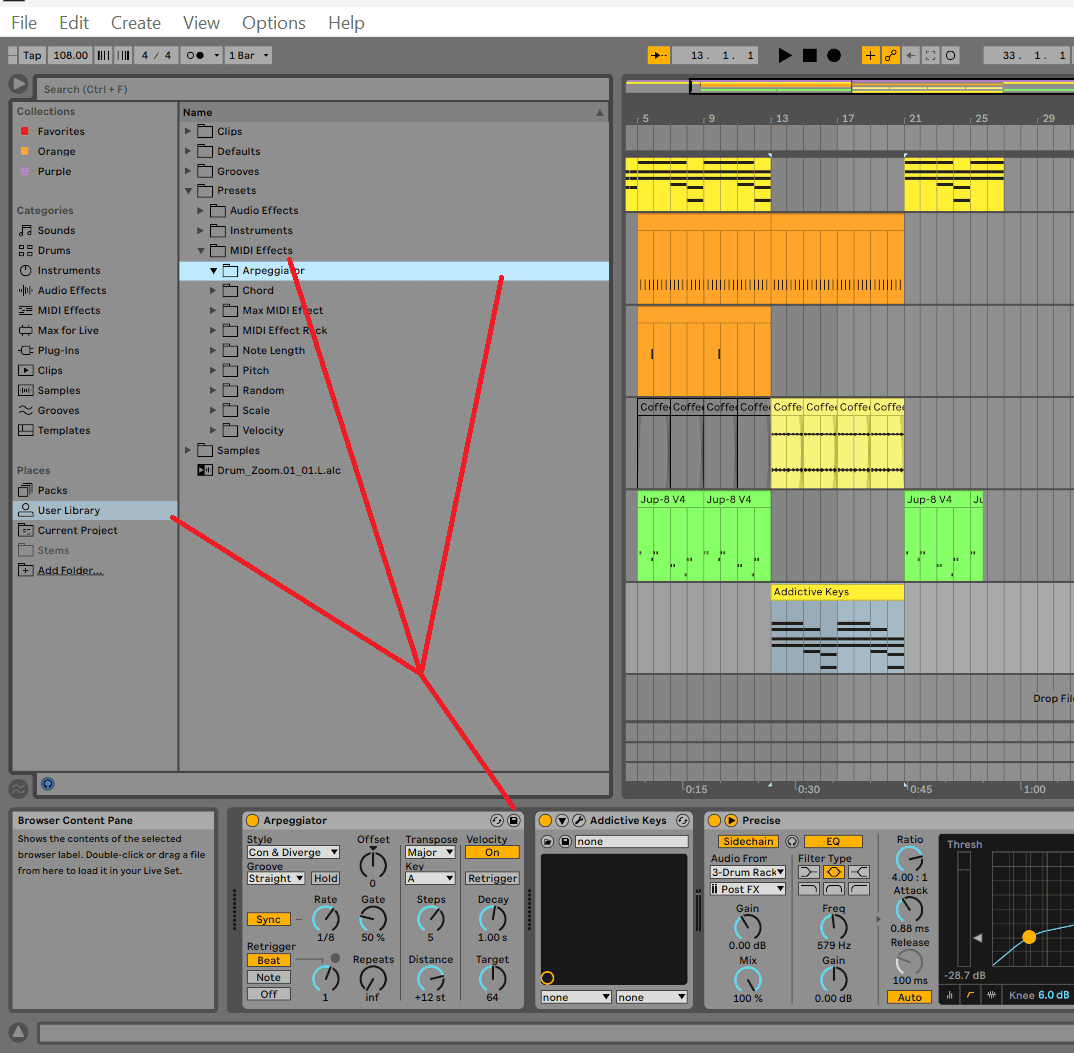
Like all MIDI effects, you will find it in the MIDI effects folder in the Live browser.
If you select the drop-down menu, you will see all the MIDI presets provided by Ableton. These presets are some of the best parameter settings curated for you to get started. If you load these arpeggiator presets, you will easily find something that suits your session, and with a little bit of tweaking, you will make the arpeggiator fit perfectly for your production.
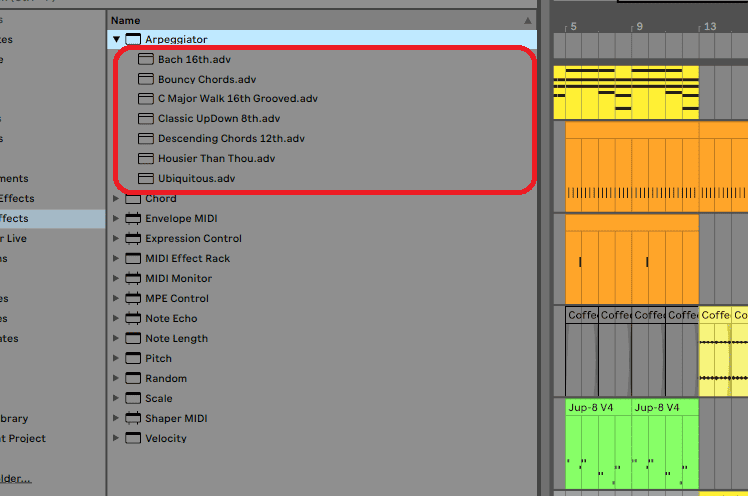
The way these presets are named will help you know what type of genre and vibe you are to expect. If you find something close to what you like, you can adjust the arpeggiator’s settings to suit your production needs.
Loading the Effect
To load the effect, simply double-click on the arpeggiator without expanding it, or if you like a preset, expand the folder and double-click on the preferred preset. You can also drag and drop the effect into your track. Either way, if you decide to load the effect, you will notice that it will only load on your selected MIDI track, and will load right before your virtual instrument.
Parameters and What They Do
Once you have loaded the effect, you are ready to start experimenting with the parameter controls to see what they do. If you load any of the presets, you will notice that these parameter controls are adjusted tothe best settings Live has to match the title of the effect. Regardless, the controls remain the same, the only thing that changes is the value of the parameter.
As for the arpeggiator, it is divided into 3 sections; style, transpose and velocity. I will go through each major parameter categorization, so you can know which ones to control to get the desired output to match your production. Let us get into the meat and bones of the arpeggiator now!
Left Panel
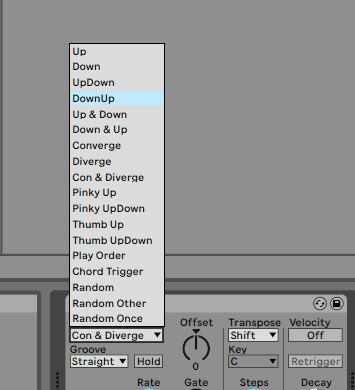
Style
This is going to be your primary arpeggiation control parameter. It is how you choose which algorithm will create arpeggiation. From simple upwards or downwards in the scale’s play order, to random, play randomly once, or randomly other to play random notes in the sessions’ scale. I advise that you experiment with the different algorithms to see what you like before you settle on one.
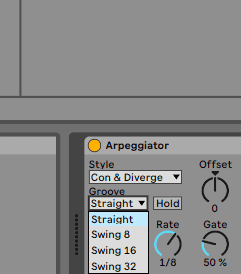
Groove
Right below this is the groove parameter control which will change the time signature to your session’s time. If you are using a time signature outside the traditional 4/4 style, you will need to toggle this parameter to play in a manner that fits your time signature.
Offset
This parameter is affected by the style and steps in the transpose section simultaneously. The offset toggle will create play style and notation variations over time, the longer your MIDI clips and notations within, play.
Synch, Rate and Gate
If you activate the synch toggle, it will affect the rate at which the arpeggiator creates and synchronizes changes to the tempo of the song. The smaller the rate value, the faster the arpeggiation effect will be. On the other hand, a lower gate value will create a gelling and blending effect. This smoothens the blending between notations, meaning that the synchronization effect at a higher rate will sound more cohesive!
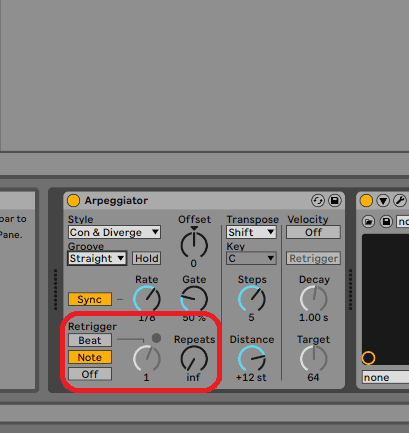
Retrigger
These parameters affect how fast the arpeggiation style and pattern will playback. These are triggered by the session’s beats, notations, or none for a randomized play order. If you activate the beat parameter, then you can affect at which beat the arpeggiation pattern will repeat, and how many times it repeats before the arpeggiator plays at random trigger options.
Middle Panel
This is where you can make your arpeggiator effect change key or add elements from different scale types. Let me show you what I mean.
Transpose
You can create key changes between scales with this parameter activated, but this also requires you to knowledge of music theory to know if you are producing in a major or minor key and which key is related to your production before you select which key your arpeggiation will shift to when in effect. Mastering this technique will allow you to make some very jazzy soulful melodic solos when in use!
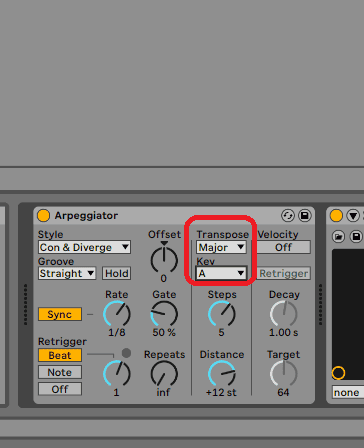
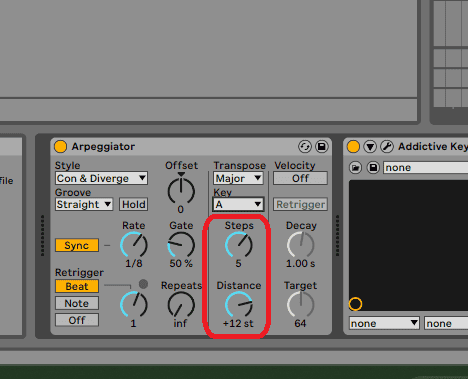
Steps and Distance
These controls, specifically the step parameter, control how often your key is transposed to the set transpositions, while the distance parameter, when the transposition parameter is active, defines how long until the transposition is active. If transposition is not active, then this parameter will affect how high in semitones the arpeggiator will play to. Think of distance as audible range!
Right Panel
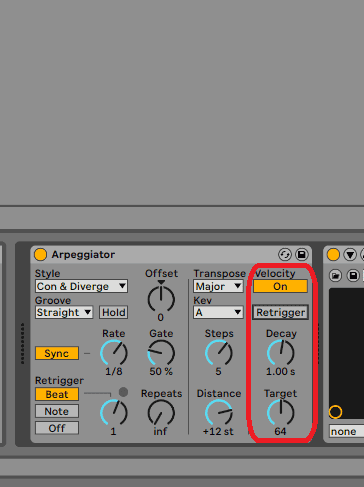
This panel specifically affects the velocity of your notations. This simply refers to how hard or soft your notes are played when the arpeggiator is active. Once the velocity controls are activated, the decay parameter affects how long it will take until the target velocity is triggered.
The target parameter ultimately controls the velocity of the loudest note(s) when the arpeggiator is active. If you activate the retrigger parameter, the decay will then create a targeted time between the last peak velocity and the next!
This panel primarily affects the dynamism of your arpeggiator’s performance.
Final Thoughts
The arpeggiator is an effect that I use often to create dynamism across most of the genres I produce. It is a tool that is often best used sparingly, but decisively! I use it to create dynamic patterns in my melodies and sound designs. If you find an arpeggiator preset that fits a certain instrument or effect, you can ultimately save it in your libraries for a quick callback.
I cannot stress how often I use this effect to create sonic dynamism in my productions. I advise that you use this tutorial as a starting point to understand this effect properly and implement it into your workflow. While you do so, remember to have fun!
- How to Use Ableton Live’s Arpeggiator? - September 18, 2023
- How to Use the Piano Roll in Ableton Live + Shortcuts - September 18, 2023
- Ableton Arrangement View (Optimization & Usage) - September 16, 2023


