In previous tutorials, particularly the one on Pitch Shifting in Ableton, the first technique I demonstrate is using Live’s clip editor. I broke this technique down into two parts, audio and MIDI. The MIDI clip editor view provides you with much more in-depth parameter controls that can affect your MIDI notations velocity, the scale of your composition, notation positioning, notation rearrangement, key signature, MIDI loop length and start and end points, key signature, and many more. This is all possible due to the piano roll function!
The piano roll is going to be your primary composition tool when working with MIDI clips. I shall start this tutorial by showing you how to first, create a MIDI clip in both session and arrangement views before we get into specifics.
I have shortcuts scattered throughout the tutorial wherever applicable, however, if you’d like to see them all upfront you can scroll to the bottom of the article.
Let us begin!
Creating a MIDI Clip
Before you learn how to use and manipulate MIDI using the piano roll, you need to know how to create a MIDI clip in both the session and the arrangement view. There are subtleties that you will need to know about in this process so that you can know how to optimize your workflow.
Session View
This is the default startup window in Live every time you open a new live set. You get 2 audio, and 2 MIDI channels to get your session started. On both track types, you will get a couple of clip slots from which you can create new clips.
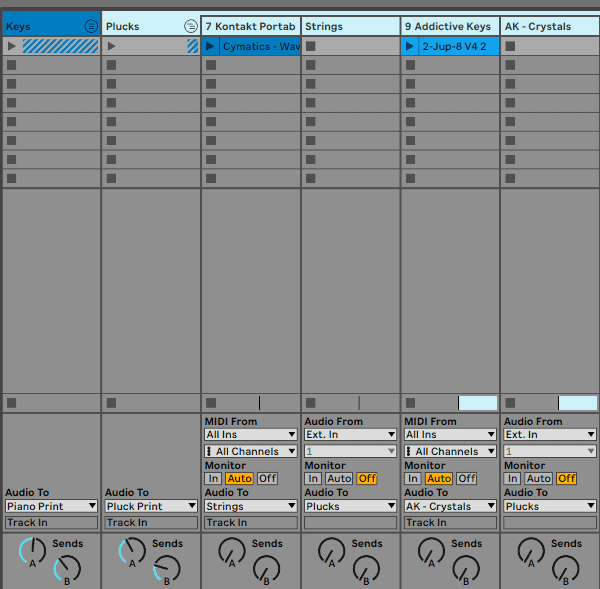
To create new MIDI clips, you need to double-click on an empty clip slot. This will create a 4-bar MIDI clip slot from which you can begin your composition. Note that if you are working with Live’s drum rack, and do not create a MIDI clip before you load up your drum sounds, you will start with a piano roll limited to only the notes on which sounds are loaded.
Arrangement View
In this view, you will be able to create a clip in the same way as you did in the session view, but the first difference is that you can double-click at any point of the MIDI track to create a MIDI clip.
I am sure you have already noticed an issue with this technique. What if I need to make a midi clip longer than the grid slot? Well, you can simply increase the grid size of your session but right-clicking on any point, and using the grid size that suits your use case.
There is another technique that I use to extend the length of my MIDI clips, but I will get into it in the next segment. You can finally create a MIDI by simply recording on your MIDI track, or importing a MIDI clip from your folders.
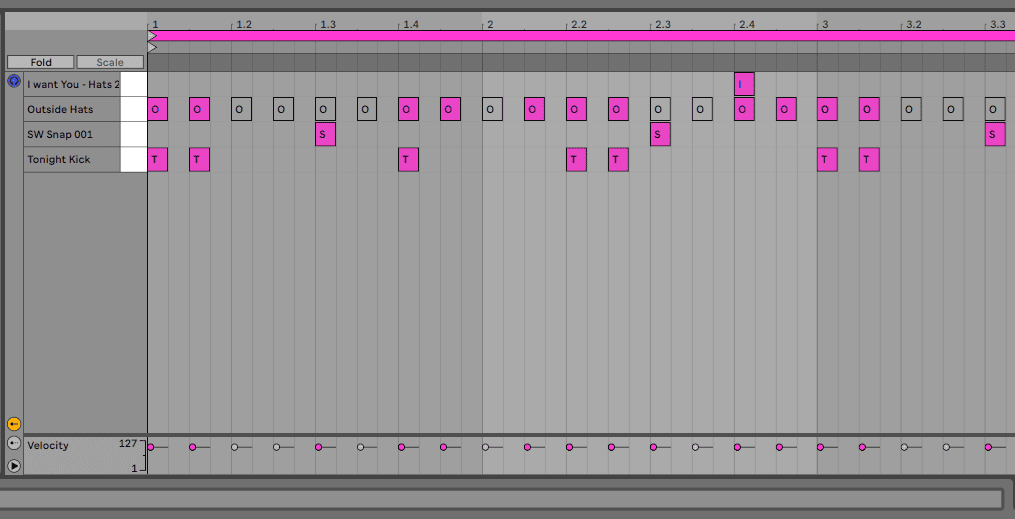
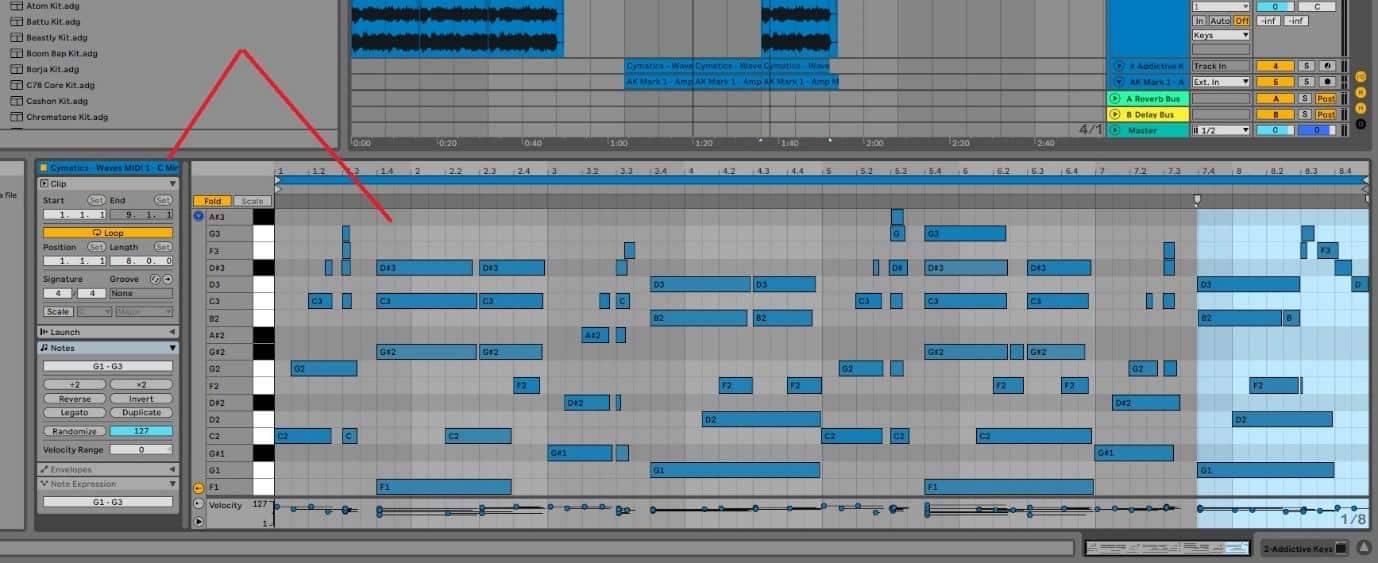
The Piano Roll
Now that you know the basic MIDI clip creation techniques, it’s time to get into the substance of the piano roll. When you open your MIDI clips, you will see that the clip editor is divided into two segments, the piano roll on the right, and the clip editor parameters on the left.
Loop Length Control
Here is the technique I alluded to at the end of the MIDI creation in the arrangement view segment. Loop length control is a multi-faceted technique, meaning that you can manipulate the length of your clip using 3 main techniques.
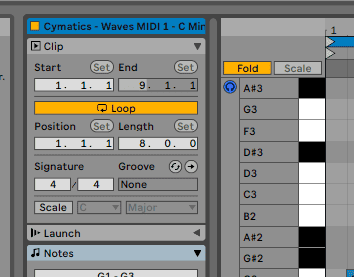
The first is by using the loop and start length markers of your clip in the piano roll. There are two arrows stacked on top of each other at the beginning and end of your clip. The top markers manipulate your clip’s loop length if you intend to play your clip in the session view, or when exporting your clip as a loop. The second set of markers below the first control when your clip begins and ends when played, both in the session and in the arrangement views.
The second technique is a follow-up to the first one above, but instead of dragging your markers across the piano roll, you can manually edit the values of these markers precisely to your liking in the clip editor.
The third technique is done by simply clicking on the duplicate button on the clip editor. This doubles the length of your MIDI clip. If you have any notation on your clip, you will see that the length and the notations and duplicated in an extension that is double the length of the original clip.

Music Making
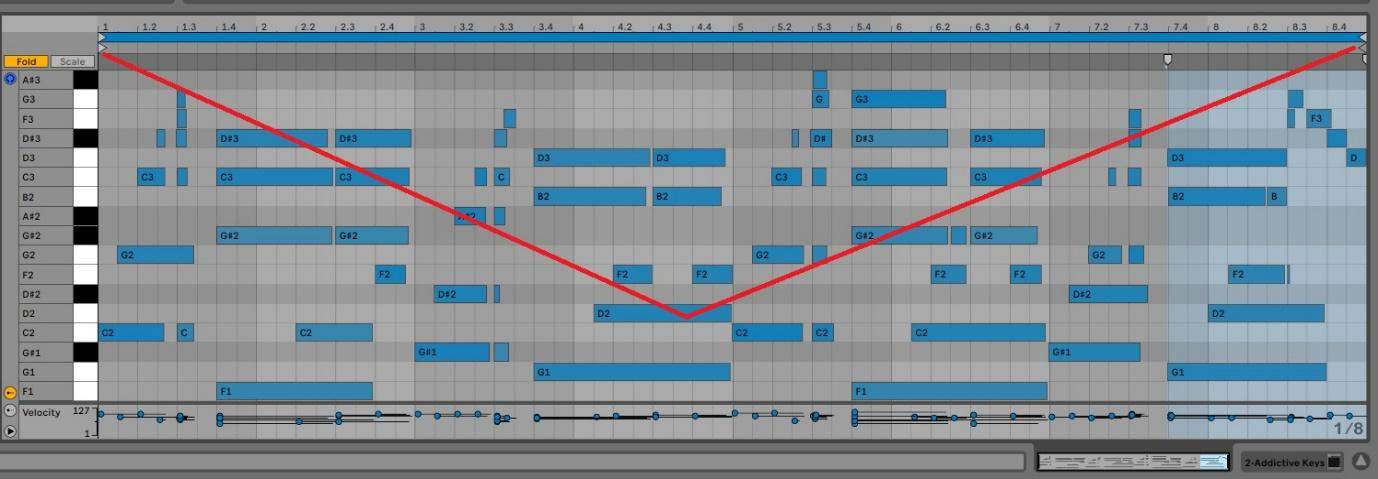
This is the main use of the piano roll. To create music for your productions when using virtual studio instruments. The piano roll is so versatile that there are nearly no repetitive techniques between any Live use.
There are two types of producers, ones that have very good instrumentation techniques, the ‘click’ producers that use their mouse to click in notes into the piano roll, and the drag and drop producers that purchase MIDI loops and simply drag and drop them into their sessions.
It is my opinion that producers who fall into either category and who somehow look down on any other kind of producer are not seasoned enough because a seasoned producer will know that there is a time and a place for each technique. By the end of a session, you will find that you will have used at least two out of the three production techniques. Should you want to know how to click on notes on the piano roll? This is how to do it:
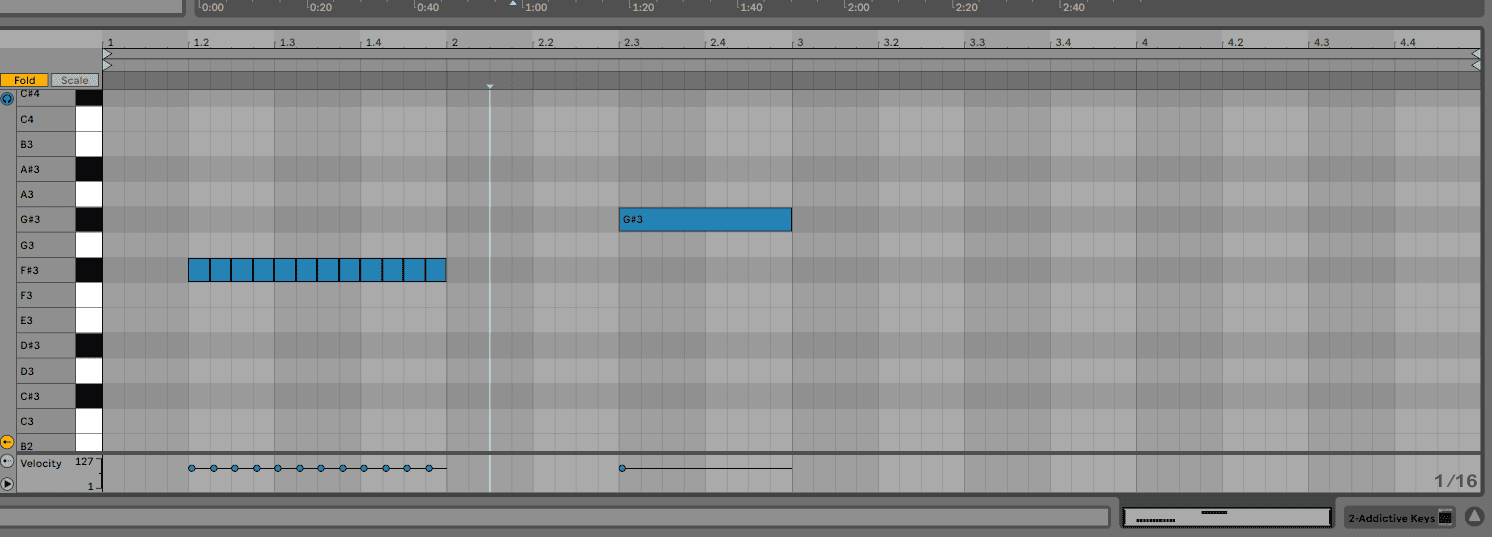
You simply need to click on your piano roll to create a note. At the beginning or end of every note you make, you can extend or decrease the length of your note by hovering over it. there are 2 mouse pointer types in this technique: the standard selector that when you double-click to create a note and hold on the second click if you drag your mouse right or left, you will affect the note’s length. If you press ‘B’ to switch between and press and hold on your mouse, you will create repeated notes, perfect for drum pattern creation.
Optimizing the Piano Roll
Now that you have notes on your piano roll, it is time to explore some optimization recommendations that I use that you can employ in your workflow to make your sessions run much smoother and faster. These techniques will range from simple techniques to some more advanced techniques that some of the best Live producers use. Let us begin!
Scales
Including highlights of the scale that you are producing music in, will help you stay in key if you do not have a vast knowledge in music theory. Enabling the scale view will help you know which notes are in the scale you are working on. Do this by:
Step 1: activate the scale toggle and select the specific scale you are playing on in the clip editor.
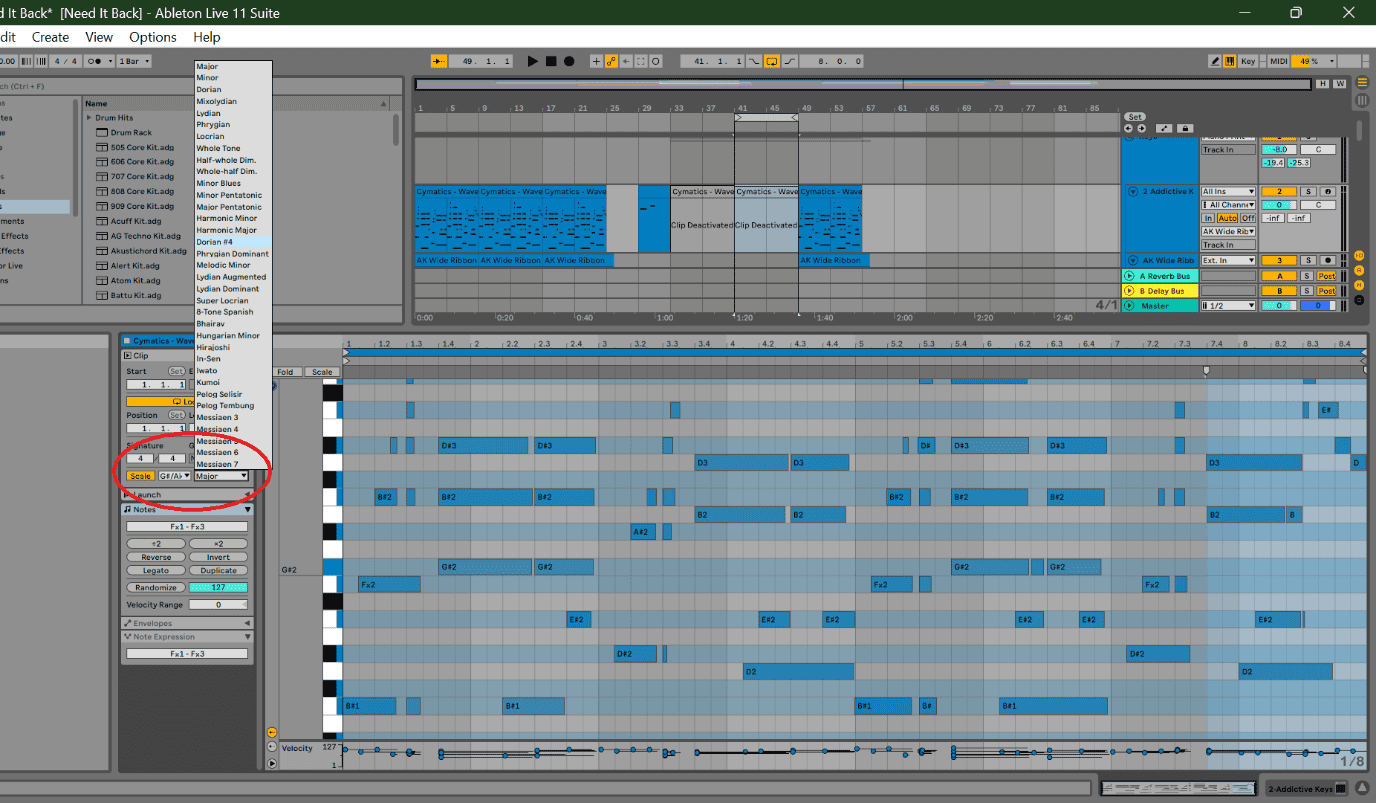
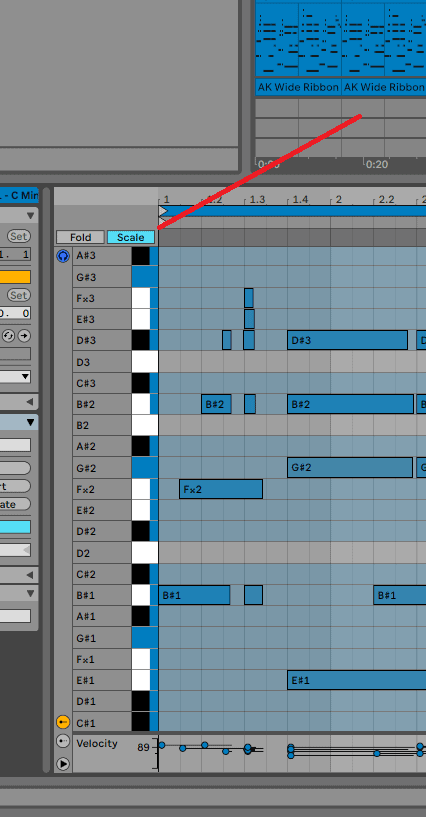
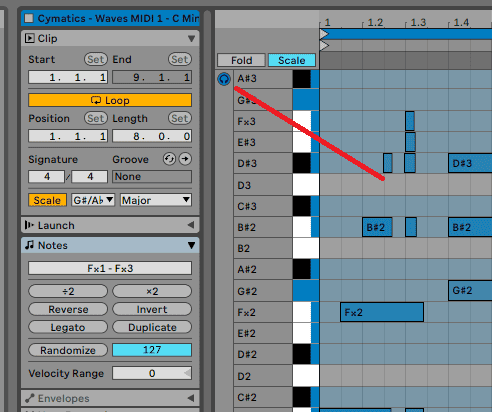
Step 2: once the notes are highlighted on your piano roll you can fold your piano roll to only contain the notes of the scale. Do this by pressing the scale toggle between the clip editor and the piano roll
Note Editing
Once you have recorded your notes, drawn them or imported a MIDI clip, there are going to be changes you may need to make in the notation to create sonic changes between song segments or to change the vibe of your song. You can do this by highlighting your note(s) and moving them up or down, with your arrow keys on your keyboard. To hear the change you are making, activate the MIDI editor preview in between the clip editor and the piano roll.
You can also reverse, invert or make all your notes connect by using the reverse, invert, and legato toggles respectively in the clip editor.
Quantization
Quantization is the process of making things play on time. There is a time and a place to quantize and not to quantize. I quantize most of the time, but when recording jazzy, lo-fi or soul music, I let the instrumentalists deviate from the metronome to allow for a more, smoother, and more natural feel to the productions. The quickest way to quantize is by using the ctrl +U on Windows or the cmd + U on macOS to snap the deviating notes to the grid.
You may need to affect the grid size of your session again, to make sure that you quantize more accurately.
There are many more quantization tips and tricks that I cover in my tutorial on how to quantize MIDI and audio.
Shortcuts Glossary
1. B – Pressing B on your keyboard will switch between the selector and draw tools in the piano roll when creating notation on the piano roll. The classic mouse selector will create notes aligning to your grid width and when held down when you click, the note’s length can be adjusted. In the draw mode indicated by a pencil icon, if you click, hold and drag, you will draw multiple notes in teach grid division.
2. Ctrl + U on Windows or Cmd + U on macOS – This will quantize the notes on your piano roll to the closest grid margin. Be sure to adjust your grid and notes on the piano roll to make sure that you get the most accurate quantization.
3. -/+ – if you use these buttons on your number pad, you will be able to zoom in and out of your grid margins. This is especially useful when you are quantizing, or using the click-in MIDI notation creation method of composition.
Final Thoughts
There are numerous tips and tricks in the piano roll and if I were to cover them all, this tutorial would be a book. I have highlighted the most important points that I think every Live user should add to their workflow to enhance their productions. Try and see what is new to your workflow from everything I have discussed and see what you can add to your workflow. Stay posted for more tutorials, but in the meantime, have fun!
- How to Use Ableton Live’s Arpeggiator? - September 18, 2023
- How to Use the Piano Roll in Ableton Live + Shortcuts - September 18, 2023
- Ableton Arrangement View (Optimization & Usage) - September 16, 2023

![Ableton No Sound (Monitors & Headphones) [FIXED]](https://ProRec.com/wp-content/uploads/2023/05/greyed-out-muted-tracks-ableton-180x180.png "Ableton No Sound (Monitors & Headphones) [FIXED]")

