The Ableton Push 3 is the third-generation Push MIDI controller released in May 2023, eight years after its predecessor, the Push 2. Just as Push 2 took what worked in the Push 1 device, and improved upon it, so has Push 3 done so on Push 2.
Recommended Read: Best Ableton Push Alternatives
You will notice that in my review of Push 1 and Push 2, my main critique for both was that they cannot be used as stand-alone instruments. The Push 3 addresses this issue! The device is more than just a MIDI controller. You can run, record and manage an entire session without needing to open Ableton. This new advanced development surely explains the eight-year gap.
To cover this review of all the exciting new features, including how to use Push 3, I will begin with a quick overview of what you get once you unbox Push 3, the physical features compared to Push 2, what is new, and of course a demonstration of the Push 3 in use to provide you with a review of the device as a user. Let us get cracking!
Overview
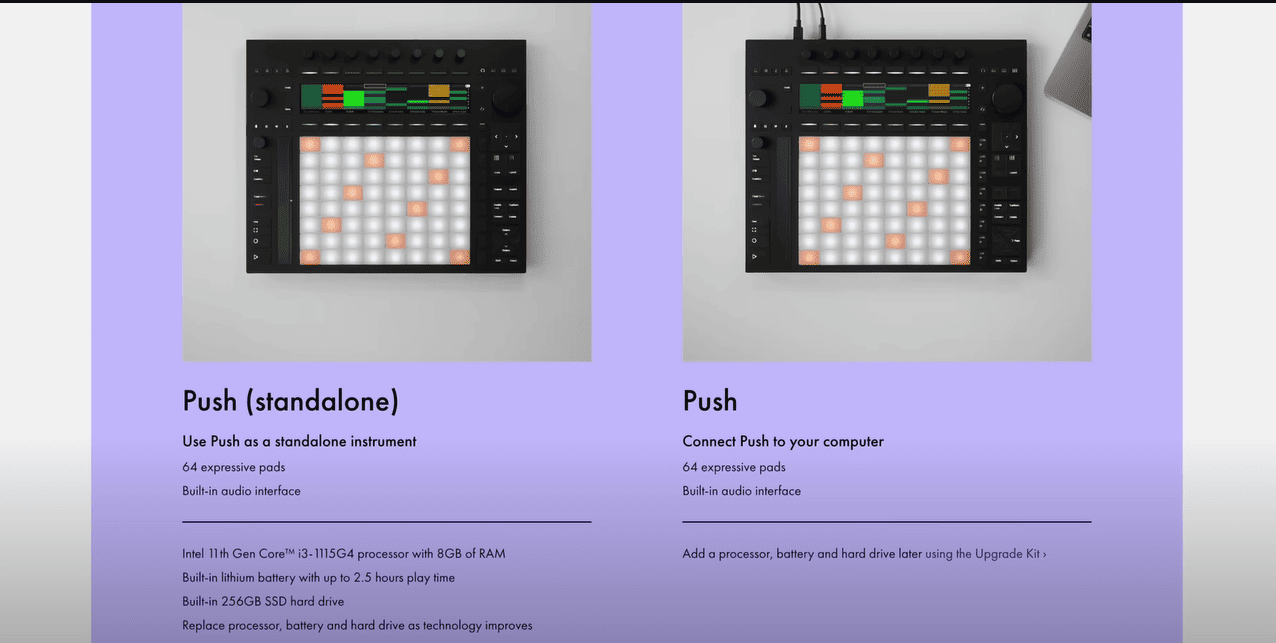
Before Moving on, you must know that Push 3 comes in two different variations, the standalone version that can be used without the need to connect to your computer, and a second version that functions as all other Push devices that came before that need to be connected to your computer
The standalone version goes for $1000 more than the Push ‘Connect’ that goes for $999. Use this review to guide your perchance, but keep in mind that, despite the standalone difference, all features function in the same way.
Unboxing
Once you unbox this device, you will find your Push 3 device, a power adapter, and a USB C cable. You will notice that Push has moved away from the USB 1 and B connectors to the USB C format.
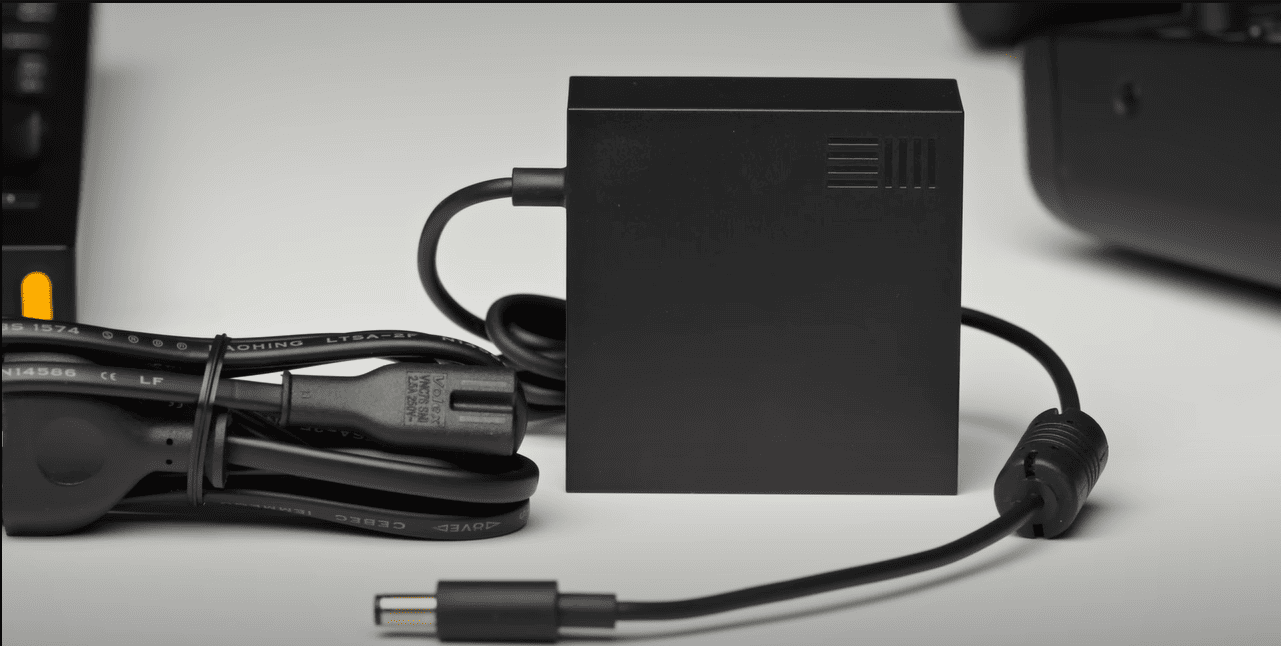
Push 3 has a built-in audio interface that allows it to function as a standalone module. This feature allows it to connect to many types of devices. To get the most out of this module, you may need to purchase additional connectors.
Features
Once I unboxed Push 3 for the first time, I noticed that Ableton kept up with the trend of increasing the size of the device ever so slightly with the newer model and you will notice with your module that it is just about a centimetre larger than the Push 2. Some of the controls are also moved around, combined or changed from pads to knobs, but the layout remains the same (pads, buttons and knobs).
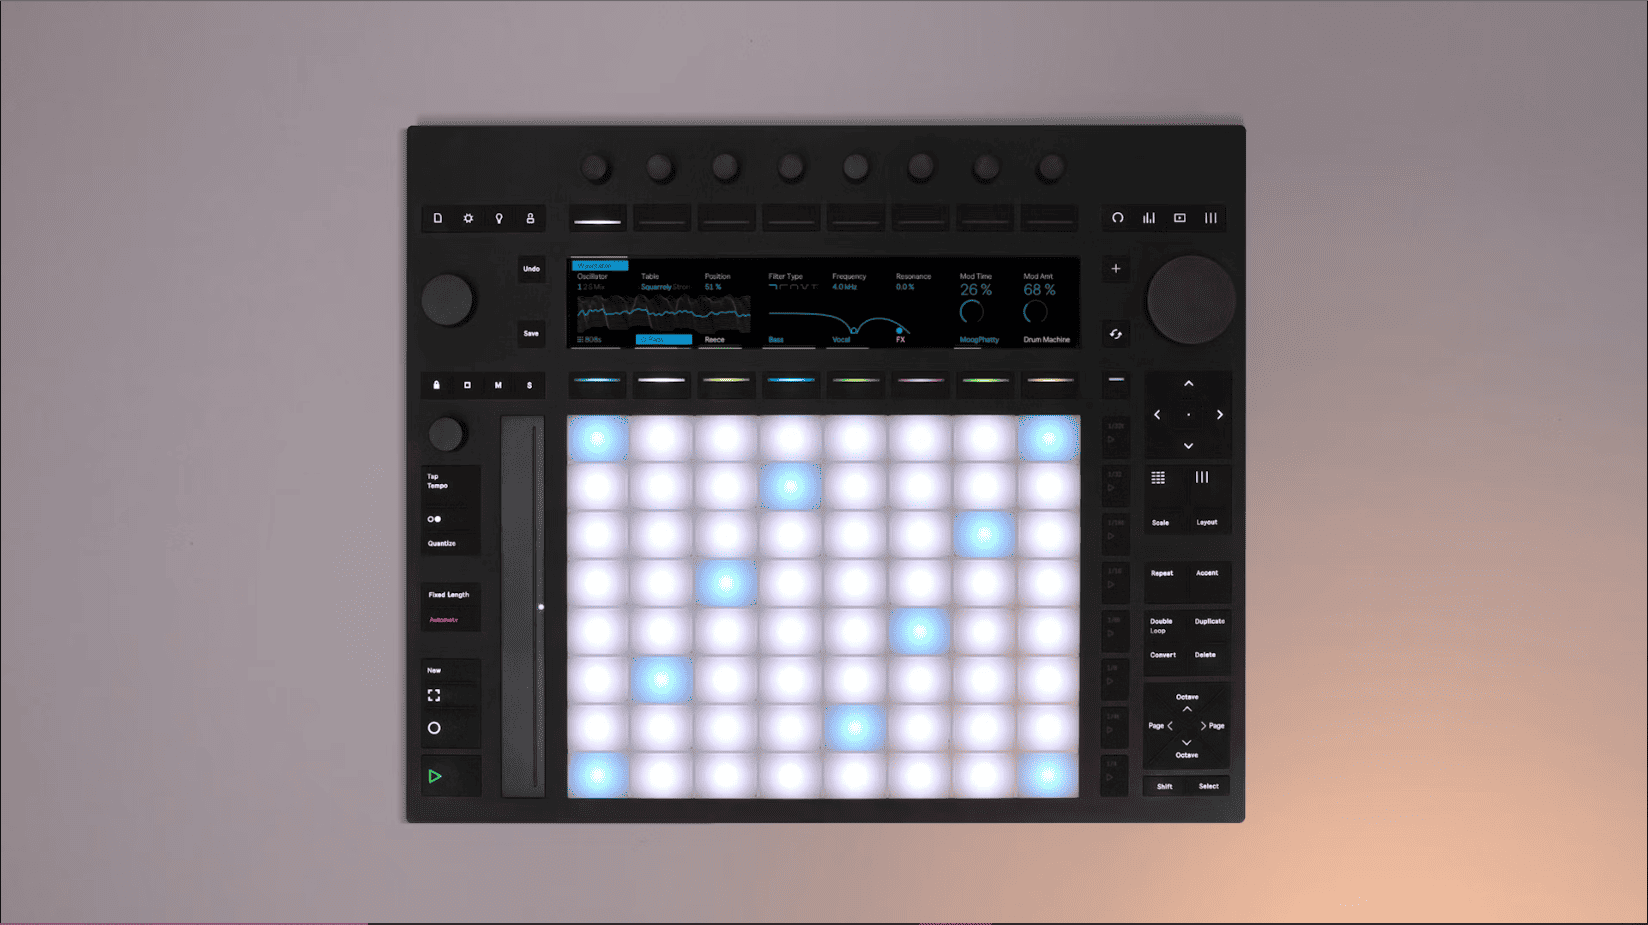
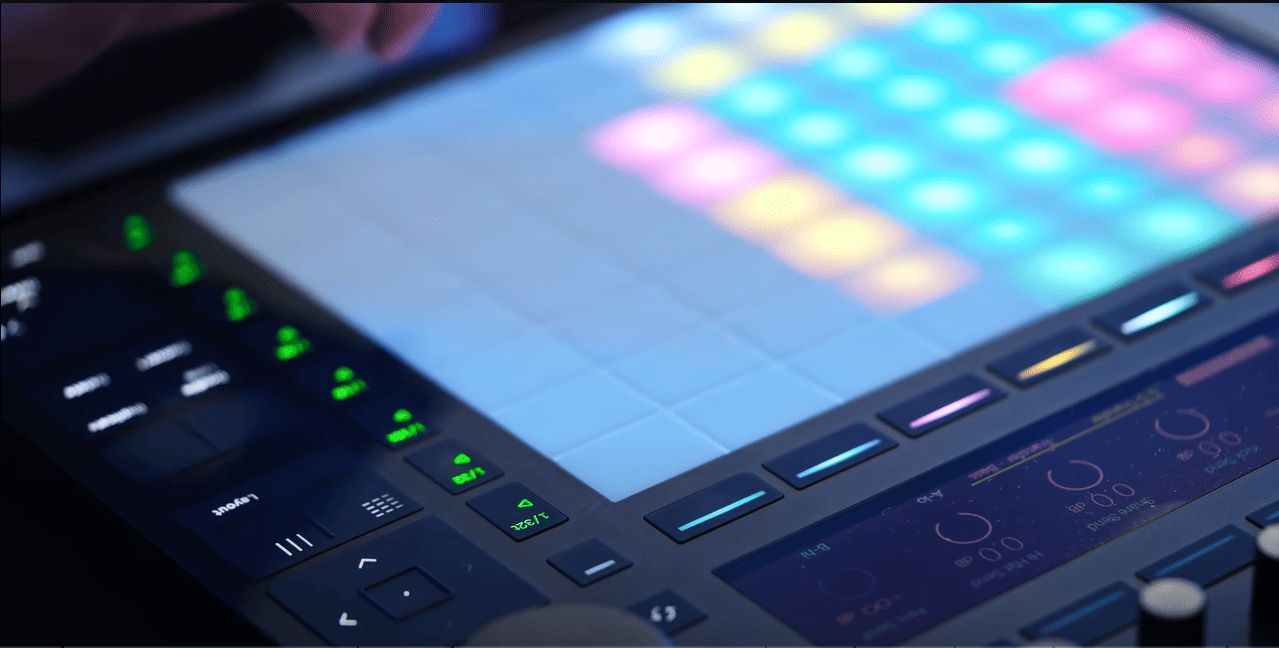
The dynamic display is still a feature carried on from Push 2, but the 64 pads come with an all-white colour scheme and are all connected, to allow gliding between notes to ‘humanize’ your performance while recording on Push 3.

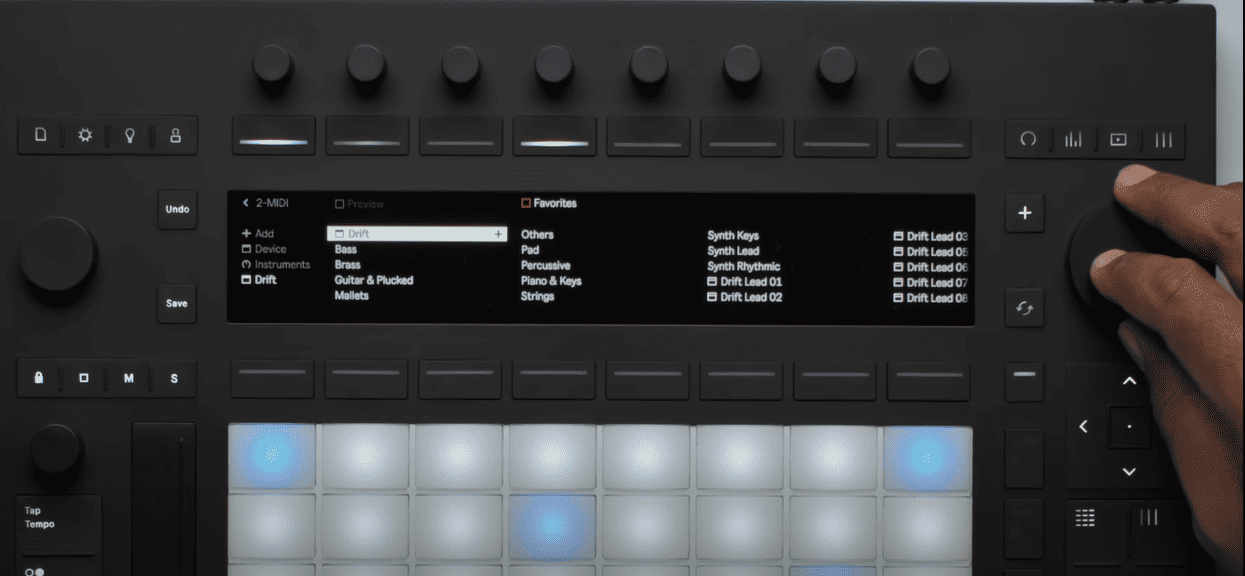
Speaking of the pads, the 64 pads have a new MIDI polyphonic control, which means that when playing notes, the playback is as loud/bright as how hard you press the pad. If you shake your finger, the playback will sound like it has a vibrato effect, if you hold a pad down and slide your finger up or down you will hear a rising or diminishing effect depending on the MPE setting on your instrument. To access this new performance feature, you will need to load an instrument that has MPE capabilities. Loading instruments works the same way as Push 2 and Push 1.
The Setup
To quickly set up Push, you will need to, connect it to a power supply, and press the on button.
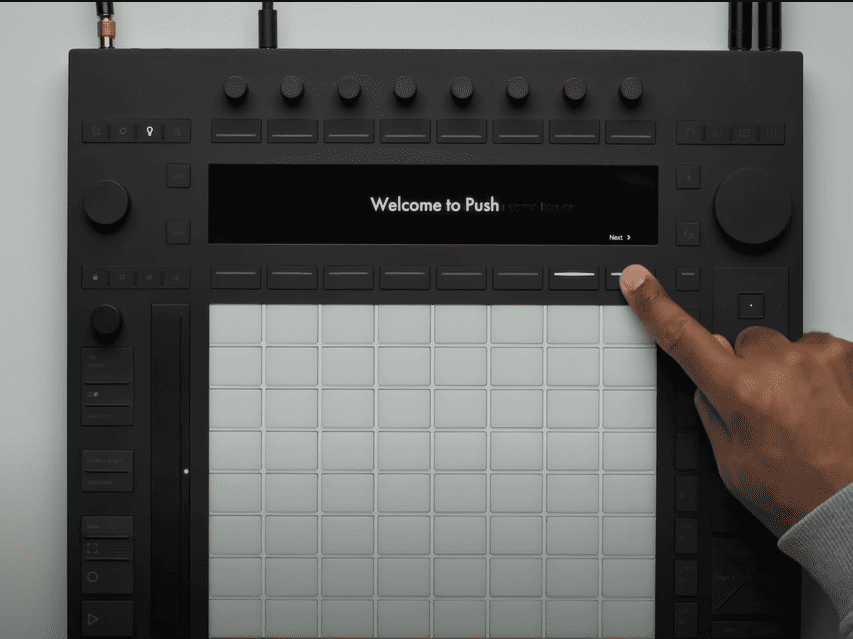
The setup process is very simple because Push 3 will first boot in the standalone mode, from which you will get a walkthrough on how to correctly set up the device.
You will need to connect to a Wi-Fi network, to authorize Push 3. This will allow you to easily download packs from Ableton, transfer files to and from your computer and Push, and keep the firmware updated.
Push 3 will provide you with a URL that you can access via your computer to authorize Push, and synchronize the pack available to the version of Ableton that you have installed, and can be then downloaded into Push 3 for standalone functionality.
Standalone and Control Modes
The Standalone and Control modes really had me excited about Push 3. I can start a session on my computer, move it to Push 3 when I go to the studio for a recording, and then move the session back to my computer when I am back home, to continue production, all the while using Push 3 as a MIDI instrument. I shall demonstrate all these steps so you can also see them in action, but first, let me show you how I transfer files between my computer and Push.
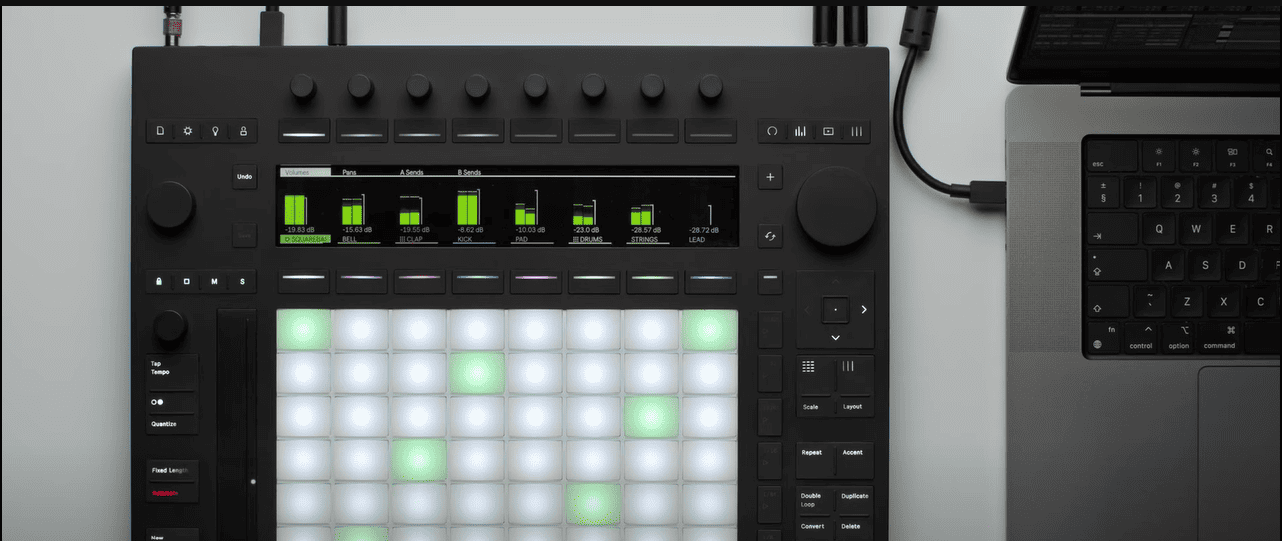
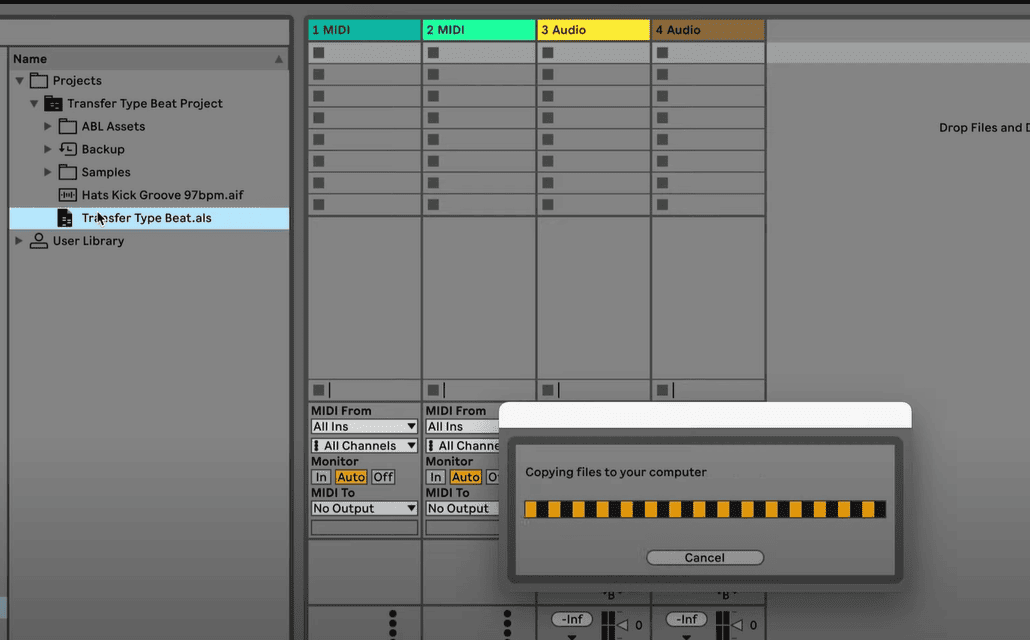
You will first need to connect your Push device to your computer using the USB C cable, and then start live on your computer. You will need to transfer all your samples and presets from your computer to Push 3 if you intend to continue working on your Push session.
To transfer files between your device and computer, both need to be connected to the same Wi-Fi connection. You then need to go to the Push folder in Ableton to access and transfer your files.
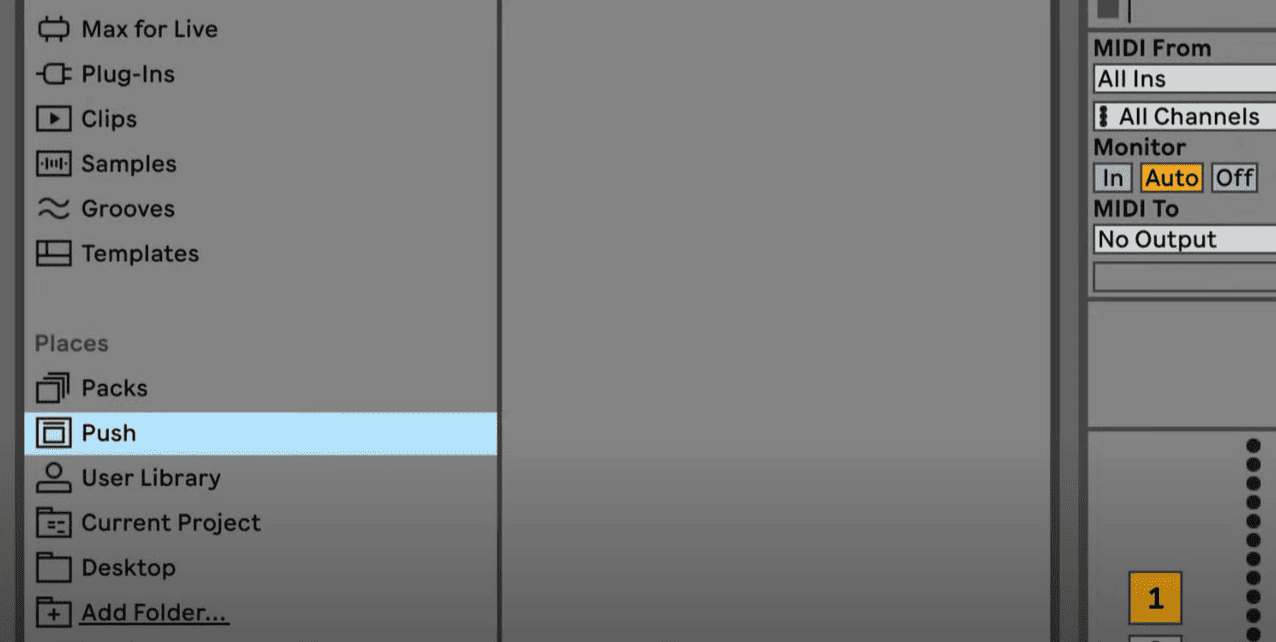
Push will display a one-time password, to authorize synchronization.
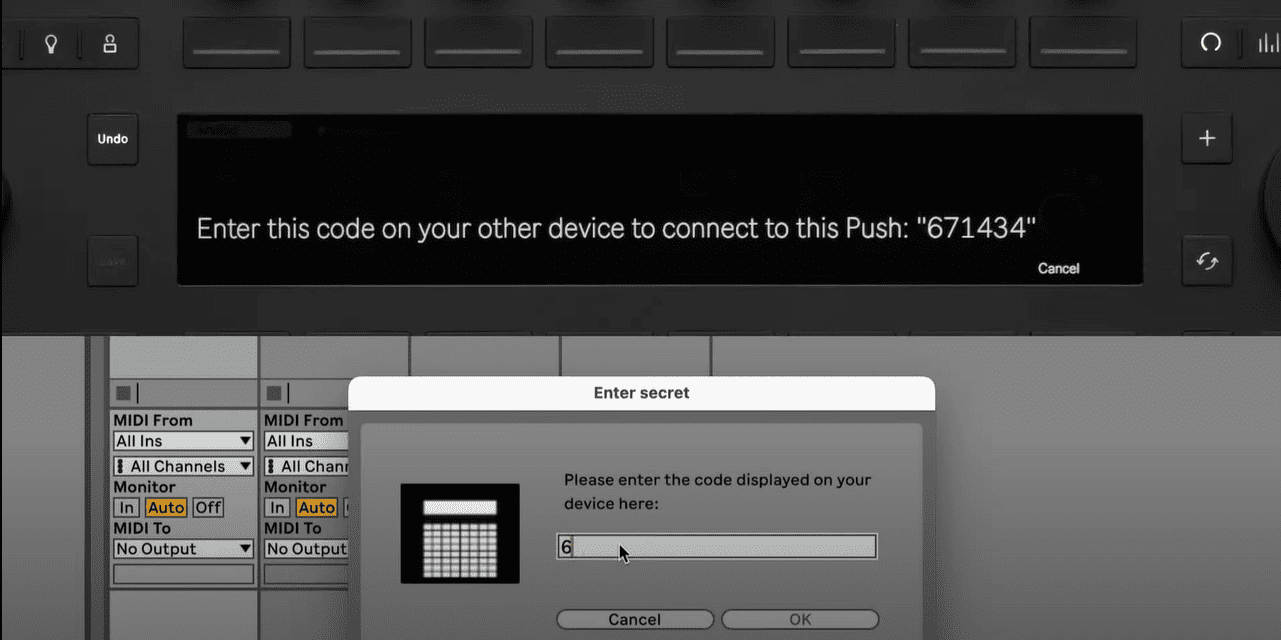
Once the synchronization is successful, open the Push folder and open any project you have on Push. When saving, Live will ask you where you want to save your session on your computer and copy the session files there. Alternatively, you can simply drag and drop your files from your computer to the desired folder on your computer.
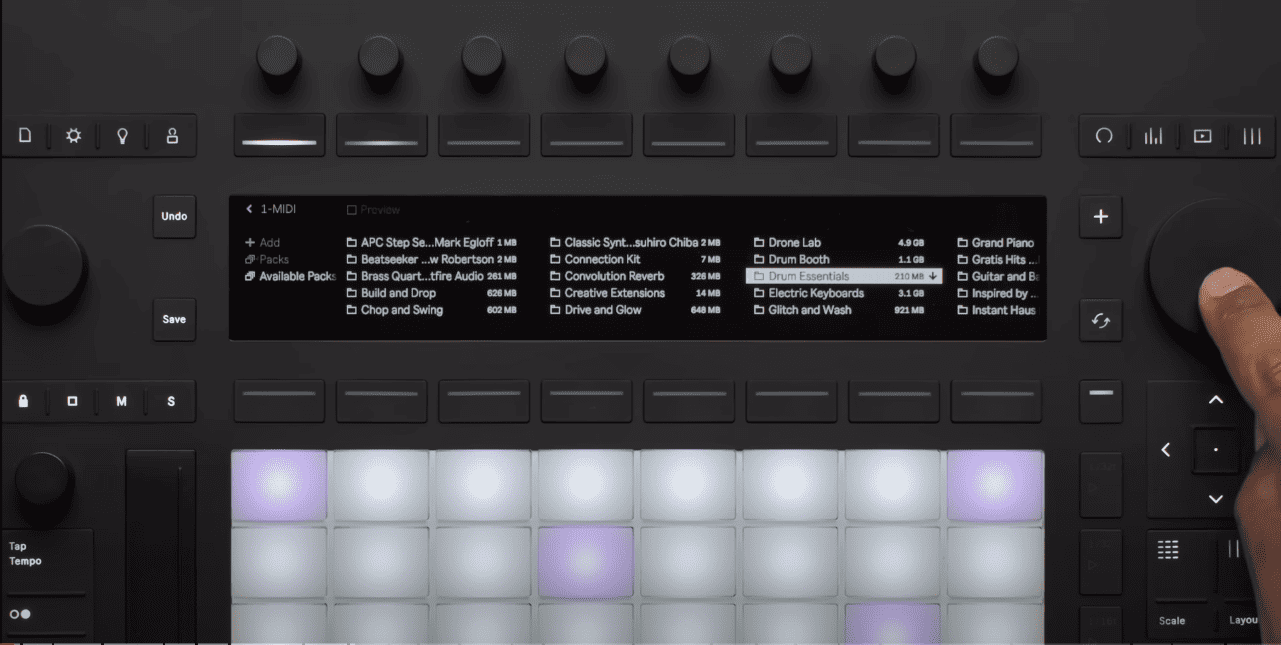
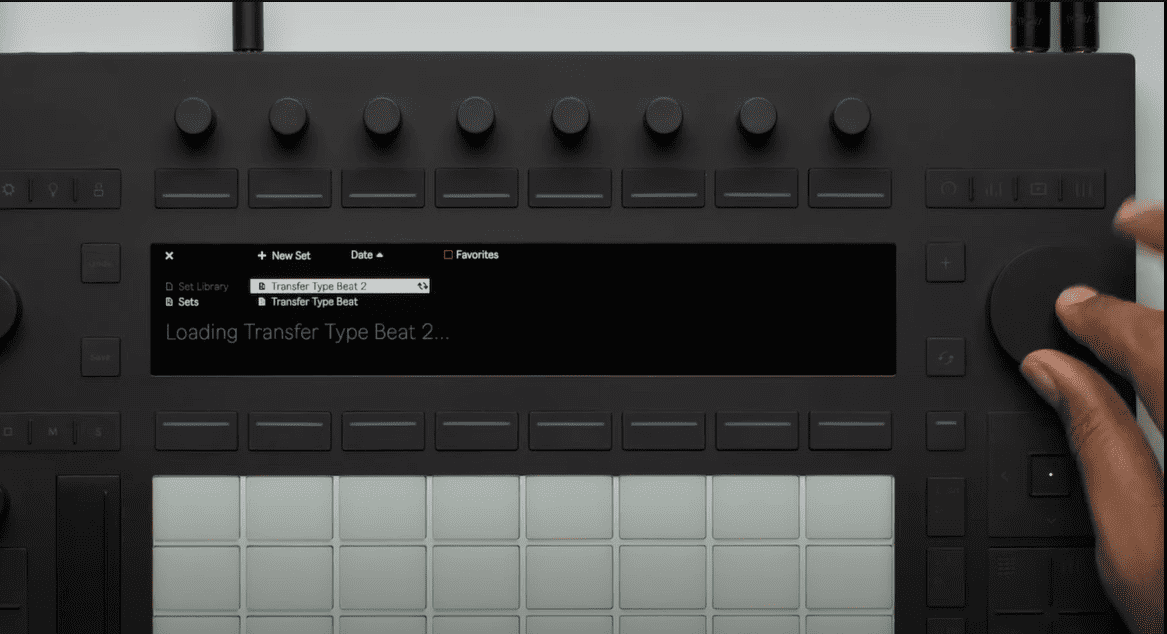
Once your sessions are transferred to push, you can access these sessions by loading them.
Scroll to your desired session and click on the scroll button to open your session on Push. This process can be repeated for both samples and presets.
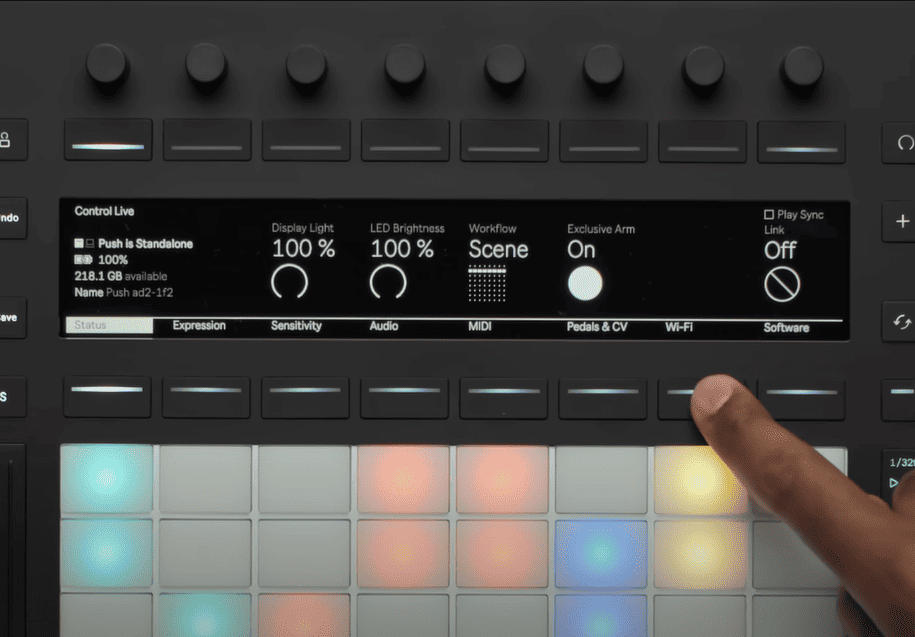
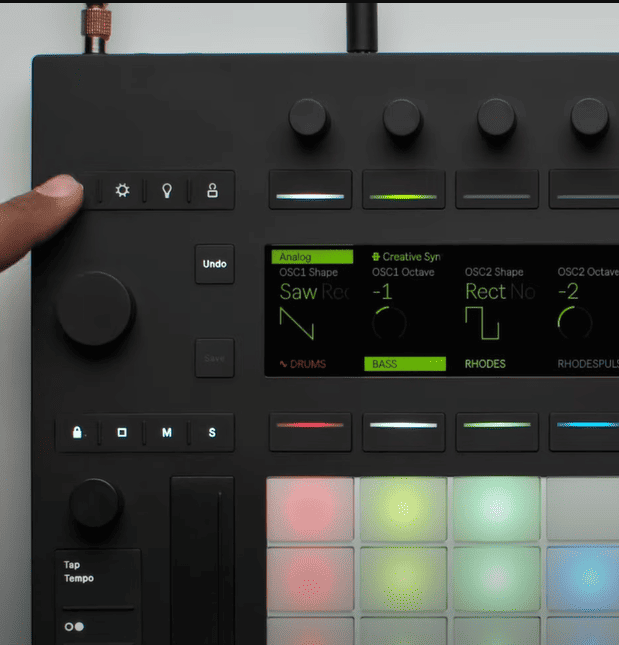
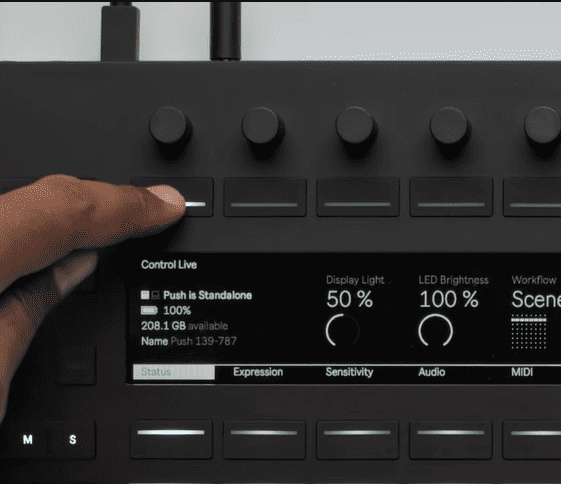
Switching between Standalone and Control mode is easy, as you will need to select the setup button on Push 3.
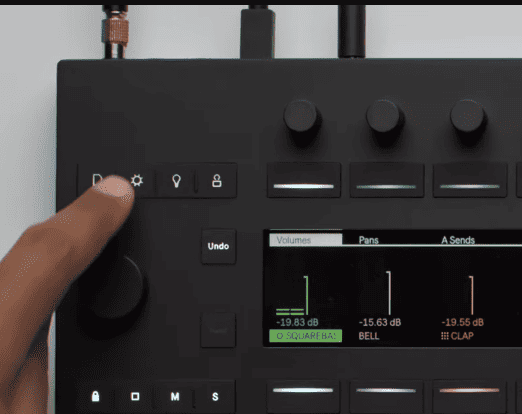
Now press the first button on the top row, to switch push to control mode. You can toggle between Control and Standalone using this function.
If you wish to use Push 3’s audio interface to record audio or for playback, you will need to set up your audio interface inside Live.
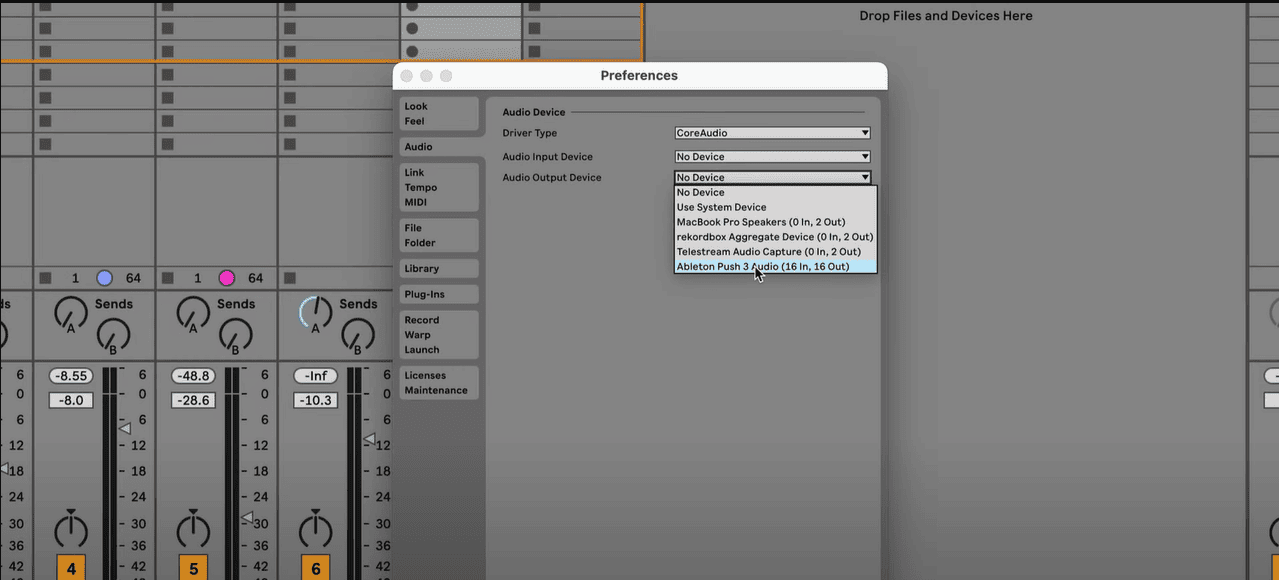
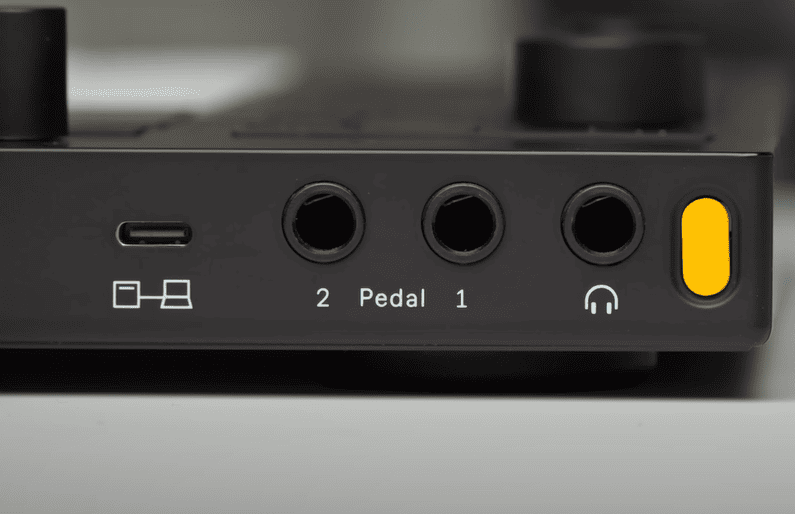
In the standalone mode, you have access to Push’s audio interface. You will have 2 balanced inputs and output, 1 headphone output, 2 pedal inputs, an ADAT in and output, and a MIDI in and out.
Final Thoughts
Some in the music industry will tell you not to believe the hype of Push 3. They say that it functions very much like Push 2, but I criticize this opinion.
In my previous reviews of Push devices, I made a note that it was unfortunate Push 1 and 2 did not have more functionality outside of just being MIDI instruments. While it did take Push 3 eight years of development, the results speak for themselves. Not only does the device act as a MIDI instrument, it is also a recording device, a performance tool and most strikingly, it is a hardware version of Ableton Live. The convenience and speed of this module embody what Live was designed to be, and I cannot recommend it enough. Try it out and have fun!
- How to Use Ableton Live’s Arpeggiator? - September 18, 2023
- How to Use the Piano Roll in Ableton Live + Shortcuts - September 18, 2023
- Ableton Arrangement View (Optimization & Usage) - September 16, 2023


![Ableton Tuner Not Working [FIXED]](https://ProRec.com/wp-content/uploads/2023/07/default-tuning-settings-ableton-180x180.png "Ableton Tuner Not Working [FIXED]")