Being able to develop an idea from scratch and going through the stages to make it a complete song is every music producer’s dream. Part and parcel of this is knowing how to edit, EQ, and mix vocals since the vocals are usually the stars of the show in most songs.
Getting into vocal mixing may be a little intimidating at first, but the more time you spend honing your skills, the better you become. Having this skill under your belt not only opens up more opportunities for your career but also gives you a deeper understanding of audio and mixing.
How to Edit Vocals in FL Studio
Editing usually involves cleaning up the vocals, making sure they are in time with the beat, and trying to get them at a consistent volume. The whole editing process may be very time-consuming but creates the foundation of your mix.
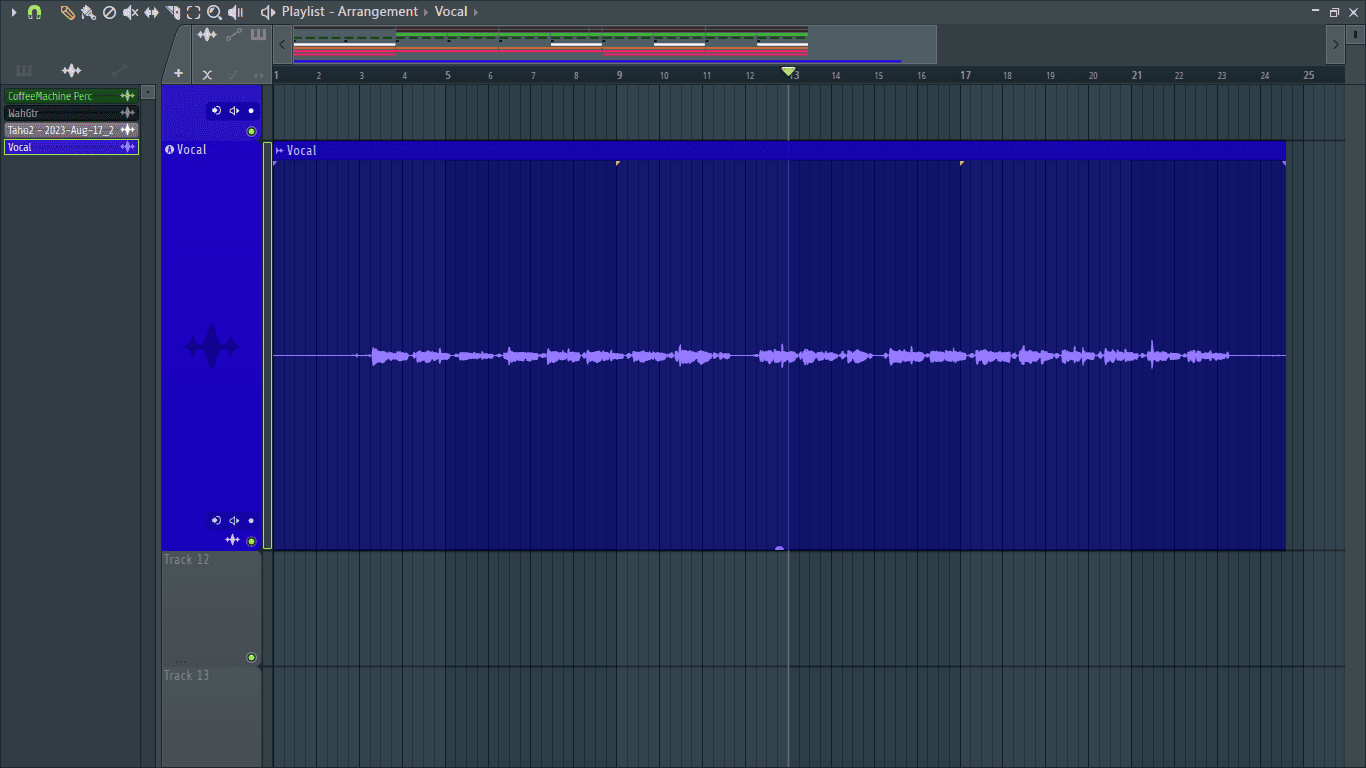
Step 1: When editing, you’ll mostly be switching back and forth between the pencil tool and the slice tool. I usually like to start by getting rid of empty and unwanted parts in the vocal so that I’m only left with what I need. Here, I’ll get rid of the unnecessary empty audio at the start and end by resizing it.
Before.
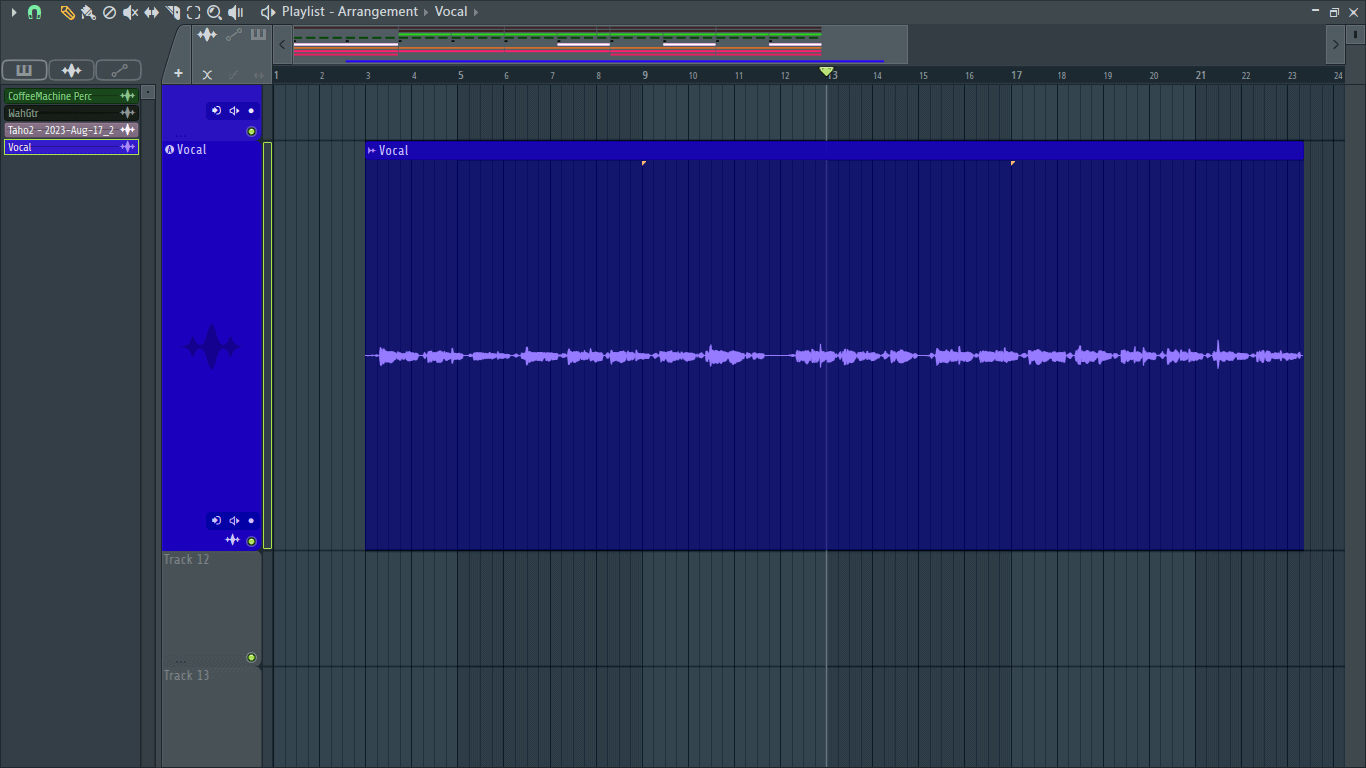
After.
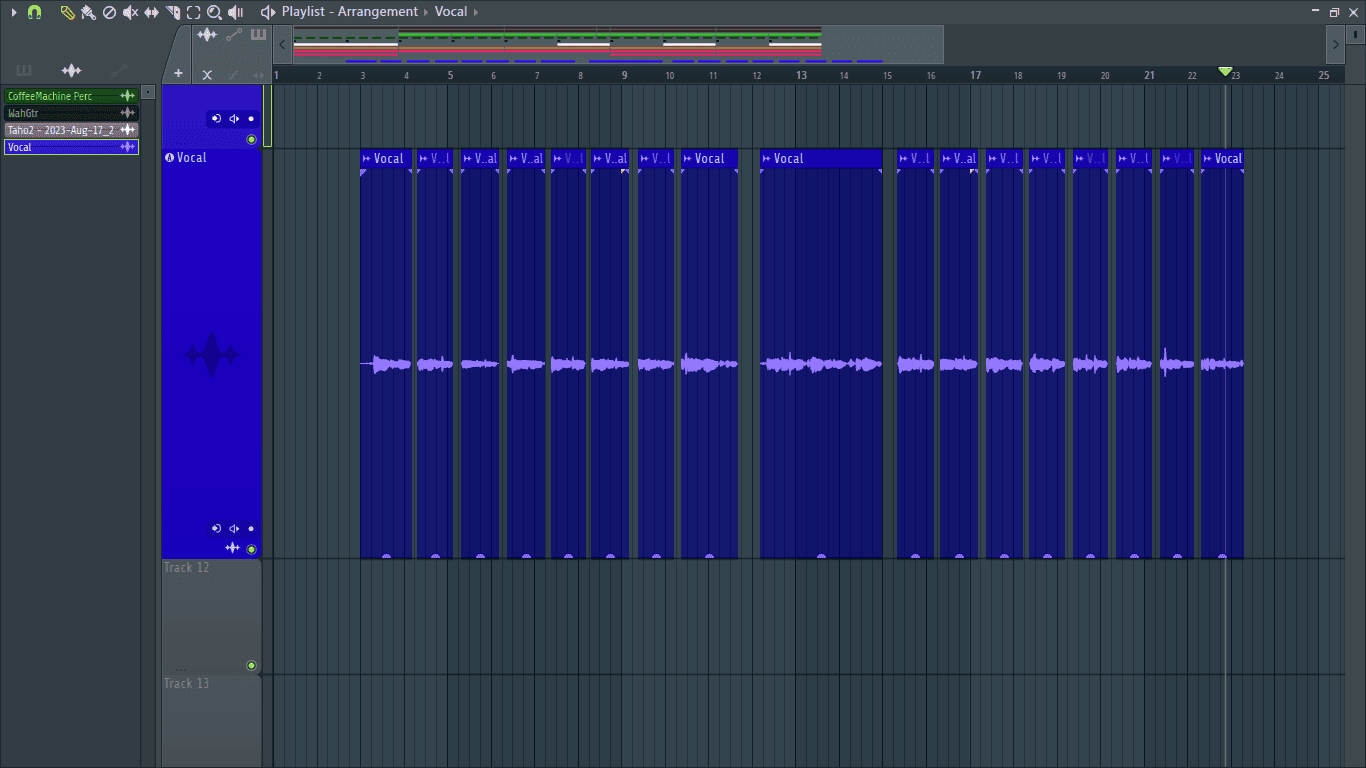
Step 2: Next, for clear concise vocals, nudge some portions of the vocal back and forth so that they are in time with the instrumental’s elements and aligned with the other vocals. Vocal aligning creates a more cohesive mix and a more enjoyable listening experience.
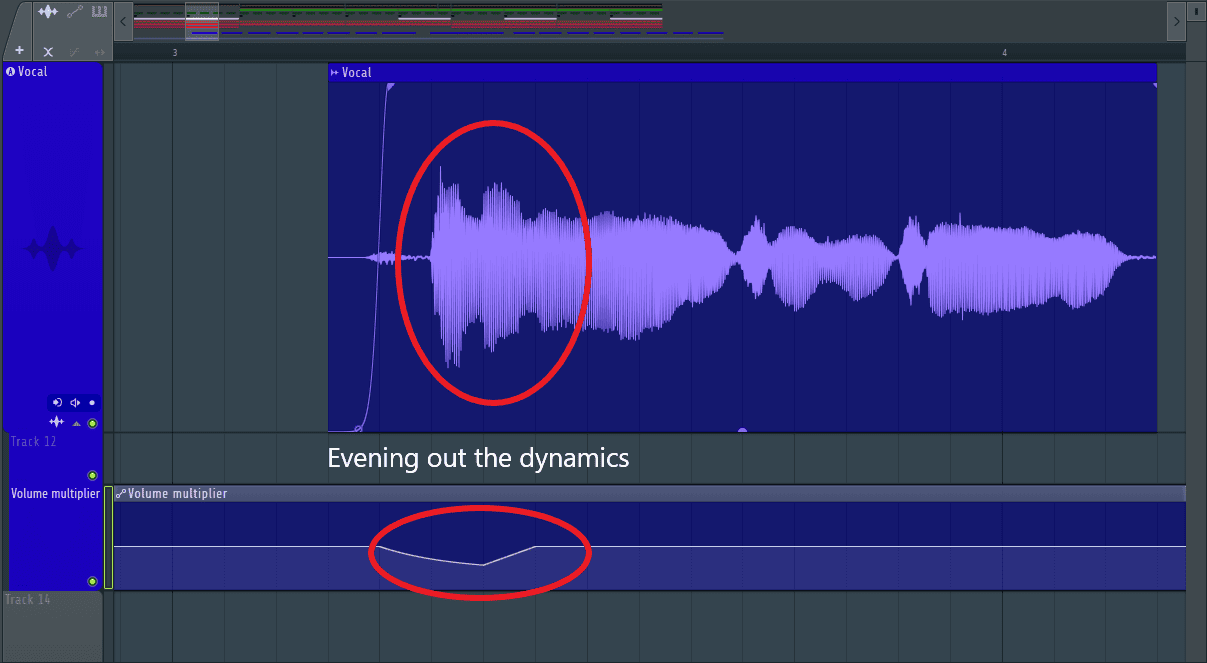
Step 3: This step is optional and mostly depends on the vocal’s dynamics. Use volume automation to get a more consistent level. This evens out the vocal’s dynamics which stops the compressor from overworking and creates a more natural feel.
How to EQ Vocals in FL Studio
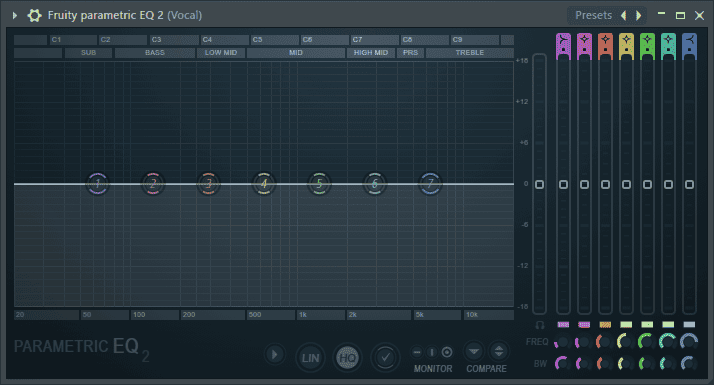
It’s standard practice to start with rolling off the low frequencies. Aside from vocals, low frequency instruments are also integral in defining the mix. A build-up of low frequencies from different instruments will leave your mix sounding muddy and unprofessional. Rolling off these frequencies from the vocal leaves room for the kick, bass, and other low frequency elements to shine uninterrupted leading to a better-sounding mix.
The cut-off frequency should be just below the fundamental frequency of the vocal. After rolling off the low frequencies, do more subtractive EQ using a bell filter to find resonating and problematic frequencies in the vocal and attenuating them.
How to Mix Vocals in FL Studio
Mixing vocals involves applying various effects to process the audio to fit in the mix. Here I’ll be stating some common guidelines to use when mixing vocals, but always experiment and find out what works for you.
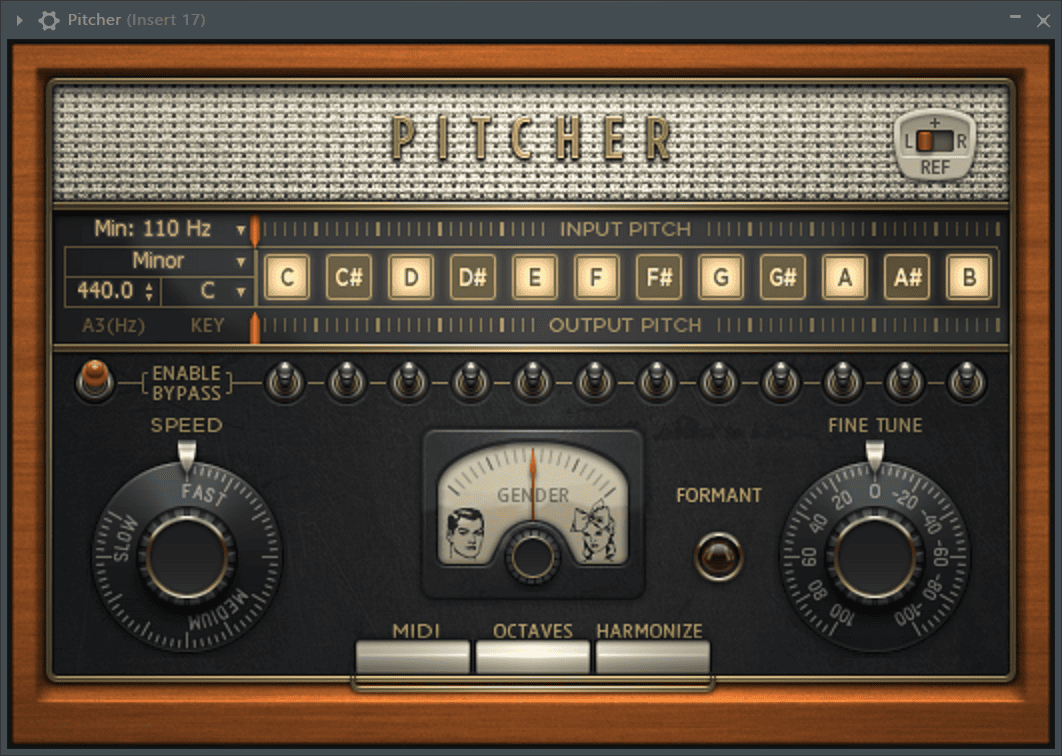
Tuning the vocal
In modern music, especially for more melodic genres, tuning the vocal is an absolute must to make sure the artist stays in the key of the song. For this, you can use FL’s stock pitch correction plug-in ‘Pitcher’. It has a straight-forward interface and minimal controls making it great when you’re in a rush.
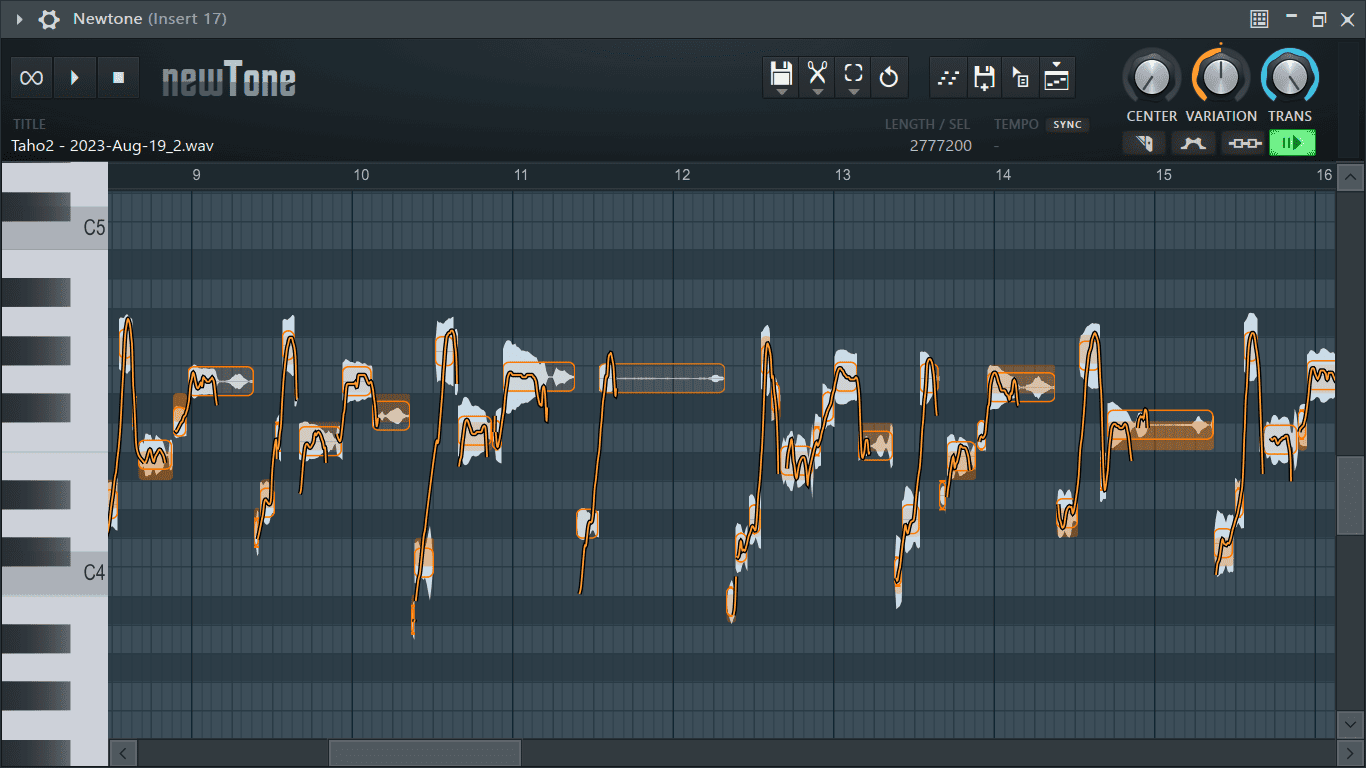
Alternatively, if you want more control over the tuning aspects, you could use NewTone. With NewTone, you can dive even deeper and manually tune the vocal word by word.
If the stock plug-ins don’t work for you, you can try purchasing their paid alternatives such as Auto-Tune and Melodyne for a higher quality of tuning. If you’re not looking to break the bank, you can use free alternatives such as Grallion or MAutoPitch.
Compression
Through compression, we’re able to control the dynamic range of the vocal. Dynamic range is the difference between the loudest and quietest parts in audio. Artists go through plenty of emotions while recording. They may start off with high energy singing their lungs out and switch to whispering by the end of the recording. Through compression, we can control these dynamics to get a more consistent vocal performance.
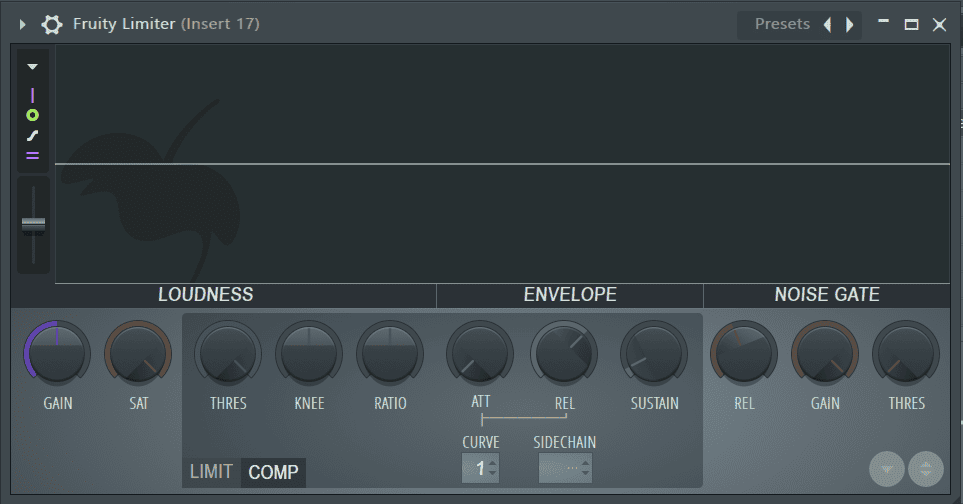
If you’re new to compression, start out with a ratio of 3 or 4 and reduce the threshold until it sounds right. Next, slowly increase the attack from the slowest setting, for the release do the opposite until you achieve your desired outcome.
De-essing
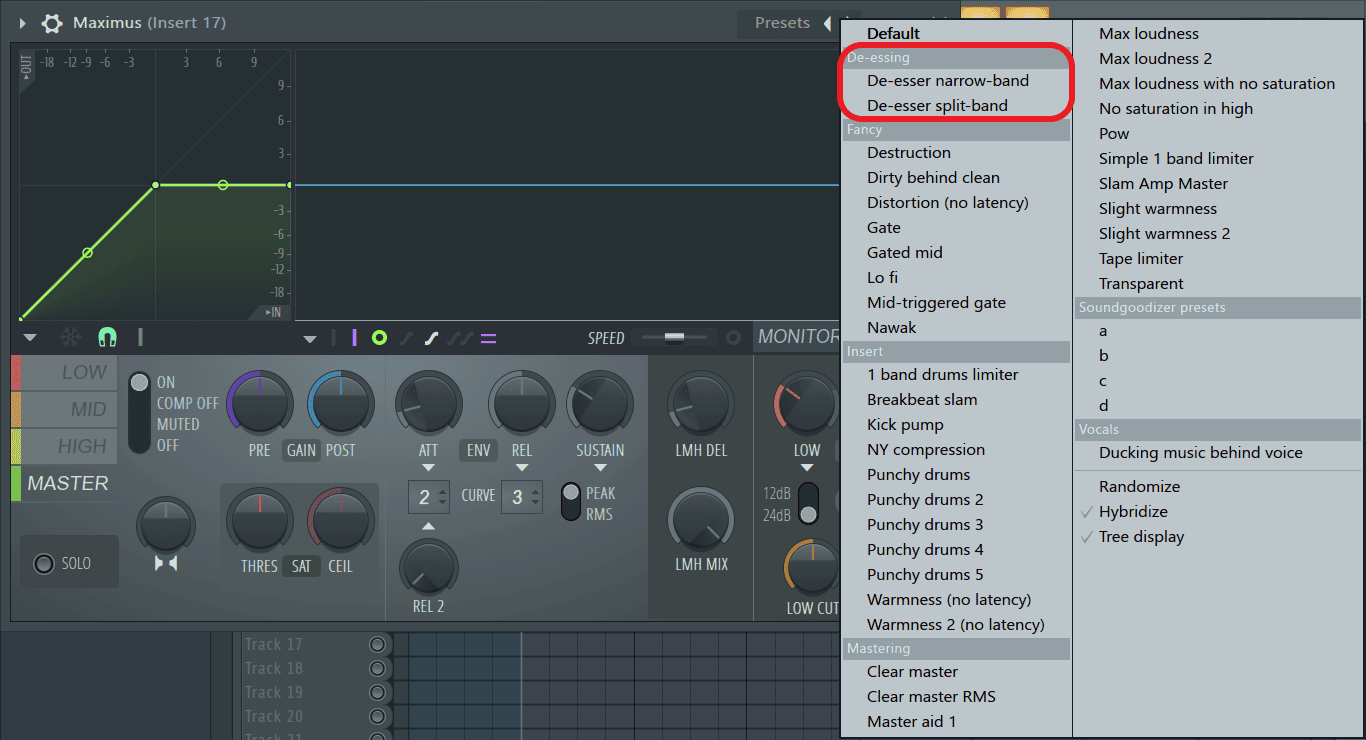
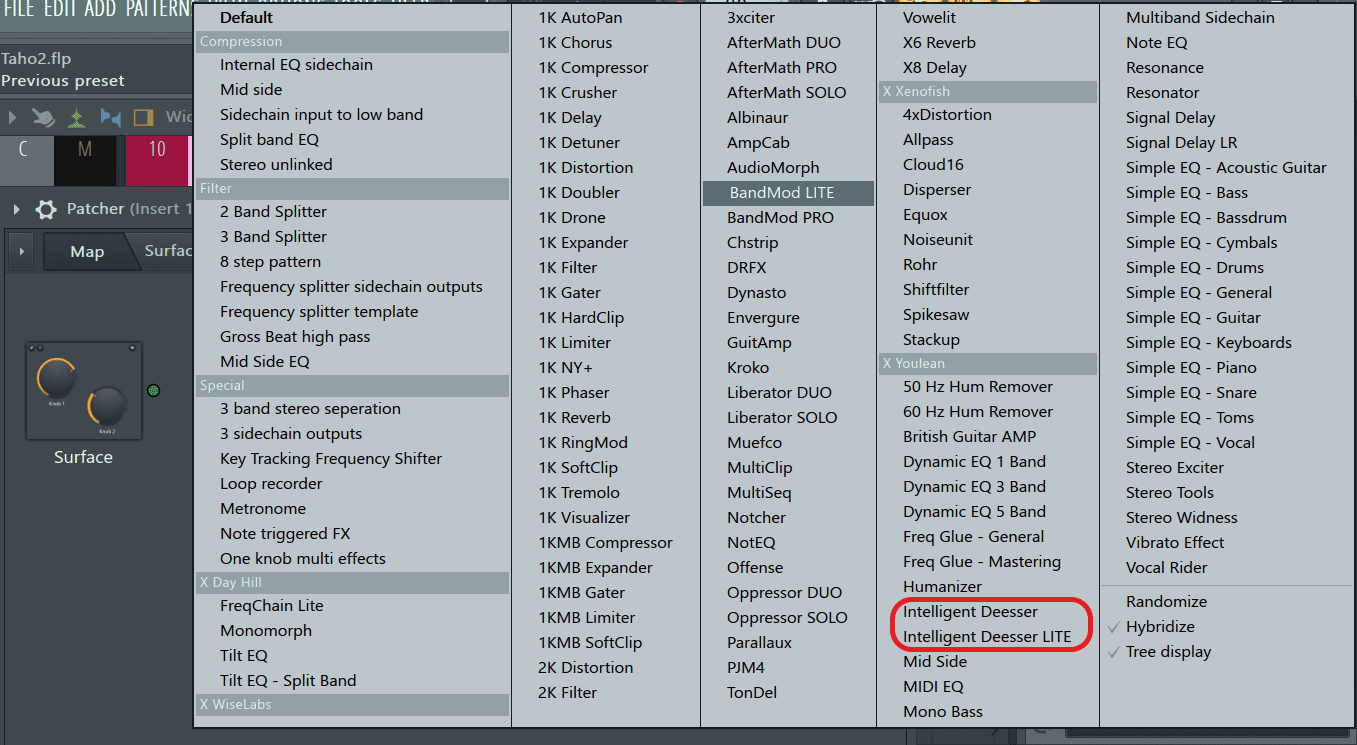
De-essing allows us to tame the harsh frequencies created when an artist says the letter ‘S’. If not controlled, these harsh frequencies will pop out in the final mix when it is pushed into a limiter leading to a not-very-enjoyable listening experience. A de-esser is basically a multiband compressor that works by attenuating the harsh frequencies. Use this sparingly as too much de-essing will give the artist a lisp.
FL Studio comes with de-essing presets for Maximus and Patcher. Use this to get a better understanding of de-essing when mixing vocals.
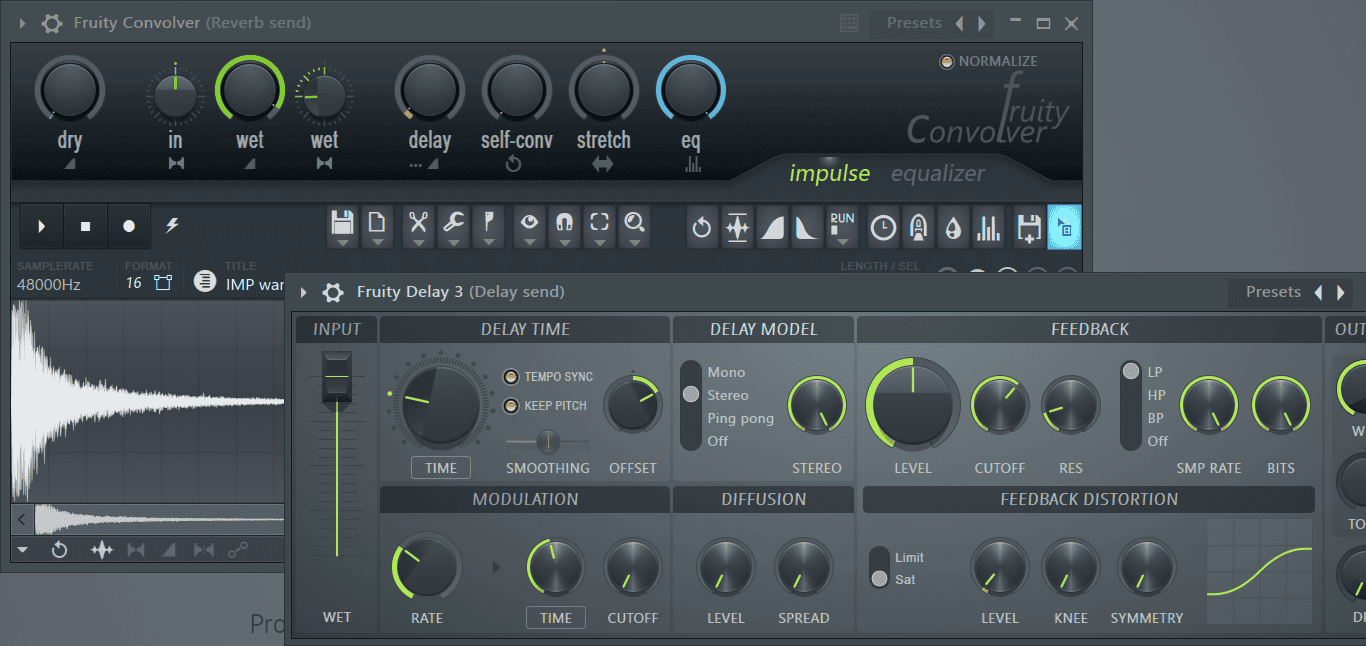
Delays & Reverbs
These two effects are responsible for creating the feeling of depth in a mix. Reverb gives the vocal space while delay is used for emphasis and filling up spaces. For reverb, Increasing the pre-delay introduces a slight delay to the reverb, therefore, allowing us to hear the vocal better. Using delays and reverbs as sends gives us more control over the effects without disrupting the vocal and also allows us to apply some processing to the delayed/reverbed signals. A great application of this is using a send combining both reverb and delay to create an echo effect.
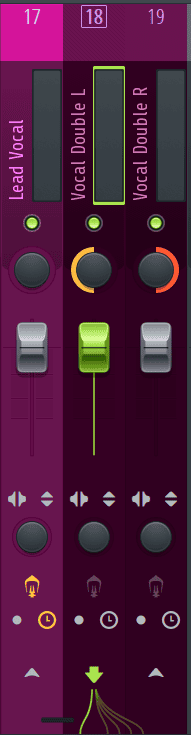
Panning
The lead vocal will normally remain in mono since it is required to be at the center stage of the mix. For background vocals, adlibs, and harmonies, however, panning them to the left or right increases the stereo image and leaves enough room in the middle for the vocal. With panning you can get as creative as you’d like although main instruments such as the kick, snare, bass, and lead vocal in the mix sound better coming from the center of the stereo image.
Final Thoughts
When it comes to vocals, you’ll need to train your ears over time. The more you edit and mix the better you become so don’t get intimidated if you’re just starting out. Just jump into FL Studio, experiment, learn, and most importantly, have fun!

- How to Add Drum Kits to FL Studio - September 18, 2023
- Best Free Drum Kits for FL Studio - September 18, 2023
- How to Create Drum Patterns & Loops in FL Studio - September 12, 2023

![How to Use the FL Studio Piano Roll [Complete Guide]](https://ProRec.com/wp-content/uploads/2023/07/channel-controls-automation-fl-studio-180x180.png "How to Use the FL Studio Piano Roll [Complete Guide]")
![How to Fix Latency / Lagging in FL Studio [FULL Guide]](https://ProRec.com/wp-content/uploads/2023/09/audio-settings-fl-studio-1-180x180.png "How to Fix Latency / Lagging in FL Studio [FULL Guide]")