If there was ever an FL Studio feature that accelerated my learning and understanding of music theory, it has to be the piano roll scale highlighting feature. This feature highlights all the notes used in a particular scale and is very useful for coming up with chords and melodies in as little time as possible.
Let’s look at how it works.
How Piano Roll Scale Highlighting Works
It works by highlighting the notes used in the scale and darkening the notes that are not in the scale in the piano roll.
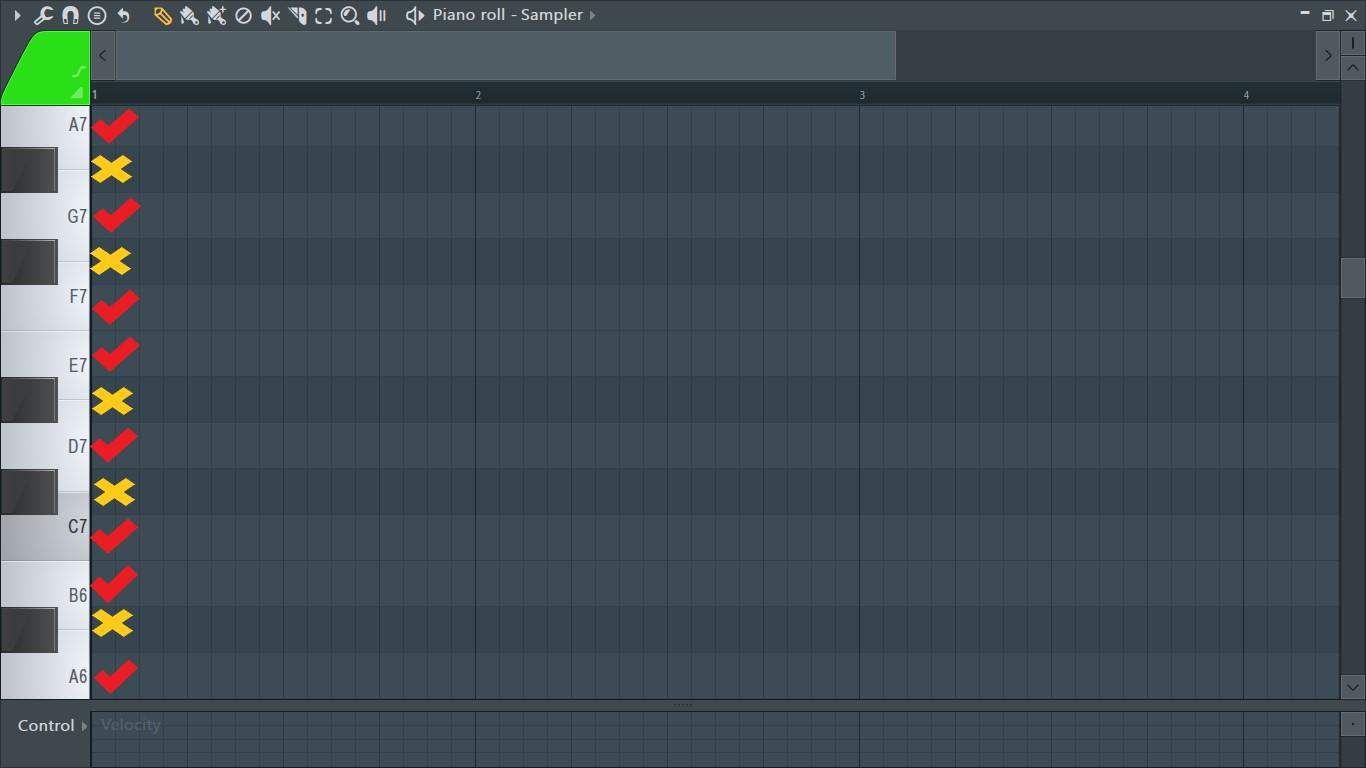
From the image above, we can see that the rows of the notes with the check/tick marks (✔) are highlighted and are a lighter shade than the rows of the other notes. These highlighted notes are the notes that are to be used in the current scale.
On the other hand, we can see that the rows of the notes marked with a cross or an X (🗶) are a darker shade than the rows of the notes that are highlighted. This means the notes with the darker rows are not used in the current scale and if you use them they will sound out-of-key.
How to apply Scale Highlighting in the Piano Roll
Let’s go over the various steps needed to apply scale highlighting in the piano roll.
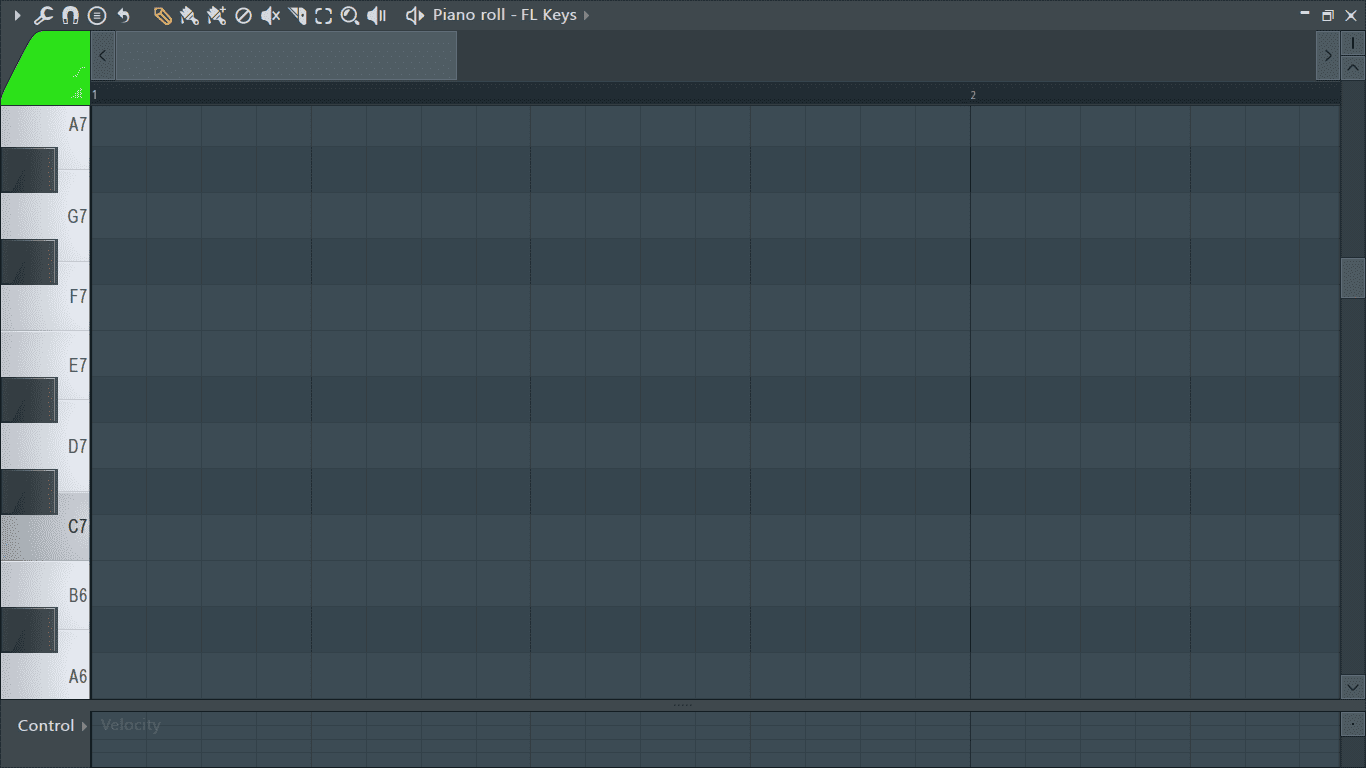
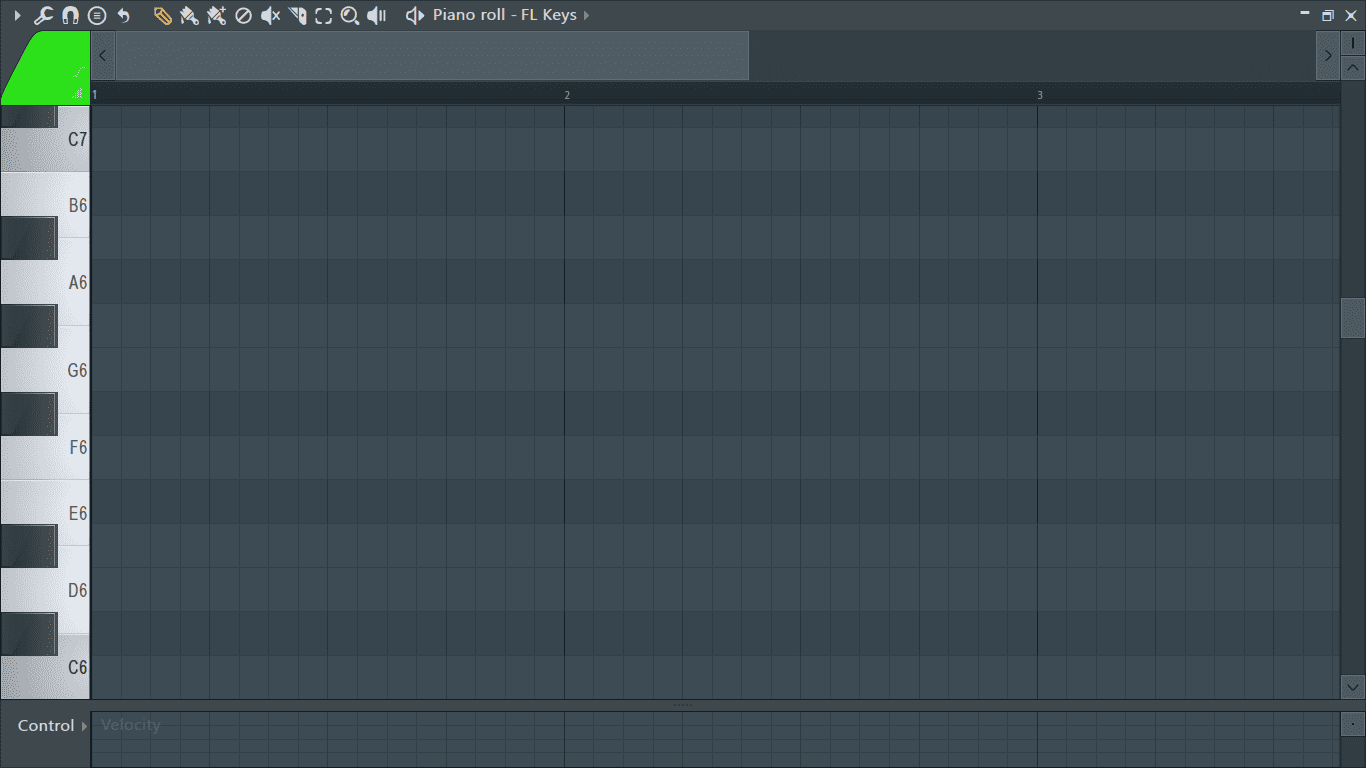
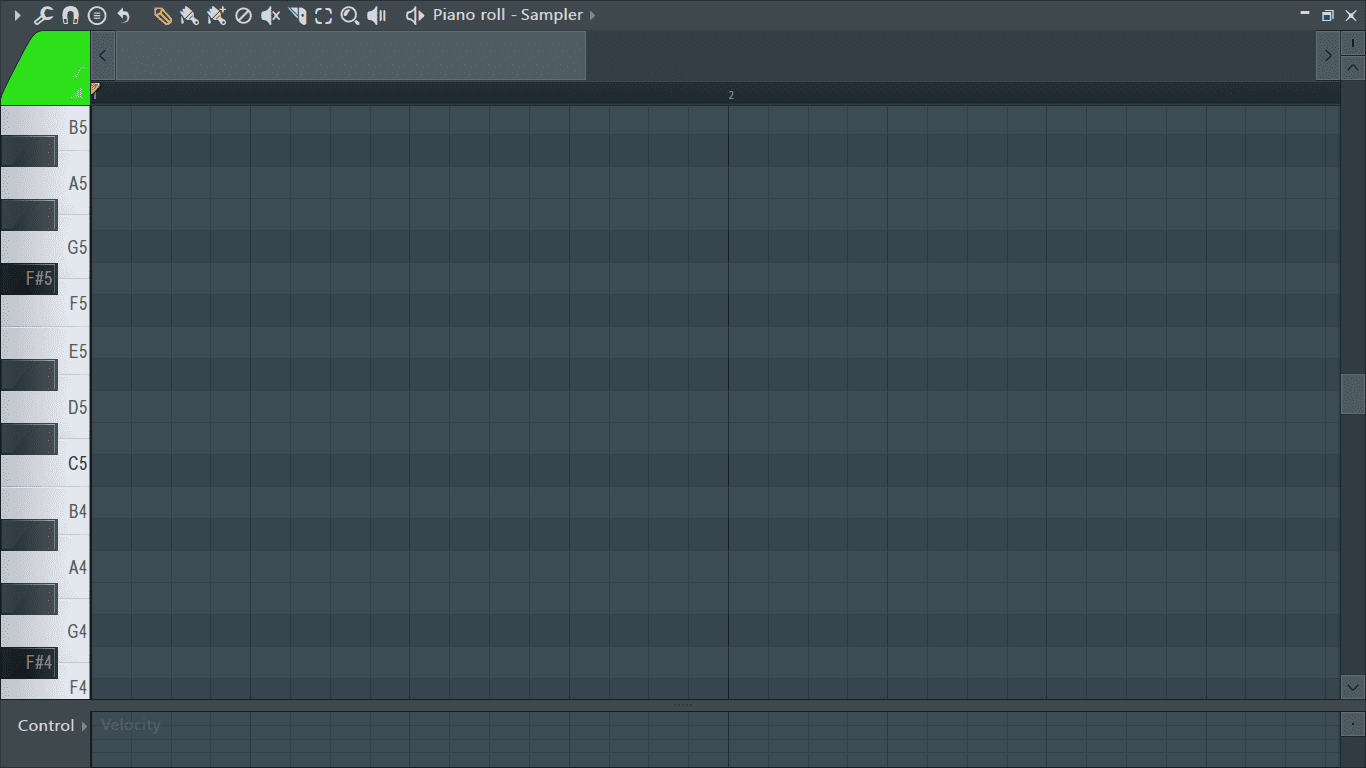
Step 1: First, open the piano roll. Do this by clicking on the piano roll icon in the toolbar or by pressing F7 on your keyboard.
The piano roll is now open.
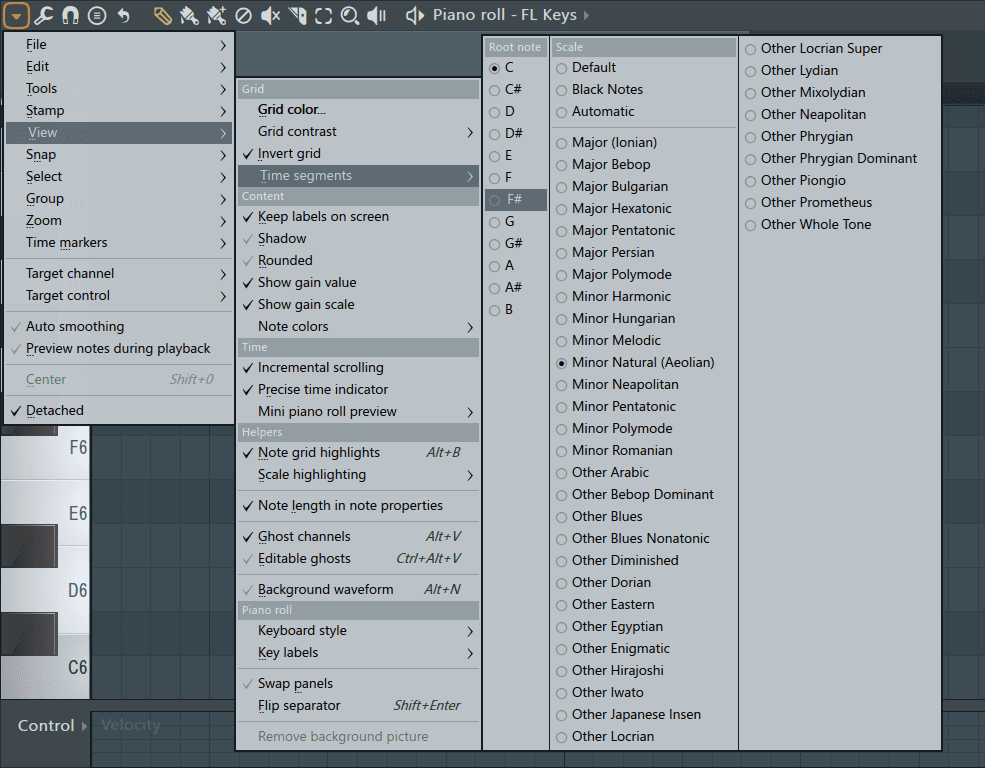
Step 2: Once the piano roll is open, click on the arrow located at the top left corner of the piano roll.
This will open up a drop down menu containing the piano roll options.

Step 3: From the options go to View> Helpers> Scale highlighting.
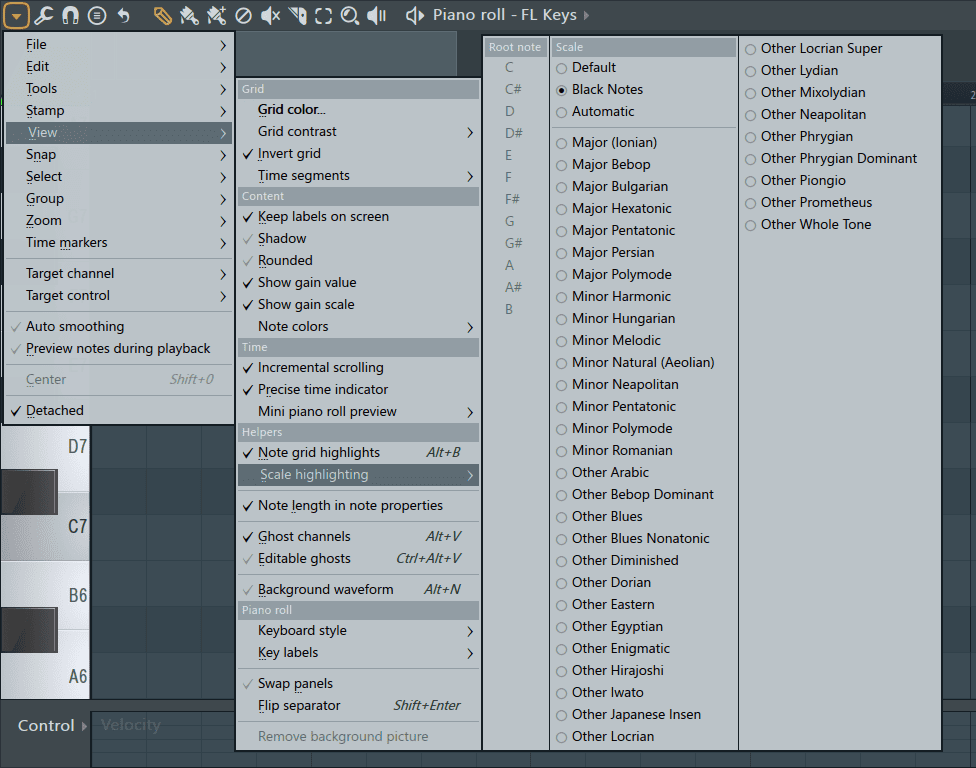
This opens up the scale highlighting options which contain the different types of scales available in FL Studio.
Step 4: Next, select the scale you want to be highlighted in the piano roll from the options available. In my case, I want to create a chord progression in the natural minor scale so I will select ‘Minor Natural (Aeolian)’ from the menu.
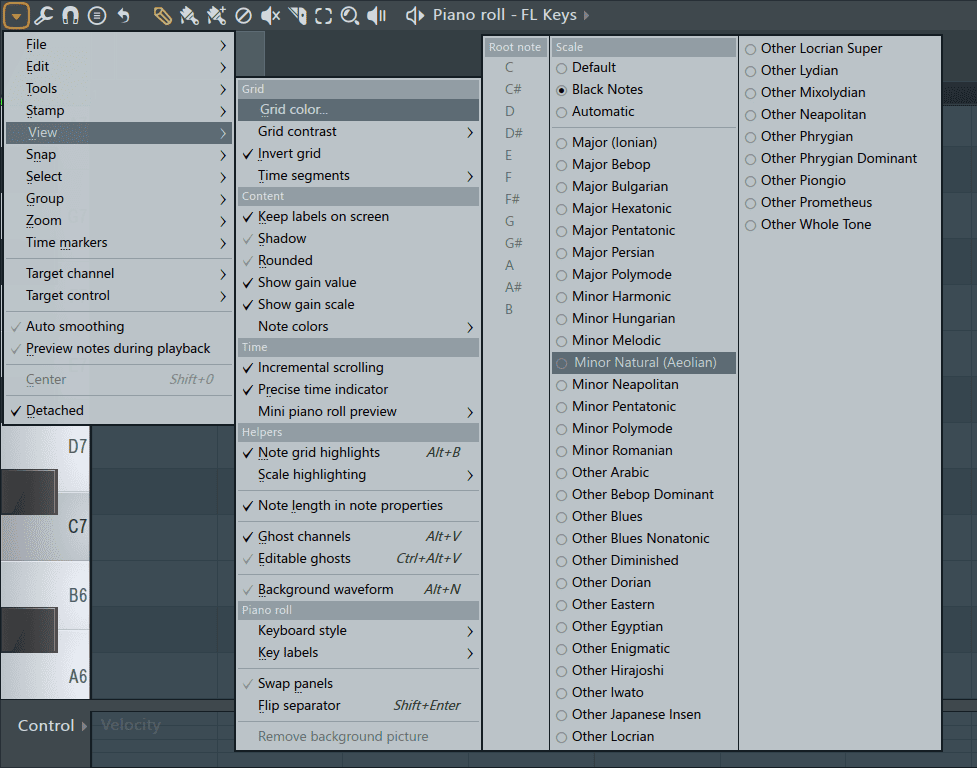
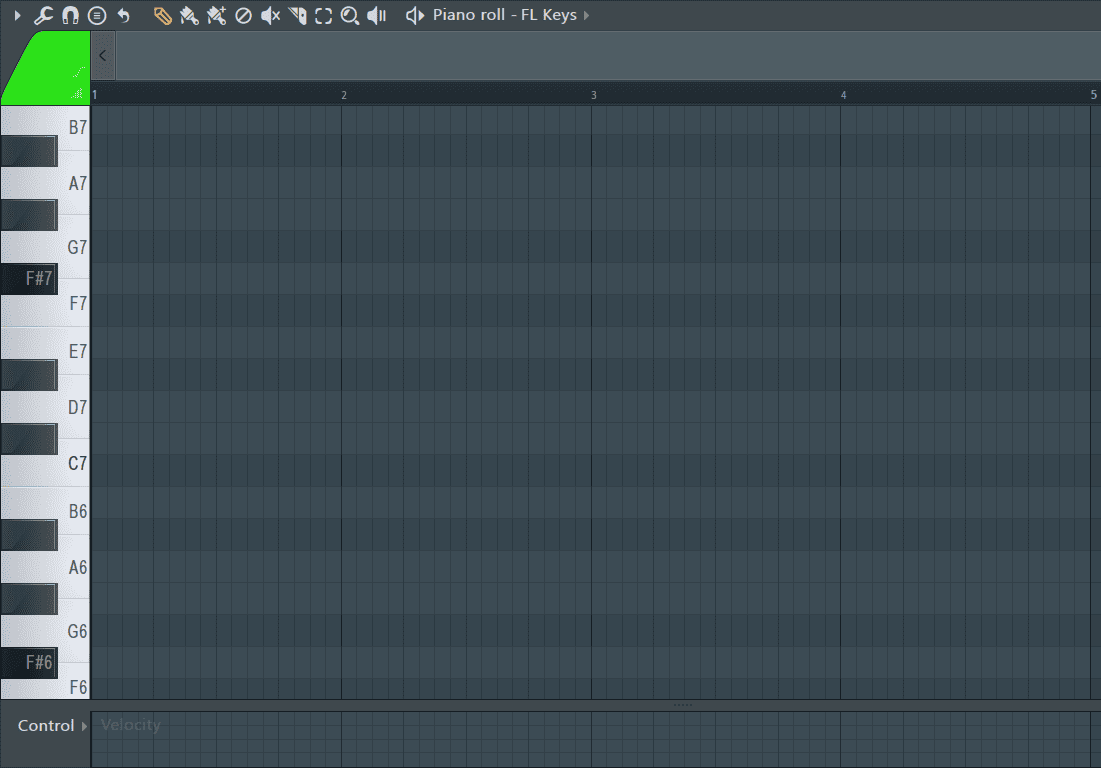
Once you select a scale, you’ll notice that the rows of some notes in the piano roll will immediately be highlighted. The notes highlighted are the notes present in the natural minor scale.
Step 5: All that’s left now is to set the root note or the key you want to play in. By default, the root note or key is set to C once you select the scale. You will have to change it if you want to play in a different key. I want to play in F# minor (natural) so F# will be my root note.
I’ll refer back to Step 3 to open the scale highlighting options again. Once the scale highlighting options are open, I’ll click on F# under the Root note sub-menu to select it as my root note.
Now the rows of all the notes used in F# minor (natural) have been highlighted in the piano roll. The root note, F#, has also been marked.
How to use Piano Roll Scale Highlighting
You can use the piano roll scale highlighting feature to create beautiful melodies and breath taking chord progressions by sticking to the highlighted notes. For me, this helped me a great deal when I was a beginner just starting to get into music theory. It made it easier to create chords and even understand musical intervals.
Note: I will only be using the highlighted notes as they appear in the F# minor natural scale.
To create chords:
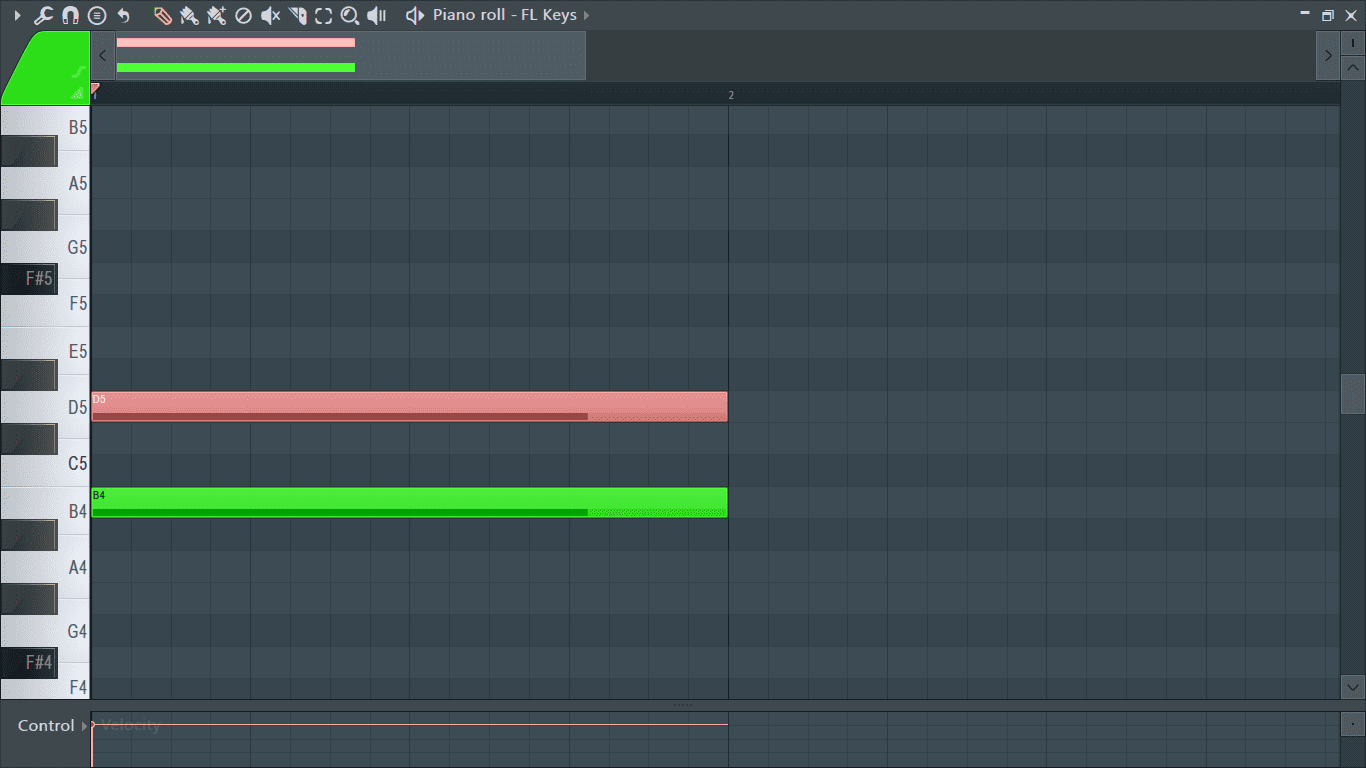
Step 1: Pick a highlighted note to start on and place a MIDI note on it. I’ll start by placing a note on B4.
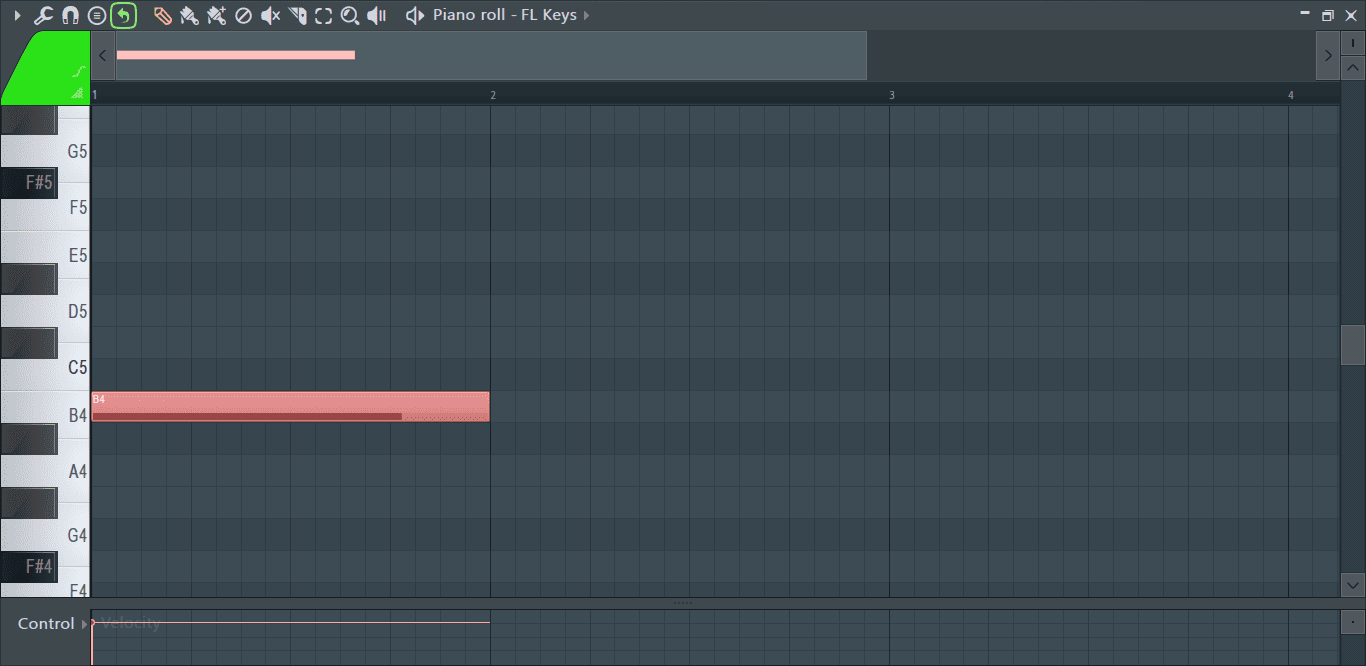
This will be the root note of my first chord.
Step 2: Now, I’ll add some more MIDI notes to turn it into an actual chord. A chord is made up of at least 3 notes so I’ll need to add 2 more. To do this, I’ll skip the next note in the scale (the notes in the scale are the highlighted notes) and place a MIDI note at the one above it.
I’ll repeat the process and skip the next highlighted note to D5, which is E5, and place a MIDI note at the next highlighted note, which is F#5.
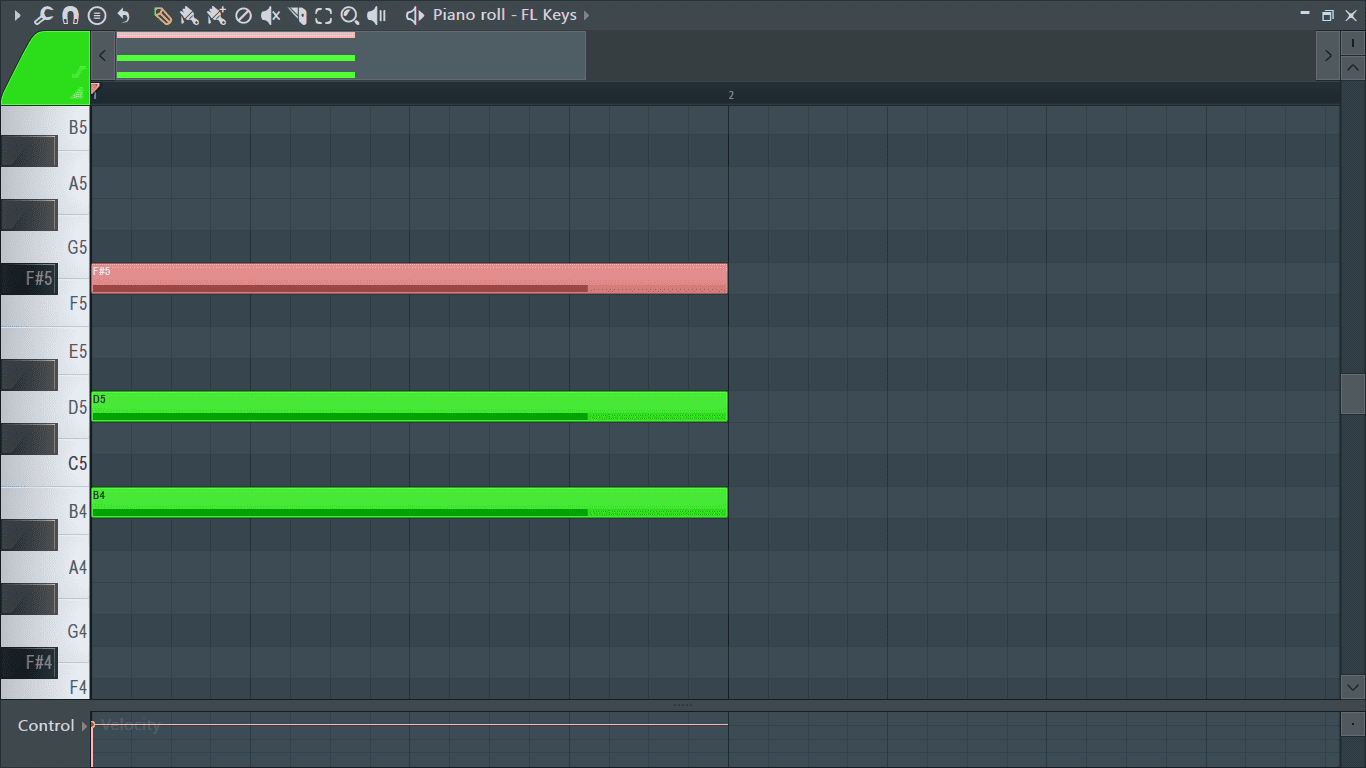
Now I have a chord.
You can repeat the process again and add in another note to create more complex chords.
I’ll skip the next highlighted note, G#5, and place a MIDI note on the highlighted note above it which is A5.
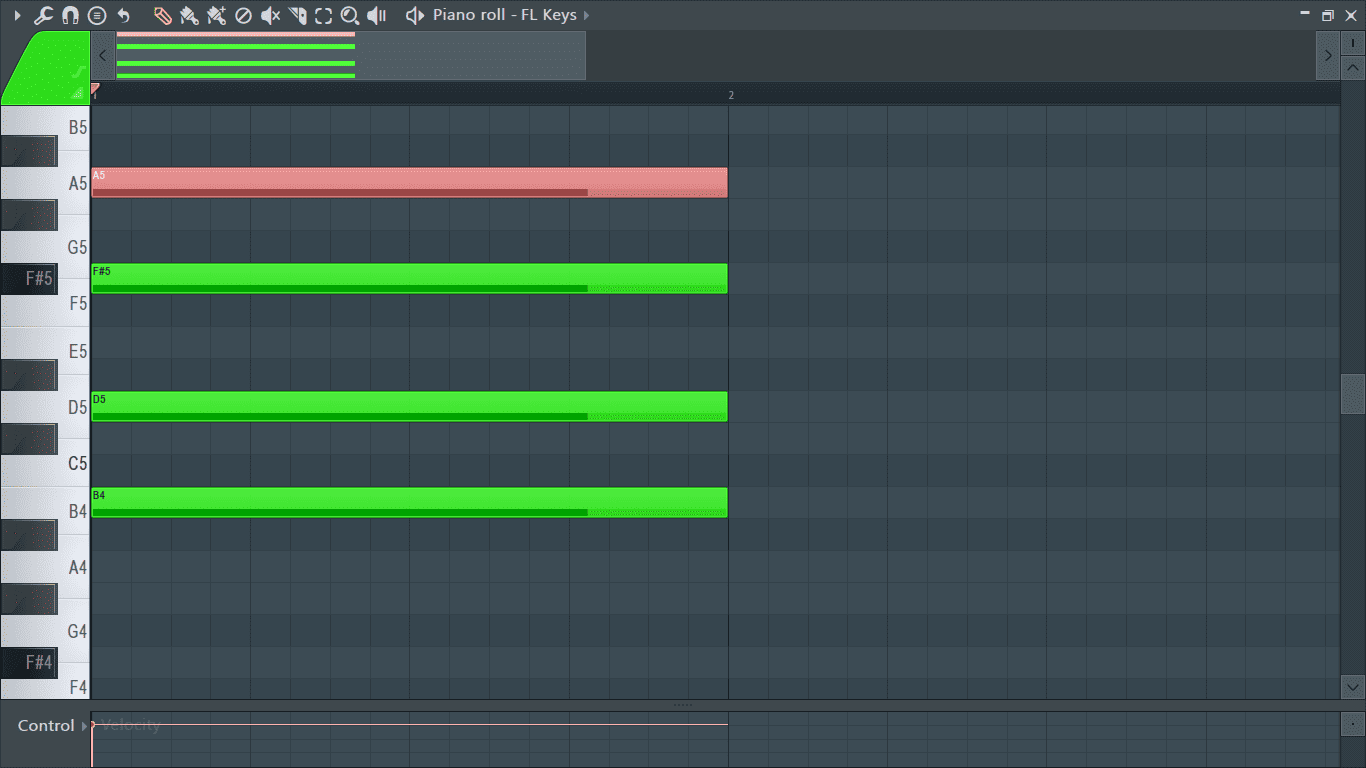
This creates a minor 7th chord.
Alternative Piano Roll Scale Highlighting
Although the scale highlighting feature is a great tool, one of its biggest drawbacks is that it is barely visible. This makes it hard to use for people with bad eyesight or those with problematic monitors. Let’s look at an alternative way to highlight the scale using ghost notes.
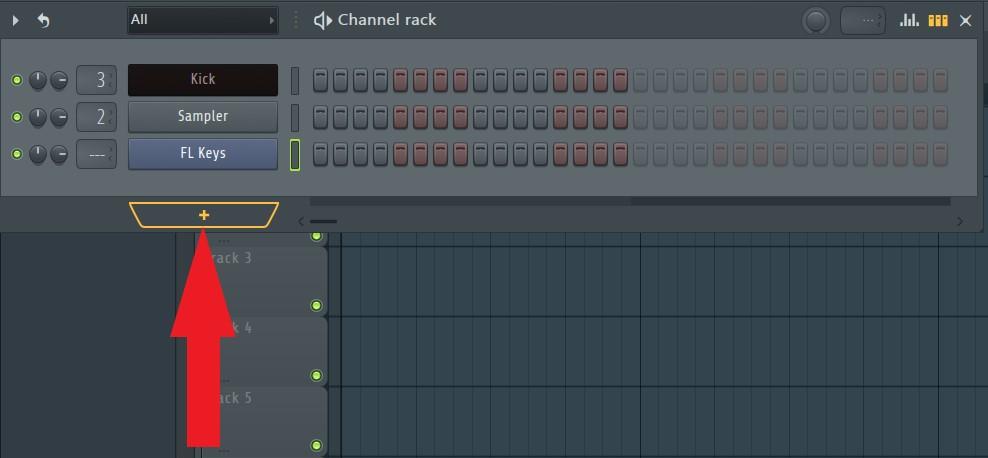
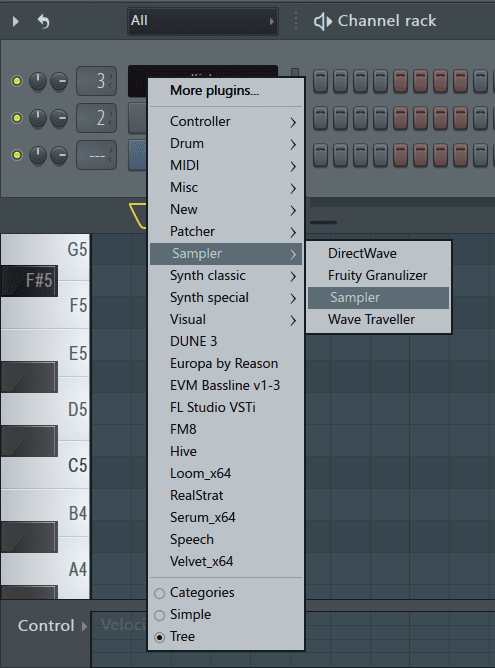
Step 1: Open a sampler on your channel rack. Do this by clicking on the plus (+) button at the bottom of the channel rack and going to Sampler> Sampler.
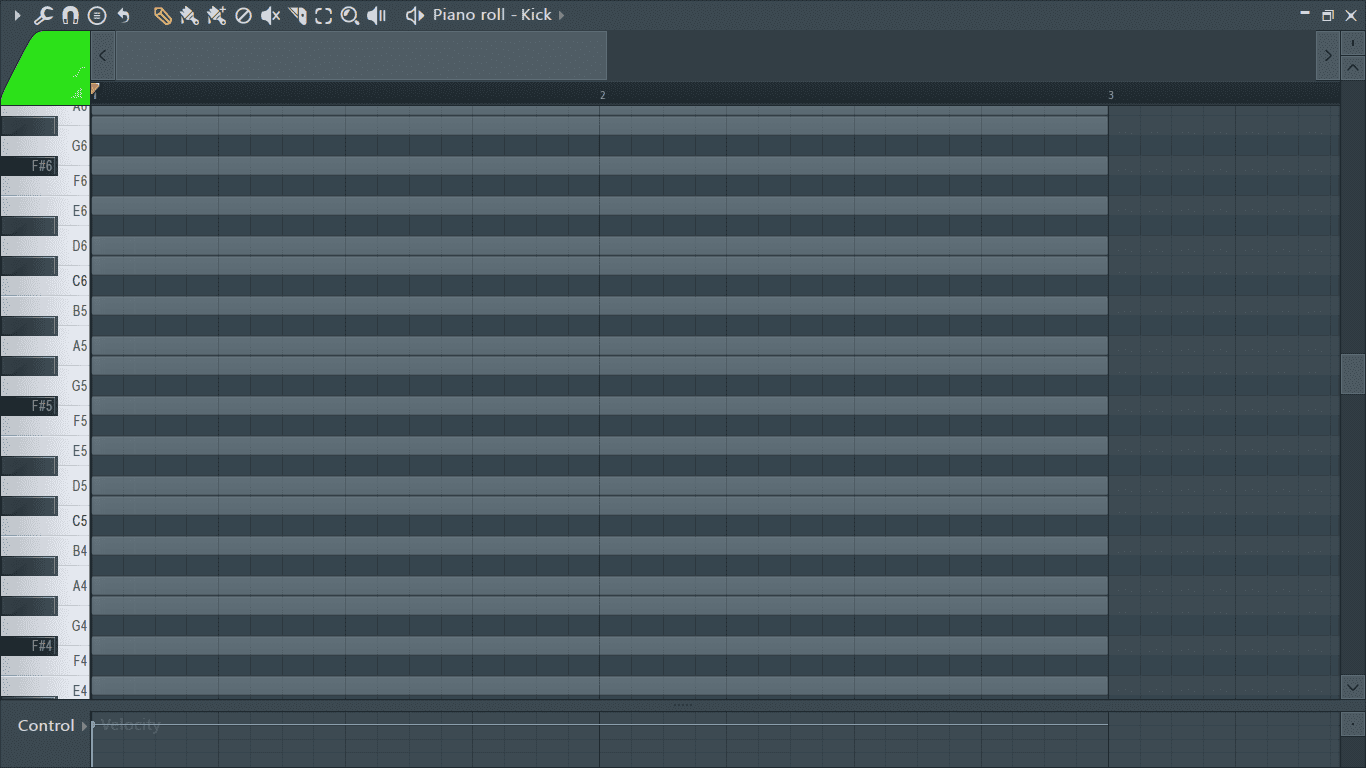
Step 2: Once the sampler is loaded open its piano roll by pressing F7.
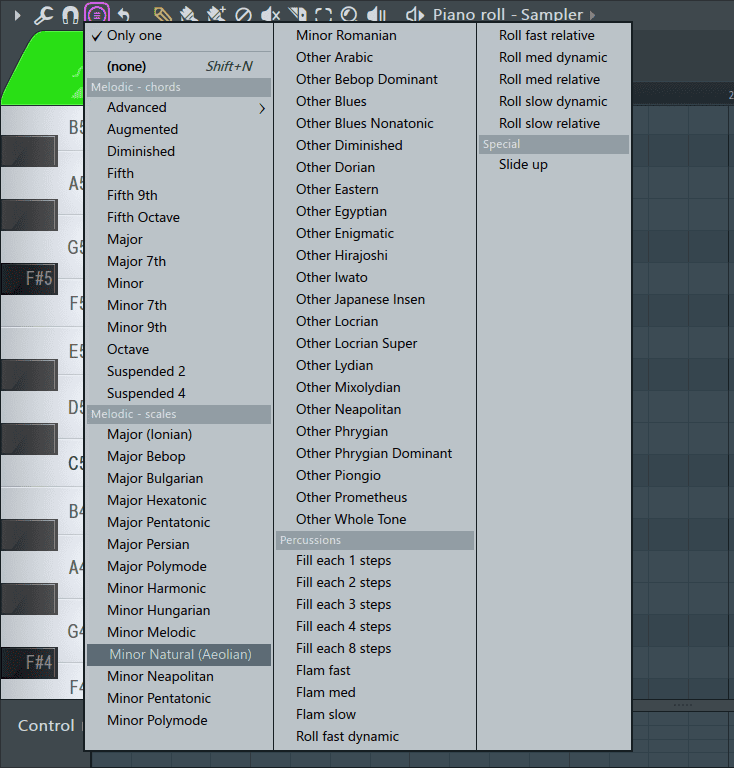
Step 3: Click on the stamp icon located on the top left of the piano roll (shown below).
Step 4: From the menu that pops us, select your preferred scale. In my case, it’s Minor Natural (Aeolian).
Using this feature, once you select your scale, the scale will be pasted into the piano roll the next time you click in a MIDI note.
Step 5: I’ll click on the root note that I want my song to be in. It’s F#.
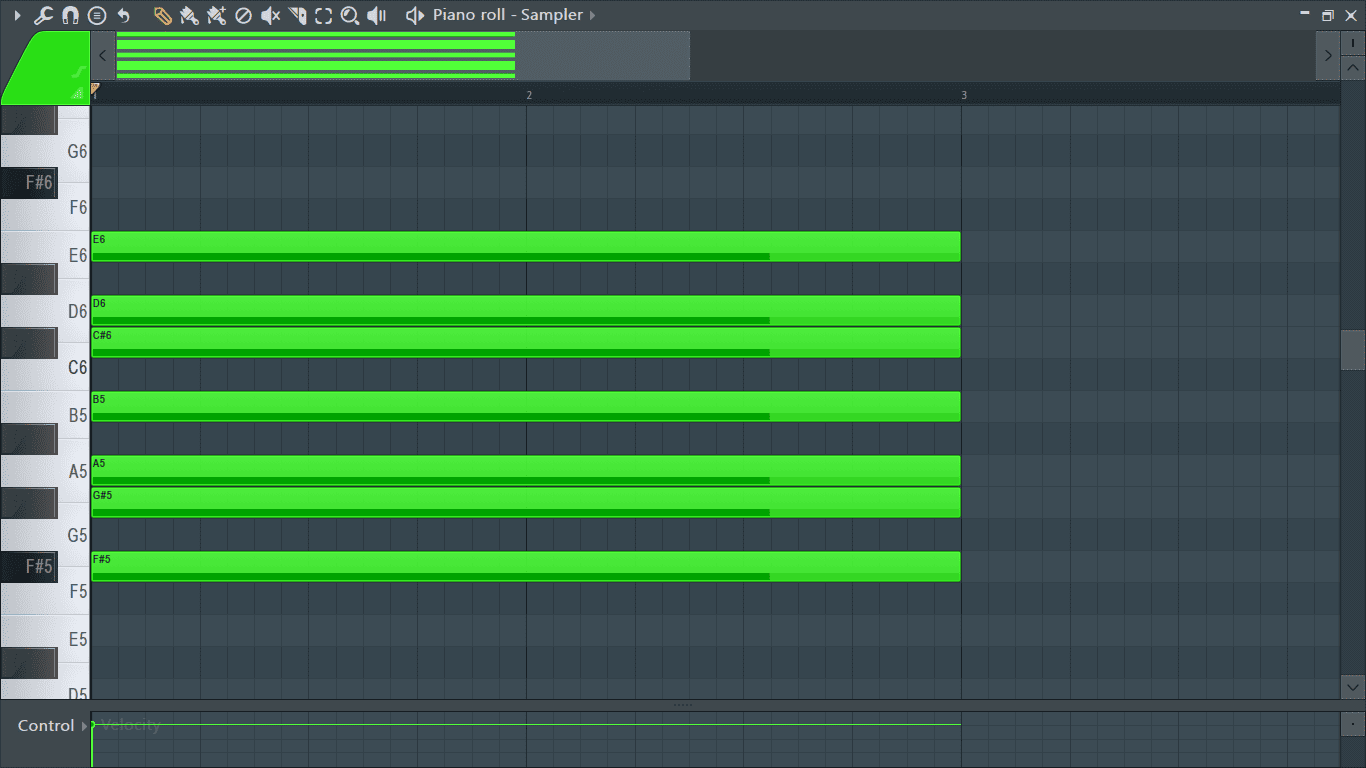
MIDI notes will be pasted onto the piano roll showing the notes in the scale. However, this only spans one octave. Repeat the process again until you cover all the octaves to be used in your production.
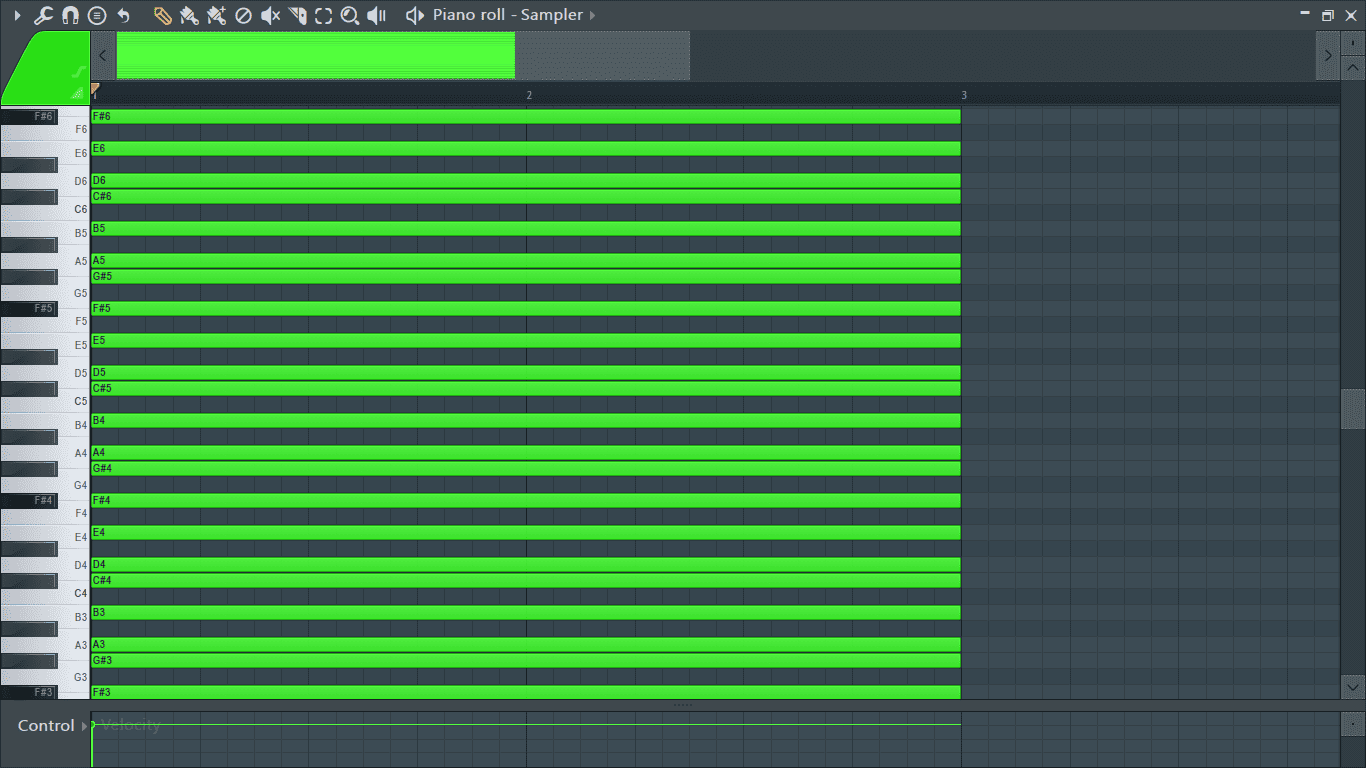
Now when I move to another instance of piano roll, the notes can be seen in the background.
Conclusion
Use the piano roll scale highlighting feature to learn and explore new scales, to understand musical intervals, and even come up with more complex chords, chord progressions and even melodies. As always, have fun experimenting!

- How to Add Drum Kits to FL Studio - September 18, 2023
- Best Free Drum Kits for FL Studio - September 18, 2023
- How to Create Drum Patterns & Loops in FL Studio - September 12, 2023

![Tap Tempo (Tempo Tapper) in FL Studio [Complete Guide]](https://ProRec.com/wp-content/uploads/2023/04/tap-tempo-ui-fl-studio-180x180.png "Tap Tempo (Tempo Tapper) in FL Studio [Complete Guide]")
