FL Studio comes with a myriad of drum kits, however, if you want drum kits that are specific to your genre, then you’ll have to import your own. Although it may seem complicated, it’s quite an easy process that will take up a few minutes of your time which is nothing compared to the ease of access you’ll have when creating.
In this article, we’re going to go over the various ways you can add drum kits to FL Studio and how you can save the drum kits so they’re accessible with a minimum amount of clicks.
Method 1: Adding the drum kits’ folder location to FL’s browser
Use this method if you already have a folder where all or most of your drum kits are located. The perks of having all the drum kits in one folder is that it keeps your computer and FL Studio organized and it is easier to access the sounds you want to use.
Step 1: Open the browser by pressing Alt + F8 or by clicking on the browser icon located on FL Studio’s main toolbar.
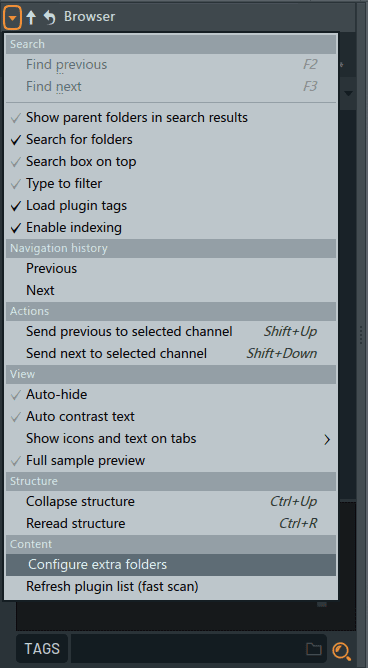
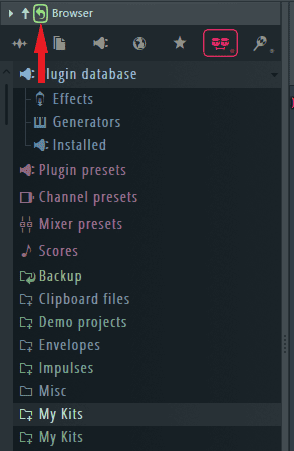
Step 2: Once the browser is open, click on the arrow located on its top left corner. (It will turn orange when you hover the mouse cursor over it.)
Step 3: Clicking on the arrow will reveal a drop down menu. From the menu, go to ‘Configure extra folders’.
This will open up the Files & Folder settings window.
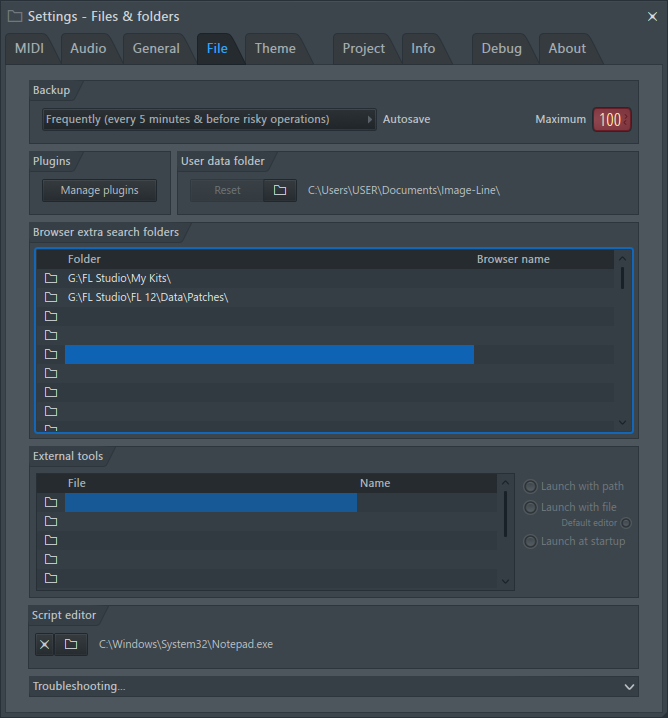
Through this window, we can tell FL Studio which extra folders it should scan and include in the browser.
Step 4: Next, you’ll need to add the folder location under the ‘Browser extra search folders’.
Do this by clicking on the folder icon in one of the empty folder spots.
This will open up your computer’s file explorer prompting you to locate the folder containing your drum kits.
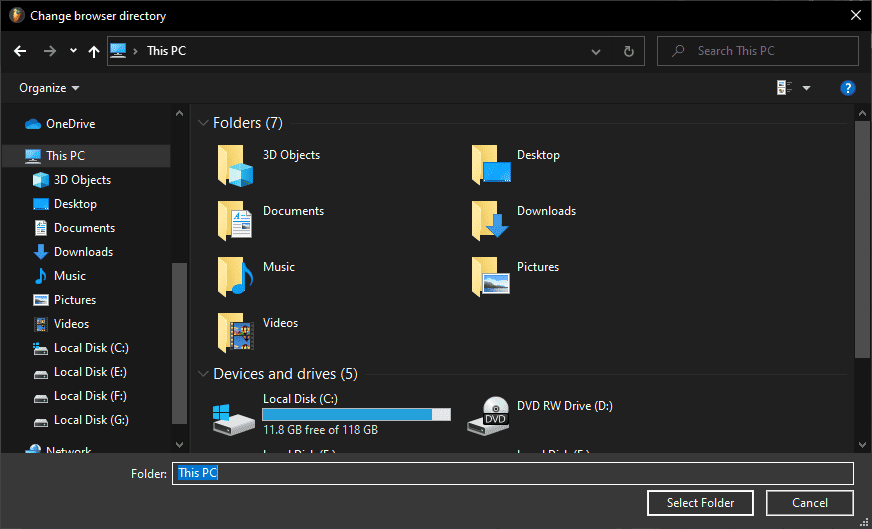
Step 5: Using the file explorer, navigate to the folder where the drum kits are located.
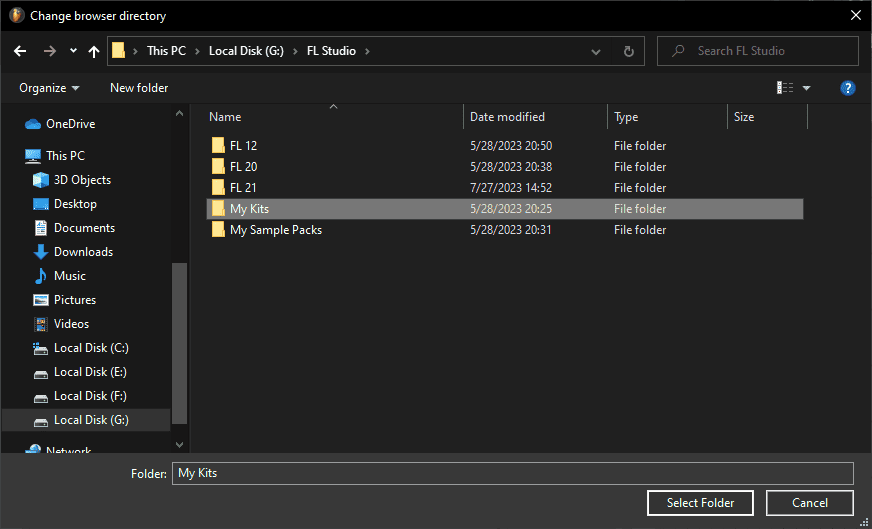
Step 6: Once you find the folder, click on the folder once to highlight it, and then click ‘Select Folder’ at the bottom of the window.
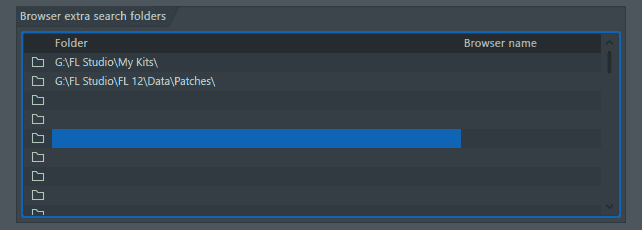
Step 7: The folder’s directory will now be included in the ‘Browser extra search folders’.
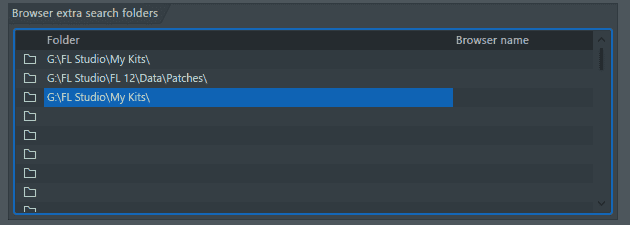
The folder will also be added to FL Studio’s browser increasing their accessibility.
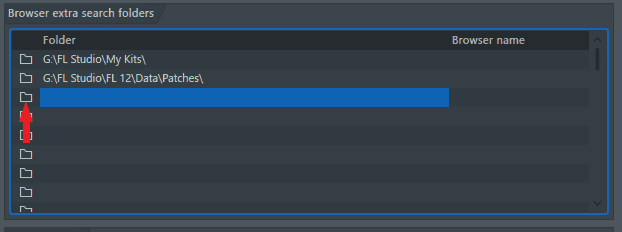
Step 8: You can even go a step further and rename the folder in FL Studio’s browser by adding a name for the folder under ‘Browser name’.
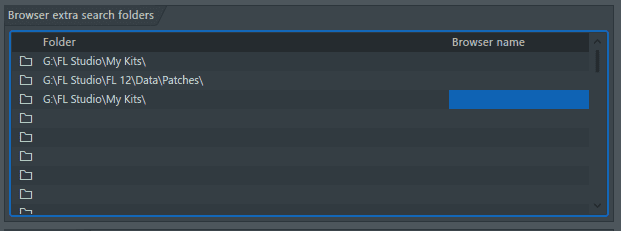
To do this just click on the blue area above and input the name you want to label your folder. Click Enter when you’re done.
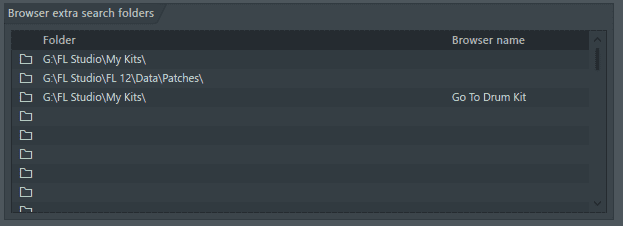
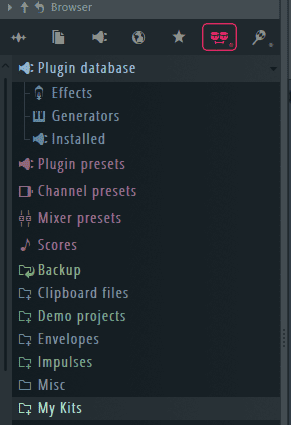
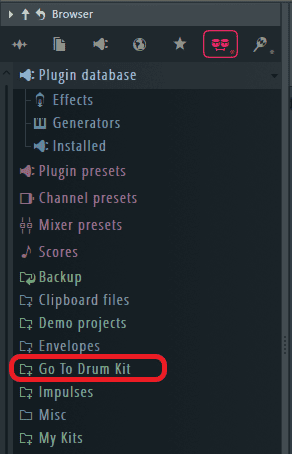
Step 9: The folder’s name will now be changed in FL Studio’s browser. For the name change to take effect though, you’ll have to refresh the browser. Do this by clicking on the refresh icon shown below.
You’ll notice the folder has been renamed.
Method 2: Moving drum kits to an already existing browser folder
If you don’t want to have to add a folder to your browser, then you can use an already present folder and move your drum kits there.
Step 1: Open your browser.
Step 2: For this illustration, I’ll be using the ‘Packs’ folder.
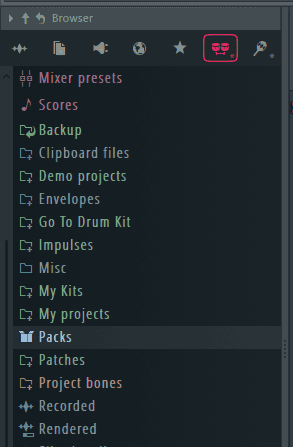
First, hover your mouse cursor over the folder and right click on it to open up a pop up menu.
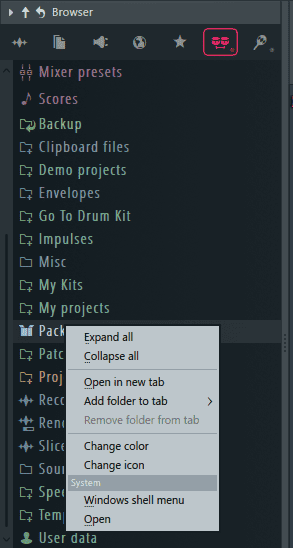
Step 3: From the pop up menu, under ‘System’ select ‘Open’.
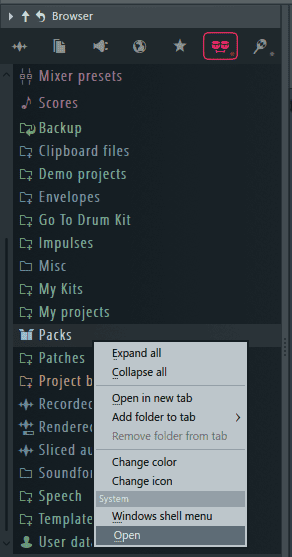
This will open the folder using your computer’s file explorer.
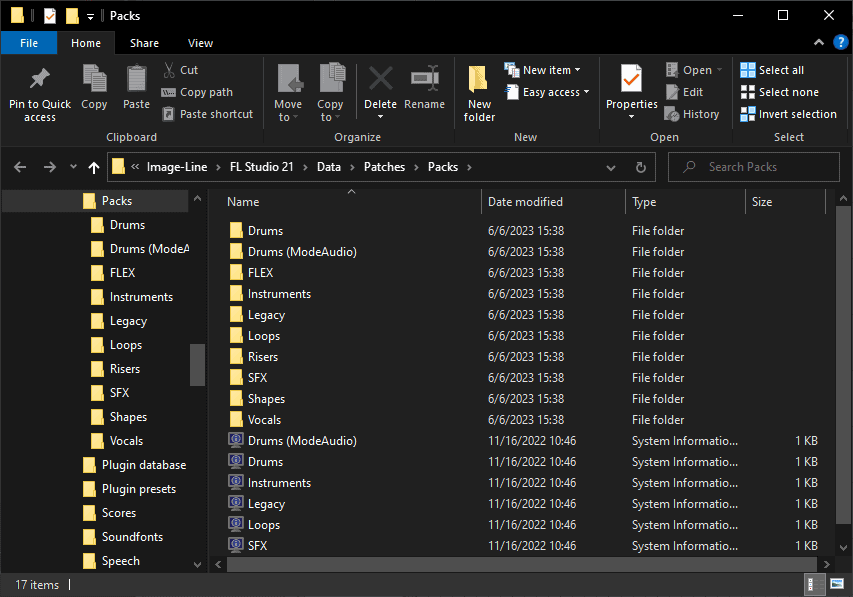
Step 4: Once the folder is open, move your drum kits to the folder.
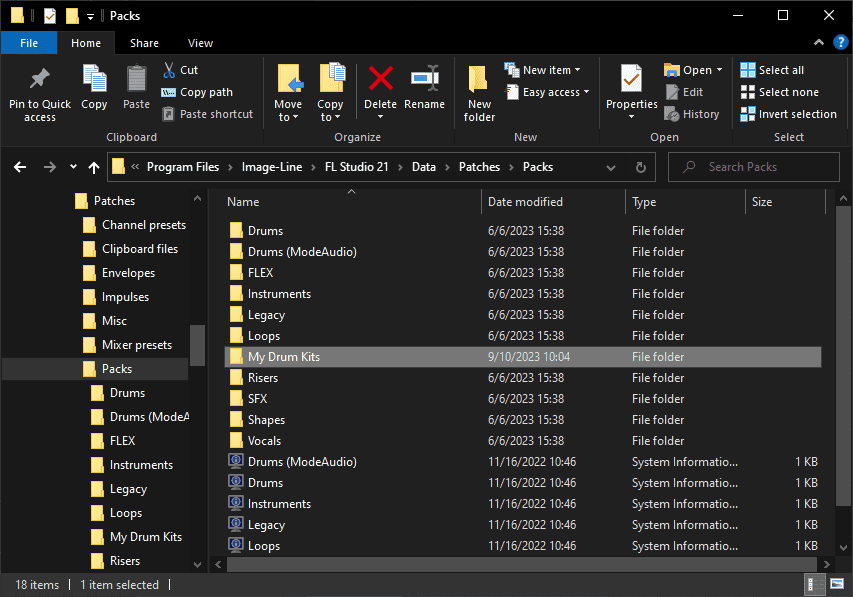
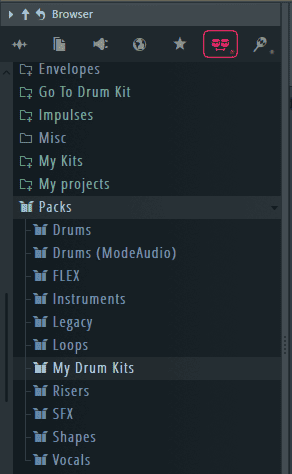
Step 5: Go back to FL and refresh the browser. The ‘My Drum Kits’ folder is now accessible through FL Studio’s browser under ‘Packs’
Adding Snapshots to FL Studio
If you’re an intermediate or advanced user, you can take adding drum kits to FL a step further by adding snapshots. FL Studio’s browser comes equipped with snapshots that we can use to go to a specific folder each time we open the snapshot. Think of it as a shortcut that you can use to always go back to your go-to sounds, presets, and drum kits.
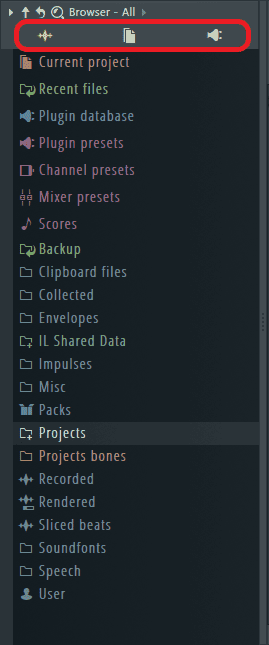
You can browse the snapshots by clicking on the icons located at the top of the browser. (Highlighted in red below.)
How to add snapshots to FL Studio’s browser
Step 1: Click on the name located at the top of the browser next to the word ‘Browser’ shown below.
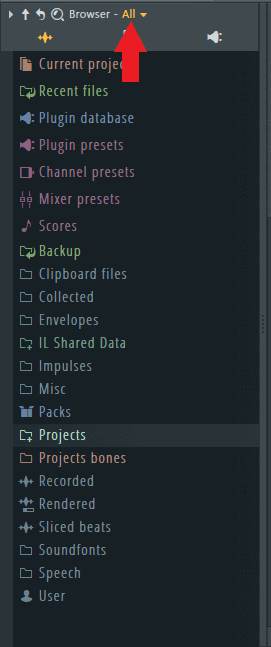
This will display a list containing the current snapshots and their names.
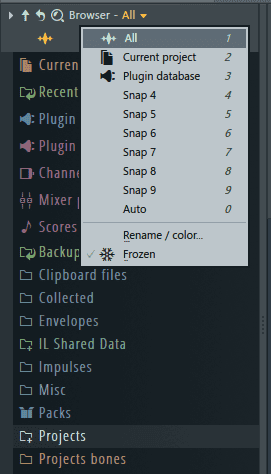
From the list, we can see that Snap 4 to 9 are not in use.
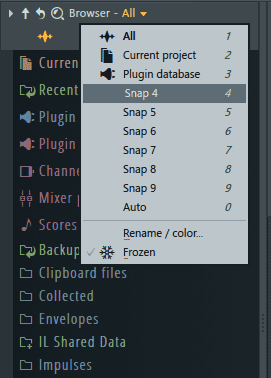
Step 2: From the list, click on one of the unused snapshots. In my case, I’ll select ‘Snap 4’.
Step 3: Once you’ve switched over to an unused snap, locate your folder of choice from FL Studio’s browser. Here, choose the folder that you want the snapshot to always default to when it is opened. For me, I want the snapshot to always open the folder containing my go-to drum kits labelled ‘My Kits’, so I’ll locate it in the browser.
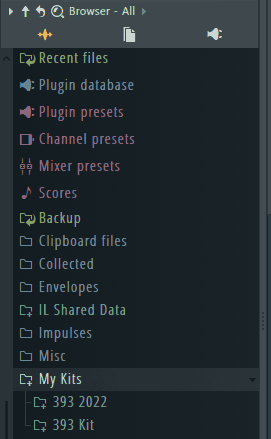
Step 4: After you’ve located your folder of choice, open it. This will save you the time of having to open it every time you go to the snapshot. For my snapshot, I’ll open one of my two main drum kit folders.

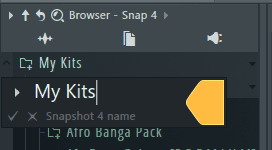
Step 5: To keep things organized, rename and recolor the snapshot. Do this by opening the list displaying the snapshots shown in step 2 and selecting ‘Rename / color’.
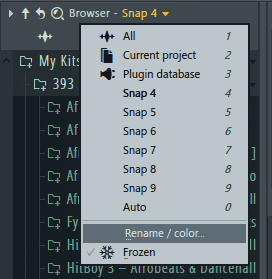
I’ll rename it ‘My Kits’ and color it.
Step 6: Click on the arrow shown below to select an icon for the snapshot. It’s important to pick an icon because this is what you’ll be using to access the snapshot in the browser.
Select your preferred icon from the ones available.
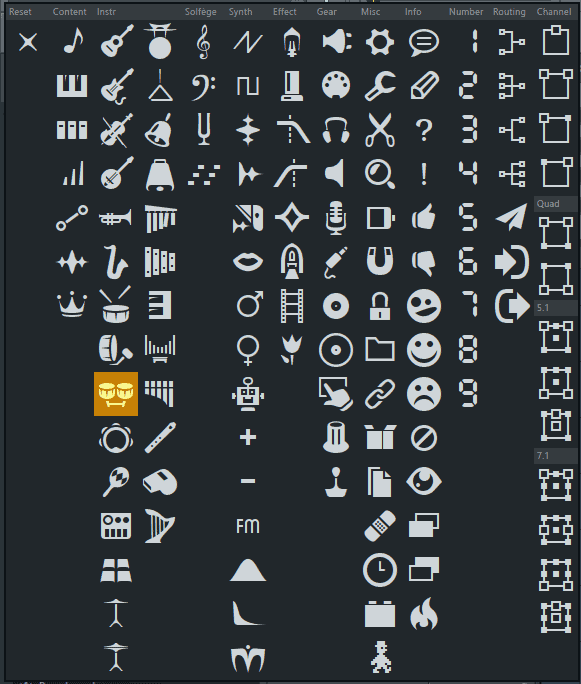
Click on the tick icon when done.
The snapshot’s icon will now be added to the top of the browser, but we’re not done yet.
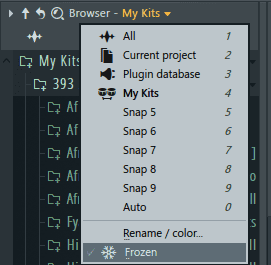
Step 7: Next, you’ll have to save the snapshot. Doing this ensures that the snapshot by default opens to the folder you selected. To save it, click on the name you saved the snapshot as that’s located next to ‘Browser’. From the list that opens, select ‘Frozen’.
Now your snapshot is saved.
Tip: If you ever stray too far away from the root folder, click on the icon shown below and it will take you back to the snapshot’s default folder.
By taking you directly to a folder of your choice, snapshots save you the time it would take to manually look for the folder in the browser.
Conclusion
If used correctly, FL Studio’s browser is an efficient tool with lots of hidden gems that can save you loads of time during tasks such as sound selection when producing. Just remember to keep your drum kits and browser organized and as always, have fun creating!

- How to Add Drum Kits to FL Studio - September 18, 2023
- Best Free Drum Kits for FL Studio - September 18, 2023
- How to Create Drum Patterns & Loops in FL Studio - September 12, 2023


![How to Sidechain in FL Studio [Complete Guide]](https://ProRec.com/wp-content/uploads/2022/08/image-260-180x180.png "How to Sidechain in FL Studio [Complete Guide]")
