Portamento is a great way to add more expression and emotion to a musical piece. It is a playing style that involves changing the pitch of a note while it plays. Its effect is a slide in pitch when changing from one note to the next. A great example of an instrument that puts portamento to good use is the violin and is one of the reasons why it is commonly used to create background music for emotional scenes in movies.
Let’s take a look at how to use Portamento in FL Studio.
There are three ways you can use to implement portamento.
Portamento in the Piano Roll
One of the quickest ways to add portamento is by using the portamento function found in the piano roll. To add portamento notes:
Step 1: First, open the piano roll for the desired instrument by selecting it in the channel rack and pressing F7 or by clicking the piano roll icon on the toolbar. (The icon glowing orange below.)
The piano roll is now open.
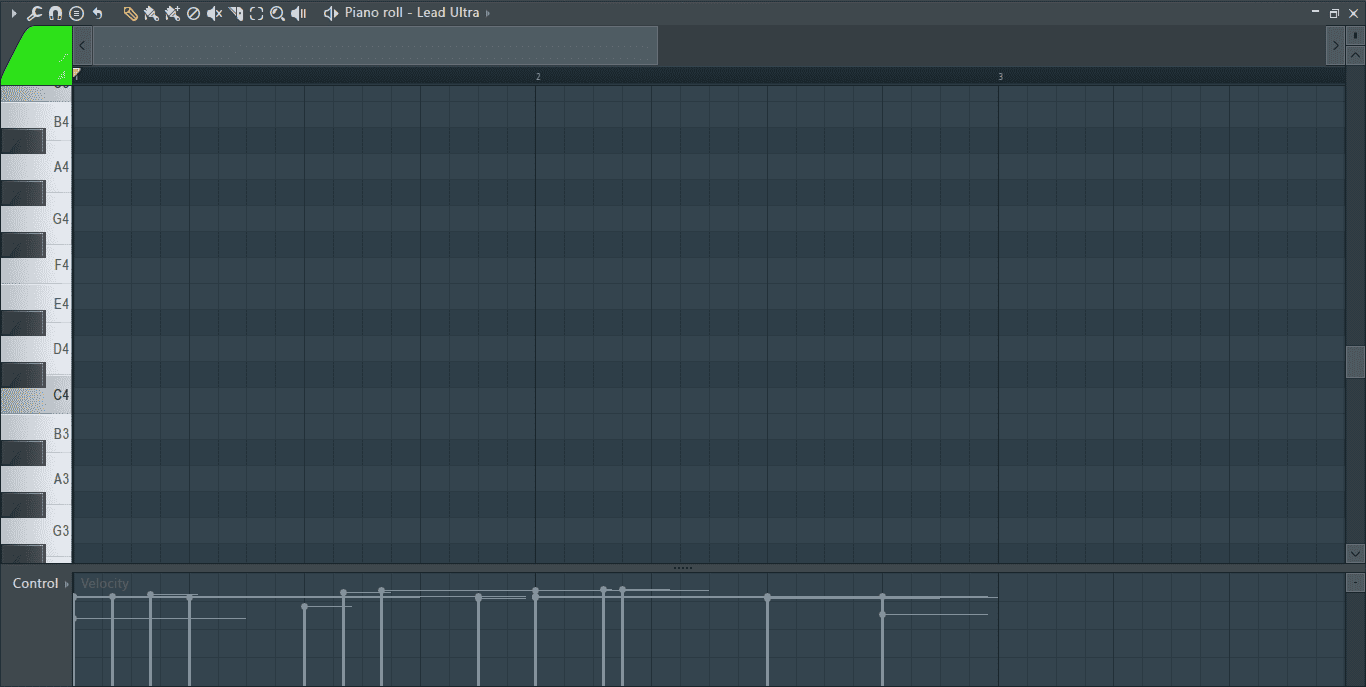
Step 2: Turn on the portamento function by clicking on the letter S-like icon located at the top left of the piano roll.
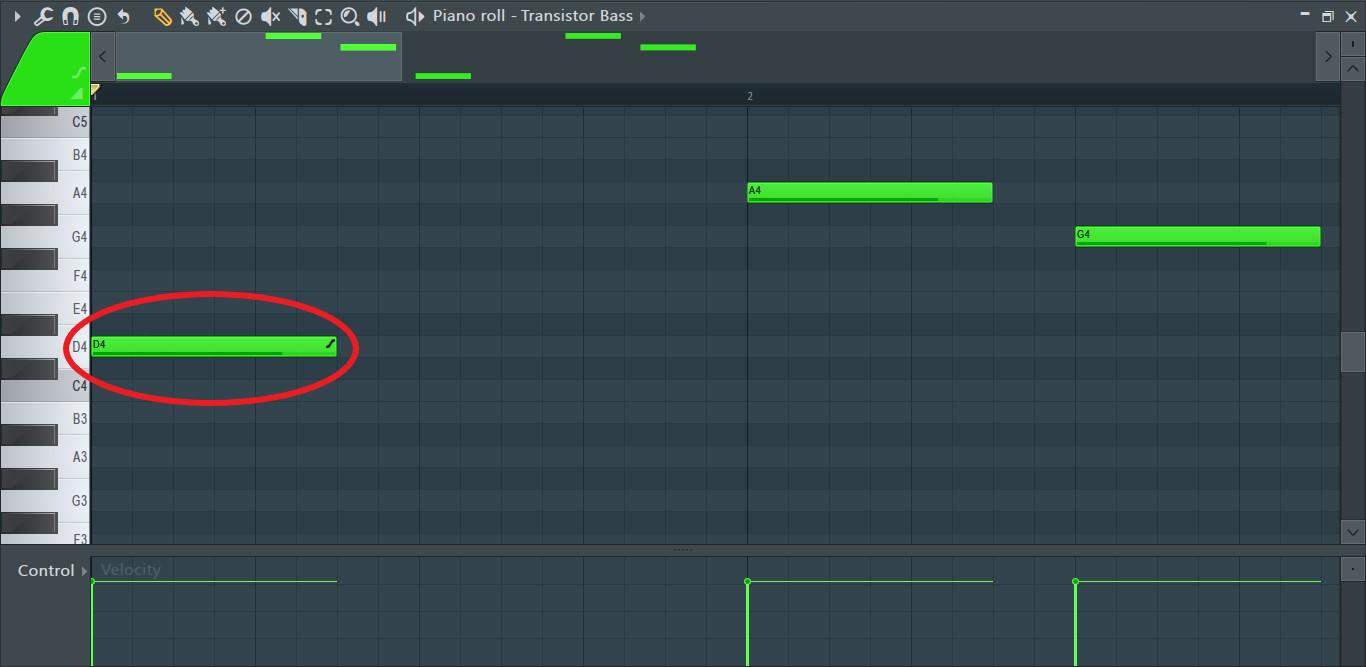
Once turned on, the portamento icon will turn to a solid color and remain so until it is turned off. Now, every note clicked into the piano roll will be a portamento note until the portamento function is deactivated.
Step 3: All that’s left to do is add in some notes.

Portamento notes contain the letter S-like portamento icon placed at the end of the note making it easy to distinguish between them and normal notes.
Alternatively, you could change already existing notes in the piano roll to portamento notes. To do this:
Step 1: Double click on the desired note to open up its note properties.

Step 2: Click on the button next to the portamento icon to turn it on and click accept.
The note is now turned from a normal note to a portamento note.
Portamento using the Miscellaneous Functions
Another way to add portamento is through the polyphony settings panel found in the miscellaneous functions. All FL Studio native plug-ins contain a universal polyphony control that controls the master portamento settings for the plug-in.
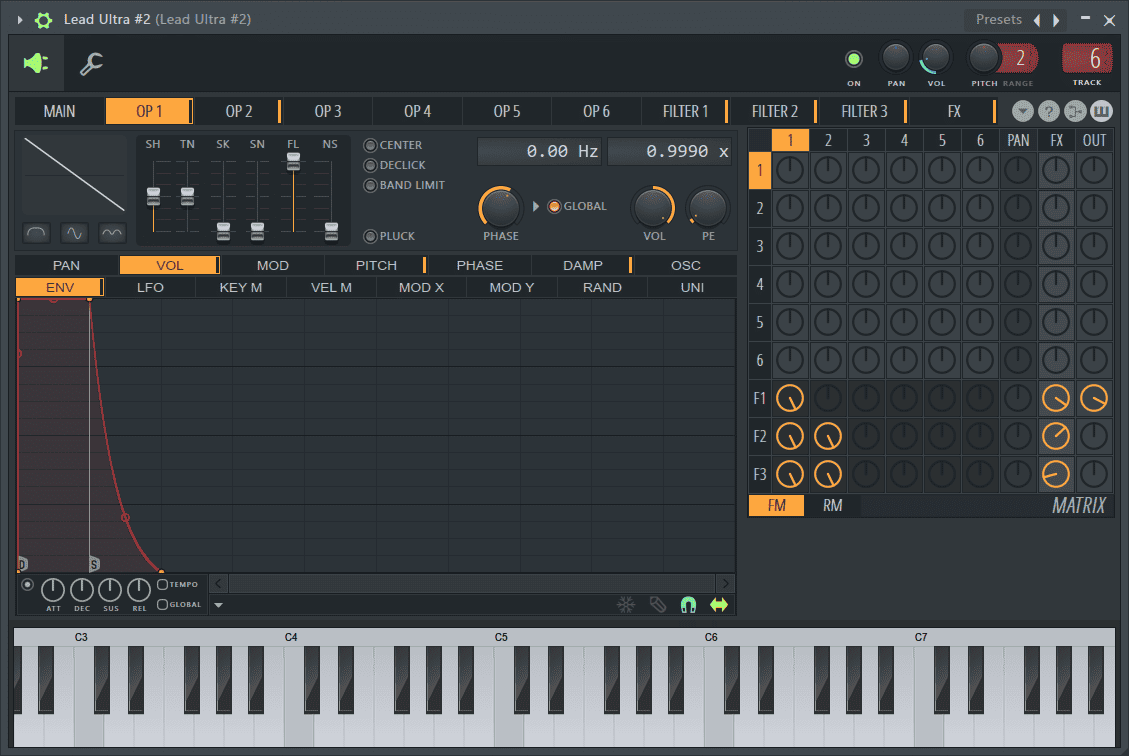
Step 1: First, open the channel rack by pressing F6 and open the plug-in. In this illustration, I’ll be using ‘Lead Ultra #2’ so I’ll click on it to open up Sytrus.
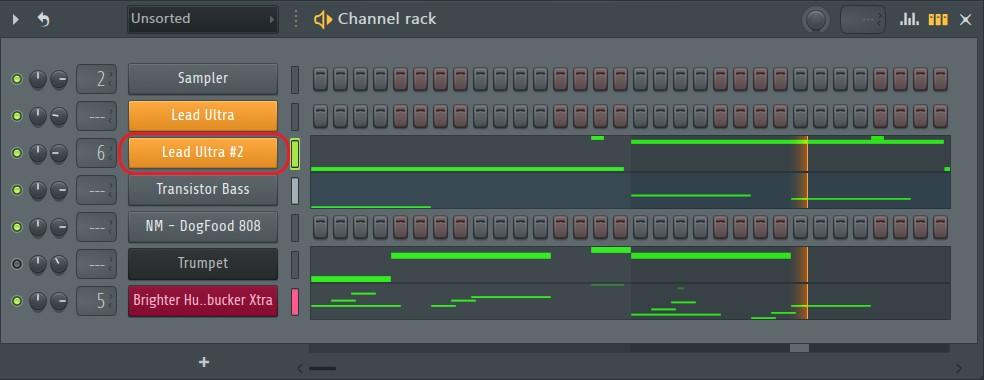
Sytrus is now open.
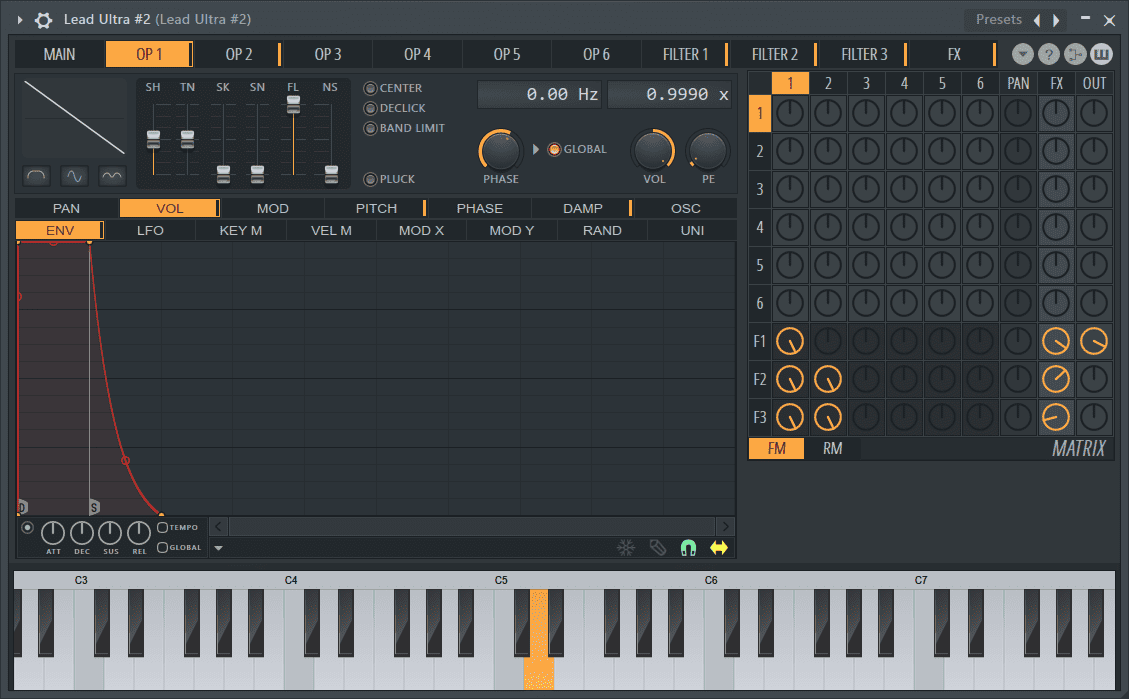
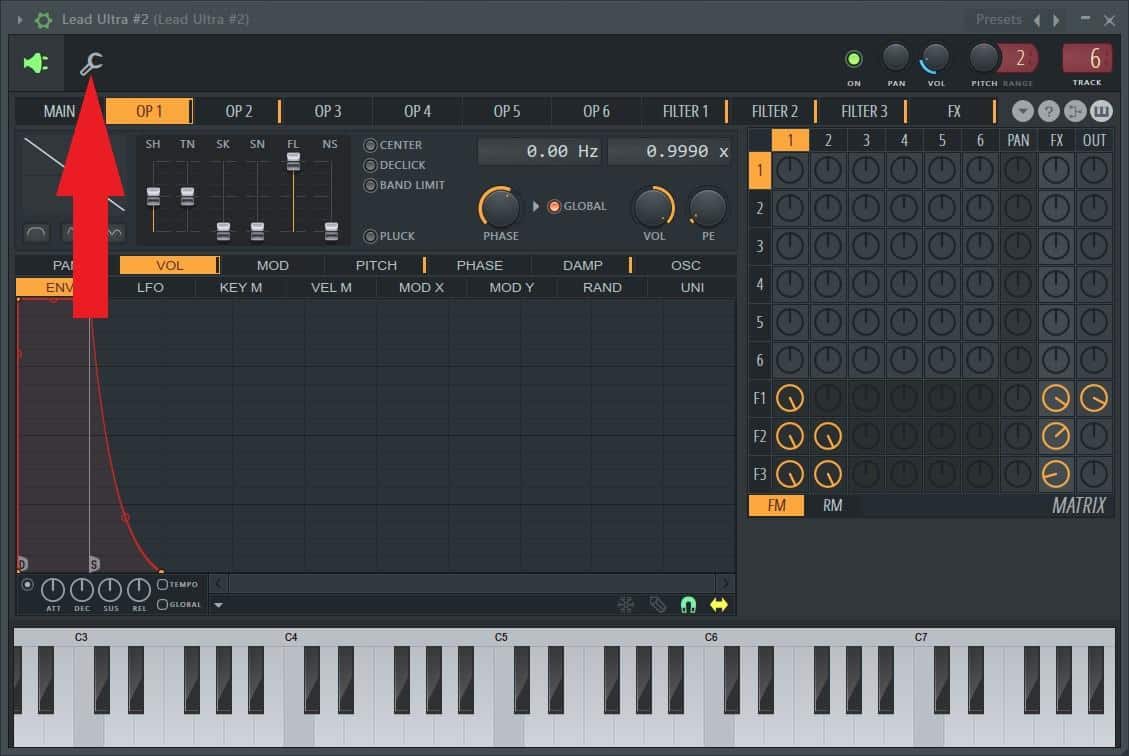
Step 2: Next click on the gear-like icon located at the top left of the plug-in next to its name. (It will turn green when you hover your mouse cursor over it.)
This will allow you to see the detailed settings.
Step 3: Click on the wrench icon to switch to the miscellaneous functions tab.
Step 4: Once you switch to the miscellaneous functions, the portamento settings are located in the Polyphony section. (highlighted in red below.)
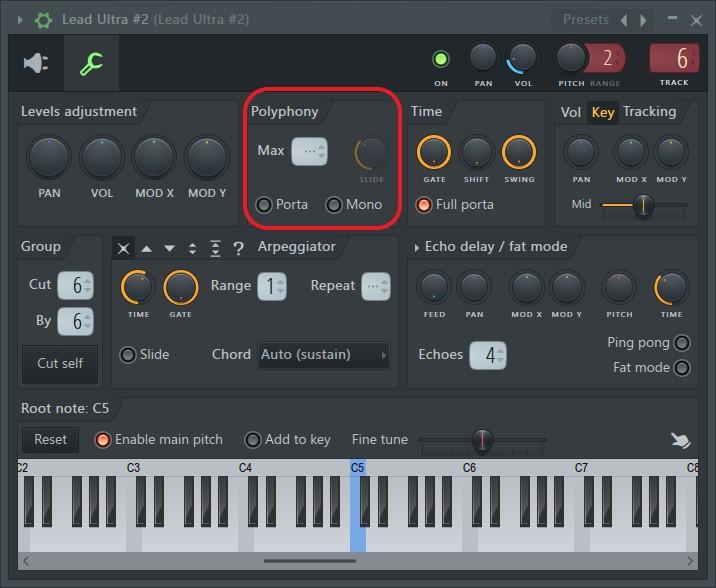
Max sets the maximum amount of notes that can play at a time. It ca be changed by hovering your mouse over the dialogue box next to it and scrolling using your mouse wheel. For example, when max polyphony is set to 3, the plug-in can only play 3 notes at a time. If a 4th note is added, the note that has played the longest will stop playing so that the new note can play.
Porta activates portamento.
Mono, turns on monophonic mode that allows only one note to play at a time. This also creates pitch slides when notes overlap and acts as legato.
Slide turns on when either/both porta and mono are turned on. Use the slide knob to set the speed of the slide. Turn it to the right for a slow slide and to the left for a quick one.
Here we will turn on ‘porta’ to activate portamento.
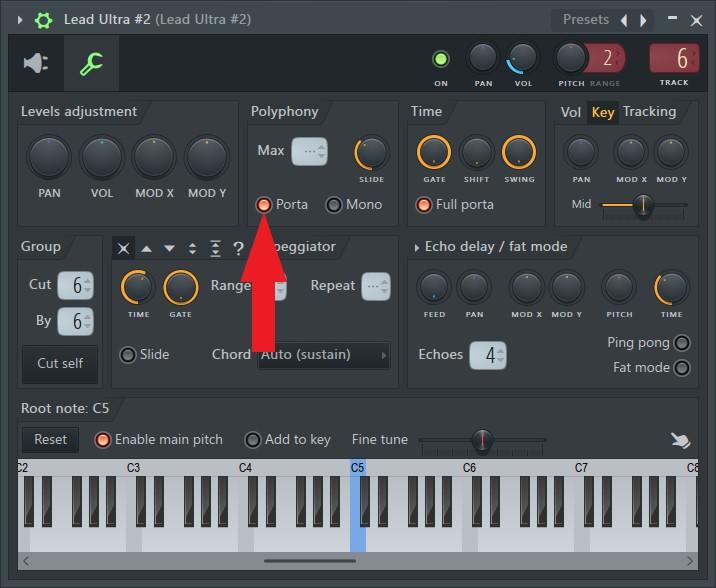
Once it is turned on use the slide knob to set the speed of the slide.
Portamento Controls Inside the Plug-In
Most of FL Studio’s native plug-ins also have built-in portamento controls on their GUIs.
Step 1: Use step one in the previous section to open the plug-in’s interface. Here, I’ll be using Harmless.
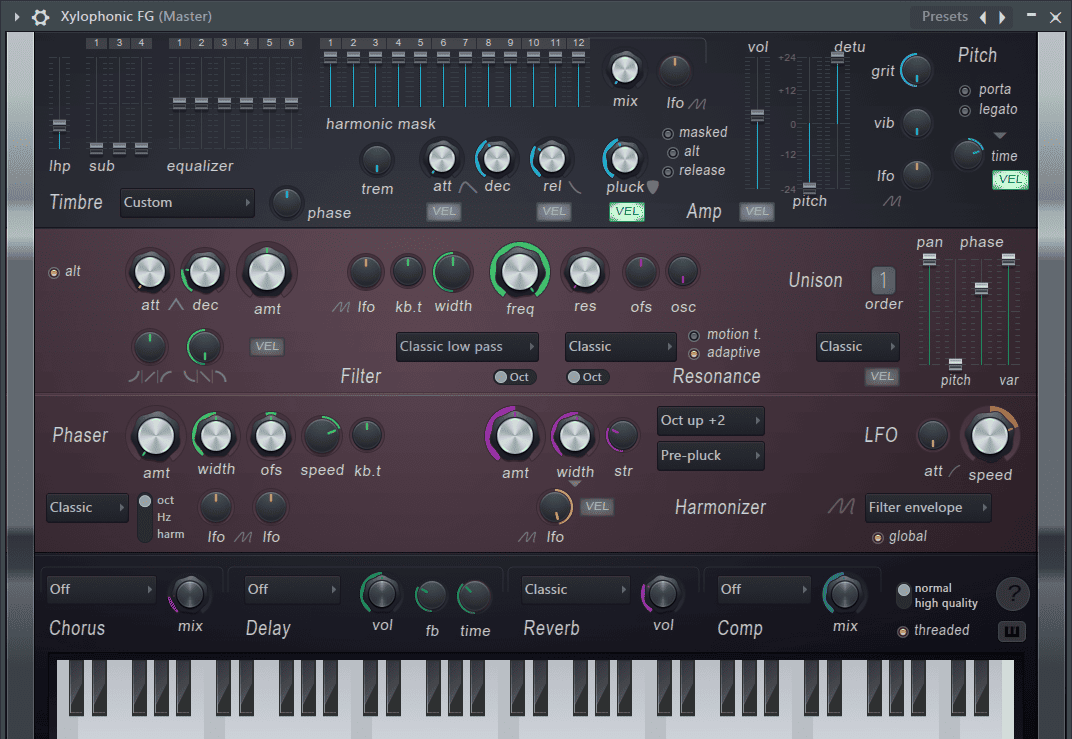
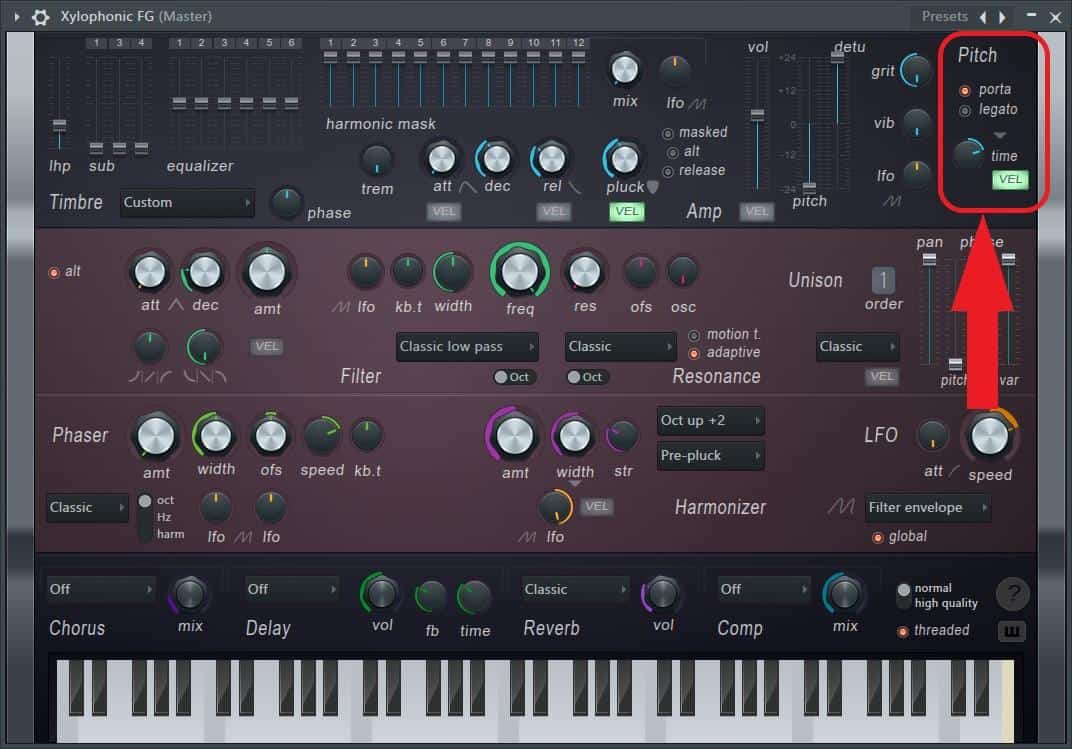
Step 2: Locate the portamento setting and turn it on. Portamento settings are normally found under the pitch section in FL Studio plug-ins.
In, Harmless, they are located on the top right of the plug-in.
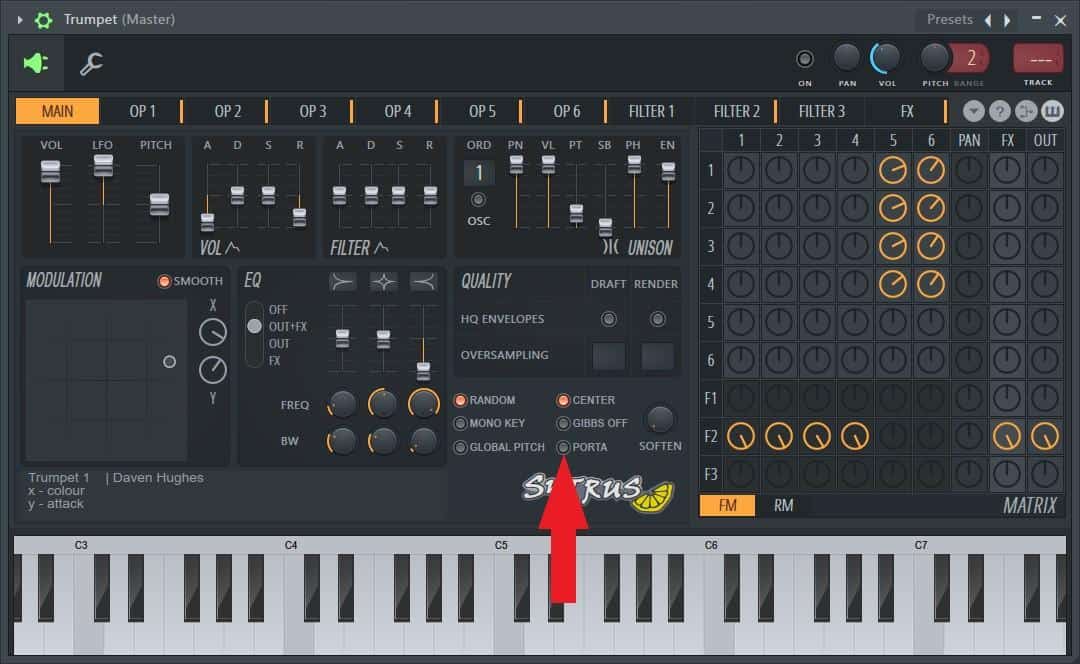
In Sytrus, they’re located under the quality panel and right next to the matrix.
If your favorite FL Studio plug-in doesn’t have a ‘porta’ function, don’t worry, you can still use the other two previously discussed ways to implement portamento.
Note: It is important to note that depending on the portamento settings on each, the three ways to implement portamento may or may not work in conjunction. If you use one of these options and portamento is not working, try turning on or off the two other alternatives to fix this.
Conclusion
In the modern era we’re in where most sounds are digitally produced, portamento can be a great way of adding realism to virtual instruments. Next time you’re creating a melody in FL Studio, try using one of the ways discussed above to implement portamento and find out how it could work for you. As always, have fun experimenting!

- How to Add Drum Kits to FL Studio - September 18, 2023
- Best Free Drum Kits for FL Studio - September 18, 2023
- How to Create Drum Patterns & Loops in FL Studio - September 12, 2023
![How to Fix Latency / Lagging in FL Studio [FULL Guide]](https://ProRec.com/wp-content/uploads/2023/09/audio-settings-fl-studio-1-180x180.png "How to Fix Latency / Lagging in FL Studio [FULL Guide]")
")

