Introduction
There is something intrinsically beautiful about a singer-songwriter recording a song with only a guitar and his or her voice. I believe the beauty of this format lies mostly in its intimacy and sense of closeness, however, at the same time, it creates an interesting set of problems. There is really not much going around, and every element has to be recorded in a very pristine way, since there are not enough elements to cover up recording mistakes.
The techniques I am going to show you today are not only useful in a reduced kind of format, but are some of the best practices for capturing the best takes possible, no matter the genre or style. Master them and you’ll never lose a performance to a lousy capture.
What You’ll Need
- A PC or Mac with REAPER installed
- An audio interface with at least 2 XLR inputs (Focusrite Scarlett 2i2, Audient iD4, or similar)
- Two microphones with mic stands
- Two microphone (XLR) cables
- One instrument (TS) cable
- A pop filter
Setting up Channels
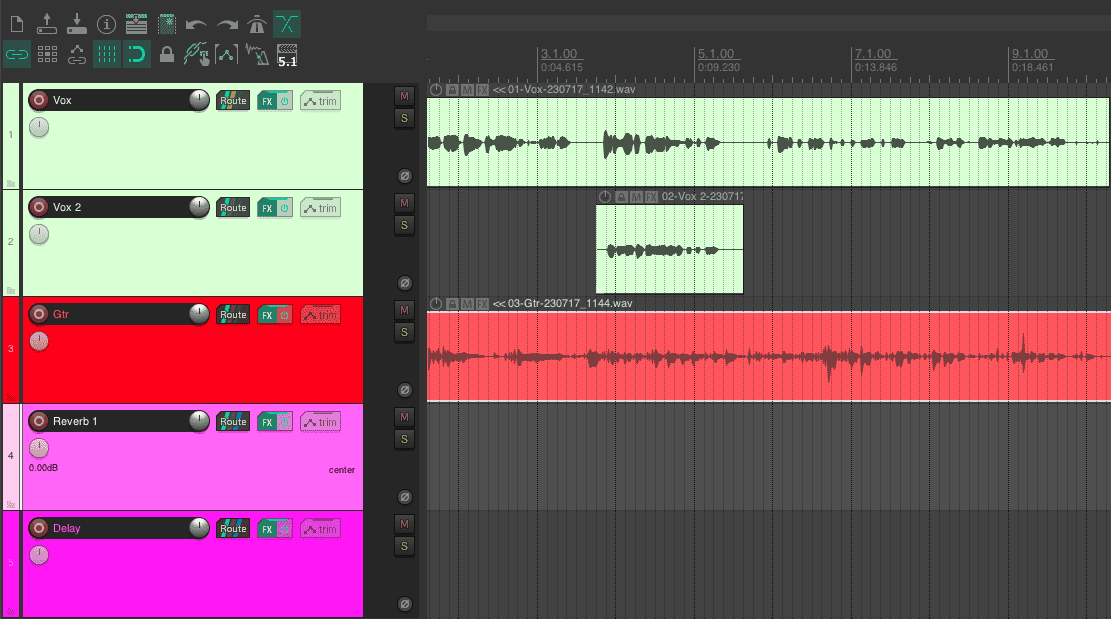
First things first, you need to create and set up your tracks. The shortcut “Ctrl + T” on Windows or “Cmd+T” on macOS allows you to create new tracks quickly. Even though in REAPER it’s not mandatory to name your tracks, I highly suggest you do, keeping your project orderly is the best way to keep a good recording workflow.
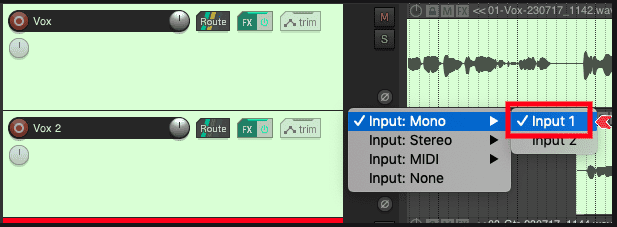
Then, assign an input of your interface to each track. Click on the meter, which will display the input menu, and then select the option “Input Mono:”. You should see all your interface inputs.
If you want a clearer visual cue for recognizing every track, you can also add a “Track icon”. This is done by right-clicking on the track itself, selecting the option “Track icon” and then the option “Set track icon”. Feel free to select from the wide range of icons available, although you can download more from the REAPER Stash or ask for “icon packs” in the community.

Vocal Recording
Now it’s time to get a little more specific. Different sources have different needs. In terms of mic placement, this is as simple as it gets. Place your microphone about 15cm or 6in in front of the face of your singer, pointing between their nose and mouth, then, place your pop filter in between.

In case you don’t have a pop filter, place the microphone above the nose pointing to the mouth, making sure the capsule is well away from the air the mouth spits out while singing plosives (p, t, k, b, d, g). Another alternative is placing the microphone in front of the cheek instead of above the nose, this will give you a darker sound but allow you to place the microphone much closer in case your treatment is far from ideal.
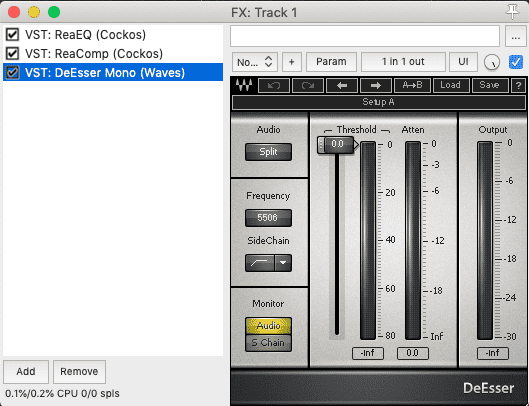
Inside REAPER, you will definitely be in charge of the singer’s monitoring experience. For this, you are definitely going to need a compressor and some kind of EQ to cover the basics, but you may also benefit from some spatial effects like reverb and delay. Do not worry about committing, these effects will not be printed into the recording, you can change them later.
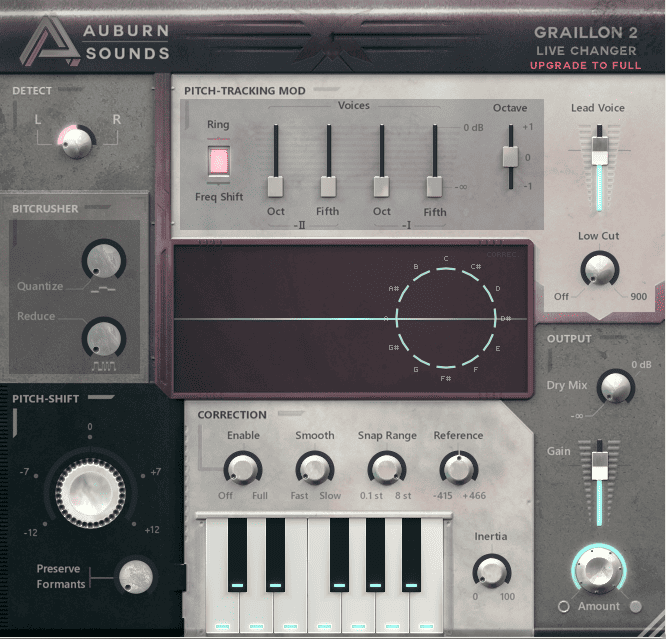
Other effects like pitch correction and harmonic distortion may also be a good idea to have in your arsenal. If you don’t want to break the bank with Antares Auto-tune, I may suggest Grallion by Auburn Sounds, which is free but highly powerful still.
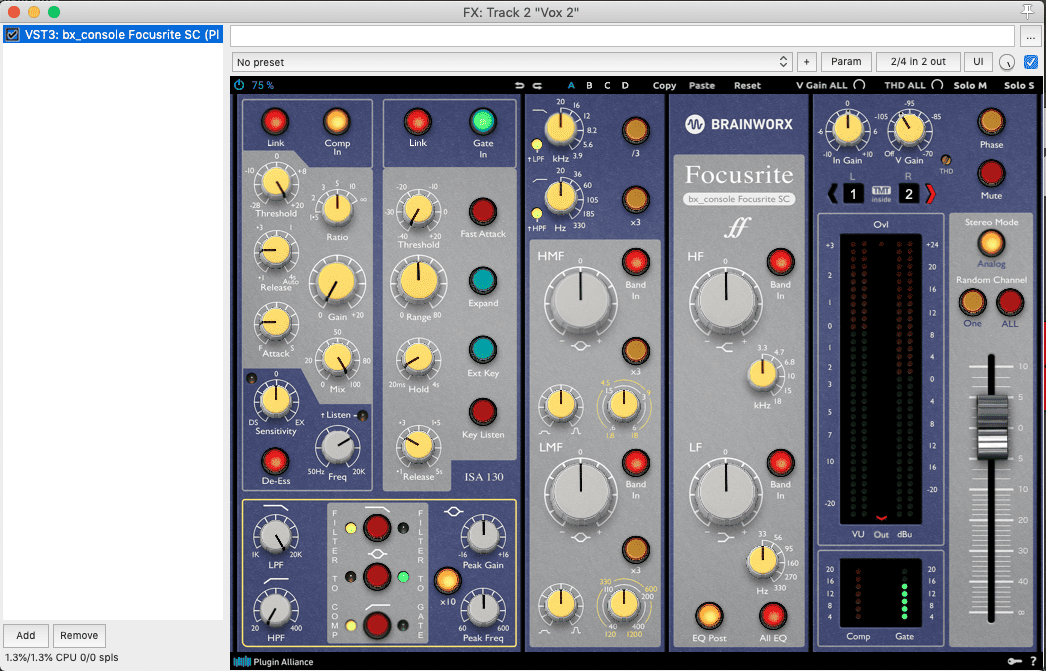
For now, let’s keep it simple. in regards to EQ and compression, one of the best approaches aside from using the stock plugins, is using some sort of channel strip. You will knock out two birds with one stone while having everything on sight and saving some processing power, as these kinds of plugins are usually designed to be pretty efficient resource-wise. This is very important when you have smaller block sizes as is the case while recording.
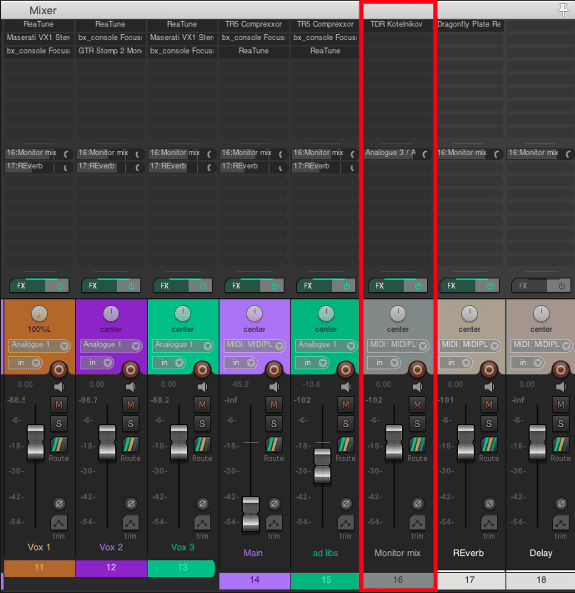
Regarding reverbs and delays, the best practice is always to run them in parallel as “Auxes”, loading them into new tracks and setting them up with sends from the voice track to the FX tracks. This will give you a few benefits: You get much more control over the amount of reverb, saves you resources, and facilitates processing multiple instruments to “keep them in the same acoustic space”.
Monitoring Tricks
Aside from using a couple of FX inside REAPER to provide them with a good monitoring mix, the best way to ensure a good performance from a singer is to give them a comfortable space to record. Our job is to capture performances first and foremost, and comfort is the biggest deciding factor in that.
Work with your singer to them a good monitoring mix. Some light compression and boosting a little bit of the high mids works wonders to make the singer’s voice clearer to hear above the instrumental without losing the much-needed harmonic background to find the correct pitch.
This is not a mix for public consumption, so don’t be afraid of tailoring it to the needs of the performer, some people prefer their voice completely submerged in reverb, while others prefer a much dryer sound. Some will ask mostly for an instrumental mix, while others prefer to hear themselves with just a couple of reference instruments.
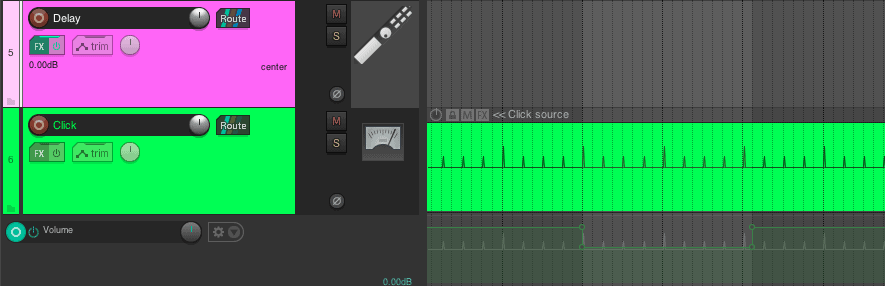
Pro tip: Beware of the metronome levels. Even though the metronome is quite a useful tool when recording, it’s better to automate its level so it does not bleed through the microphone during the quieter parts of the song, as this may ruin a perfectly good take in certain circumstances.
Acoustic Guitar Recording
Recording acoustic guitars is not that different from recording vocals. It’s usually advised to use one or two microphones instead of using the output of your electro-acoustic unless it’s absolutely necessary. Usually, when using a microphone to record a guitar, you need to boost your preamp a little more than you would for vocals. Also, you may need a better-conditioned space with fewer reflections and less background noise to get a clean capture.
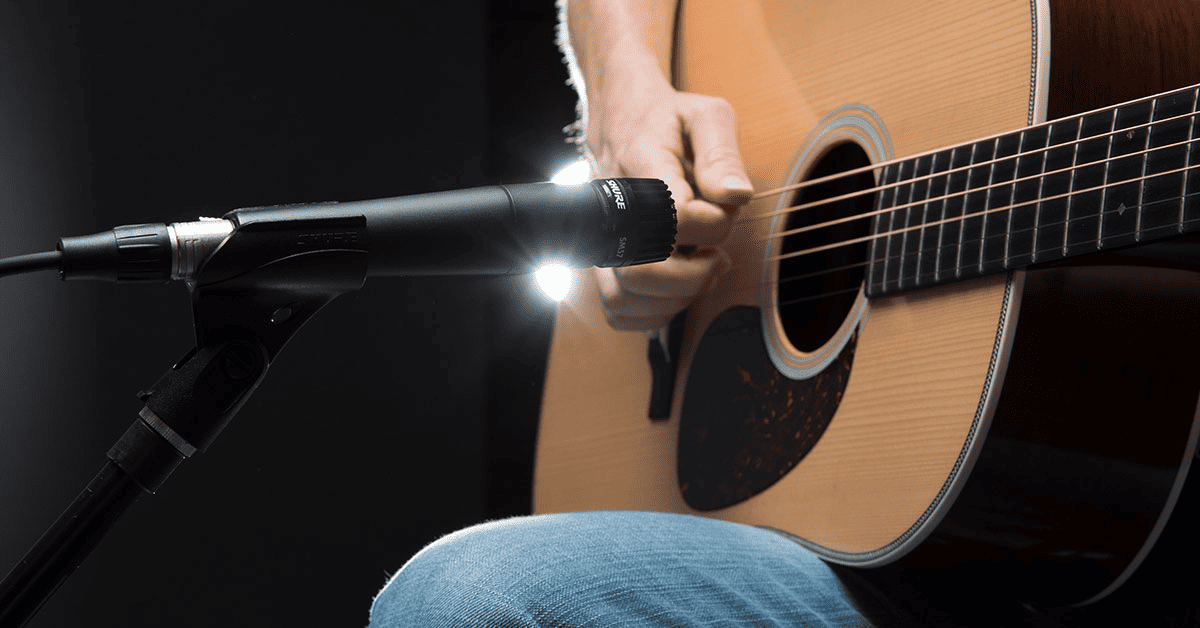
First things first, mic placement. There are many different ways to mic up an acoustic guitar, so there is a lot of room for experimentation. One of the most used techniques, and one of my favorites, consists of placing the microphone in front of the 12th fret and aiming it slightly into the sound hole.
Inside REAPER, you will need a fairly simple signal chain. Same as before you may want to apply some light compression and cleaning EQ, in addition to that you may want to load a Guitar tuner. If you’re feeling fancy, add a harmonic exciter in just to make it pop an extra bit.
In the process of recording acoustic guitars, I do not recommend using a gate plugin, leaving it out gives the performer a better sense of how the room is responding to the guitar, allowing him or her to give a better performance. If your room is extremely dry, you can always add a touch of reverb, using a send to an “aux” track just like with the vocals.
Electric Guitar Recording
Now, recording electric guitars is a whole different beast in every aspect, not only you will need a different set of plugins, but also different hardware and mindset. There are two main ways to record an electric guitar.
Using a Real Amp
This is the “simple” way, however, you will need more equipment. This includes a decent amp with a nice cabinet, and often a nice pedalboard tailored to the needs of the song. Using this method you will not have as much control in post, and the selection of the cabinet is CRITICAL.
As much as many guitar players glorify the “mojo” of their amp or pedalboard, the elements that affect the tone of the guitar the most are:
- The type of pickups.
- The election of the cabinet.
- The election of the microphone.
- The placing of the microphone on the cabinet.
On the setup of your pedalboard and amp, I have very few recommendations:
- record dry unless you’re looking for a very specific sound, you will have more control and achieve a more cohesive sound by using reverbs and delays inside REAPER.
- If you’re using distortion, use a little less than what you think you will need, that will make your guitars clearer inside the mix. Plus, making them grittier in post is easy, but you can’t bring the clarity back in from a mosquito-like wash of distortion.
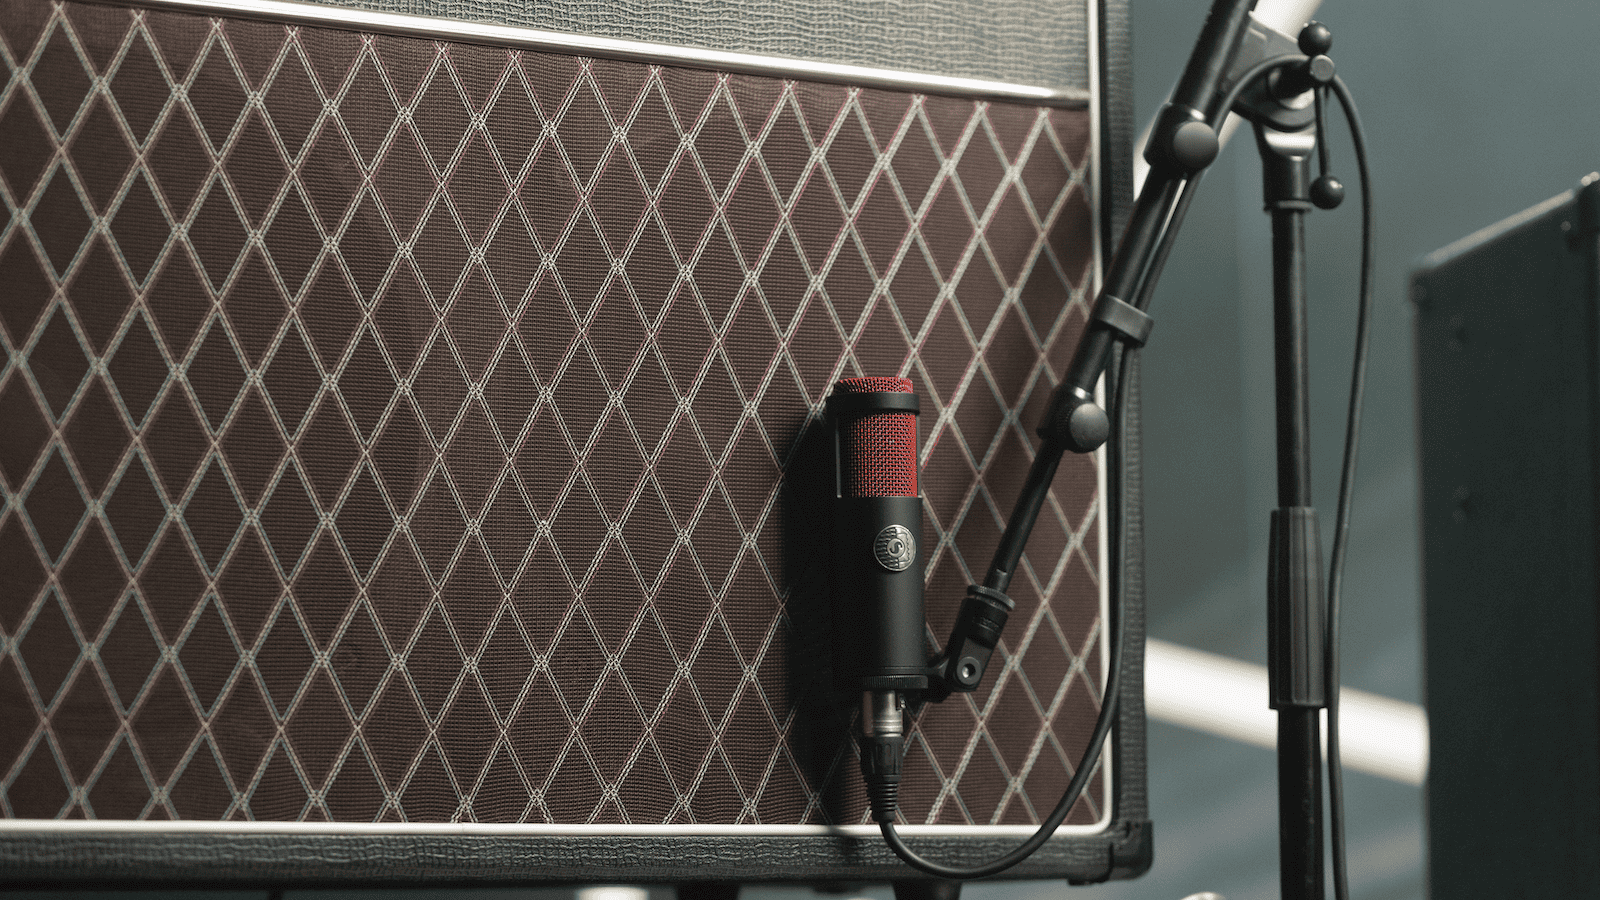
- An SM57 can’t go wrong but don’t be afraid to experiment even with condenser mics.
- Start by placing the microphone in the center of the cone 2cm or half an inch next to the grill of the cone and make a test recording. If it’s too harsh, try taking the mic to the side, and if it’s too boomy, try taking the microphone away from the grill. These changes will make your guitar sound much more natural than EQing the hell out of your guitars.
Using Amp Simulations
In this case you will be recording the “DI” instead, this means that you need to plug your guitar directly into your interface’s “Instrument” or “High-Z” input, this makes it so that your guitar responds similarly to how it would to an amplifier. Then, you would use Amp and pedal simulations inside REAPER to emulate an analog recording chain.
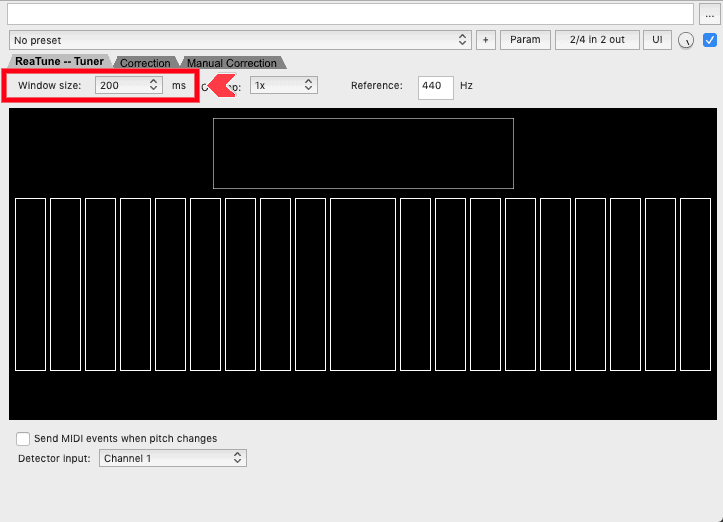
The first thing you will need in your signal chain is, again ReaTune. It is always best to re-tune your guitar every take, to avoid any pitch discrepancies. Remember to set the “Window size” to 200 If you are going to use lower tunings or 7-string guitars so that the plugin recognizes the lower pitches.
After that, there is a high variability of ways to set a good signal chain. If you have a nice budget, All-in-one signal chain simulations are very useful, Bias FX and IK Multimedia Amplitube come to mind as very solid choices. If you prefer the free route, here is what you must include in your chain.
- Tuner
- Noise gate
- Overdrive/booster
- Amplifier
- Cabinet (IR Loader)
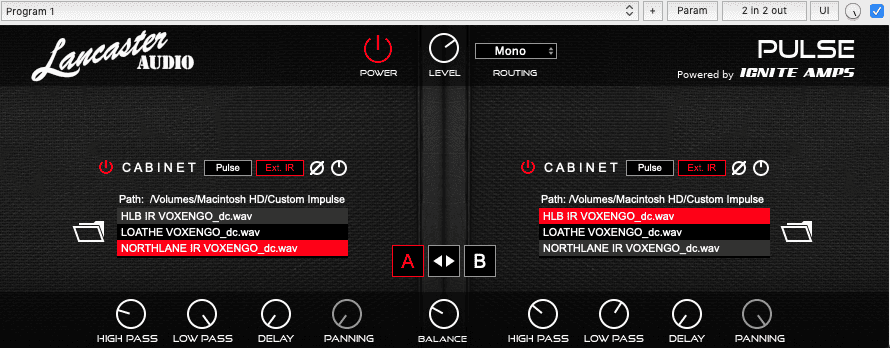
I believe most of it is self-explanatory, but what is an IR loader? Many free guitar amps do not have an integrated cabinet simulator, you will notice that the distorted guitars sound harsh and unpleasant. An IR loader loads the “profile” or “IR” of a cabinet, emulating it inside REAPER. There are many free ones out there, like “Pulse” from Lancaster Audio and NadIR from Ignite Amps, and the best part is that you can find thousands upon thousands of IRs on the internet that sound great. Don’t be afraid to try them out!
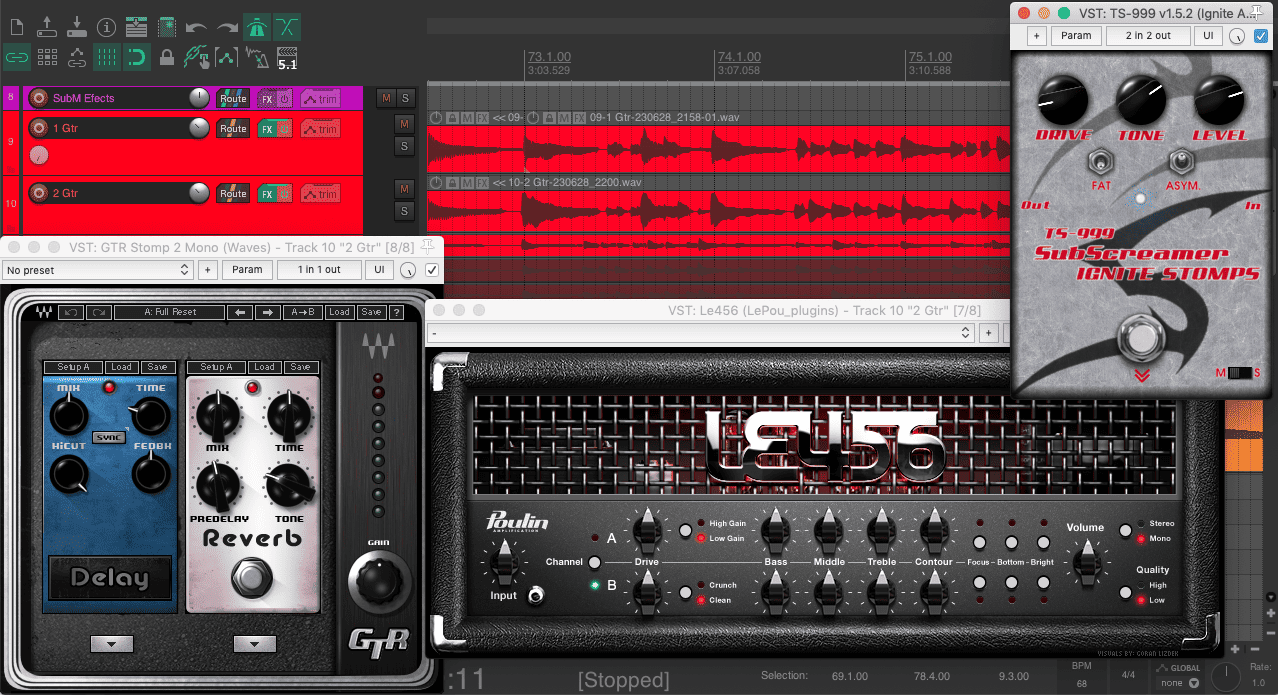
The rest of the signal chain is up to you and your needs, I like to use “ReaGate” to minimize the noise, especially on high-gain guitars, and a multi-band EQ to tame some of the low end. Here you can check my favorite free signal chain so you get an idea.
- ReaTune (Cockos)
- ReaGate (Cockos)
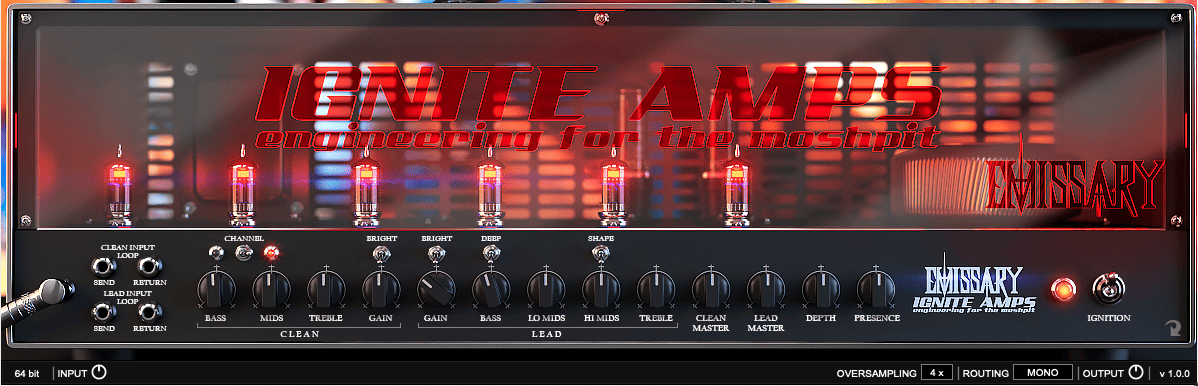
- TS-999 (Ignite Amps)
- Emissary (Ignite Amps)
- Pulse (Lancaster Audio)
- TDR Nova (Tokyo Down Records)
These can definitely give you an excellent electric guitar sound, both for clean and for high gain. you may also add a chorus, flanger, tremolo, or even a pitch shifter. The sky’s the limit regarding a guitar signal chain.
Conclusion
Recording vocals or guitars in REAPER is a fairly easy job that can be set up in a matter of minutes. If you keep in mind some basic good practices in the studio you can achieve top-level recordings in no time, but as with everything in life, practice makes perfect.
Now it’s your turn to put this information to good use, go ahead and start recording and experimenting with different settings, plugins, IRs, Amps, or reverbs. Explore different mic positions and different microphones. Take note of the results, so you can have a good sense of how to achieve a pleasant sound for different kinds of projects. Go crazy and happy recording!

- Mixing in REAPER [ULTIMATE Guide!] - September 18, 2023
- How to Record in REAPER (Guitar & Vocals) - August 2, 2023
- Writing MIDI Drums in REAPER - July 3, 2023
")


 in REAPER")
)