What is Latency Monitoring in REAPER?
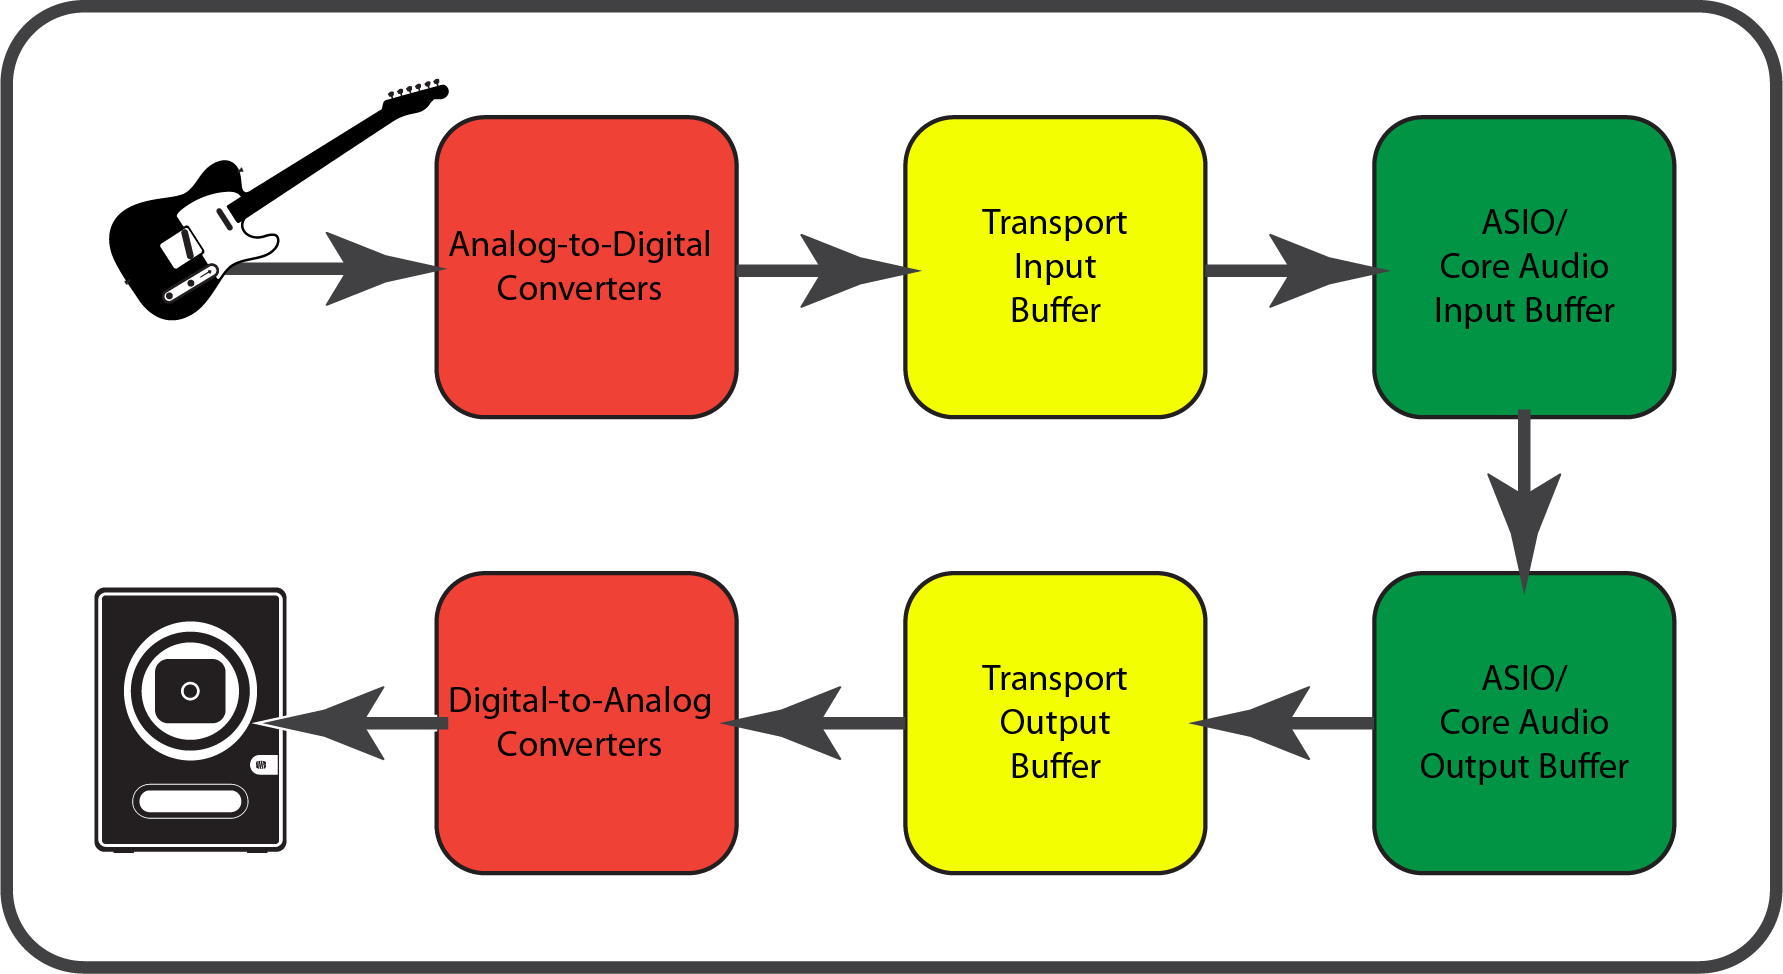
Latency is defined as the time it takes for a signal to travel from one point to another. For instance, when you record or play something back in REAPER, there is always some latency involved (since you are moving the audio from the outside world into your PC/Mac or vice versa).
Recommended Read: Dealing with MIDI Latency in REAPER
When you record, you want to hear the audio as it goes into your machine (either raw or processed). You want to get a feel of how it is going to fit into the context of your recording.
The process of listening to the audio while being recorded or played back is called Audio Monitoring, and it usually involves capturing the audio and playing it back at the same time. This is where latency gets factored in, and the concept of monitoring latency (while recording) becomes important.
Latency is a normal consequence of using complex digital systems for audio, and it’s not something you can completely get rid of, however, you do need to identify and understand it.
REAPER has a few features that you can use to recognize how much latency your system is generating so you can adjust it to your needs. If you are dealing with severe latency and need to reduce it at all cost, check this article on How to fix latency in REAPER.
Identifying Latency in REAPER while Monitoring
Let’s say that you want to record some vocal parts, so you want to Monitor yourself through your headphones. But, when you try singing into the microphone, you hear yourself “late”, this is the basic telltale sign of a system that has too much latency for recording, but even if you don’t hear it, it doesn’t mean it’s not there.
Latency is usually measured in milliseconds, and us humans have a reaction time of about 20 to 30 ms to sound stimuli. So generally, as long as your system’s Round-Trip Latency is below 25 ms, you’re probably good for recording and Live monitoring, but the lower you go, the better.
Some people, especially percussionists, need much lower latency for recording and performing properly. I’ve found that anything below 15 ms is ideal. So, let’s have a look at what variables can affect the latency of your monitoring signal chain.
Latency Culprits and Ideal Settings in REAPER
Audio Driver
The obvious thing that may affect the latency in your monitoring chain is your Audio driver. You want to make sure that you’re using a decent interface along with the corresponding audio driver. Most modern interfaces, come with their own drivers that you can install and set up in your DAW. Always use the manufacturer drivers, even if your interface is plug and play. mac users probably don’t have to worry too much, but in Windows I recommend avoiding ASIO4ALL unless it is your only option.
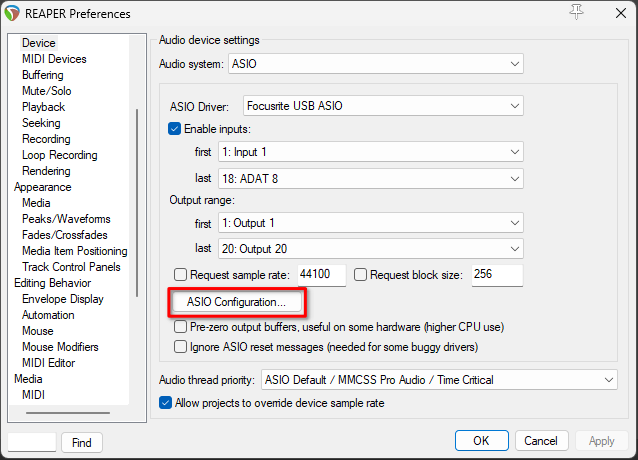
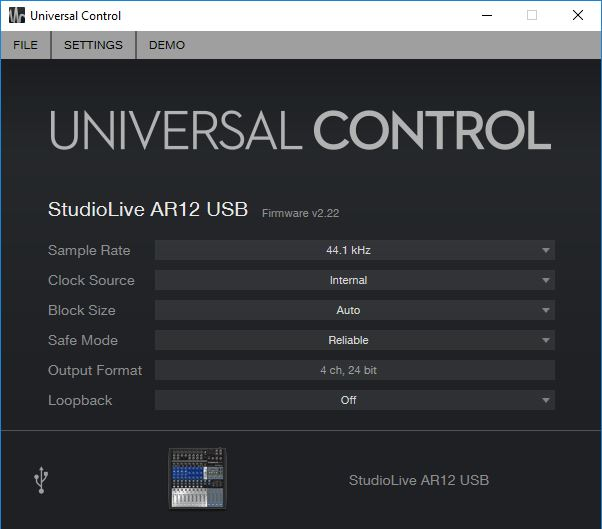
Then, comes the relation between your Audio driver’s Sample rate and Buffer size that affects your latency and how much effort your processor has to make.
Sample rate is the amount of samples your interface takes of a sound per second, the higher the sample rate the more samples your CPU has to process per second.
Buffer size is the size of the slices or packages of audio that your computer uses to communicate with your interface, the smaller the slices the heavier the processing load.
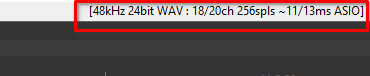
Once you set up your Audio device, your interface will report to REAPER the time it will take to move each package, as well as the time it will take to read and output the receiving packages, This is the Reported input/output latency. You can check your driver, audio device settings and reported latency on the top-right corner of your main window
I made a table with the reported latency of my interface with my system. The Audio driver window also shows the reported Round-Trip latency measured in milliseconds and samples.
Your interface will probably report similar values to these, and it can give you an idea of how to set up your audio device depending on the Sample rate of your project.
Sample Rate [Hz] | Buffer Size [spls] | Input Latency [ms] | Output Latency [ms] | Round-Trip Latency [ms] | Round-Trip Latency [spls] |
|---|---|---|---|---|---|
44100 | 32 | 2.3 | 3.3 | 5.8 | 252 |
44100 | 64 | 4.0 | 4.0 | 8.2 | 360 |
44100 | 128 | 6.5 | 8.5 | 15.1 | 664 |
44100 | 256 | 12 | 14 | 26.9 | 1184 |
44100 | 512 | 24 | 26 | 50.5 | 2226 |
44100 | 1024 | 47 | 49 | 97.7 | 4308 |
48000 | 32 | 2.2 | 3.2 | 5.5 | 262 |
48000 | 64 | 3.8 | 3.8 | 7.8 | 374 |
48000 | 128 | 6.2 | 8.2 | 14.5 | 694 |
48000 | 256 | 11 | 13 | 25.8 | 1238 |
48000 | 512 | 22 | 24 | 46.5 | 2230 |
48000 | 1024 | 43 | 45 | 89.8 | 4310 |
96000 | 32 | 1.6 | 2.6 | 4.4 | 414 |
96000 | 64 | 1.9 | 2.9 | 5.0 | 478 |
96000 | 128 | 3.6 | 3.6 | 7.4 | 702 |
96000 | 256 | 5.9 | 7.9 | 14 | 1342 |
96000 | 512 | 11 | 13 | 25.4 | 2430 |
96000 | 1024 | 21 | 23 | 46 | 4414 |
Most people work on projects that are setup at 44.1k Hz or 48k Hz so it’s safe to say that if you’re recording and want to monitor through REAPER, it’s probably a good idea to stay at a Buffer size of 256 spls or less.
If you’re working at sample rates higher than that, it’s probably safe to double that number. Take into consideration that lower Buffer settings require a more powerful CPU to handle audio properly without glitches or drop-outs.
Delay Compensation Hungry Plug-ins
Aside from the time your system takes to input and output information, some plug-ins or processes can create additional latency in your signal chain. For instance, most plug-ins that use oversampling or linear phase filters need extra audio samples to properly compute the output, thus creating latency when you try to use them in a live situation.
When you’re just playing back audio, REAPER compensates the extra amount of time the plug-in needs by slightly skipping the tracks that need it to the future so that all the tracks in your project still play in sync.
Recommended Read: Latency and Delay Compensation in REAPER
However, REAPER cannot tell what is coming into a record armed track to sync it with the rest of the project for proper monitoring. Thus, you end up with a delayed signal on your monitors or headphones, in other words, latency while monitoring.
To put this to test, try setting up a microphone for recording and monitoring through an empty track, then, sing into it. If your Audio device is set up properly, you should hear yourself back through the headphones almost instantly.
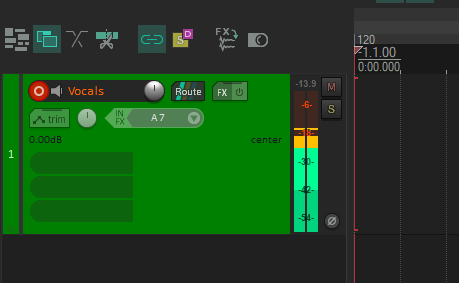
Then try adding ReaPitch to your vocal track and sing again into the microphone. This time you will probably hear yourself about half a second too late, it can be quite disorienting, especially if you’re trying to record a fast paced song.
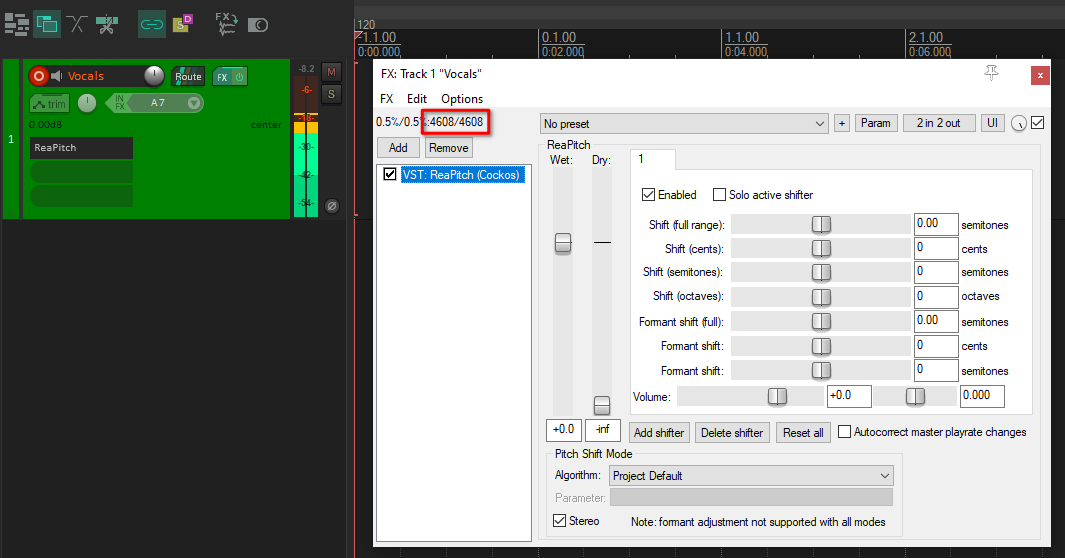
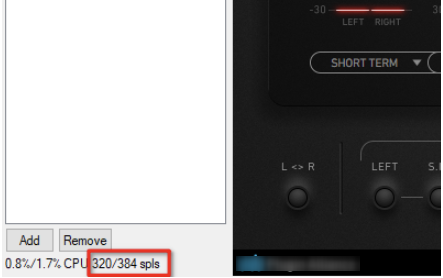
Furthermore, you will know if a plug-in is causing additional latency in your monitoring chain by looking at the numbers in FX chain, The first two numbers show the amount of CPU your plug-in and FX chain is using, then comes how many more samples the selected plug-in needs for processing, and how many samples REAPER compensates for the whole FX chain. If the last number is greater than your Buffer size, it’s going to create perceivable latency.
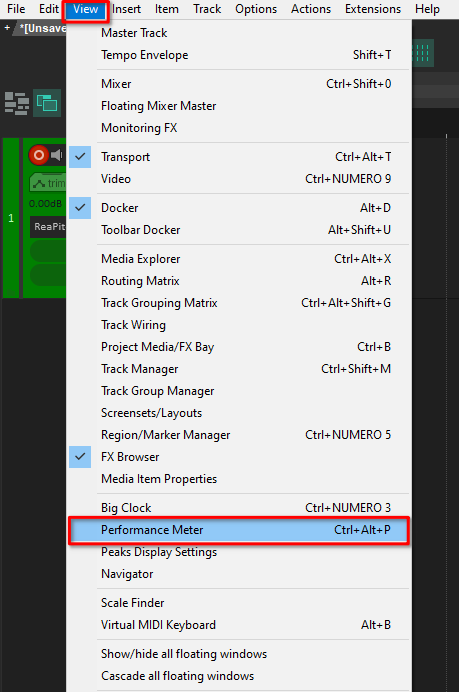
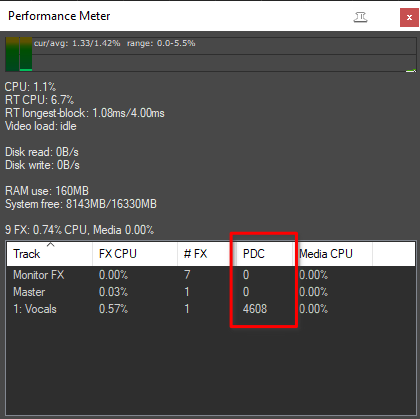
Another way of detecting latency generated by plug-ins is using the Performance meter. You can open it from the View menu on the top bar.
It’s always a good idea to disable or bypass any plugin that introduces latency to your monitoring chain. This includes your input track, parallel processing, busses and Master track, where the signal you’re trying to monitor passes through.
Conclusion
Latency is one of those things that you have to get used to while Monitoring your recordings. The important takeaway here is that you learn how to deal with it and eliminate it as best as you can. My hope is that this article better equips you to understand the different parameters in REAPER, as well as your audio interface settings, so you’re able to better optimize your Monitoring situation. It is not always easy to understand and troubleshoot latency on your own, so if you have any questions don’t be afraid to ask, the Reaper User Group – RUG Facebook group is a pretty neat place to seek help. Happy recording!

- Mixing in REAPER [ULTIMATE Guide!] - September 18, 2023
- How to Record in REAPER (Guitar & Vocals) - August 2, 2023
- Writing MIDI Drums in REAPER - July 3, 2023


")
 in REAPER)