In this tutorial, I will be showing you how to stream Ableton Live on Discord. Discord is a social collaborative platform shared amongst friends, peers, and colleagues where you can form communities for group chats and personal phone calls. I use it when gaming and demonstrating my creative process with my friends in Ableton Live, and now, I can show you how to do this here in this tutorial.
There are normally two ways to stream Ableton Live:
- Screen share: this is best for demonstrations and tutorials where listening to audio directly from Live is not required. This is because you cannot hear audio playback in this mode.
- Window share: this will be the primary way you will be streaming Ableton Live on Discord, as you will be able to hear audio playback from Live. The only drawback is that if you are using 3rd party plug-ins that open in a separate window, you will not be able to see these windows.
I will begin by showing you how to set up your Discord stream, and how to stream Live through Discord. Let’s get started!
Setup
For this part, I believe you have already installed Discord on your computer as well as Ableton Live, and you have gone through my tutorials on how to set up Ableton Live’s inputs and outputs.
Here is how you set up Discord for streaming Live:
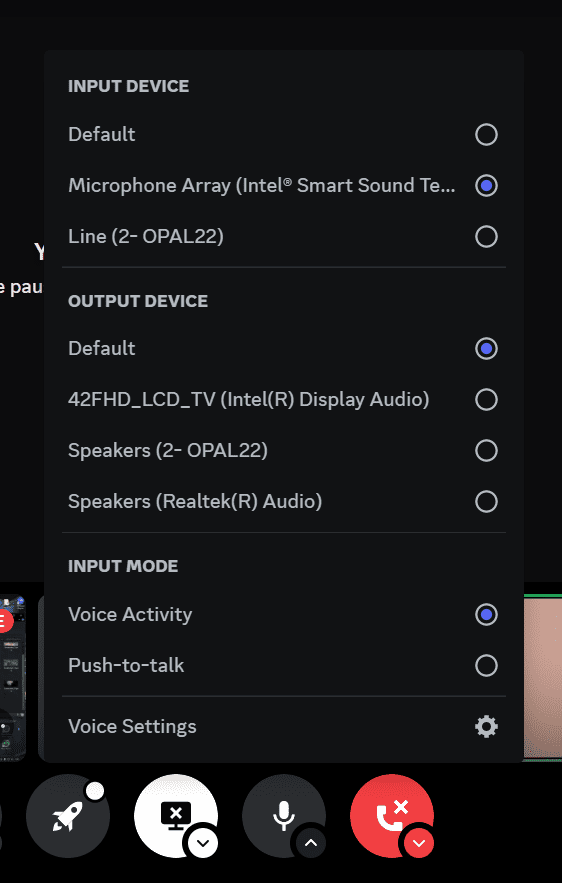
Step 1: set up your audio input and output so you and your colleagues can hear each other before you start to stream. Firstly, select the setting icon next to your name at the bottom left of your screen.
Step 2: Select the video & audio tab to open the voice setting
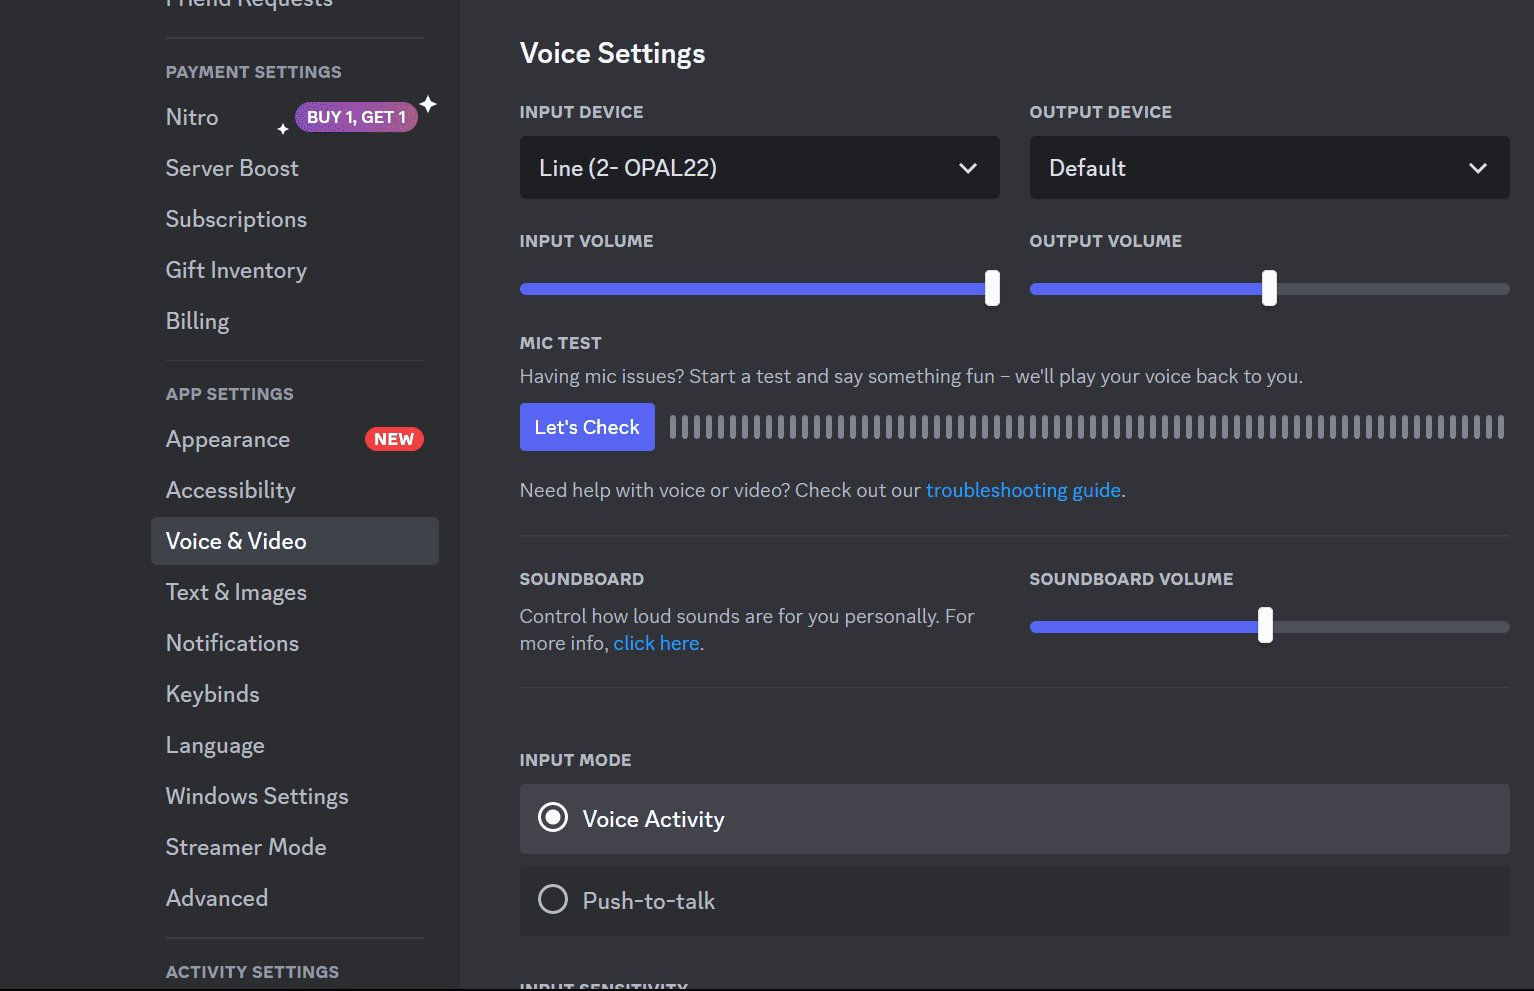
Step 3: Select your preferred way to speak to your colleagues and how you would like to hear them back using the input and output device drop-down menu
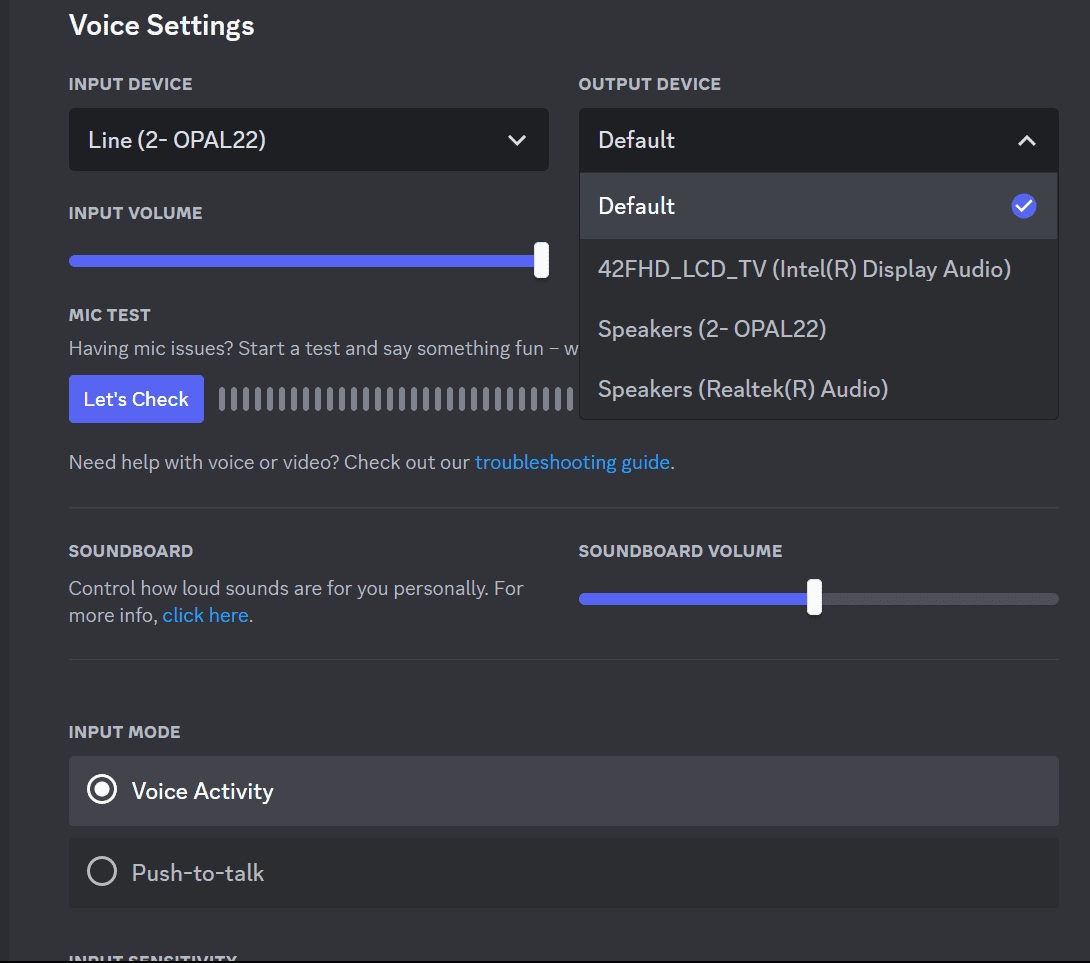
In this window, you can test your microphone to make sure it works. Once everything is properly set up, you can now go about adding your colleagues to the chat room or private calls from where you can stream Live. Do this by:
Option 1: Server You can create your own Discord server where you can invite your colleagues to join. This option is best if you will be regularly and almost exclusively posting, chatting and sharing with your community Ableton Live content and other music production content.
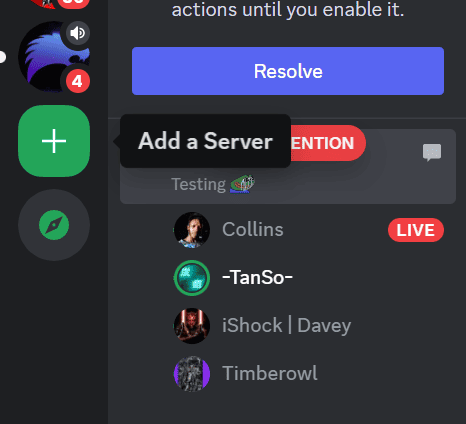
Option 2: Direct messages – this is a more private way to stream Live. You will be sharing privately with individual colleagues, and the colleagues you invite to the call. I prefer this method when I discuss projects with producers and artists.

Steaming
Now, this is the main reason you clicked on this tutorial! Let me show you how to stream Live on Discord. By the end of this, you will see how easy it is to set up a live stream on Discord. Keep in mind that there are two ways to stream Live (as listed upfront in this article), each with its advantages, and drawbacks.
Wait! Before you get started, you will need to have Ableton open and the audio inputs and outputs, audio interfaces, and MIDI devices set up. Lucky for you, I have already provided tutorials on everything you need to know about setting up these three factors on Live in this Ableton tutorials tab! Now let’s begin!
Step 1: once you have set up your Server or your private call, your colleagues have joined your call, and you can all hear each other, select the ‘Share your Screen’ toggle at the bottom of your call screen.
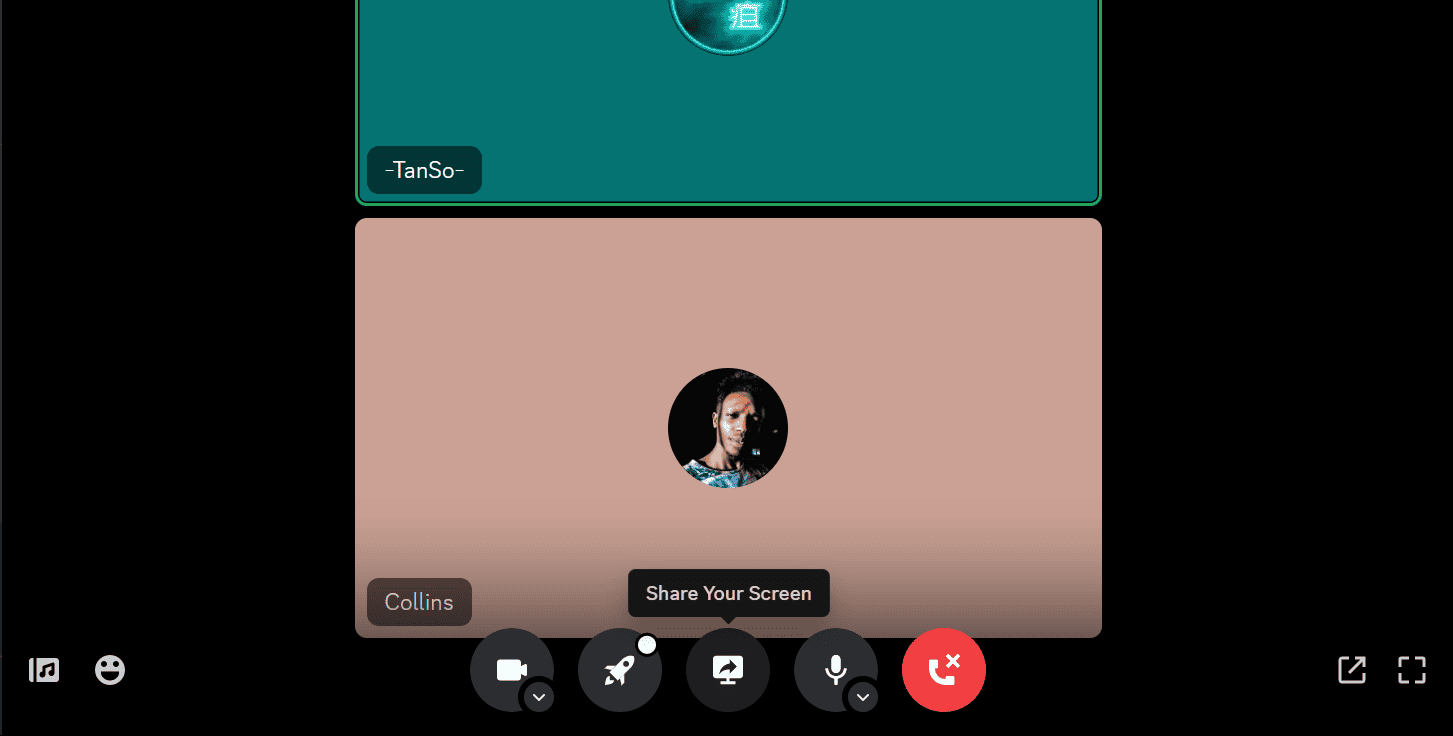
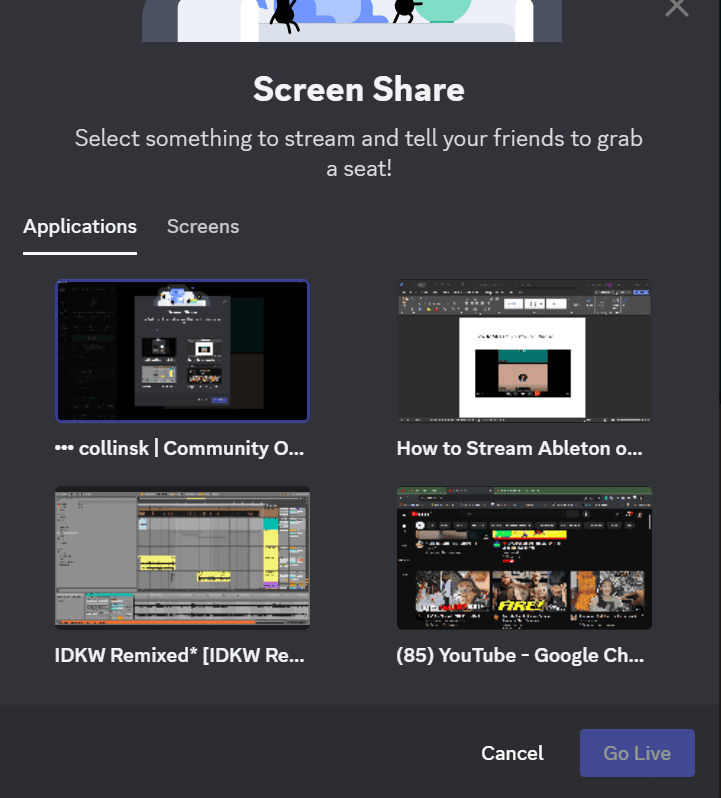
Step 2: choose how you want to stream Live by either sharing your screen or Live’s window in the Application tab
In the Applications tab, you will be able to share your live stream and hear playback in real time. The only limitation with this option is that if you want to demonstrate something using 3rd party plug-ins you will not be able to see the plug-in’s window in this mode. This mode is best for session demonstrations and performances, where the 3rd party tools are not necessary for the demonstration.
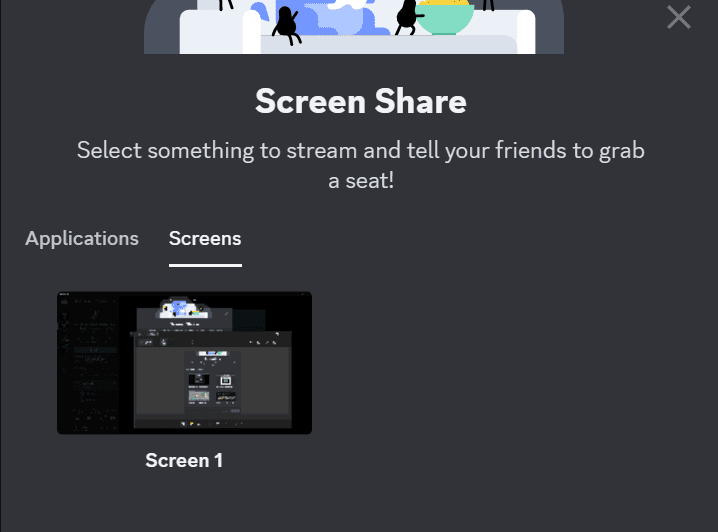
When you share your screen instead of the application, you will be able to see everything that happens on the selected screen without hearing any audio playback from Live. This is best when you are simply discussing what is on screen, and the audio playback is not necessary.
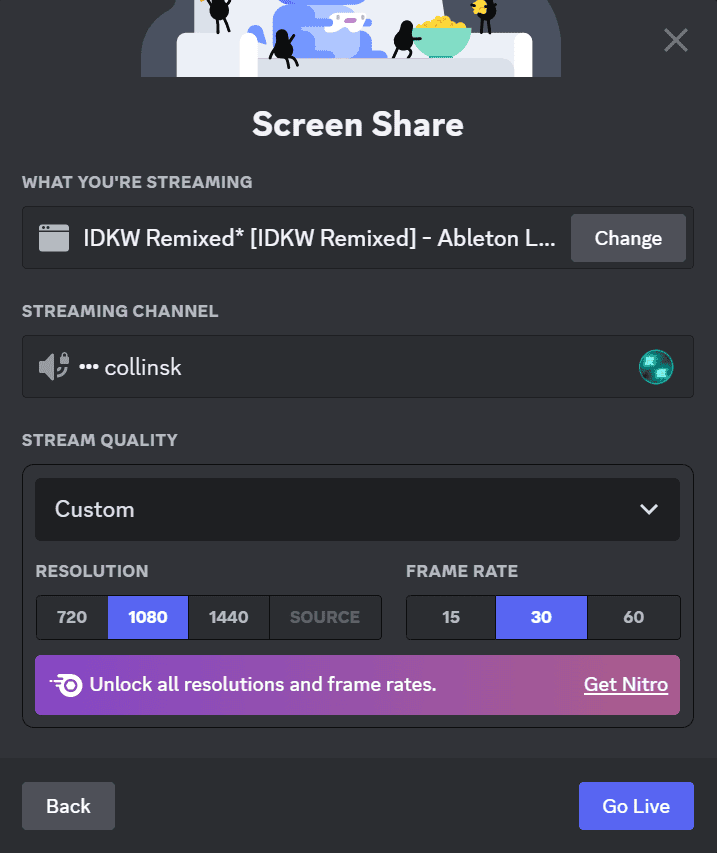
Step 3: Once you have selected the screen or application you want to stream, select the streaming quality of your stream. You need to select the video quality and frames per second. The higher the quality of these toggles, the more latency you can expect from your stream.
In the setup section of this tutorial, you will see that you can set up your audio devices via the settings window. You can now quickly switch between connected audio devices in the live stream in the audio toggle switch audio input and output devices for quick troubleshooting. If all else fails, you may need to take the long route and go to the settings window.
Final Thoughts
Discord in my opinion is the best way to communicate and share with your friends and colleagues. There are so many different communities that are intertwined that can bleed into your music production career. I particularly recommend Discord to stream Ableton Live production sessions and performances because, just like Live, it is designed around simplicity and ease of use, very cool. This design will increase your motivation. I say this a lot in most of my tutorials, but in this case, experiment with what works for your use case, and I am sure that you will have fun!
- How to Use Ableton Live’s Arpeggiator? - September 18, 2023
- How to Use the Piano Roll in Ableton Live + Shortcuts - September 18, 2023
- Ableton Arrangement View (Optimization & Usage) - September 16, 2023


