Equalization is one of the most important tools when it comes to mixing. Through equalization we’re able to shape our tracks to fit together seamlessly. It works by allowing us to change the frequency balance of an audio signal by increasing or reducing certain frequencies using an equalizer (EQ).
Let’s take a deep dive into Fruity Parametric EQ 2.
Loading Fruity Parametric EQ 2
Step 1: First, open the mixer by pressing F9 and click on the mixer track you want to load Fruity Parametric EQ 2 on. I want to load it on the ‘Chords’ mixer track.
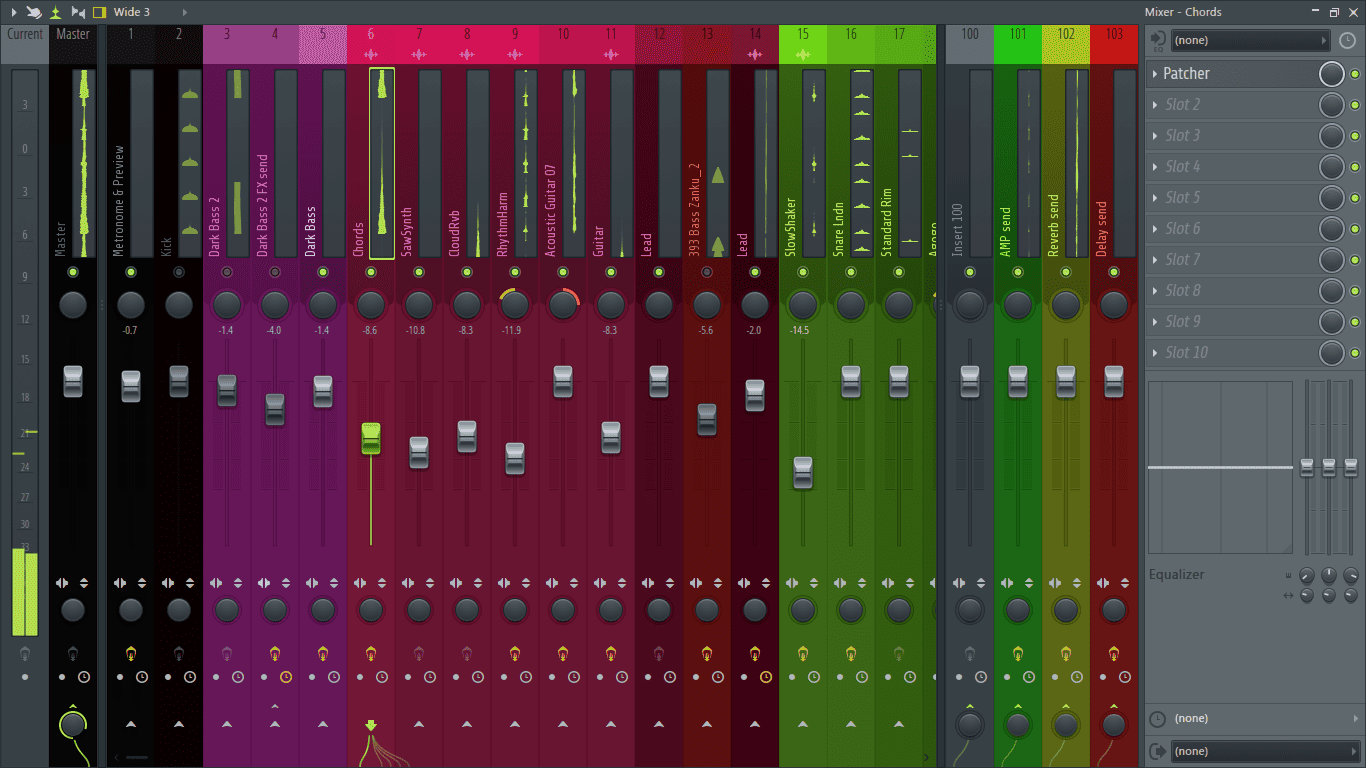
Step 2: While it is selected, click on an empty effects slot. From the menu that opens, go to Filter> Fruity Parametric EQ 2.

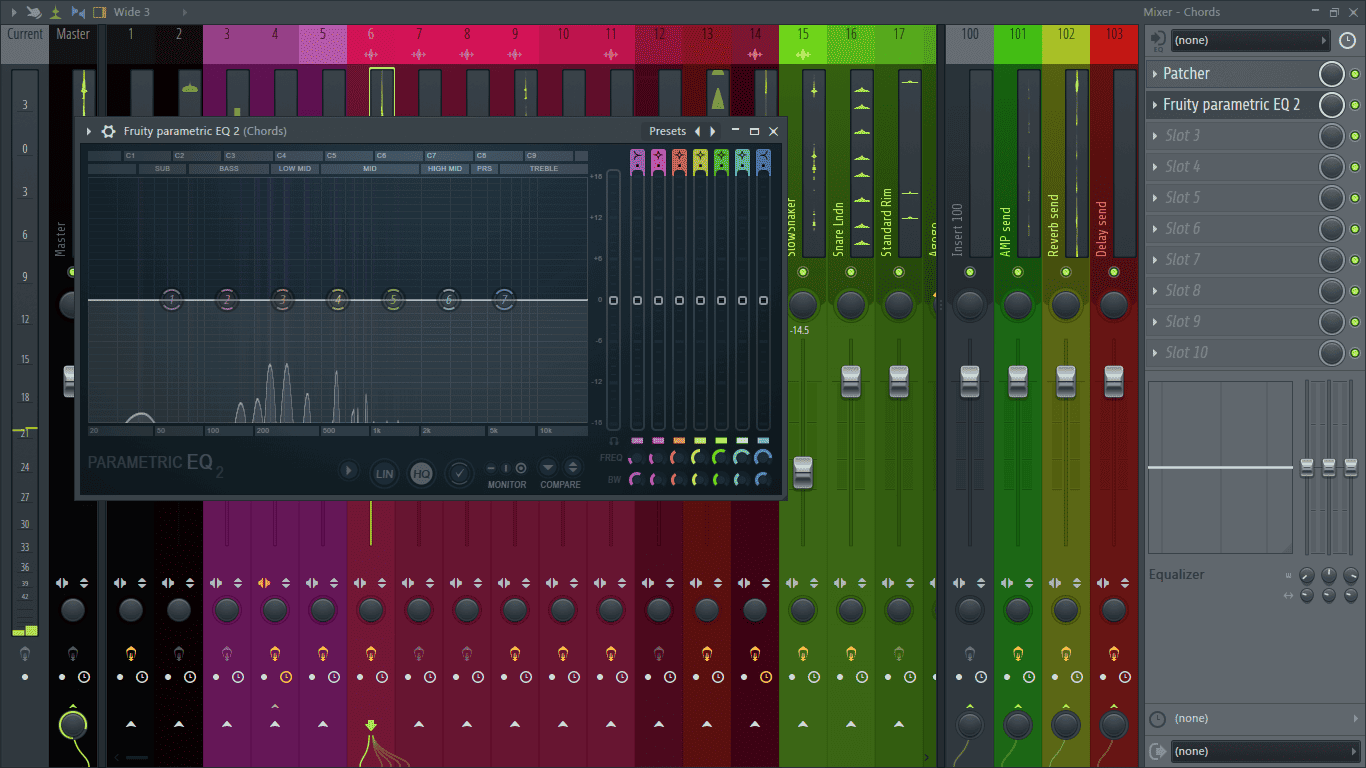
Fruity Parametric EQ 2 is now loaded to the selected mixer track.
Exploring Fruity Parametric EQ 2
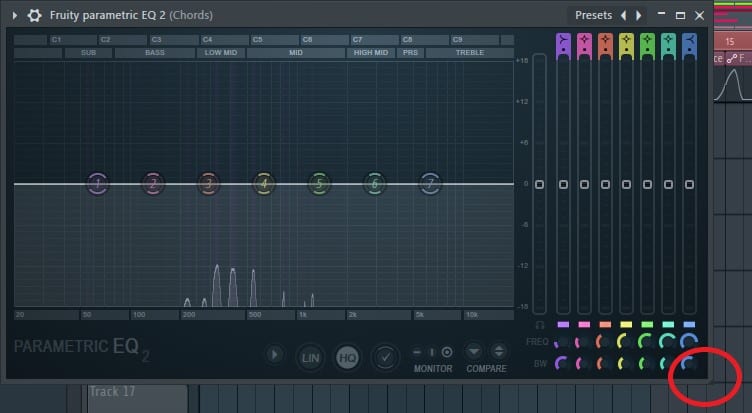
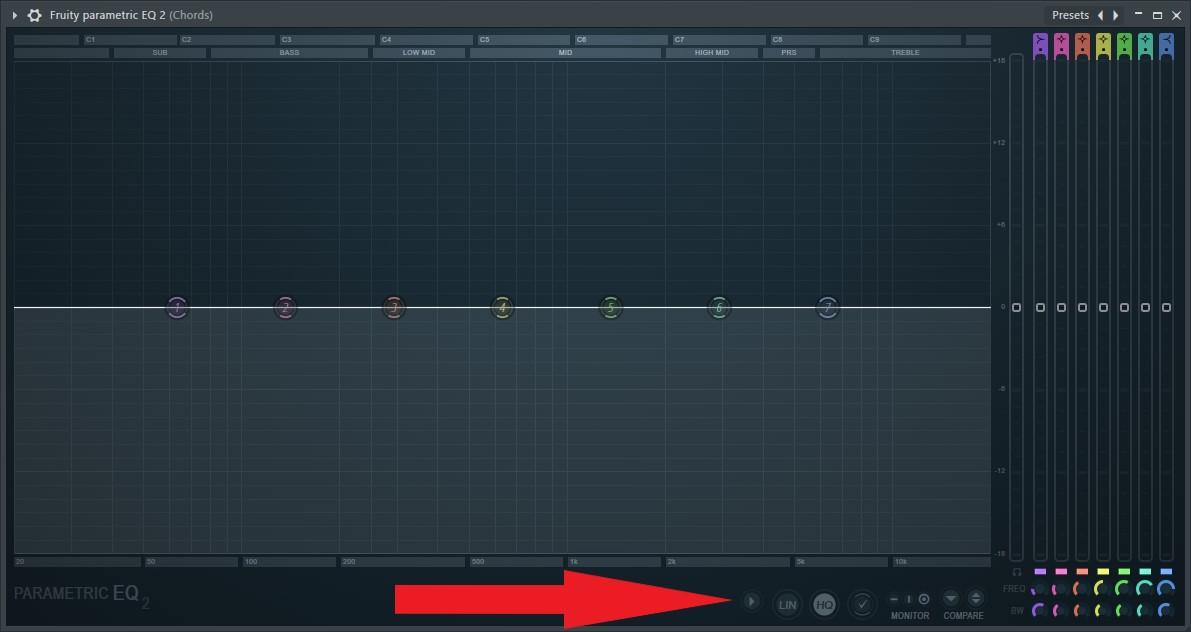
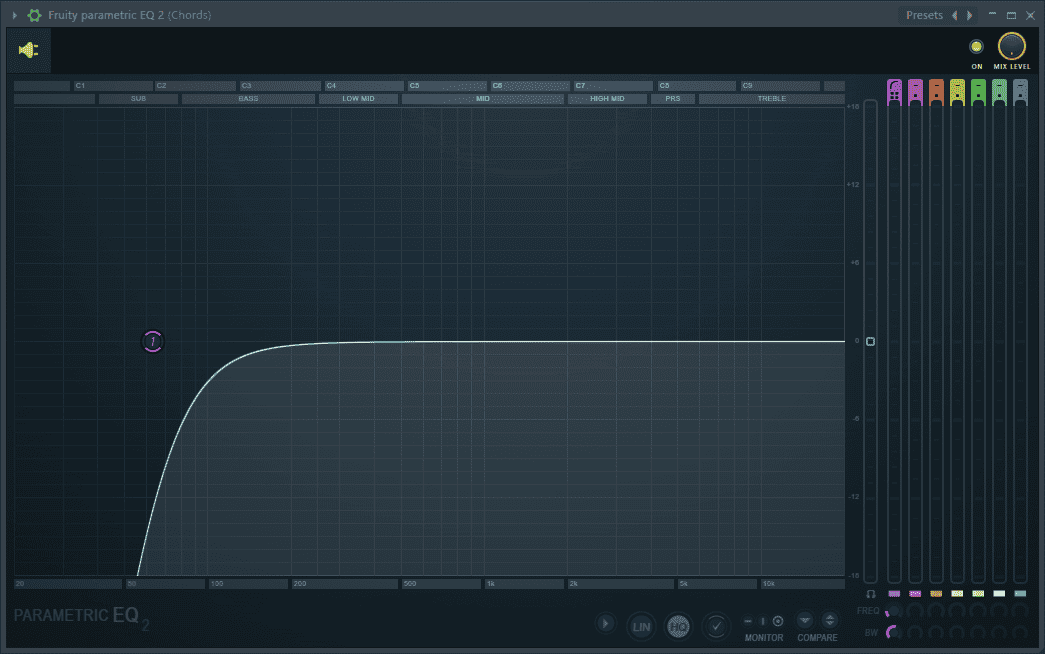
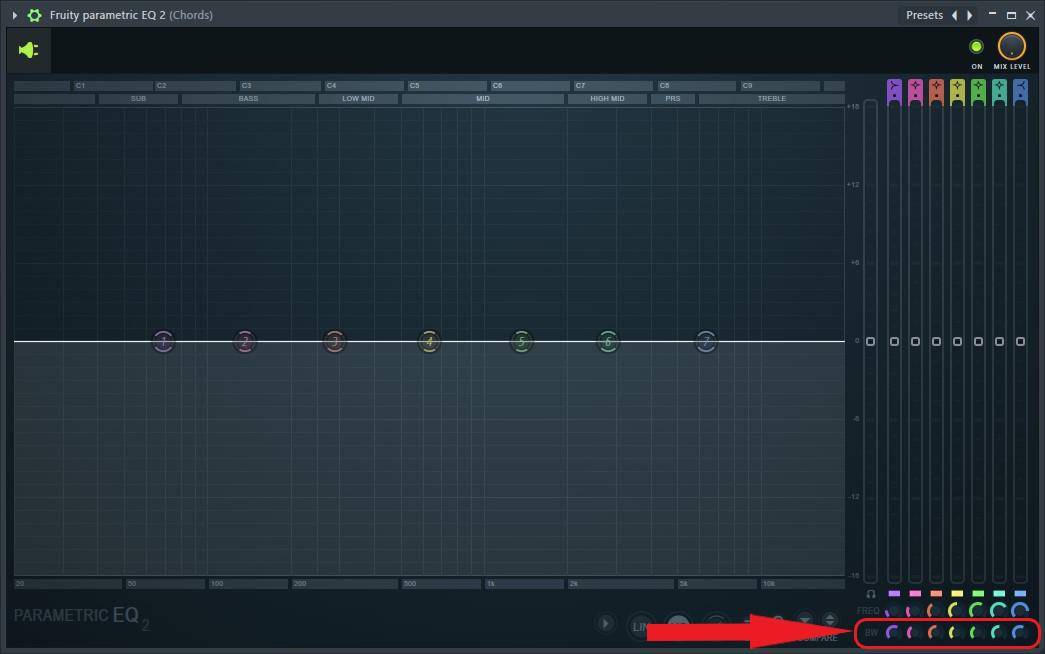
Before we start exploring the EQ, I’ll first resize it to make it bigger and more visible. Do this by clicking on the bottom right corner (highlighted in red below) and dragging it until it reaches your desired size.
Now let’s go over the various parameters of the plug-in.
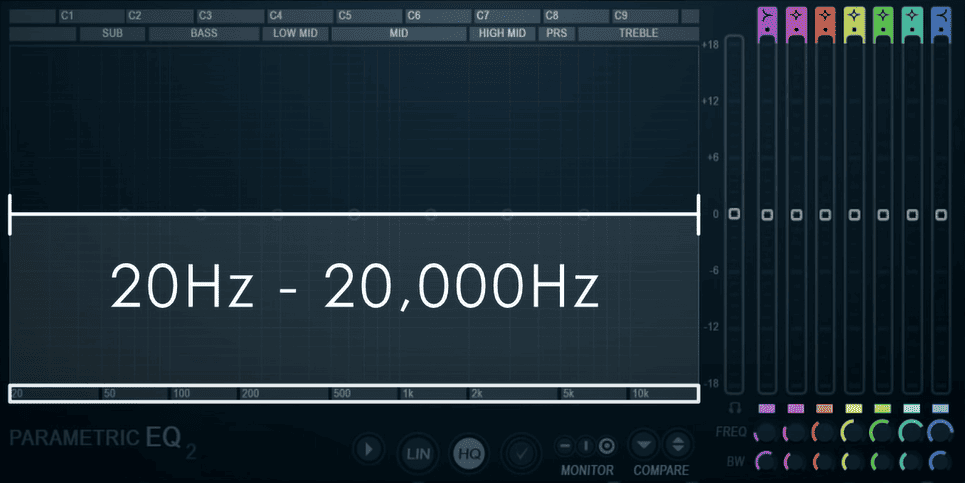
Frequency Analyzer
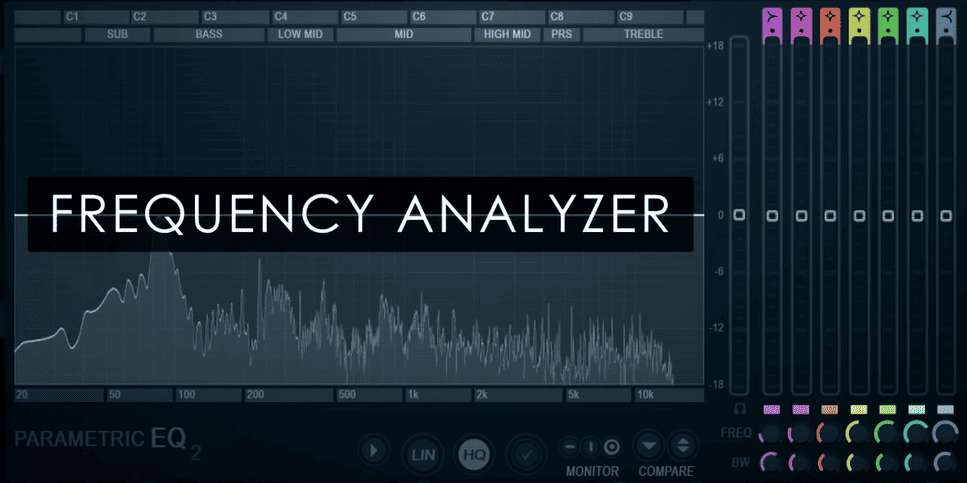
The frequency analyzer takes up the most space on the EQ. It gives us visual feedback to guide our EQ decisions by displaying the distribution and intensity of frequencies present in the audio signal. It covers the human hearing range which spans from 20 Hz to 20 kHz.
As of FL Studio version 20.8, Fruity Parametric EQ 2 now has 3 frequency display modes, the heatmap, a histogram and a dual display incorporating both. Switch between the different display modes by clicking on the arrow-like icon located at the bottom of the plug-in next to the ‘LIN’ button.
This will open up the options menu.
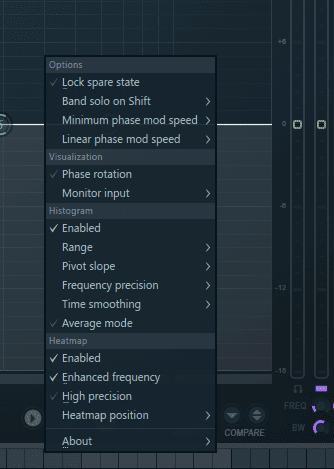
Enable or disable a display mode by selecting or deselecting ‘Enabled’ from their respective sub-menus.
Create a dual display by enabling both the heatmap and the histogram.
Use the monitor options located at the bottom of the EQ above the word ‘MONITOR’ to choose the information to be displayed on the frequency analyzer.
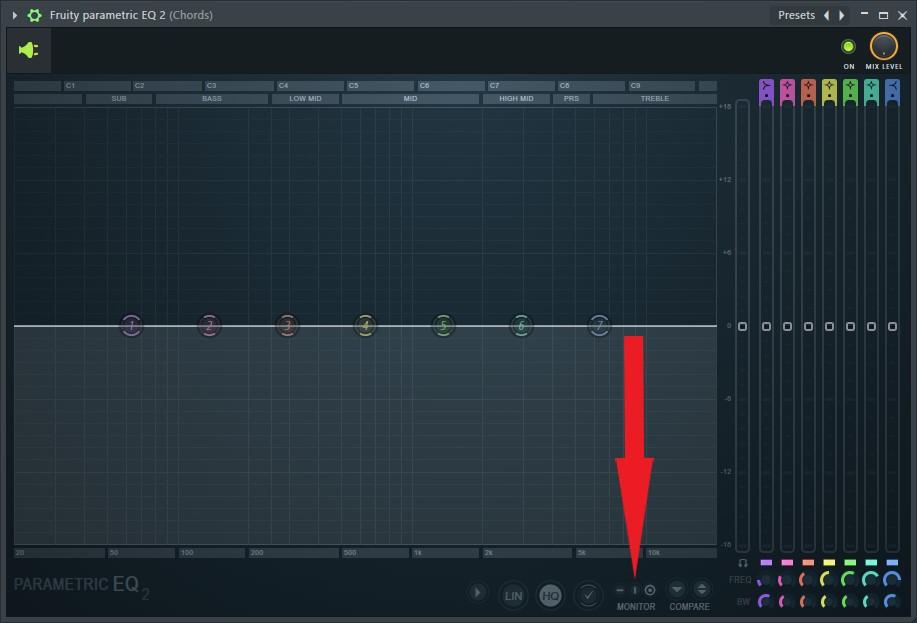
– Disables the frequency analyzer and nothing will be displayed.
I Displays the pre-equalization input.
O Displays the post-equalization output.
Parameters
Band Tokens
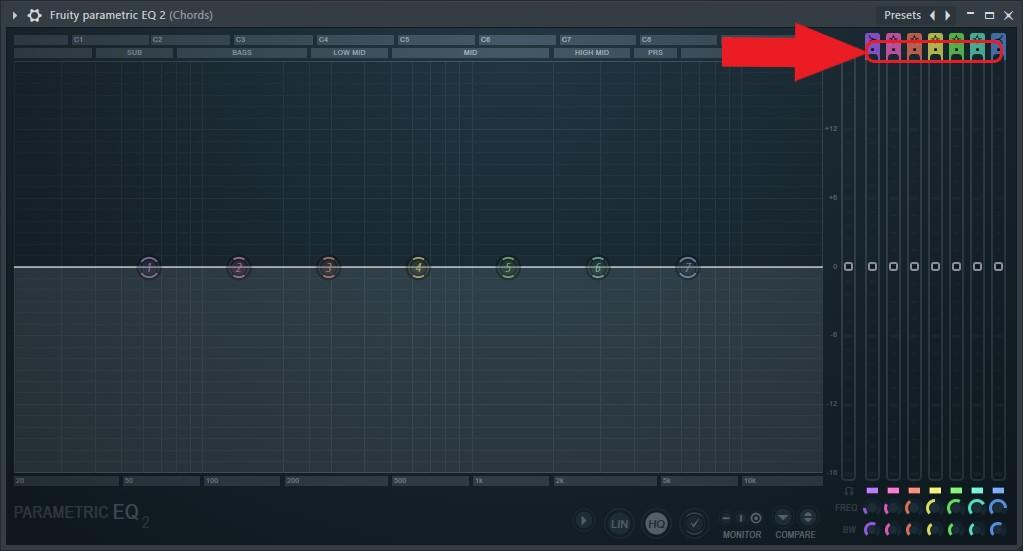
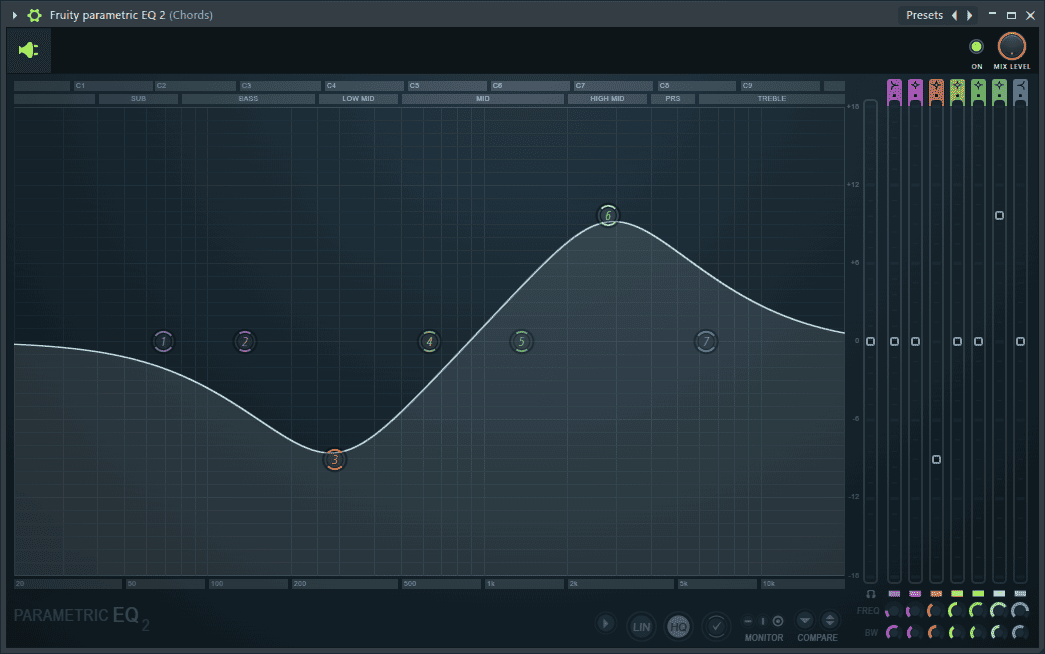
Fruity Parametric EQ 2 contains 7 bands which it uses to change the frequency balance. The 7 bands are displayed in the frequency analyzer through the band tokens labeled 1 to 7. (Highlighted in red below.)
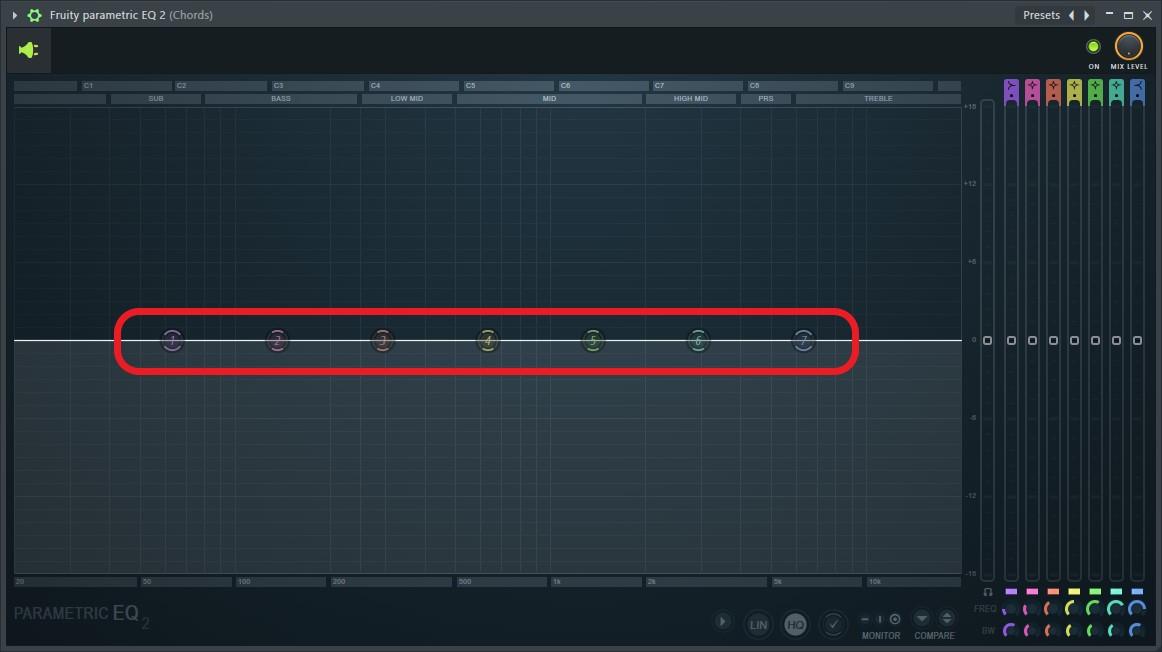
The band tokens are the mostly used parameters in the EQ because through them you can sweep across the frequency spectrum and hone in on frequencies, adjust the Q, increase or decrease the gain, and switch between different filter types.
Change the frequency of a band token by clicking and dragging it across the frequency spectrum or by using the frequency knobs that are the first row of knobs located at the bottom right of the EQ.
Filters
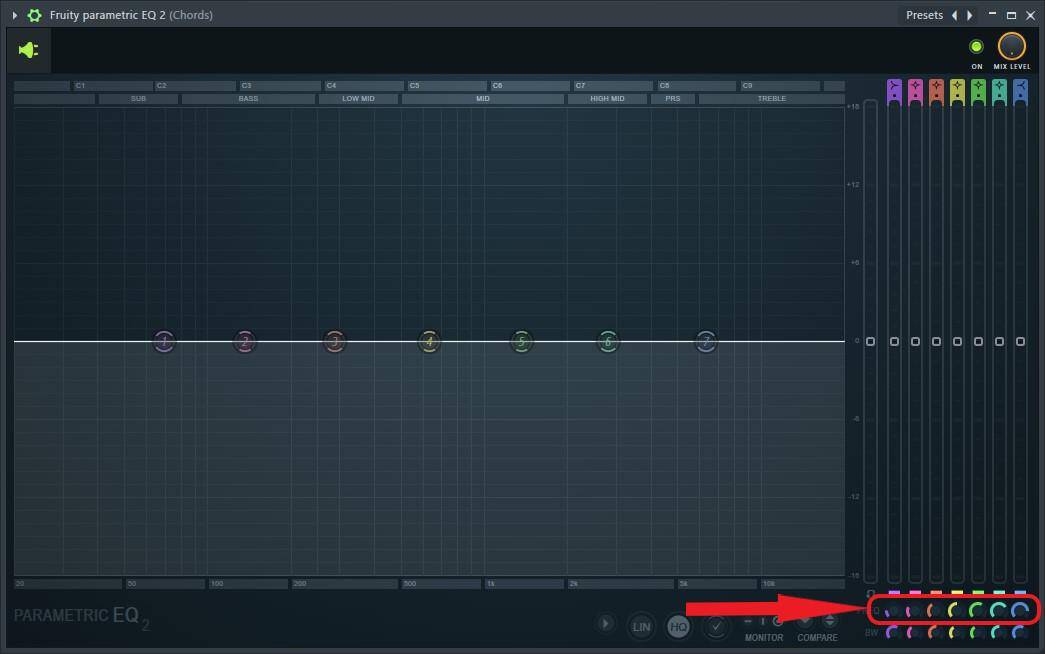
Fruity Parametric EQ 2 offers two ways to switch between different types of filters. The first is by hovering the mouse cursor over the area shown below and scrolling using the mouse wheel to change the filter shapes.
The second is by right clicking on a band token and going to ‘Type’ from the pop up menu.

This will open a list containing the different types of filters.
Low pass filter cuts the frequencies above the cut off.
Band pass filter only allows frequencies within the band to pass through while stopping frequencies outside the band from getting through.
High pass filter cuts the frequencies below the cut off.

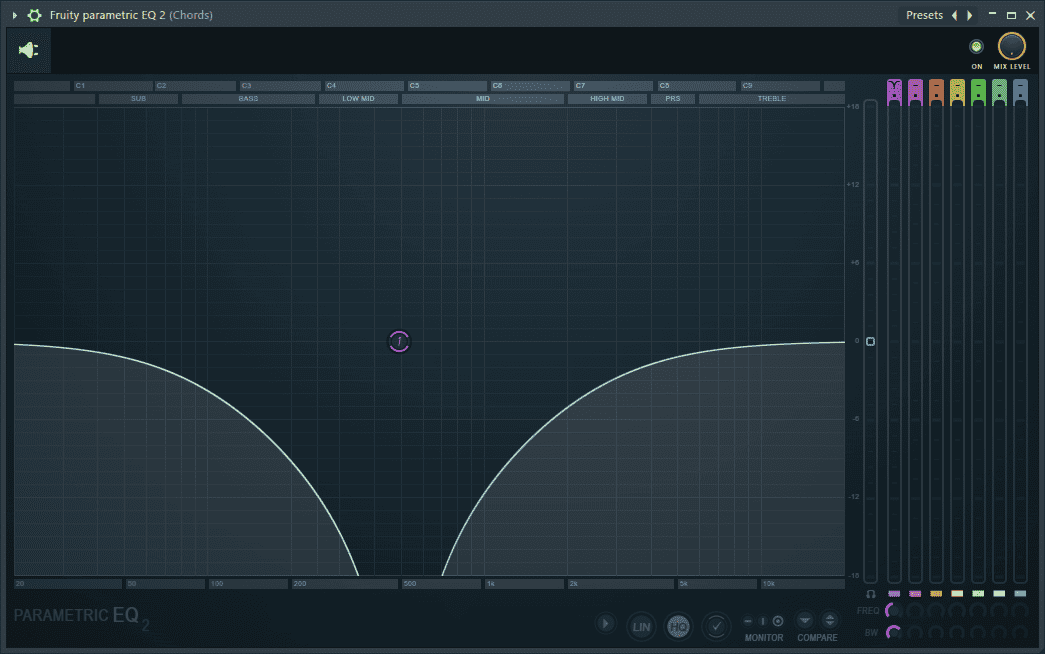
Band stop filter stops the frequencies within the band from passing through while allowing frequencies outside the band to get through.
Low shelf filter boosts or attenuates the frequencies below its cutoff.
Peaking filter boosts or attenuates frequencies around the center frequency.
High shelf filter boosts or attenuates the frequencies above its cutoff.
Filter Slopes
To adjust the slope of the various filters, place the mouse cursor over the dots under your desired band’s filter shape in the area shown below and scroll using the mouse wheel. Scroll down for steep filter slopes and up for gentle filter slopes.
Alternately, right click on a band token and go to ‘Order’.
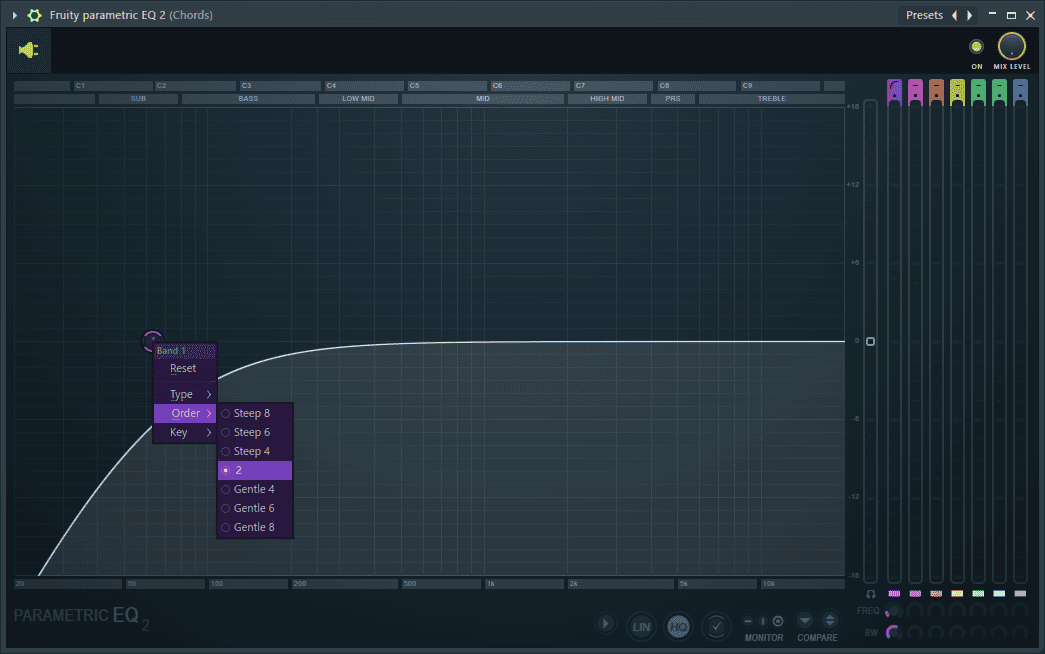
A list with the following filter slopes will appear.
Steep 8 represents -48 dB/Oct slope.
Steep 6 is -36 dB/Oct.
Steep 4 is -24 dB/Oct.
2 is -12 dB/Oct.
Gentle 4 is -24 dB/Oct.
Gentle 6 is -36 dB/Oct.
Gentle 8 is -48 dB/Oct.
The gentle filter slopes offer the same slope as their steep counterparts, but with a more gradual curve leading into the cut off frequency thus cut out more frequencies.
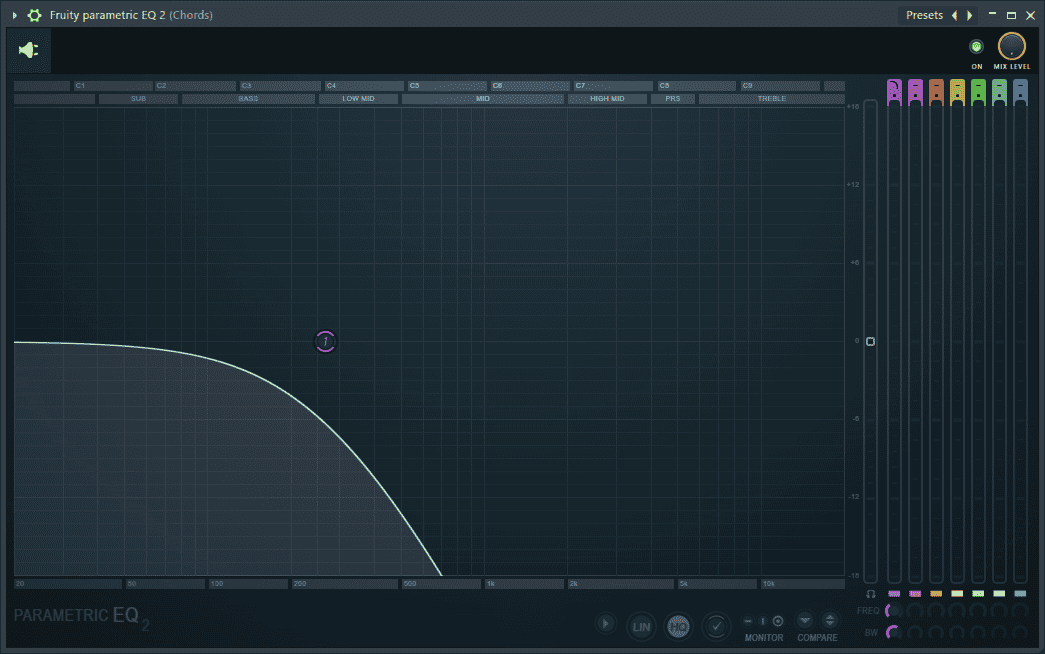
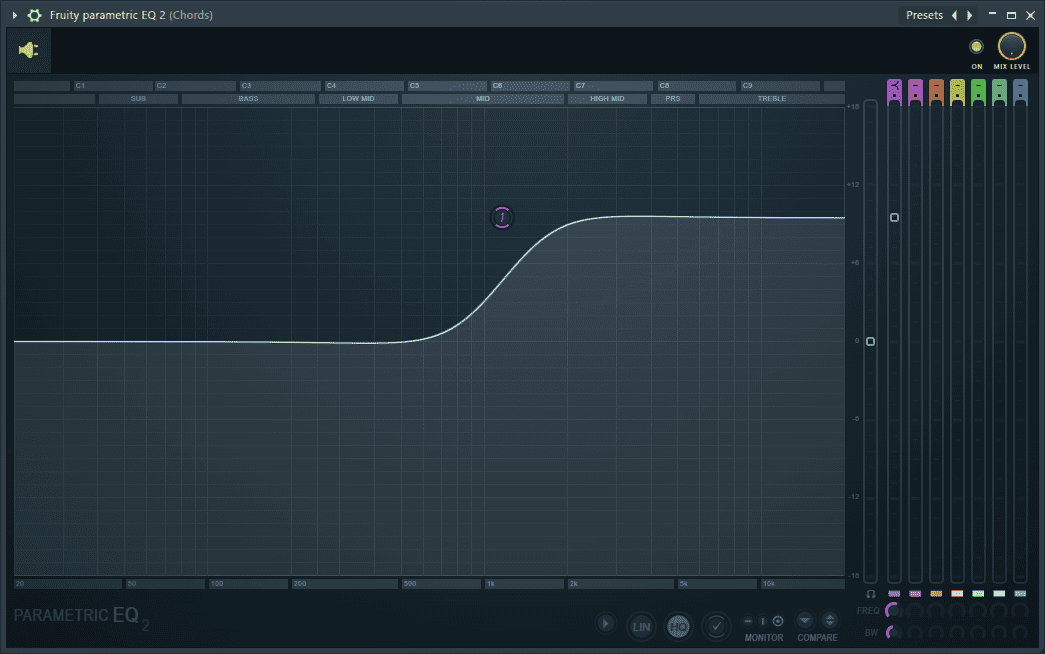
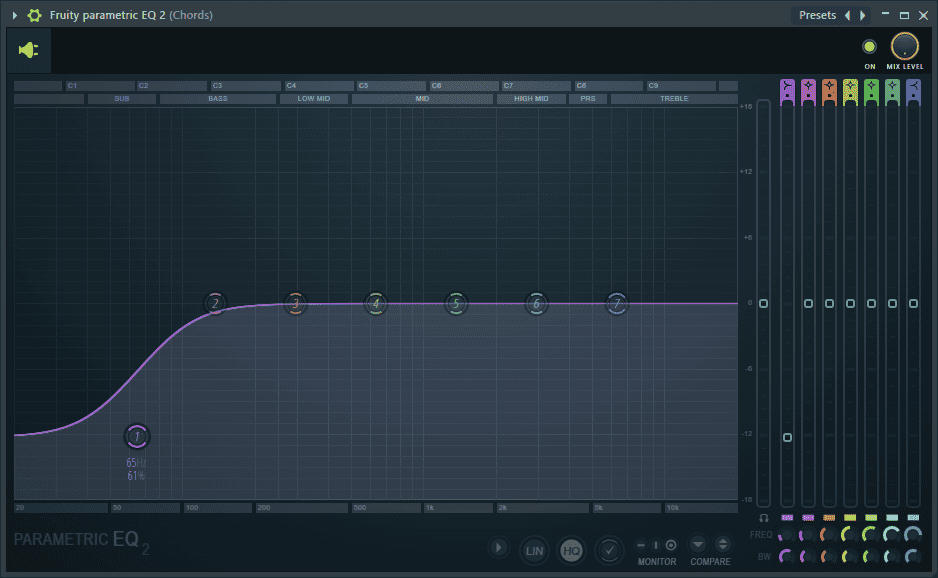
A high pass with a steep 8 slope.
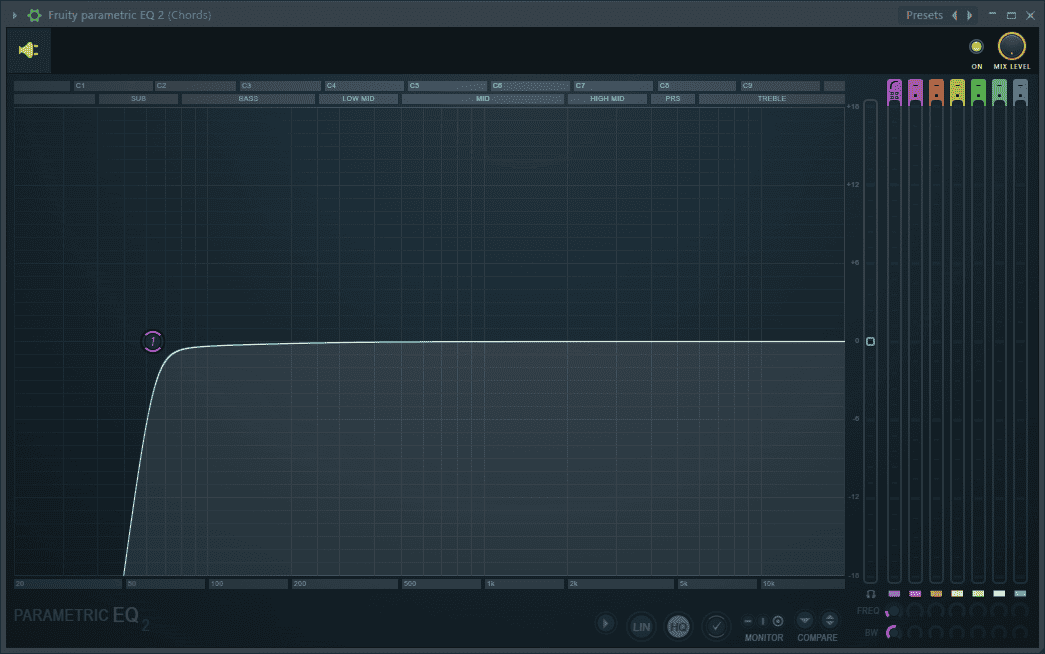
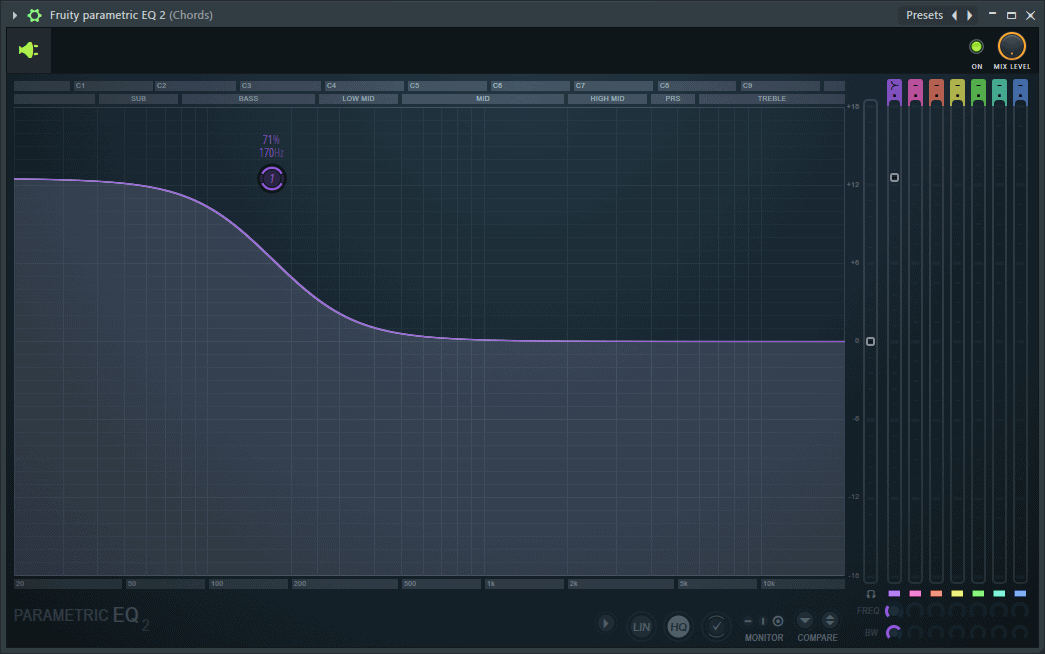
A high pass with a gentle 8 slope.
Boosting and Attenuating Frequencies
To boost or attenuate a frequency, click on a band token and drag it to the said frequency then either drag it up to boost or down to attenuate.
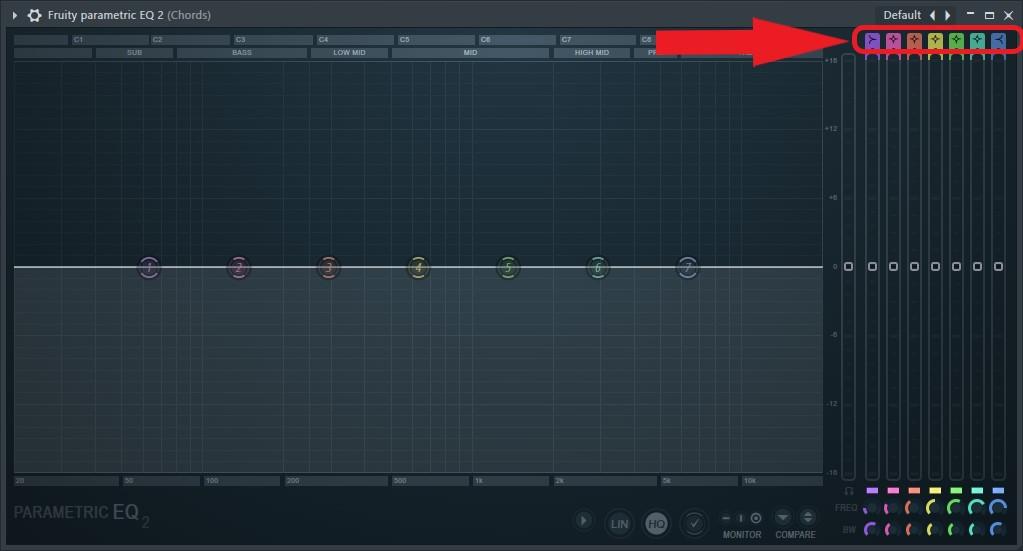
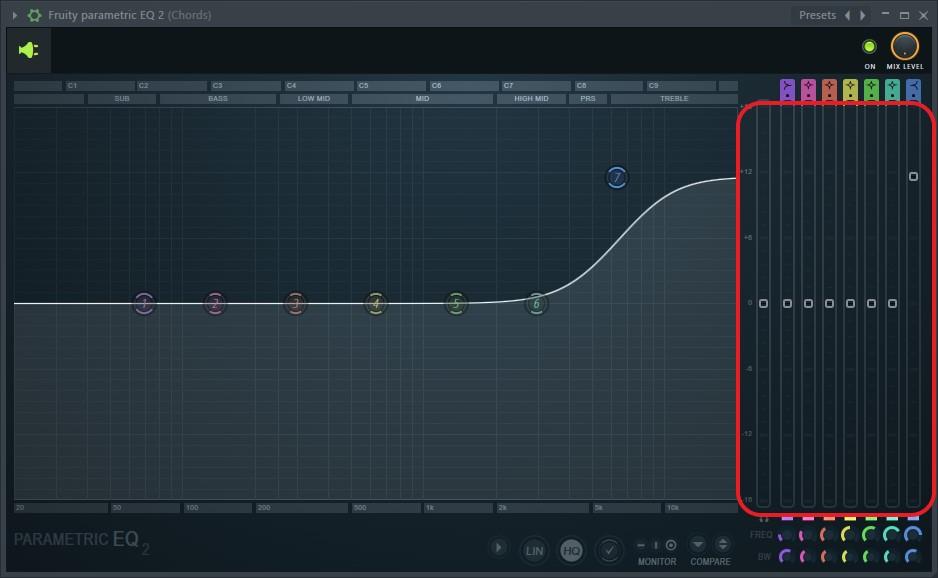
Alternatively, you can boost or attenuate using the equalization faders located on the right side of the EQ.
Band Width
If you want to get more surgical EQ moves, you can use the band width. The band width, as the name suggests, controls the width of the band. A wider band will affect more frequencies while a narrow band will only affect a few frequencies. In FL Studio, the bandwidth is written as a percentage with 0% being the narrowest while 100% being the widest band width.
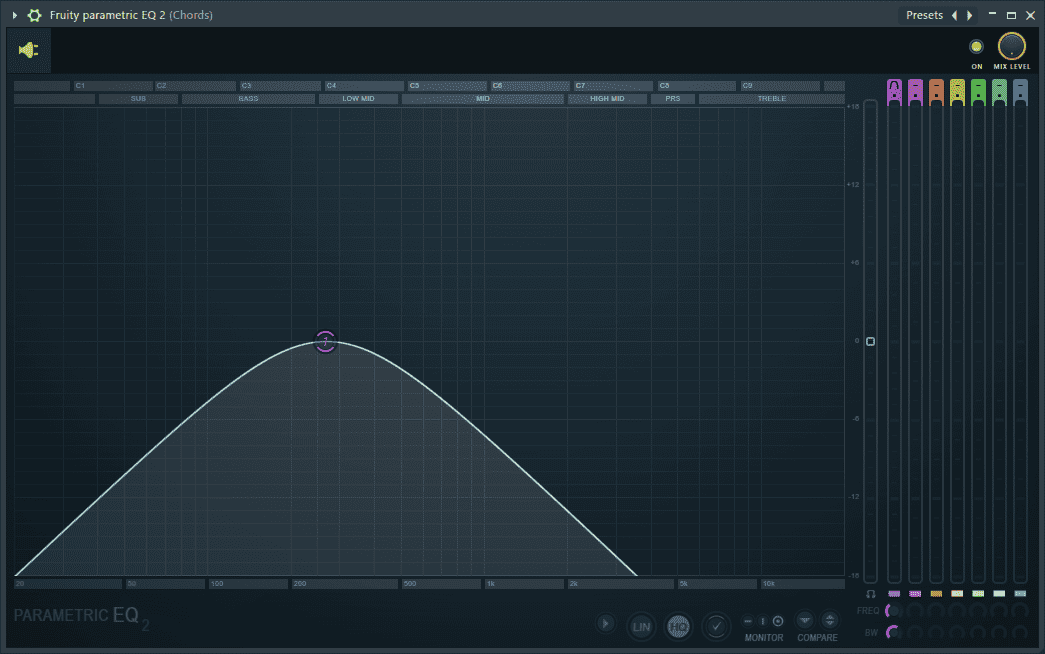
Band 3 and 6 at 0% bandwidth.
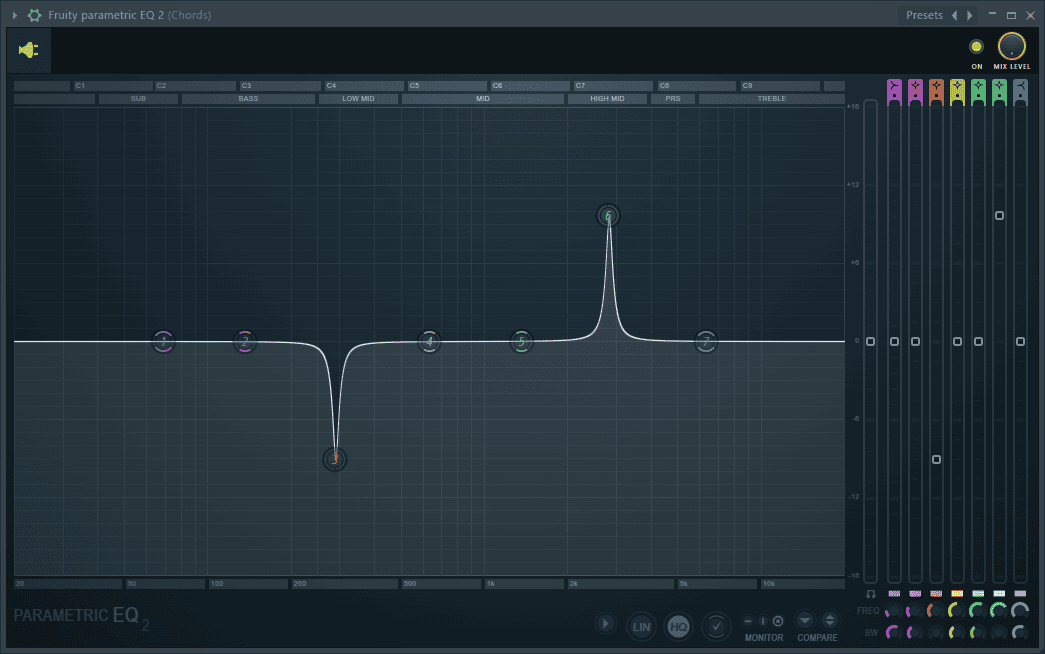
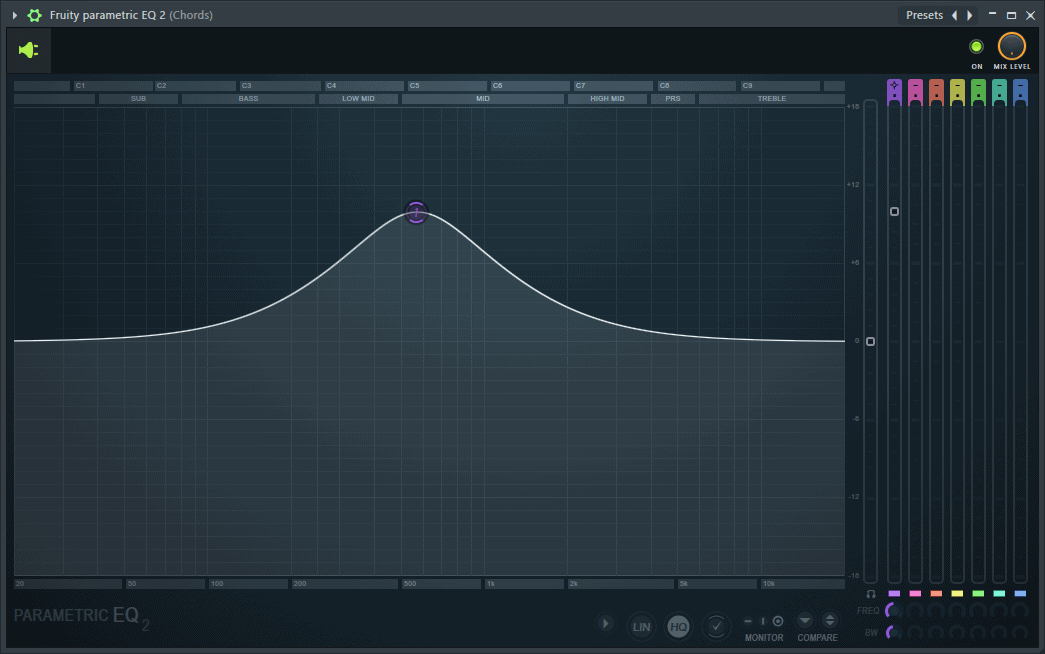
Band 3 and 6 at 50% bandwidth.
Band 3 and 6 at 100% bandwidth.
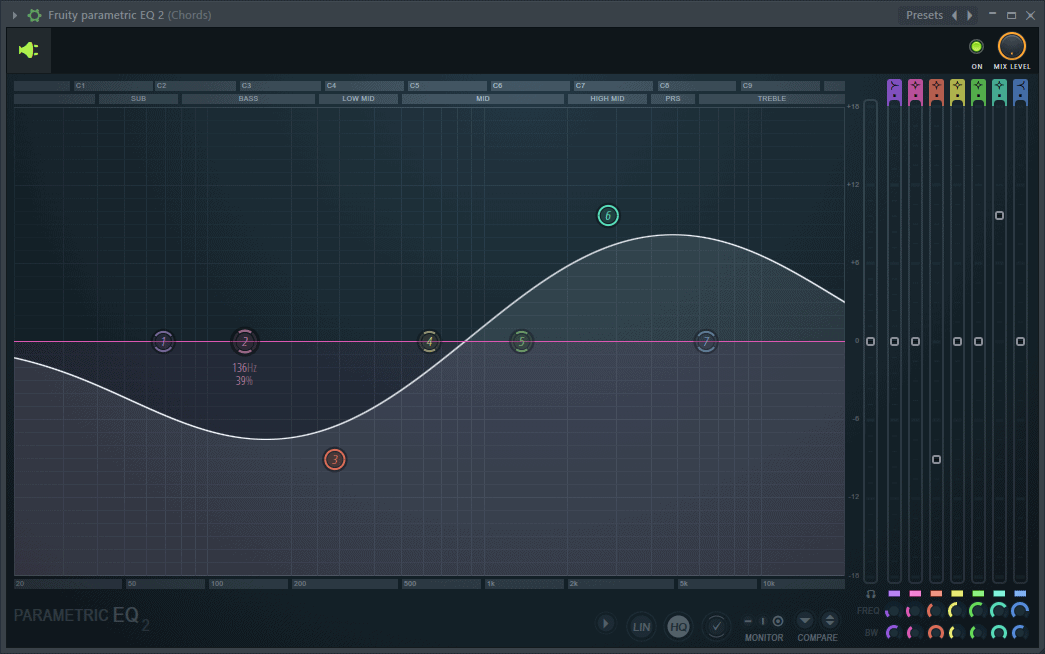
Change the bandwidth by hovering the mouse cursor over a band token and using the scroll wheel. You can also use the bandwidth controls located at the bottom right of the plugin.
Conclusion
If you’re looking for an efficient EQ that’s light on the CPU and just gets the job done, then look no further. Fruity Parametric EQ 2 will help you make quick EQ decisions on the go to get your tracks to fit well together. Just load it up on a mixer track, experiment and find out how it could work for you.

- How to Add Drum Kits to FL Studio - September 18, 2023
- Best Free Drum Kits for FL Studio - September 18, 2023
- How to Create Drum Patterns & Loops in FL Studio - September 12, 2023
")


