Audio recording comes with its difficulties, and for most artistic driven people the technical part of setting up a recording rig usually represents a steep entry barrier. If you ever have found yourself having problems with your audio setup, the first recommendation that you may have heard or read in forums is to check your Audio device settings, your interface’s Buffer size or your Sample rate.
Recommended Read: Best Free REAPER Samples & Sample Packs
In this article I will guide you through what some of these settings do and how knowing more about them can help you troubleshoot or optimize your setup for recording, mixing, mastering, and production in general, especially for REAPER.
Hardware Setup
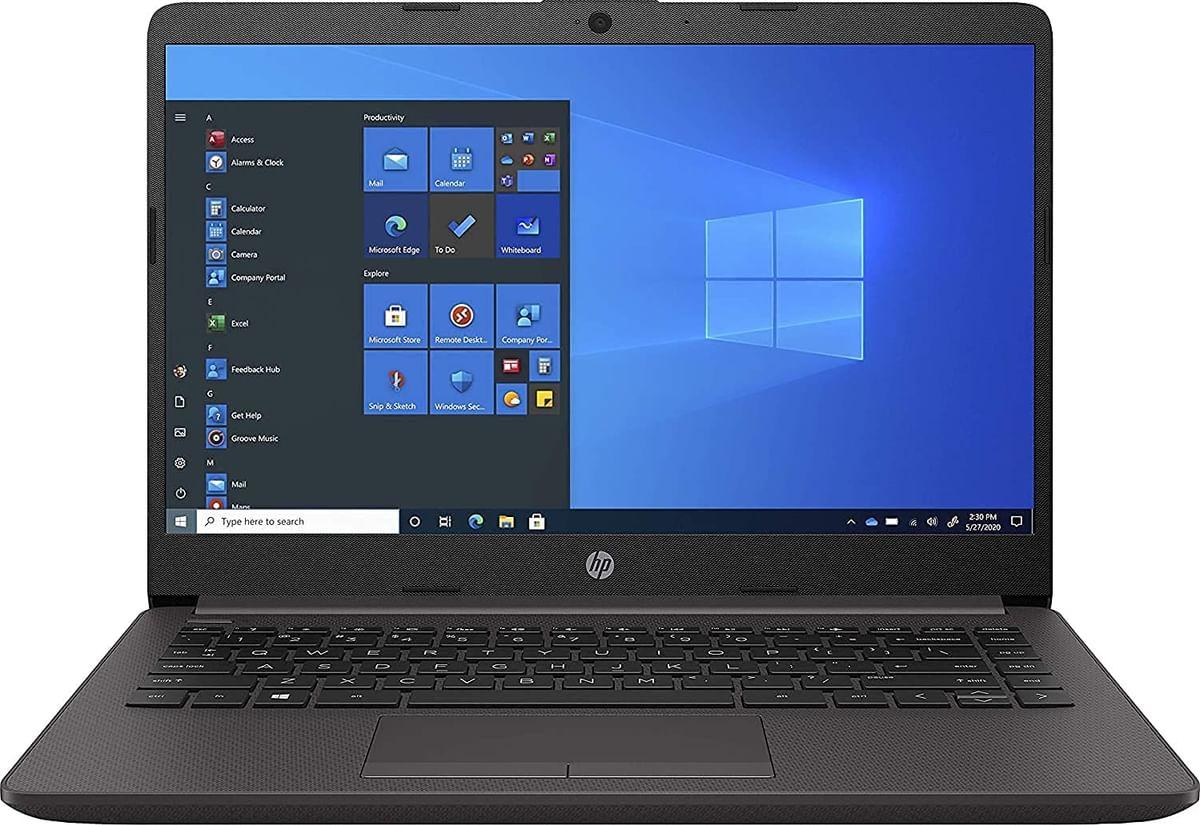
Let’s say you have an okay laptop where you want to record some ideas for a song or a podcast, most PCs or laptops from the last 5 years are good enough for basic recording or starting out, if you find yourself needing a more powerful machine you can upgrade later.
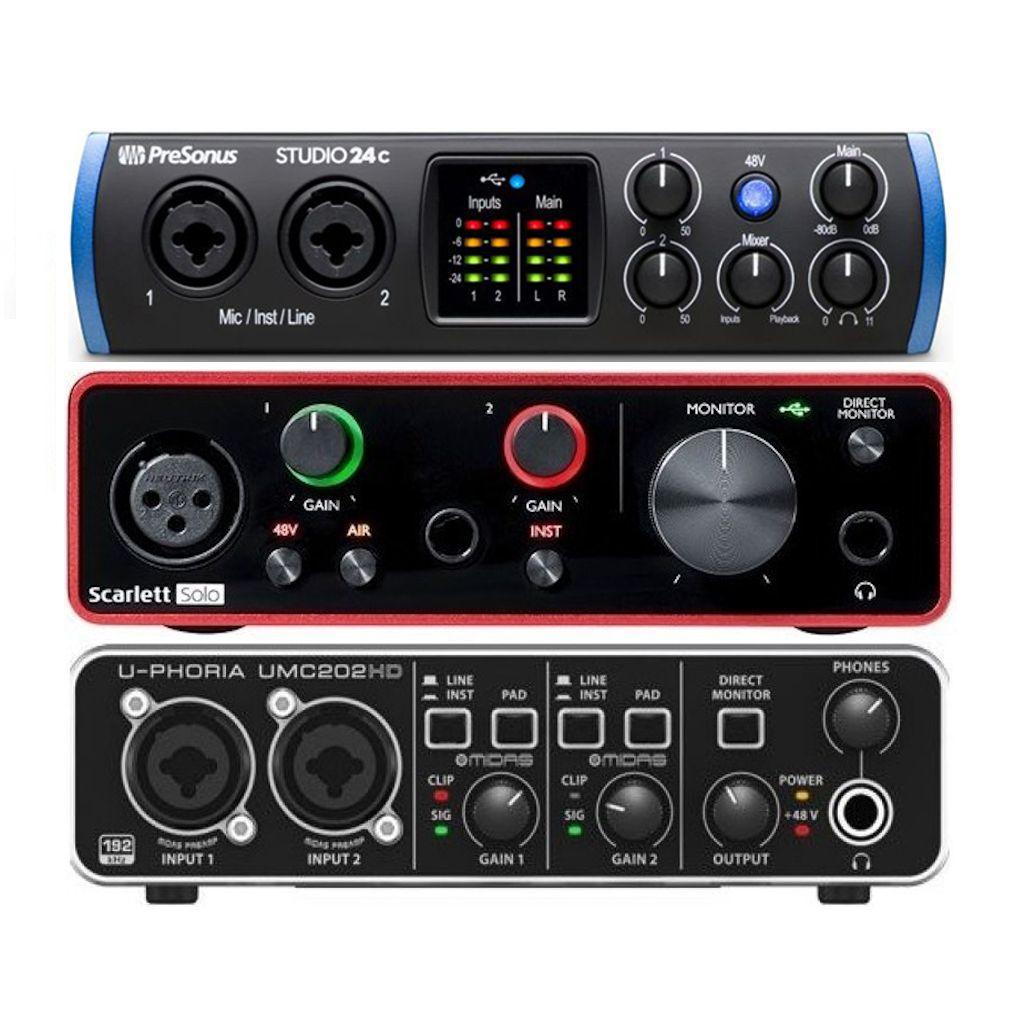
The most important part is having a solid interface for recording, I usually recommend starting out with a Behringer UMC, Presonus Studio, or Focusrite Scarlett. I won’t get into the specifics of choosing an interface, but suffice it to say that if you have any interface from these product lines or better you’re more than half the way there! an interface with reliable drivers and support can make or break your recording experience.
For this article, I’ll assume you already got your interface’s Audio driver from the site of the manufacturer of your interface, and also have REAPER installed. so let’s get right down to it.
Recommended Read: Using the REAPER Sampler (ReaSamplomatic5000)
Software Setup
Now, let’s open REAPER and go to preferences. In Windows use the shortcut Ctrl+P and in Mac use Cmd+,.
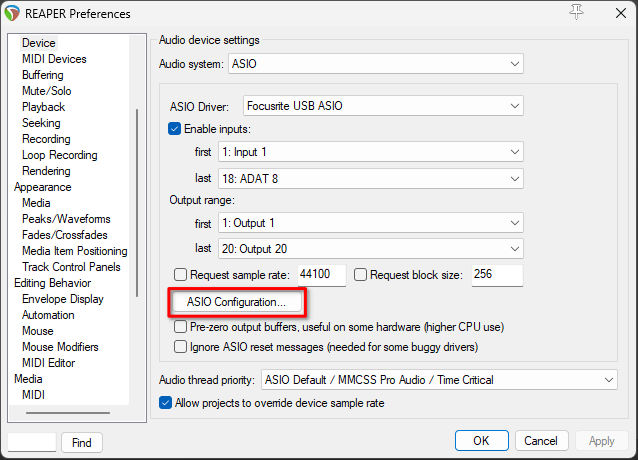
Then go to the Device tab. Here you will find your REAPER Audio device settings. In Windows it should look something like this.
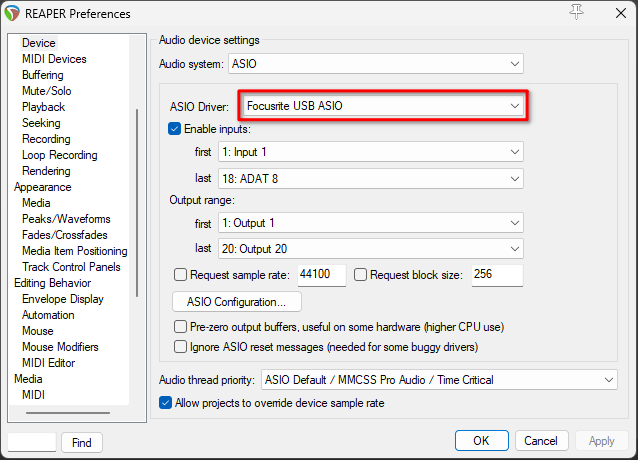
In this tab you can select the Audio driver that REAPER is going to communicate with, this is going to depend on your Operating system
Windows uses a special kind of audio driver called ASIO, this driver allows REAPER to communicate directly with the interface, bypassing the latency or delay that the operating system can introduce to the signal chain.
Mac uses Core Audio, which basically allows the communication between REAPER and the interface to go as smoothly as possible, it can handle some complex internal routing and is usually slightly more stable and reliable than Windows ASIO.
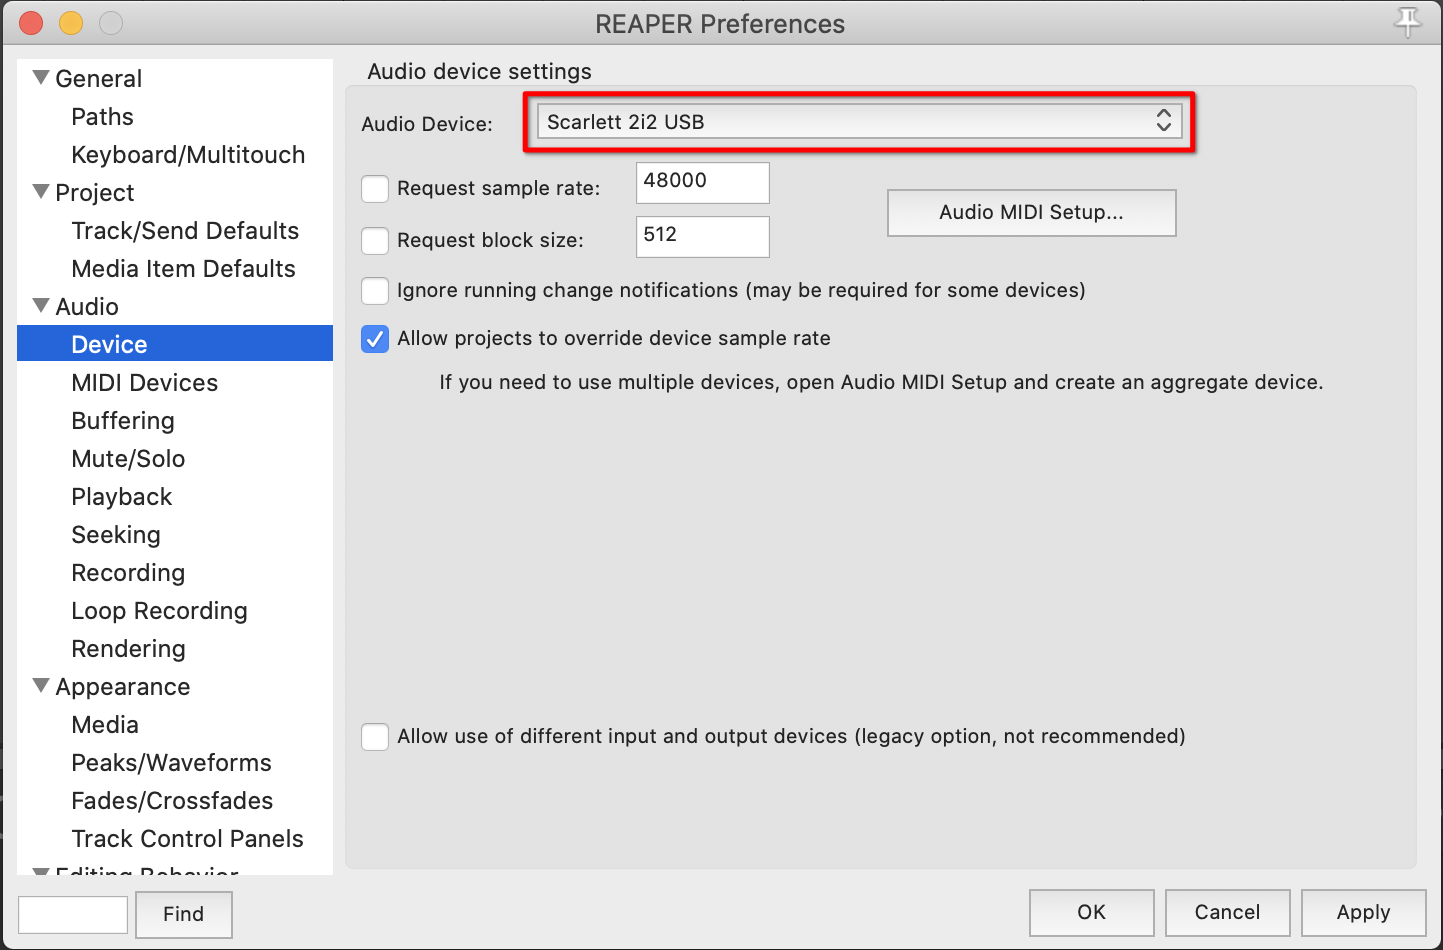
Regardless of what OS you’re using, it will most likely have the name of your interface product line next to the driver. Then, in Windows, you probably want to set your first and last output, as well as first and last input.
Audio Driver
Now you can open your interface audio driver panel using the button in the REAPER preferences. Here undoubtedly you will find at least 2 indispensable parameters to audio digitalization and interfaces.
Sample Rate
Determines how detailed is the digital representation of audio inside your machine and the highest frequency your digital system can represent digitally. The minimum is usually 44.1k Hz, which is the CD standard and works just right for what us humans can hear, but many studios are starting to work at 48k Hz or even 96k Hz.
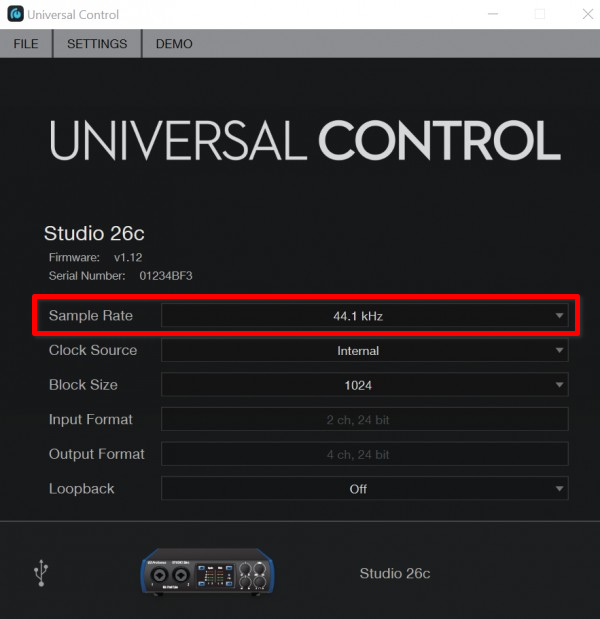
Please keep in mind that although a higher sample rate gives a more accurate representation of the audio in your machine, it also will use more space in your hard drive and be heavier for your processor to record and playback.
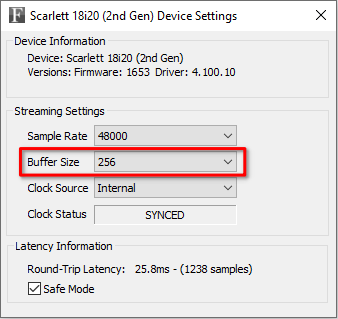
Buffer Size / Block Size
Depends on your Sample rate and determines how much time your processor has to get audio in and out of the system, it’s measured in samples and usually has values that are a power of two (this is because these values are easier to process), it usually goes like this for Sample rates of 44.1k Hz and 48k Hz:
- 16, 32 & 64 samples are ultra low latency values
- 128 & 256 samples are low latency values
- 512, 1024 & 2048 samples are values to optimize processing
Basically, the lower the Buffer size the more responsive your system, but the harder to process the audio is. And if you have a higher Buffer size you will be able to process more tracks and heavier plugins but will not be able to record while hearing yourself properly.
You will know if any setting is too heavy for your machine if it starts crackling, popping and lagging. REAPER will also show it by lighting in red your transport bar. If this happens try raising your Buffer size, or bypassing any heavy plugins, stay tuned for the next articles that will go in deeper in this matter.
Conclusion
My general recommendations for setting up your Audio device are working at 48k Hz of sample rate and modifying your buffer size depending on the task that you’re working, 128 samples for recording, or 1024 samples for processing audio (mixing or mastering).
Don’t fear the audio settings! They are here to help you optimize your setup, give them a try and if you need more help, try writing on the REAPER facebook groups. In further articles I’ll be exploring more intricate audio settings and troubleshooting, I hope this was helpful and have fun!

- Mixing in REAPER [ULTIMATE Guide!] - September 18, 2023
- How to Record in REAPER (Guitar & Vocals) - August 2, 2023
- Writing MIDI Drums in REAPER - July 3, 2023
")
![Is REAPER a Good DAW? [Honest Opinion]](https://ProRec.com/wp-content/uploads/2022/09/image-271-180x180.png "Is REAPER a Good DAW? [Honest Opinion]")
![Mixing in REAPER [ULTIMATE Guide!]](https://ProRec.com/wp-content/uploads/2023/09/mixing-in-reaper-180x180.png "Mixing in REAPER [ULTIMATE Guide!]")
