Just like BPM and time signature settings, setting up metronome is also important for creating a frame of reference since you want to hear the click along with your tracks. Thus, in this article I’ll be exploring the basic and not as basic intricacies of metronome settings and click tracks, welcome to the ride!
Recommended Read: Speed Up and Slow Down Tracks in REAPER
Global Metronome Settings
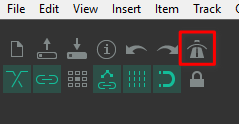
First, if you have been working with REAPER for a while, you’ve probably noticed that there’s a button in your main toolbar that activates and deactivates the project’s metronome.
This is your global metronome, it will sound straight through all your outputs by default, and always follow all the tempo and time signature changes along the project. This default configuration will probably suffice for most applications.
However, if you want to minutely adjust the metronome to your needs you will have to go beyond that. Next step is right clicking that same toolbar button to open the Metronome and pre-roll settings.
Recommended Read: How to Stretch Audio in REAPER (Time Stretch)
Activation and Count-in
The very first option is a checkbox to enable your metronome. Below it, you can see checkboxes that modify how your metronome is going to behave.
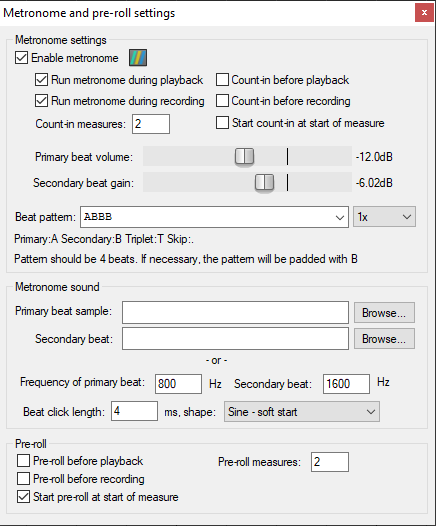
These options can make your metronome only sound when you’re recording but not when you’re listening to what you recorded without having to constantly enable and disable your metronome.

If you enable any of the Count-in options on the right, REAPER will play the set metronome for the amount of measures specified in the Count-in measures text field before playing back or recording from the position your cursor is on.
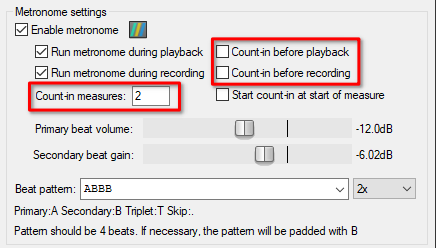
Keep in mind that enabling count-in won’t record or playback any audio or MIDI before the position of your cursor, that only happens with the Pre-roll settings that I will show later.
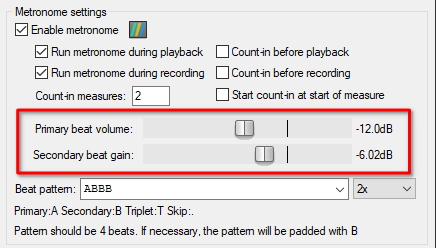
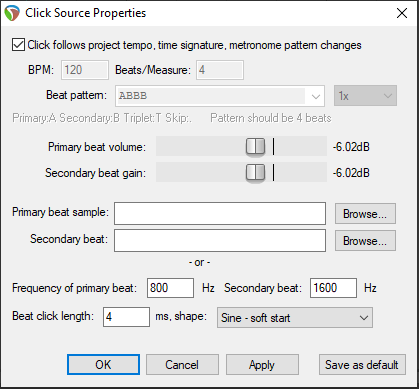
Next, you find the level of your metronome, with a dedicated level fader for both click accents. your Primary beat usually represents the strong accents, and the Secondary beat represents the weak accents in a bar.
And at the bottom of the section, is the Beat pattern that the metronome will follow for your project’s global tempo. Here you can set up specific ways of counting, this can come extremely handy when your song has compound time signatures like 7/8 or 12/8. (A) represents your strong accents, (B) represents your weak beats, and a dot (.) represents a silent beat, your Beat pattern should have as many symbols as the top number of your time signature.
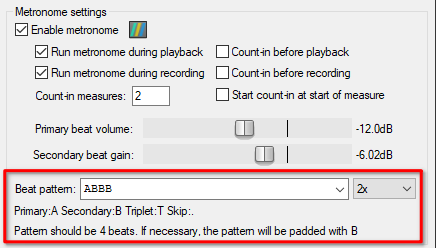
The multiplier on the right allows you to effectively double or quadruple the clicks of your metronome per bar.
Recommended Read: Creating Tempo Maps in REAPER
Global Metronome Output
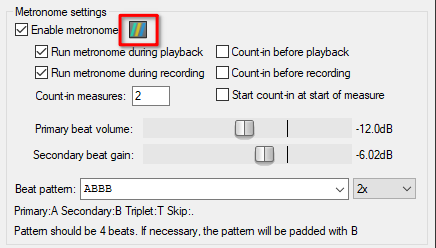
Before moving on to the next section, let’s check the metronome outputs (Yes! you can route your metronome however suits you!). You can find the routing button just beside the Enable metronome checkbox.
Here’s where the options get interesting, especially for larger studios or people with multiple outputs.
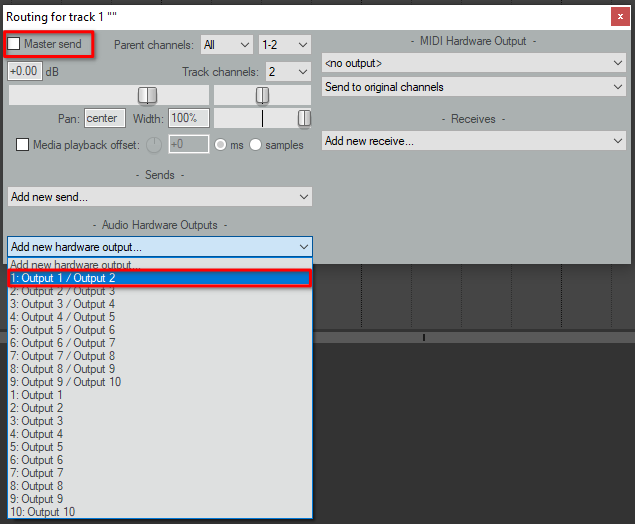
As an example, let’s say you are recording a live session in a big studio, you’re listening in the control room through Outputs 1&2, Outputs 3&4 are the drummer’s monitor, and Outputs 5&6 are used for the singer’s monitor. Now, you may want to listen to the metronome, and send the project’s metronome to the drummer but not to the singer to prevent bleed from the headphones into his/her microphone. In this case you don’t want the metronome to sound through all your interface outputs as it does by default, instead you may want to select Stereo: Output 1 / Output 2 and Stereo: Output 3 / Output 4 in the metronome outputs.
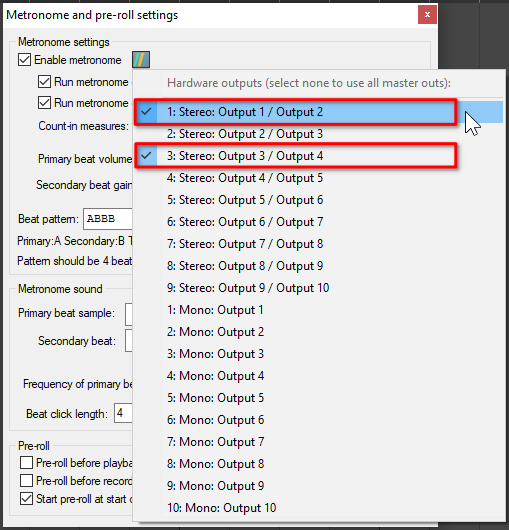
Once done, it should look like the previous image.
Metronome Sound
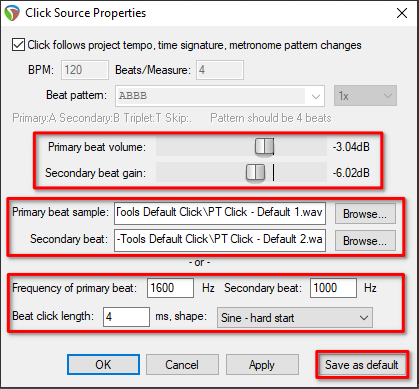
First, REAPER presents you with the option of loading your own metronome samples, this is a godsend for people like me who much prefer the Pro Tools or Ableton Metronome sounds.
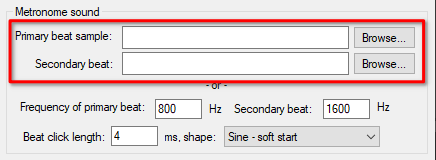
Using this option is only a matter of clicking Browse to find the sample file in your machine.

Do this same procedure for both Primary and Secondary metronome samples.
Another option is modifying the default REAPER click sound using the basic options that it presents.
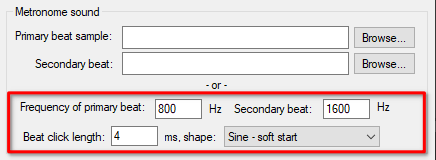
I personally don’t like the fact that the default Primary beat has a lower pitch than the Secondary beat, so I will change the frequencies of both beats to ones that suit my workflow better. And also change the shape from a soft sine signal to Sine – hard start.
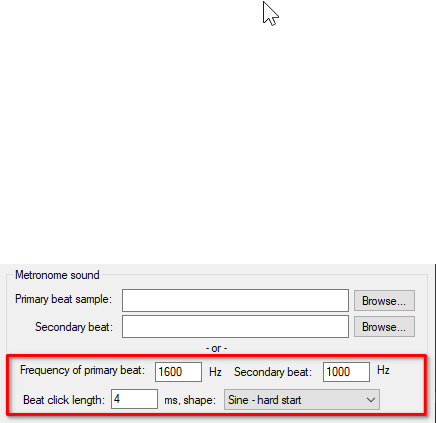
And with these settings, it sounds more like what I expect of a metronome click, and it’s the way I set up my metronome for the times when I don’t have the Pro Tools click sample in the machine I’m working at the moment. Feel free to experiment in order to find what you like.
Pre-roll Settings
Pre-roll is an option that allows playback or recording previous to the position where you set your play cursor. This gives you the chance to get a feel of the tempo and have an easy way of automatically punching in the part you’re trying to record.
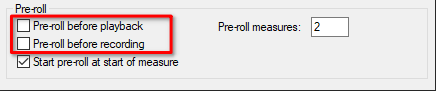
The Pre-roll can be set only for when you’re recording to facilitate punching in, or when you’re playing back, perhaps to get some context before any give change in production or for practicing a part without recording.
You can set up how many Pre-roll bars or measures you’ll have before the play cursor position in the Pre-roll measures text input.
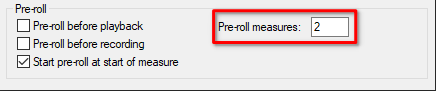
Pre-roll by default always starts as a count from the 1st beat of a bar, this is handy because that’s how musicians tend to count bars before a performance in order to get a tempo and time signature context.
Creating a Click Track
Having a Click track instead of using the global metronome allows you to apply effects to your metronome, easily change the level of the whole metronome sound, and gives you more flexibility when it comes to routing. The only drawback is that you can’t use a Click track only for recording, you’ll have to activate and deactivate the Click track manually. To compensate for this, I’ll show you a trick to easily activate or deactivate it on the fly.
To create a click track, let’s create a new track, I’ll name it “Click”, this will serve later. Then, with the track selected, go to the Insert menu at the top left, and select the option Click source.
The Click source item is inserted with the REAPER default global metronome options. If you want to adjust your click source properties, right click the item and select the option Source properties, or select the item and use the shortcut Ctrl+F2.
Just like the global metronome, the click source follows tempo and time signature changes, and this one, also follows the beat pattern that you set up in tempo/time signature markers (check them in this article).
Here you may have to set up again your metronome, fortunately, you can save these settings as the default Click source item using the Save as default button at the bottom right of the properties window.
Having this done, you have your Click track set up and going out through your master output as any normal track in your project. I personally like to deactivate the Master output and set up the track to output through Outputs 1&2. To do this, I’ll open the routing options of the Click track, then uncheck the Master/parent send and select Output 1/ Output 2 in the Audio Hardware Outputs section. You can also create multiple audio outputs for your Click track.
After having your Click track set up and routed, you may want to hear the metronome even if you have another track soloed. This can be done by right clicking on the solo button and selecting the Solo defeat option, or clicking the solo button while holding the Ctrl+Shift modifiers.
Now, you can activate or deactivate the Click track by unmuting or muting the track, and here I present to you a great trick to assign a shortcut for that. For this, you need to install the SWS extensions.
SWS Extension
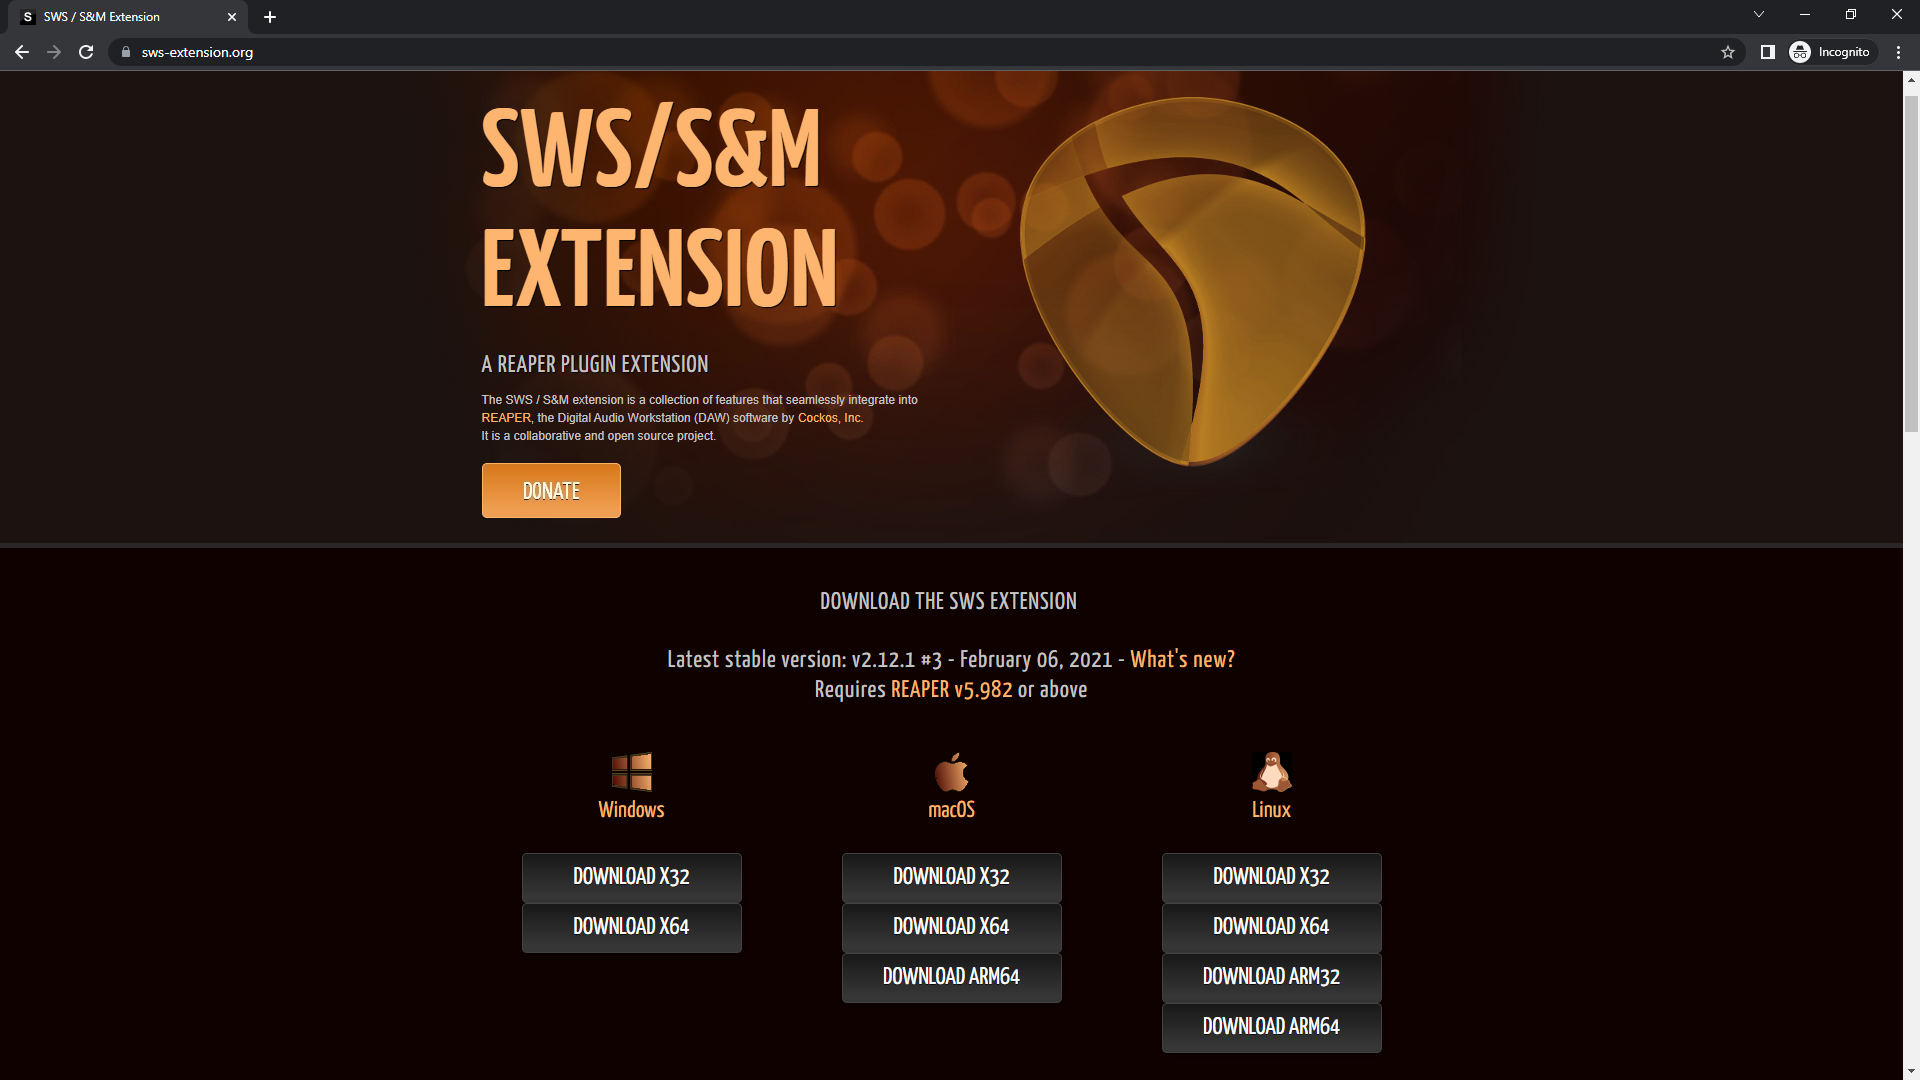
The SWS/S&M extension is an extremely useful pack of tools that supercharge the way you interact with REAPER. To install the extensions, go to the download page, download the respective installation file for your machine.
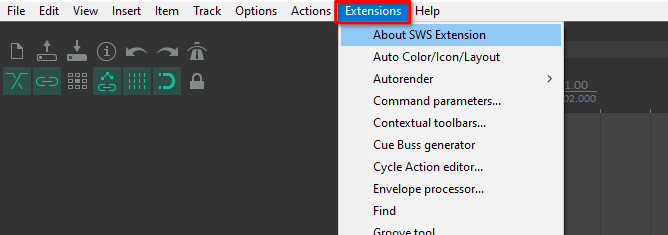
Then, follow the installation instructions. Once the extensions are installed, you should get the Extensions menu on your top bar.
This enables an action that allows you to activate or deactivate a click track. Let’s open the action list by typing a question mark on the main panel (?), then type “Toggle click track”.
It’s probably a good idea to assign a shortcut to this action so you don’t have to open the action list every time. I like NUMERIC 7 (Number 7 in the numpad). This should have you set up for most of your projects and needs.
Multiple Click Tracks
Let’s be real, there’s some people that just don’t have enough with just one Click track. I’ve known some composers that create interesting and complex rhythmic patterns with different feels, compound measures, nested tuplets, etc. In these cases, one metronome is not enough, especially if you have to record or play live to a track with these kinds of arrangements. Don’t panic, once you learn everyting up to this point, escalating your metronome options is really simple.
As an example, I have a project set at 120 BPM and a time signature of 4/4, and let’s say that I need two bars to have a triplet feel metronome, let’s set it up!
First, create a new track and insert a new Click source in this track. Then, cut the Triplet click source to only the parts where you need it.
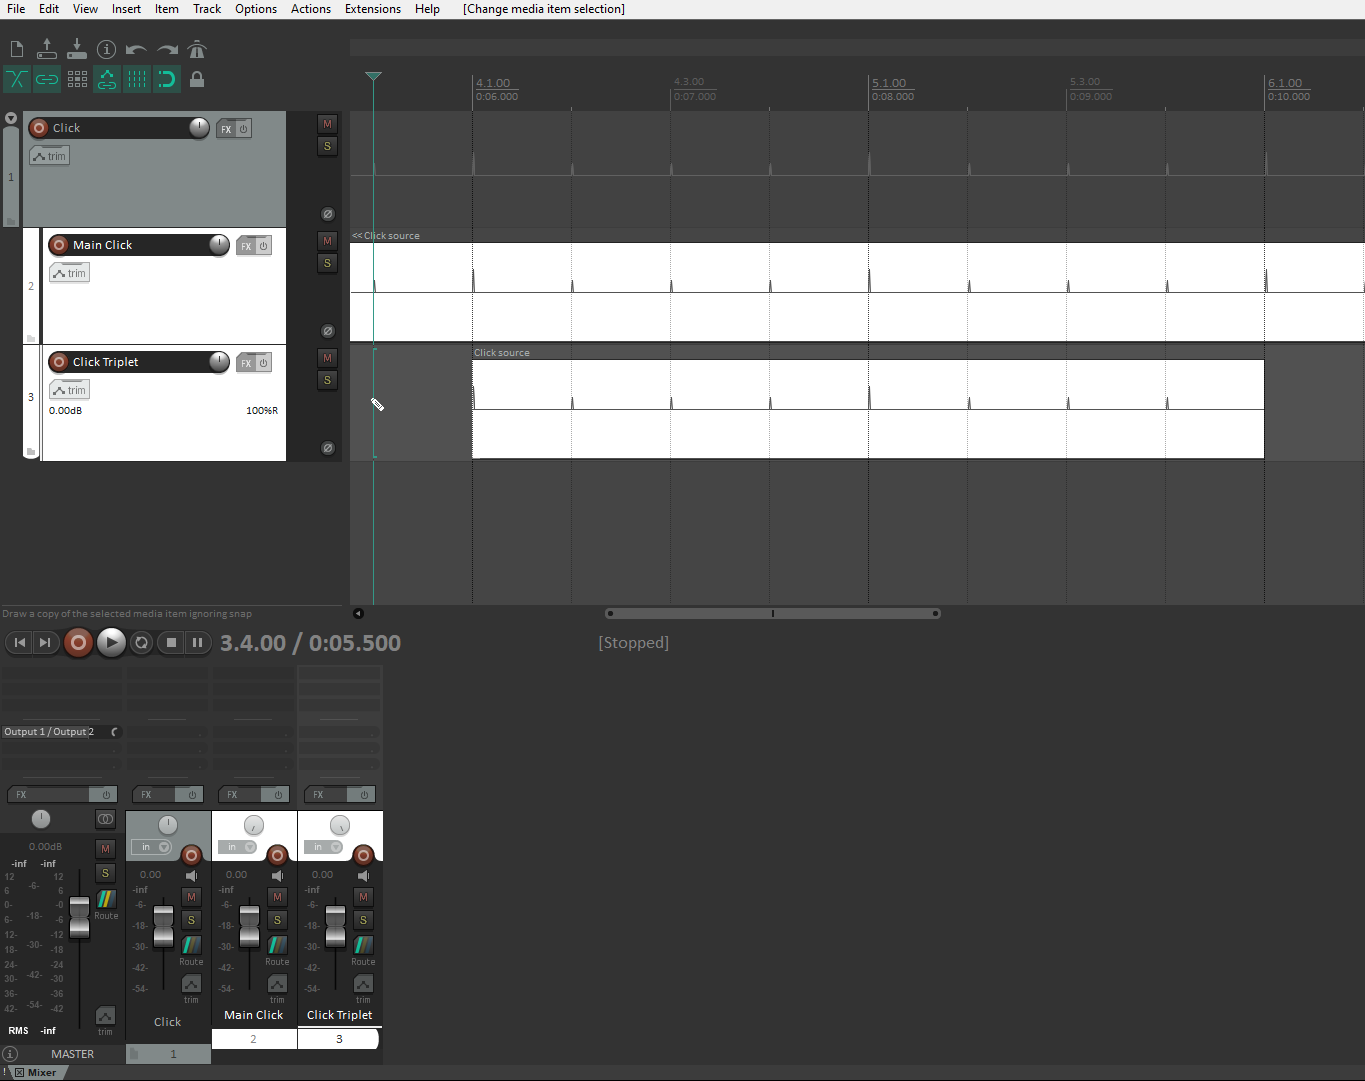
You probably want to set a Click folder track that contains the main Click track and the Triplet click track so that your click toggle shortcut mutes or unmutes the folder with all the click tracks.
Next, right click the Triplet click source and open the Source properties. This window has all the settings that you need to set it up.
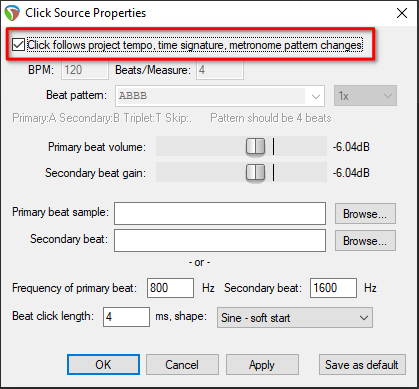
Uncheck the option Click follows project tempo, This lets you set up the beats, tempo and accents of the Triplet click source to whatever is needed. In this case as I want to set up measures with 2 strong beats and a triplet feel, multiply the tempo by 2/3.
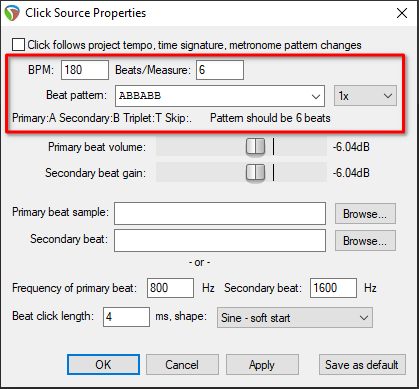
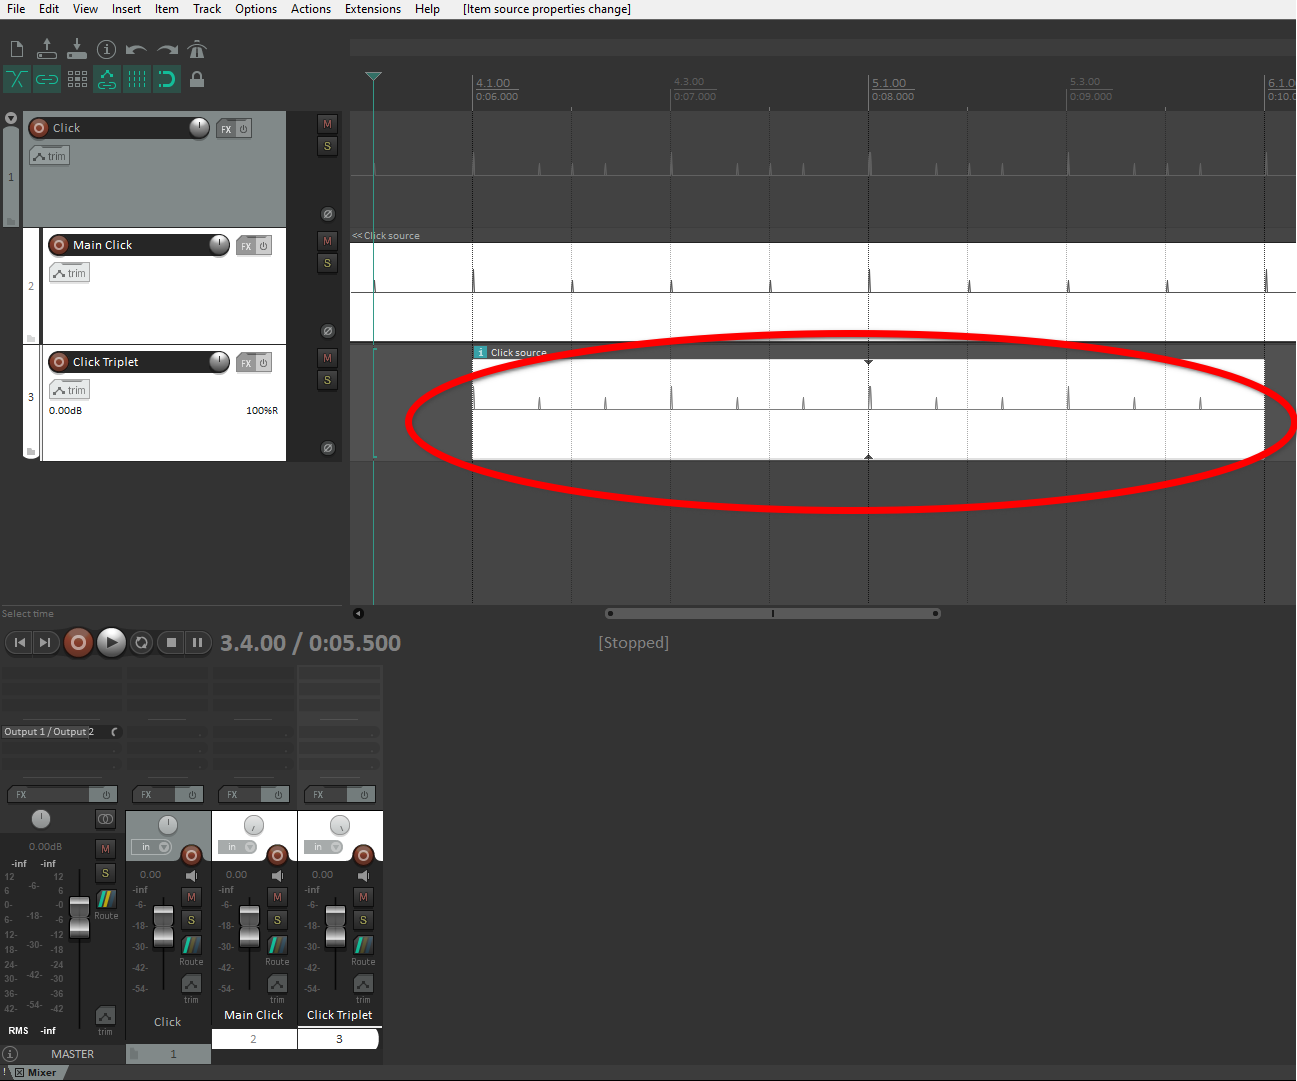
This results in a tempo of 180 BPM with 6 beats to match the original tempo and time signature of 120 BPM with 4 beats, click Ok and it should look like this on the timeline.
Conclusion
Metronome settings and click tracks are very versatile in REAPER, you can create up to really intricate polyrhythmic patterns and different click tracks depending on your needs. The more you create the more complex it gets, and it’s up to you to experiment on your own projects how you want to set up your metronome. In the end, knowing your tools depends on your needs and your curiosity. I hope you have fun experimenting and discovering new ways of using your tools in order to materialize your projects. I hope you can use this information, and have fun.

- Mixing in REAPER [ULTIMATE Guide!] - September 18, 2023
- How to Record in REAPER (Guitar & Vocals) - August 2, 2023
- Writing MIDI Drums in REAPER - July 3, 2023
")

