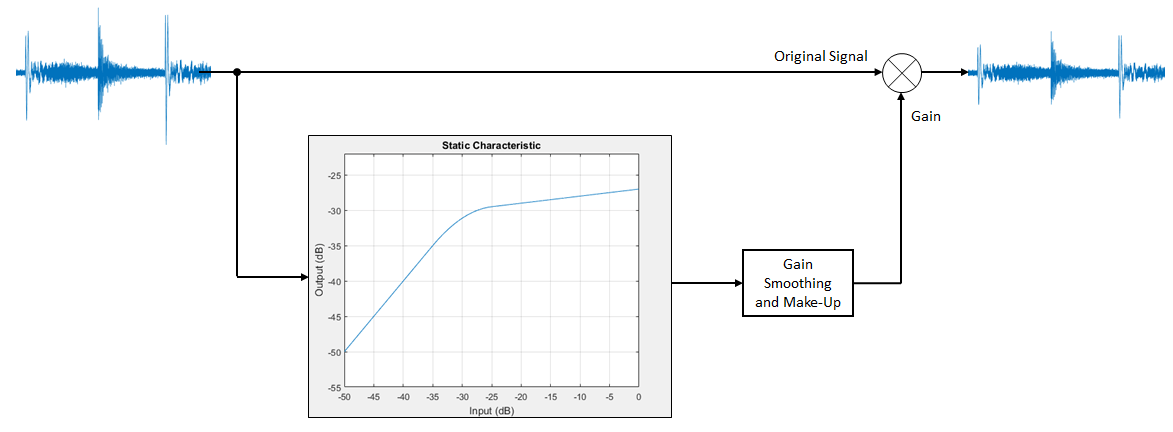
In the world of audio processing and mixing, parallel compression is a sub-sect of parallel processing, a technique that audio engineers use to blend processed and unprocessed audio.
Recommended Read: How to use the Ableton Glue Compressor Effect
For example, you can blend a dry guitar track and a secondary (auxiliary) recording of the same track with added effects such as a guitar amplifier, EQ, compressor, distortion etc. This is where you apply parallel compression, it is a blend that includes an added compressor effect.
In Ableton, there are 4 main ways to achieve parallel compression:
Recommended Read: How to Use the Ableton Multiband Dynamics Compressor
- Faders: this is the simplest technique. You use the volume fader in the mix or track view to rebalance the volume between tracks.
- Audio Effects Rack: this technique requires you to group your effects, and rebalance the volume in the signal output volume controls.
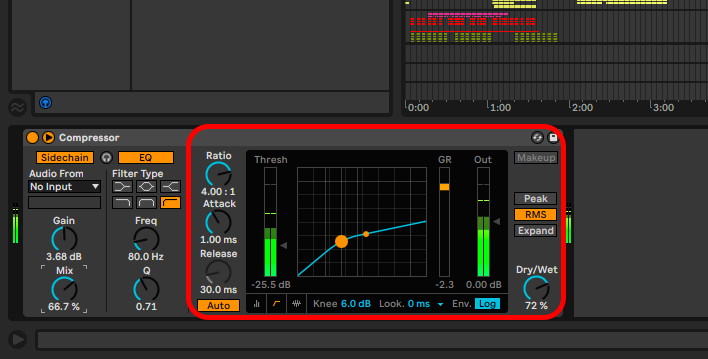
- Dry/Wet: nearly all Ableton effects have a dry/wet knob control to help you easily blend the processed and unprocessed signals
- Side-chaining: this tool is in all of Ableton’s compressors that allow you to use the input of a signal from a different track to gel and rebalance the volume of the track with the compressor
This is how you use these techniques to achieve parallel compression:
Fader
You can use the volume faders to manually control the volume differences between the processed and unprocessed tracks:
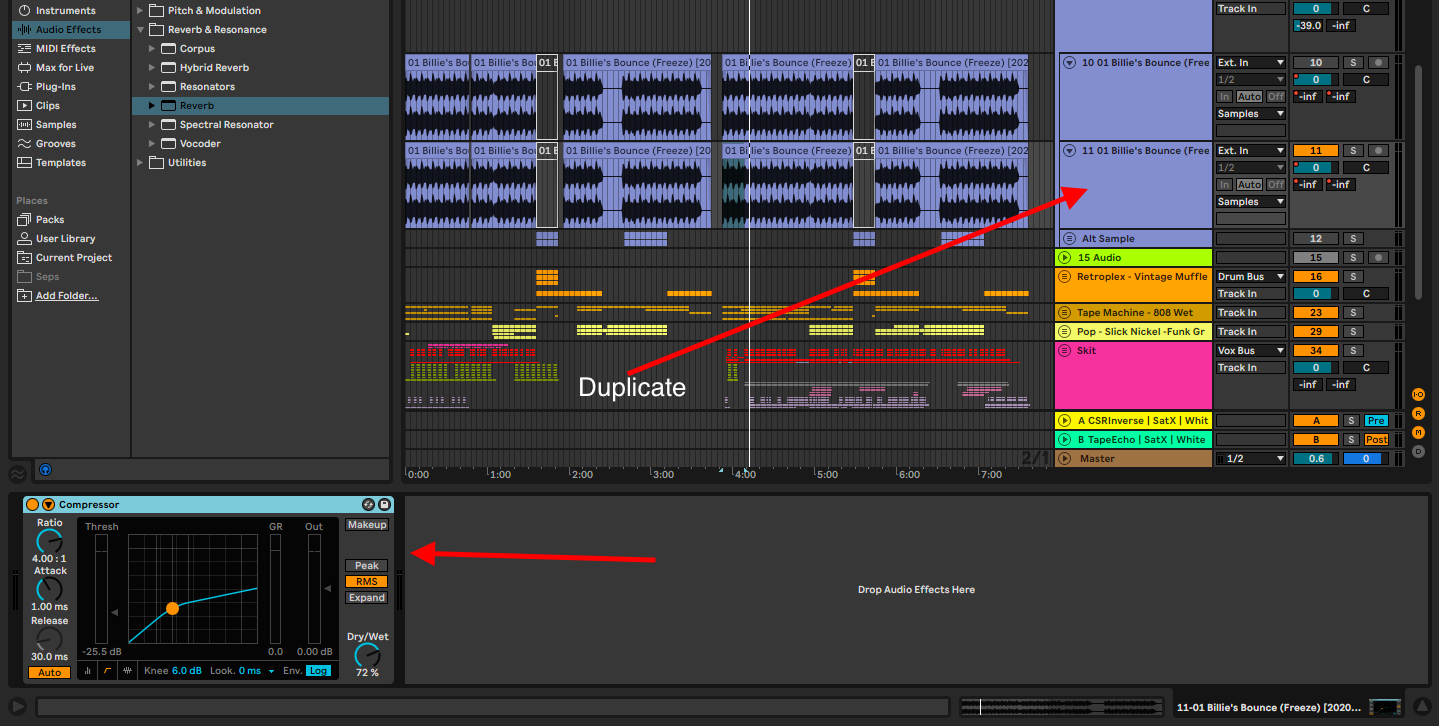
Step 1: duplicate your track and compress it to your content
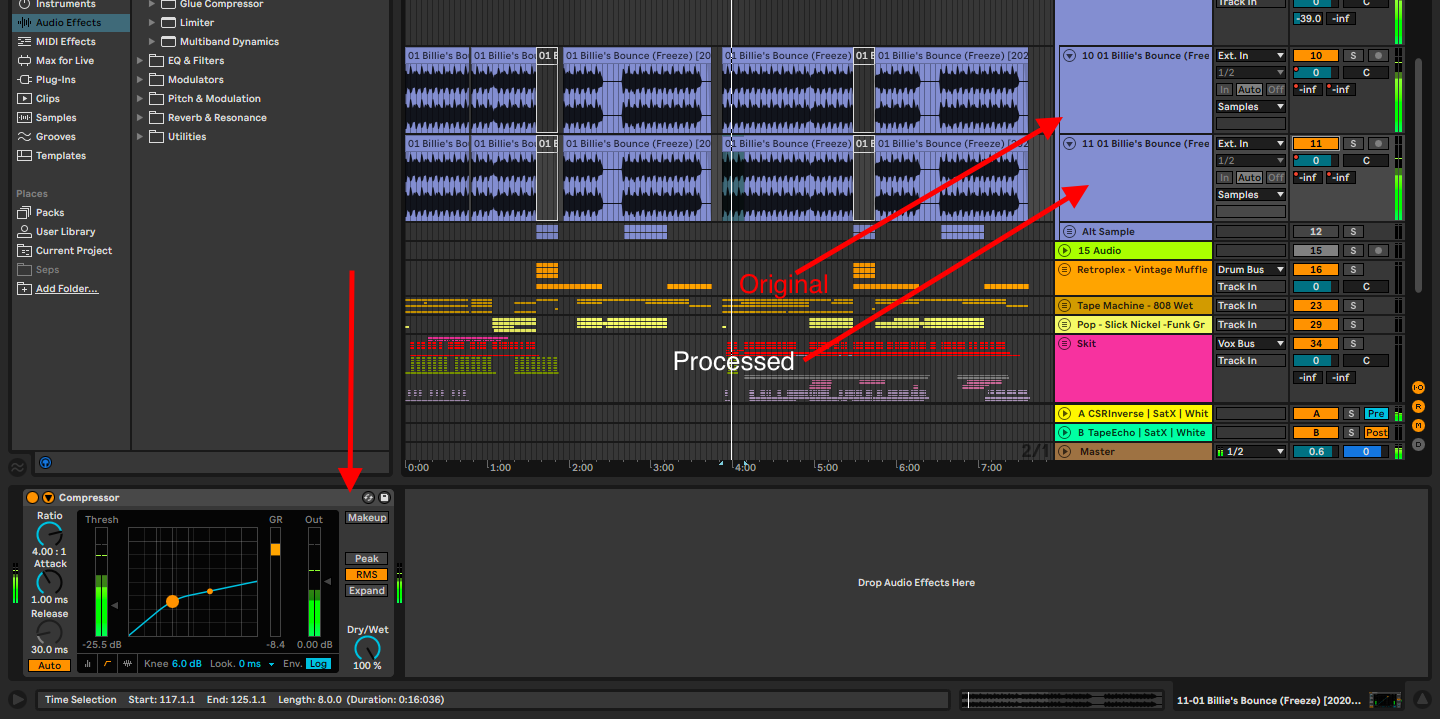
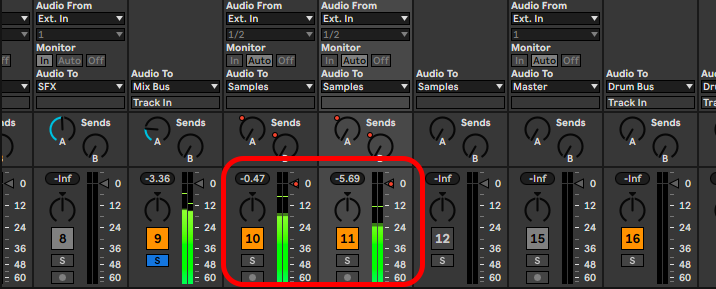
Step 2: now that you have achieved the desired amount of compression, use the volume fader to balance the processed and unprocessed tracks
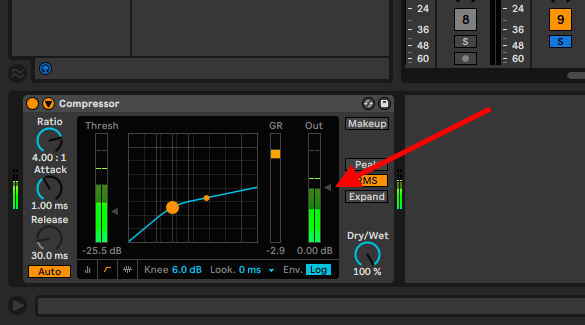
Tip! You can also rebalance the volume difference using the compressor’s volume output control
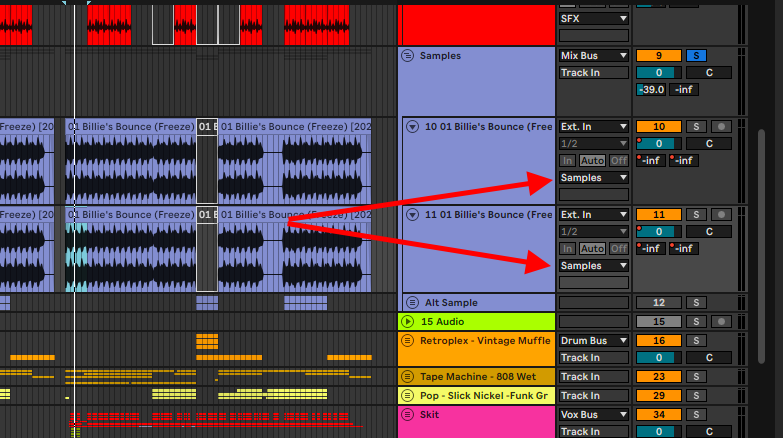
You can now set the specific outputs to these tracks, or simply send them to the master bus
Audio Effects Rack
You can group effects into an audio effects rack just as you can track them into a bus. You can now use this effects rack to achieve parallel compression. This is how you do it:
Recommended Reads: Normalizing, and Quantizing in Ableton
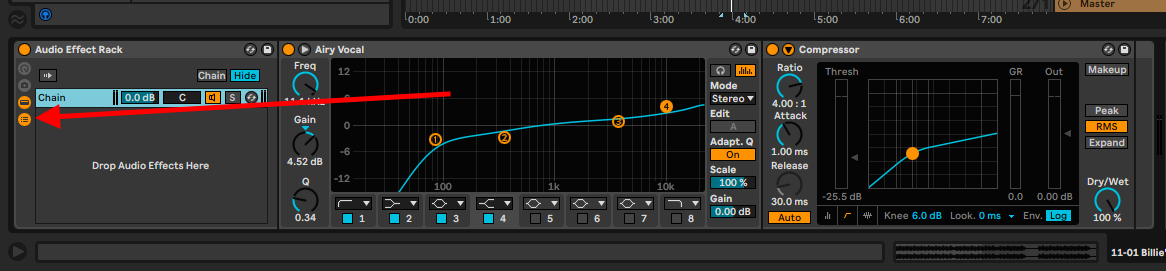
Step 1: Select your effect(s) and group it into an audio effects rack by highlighting the effect(s) and pressing Cmd + G on Mac, or Ctrl + G on Windows
Step 2: Expand the audio effects rack to access the effect’s volume controls
Step 3: Create a secondary chain without effects by right-clicking on the audio effects chain and selecting Create Chain.
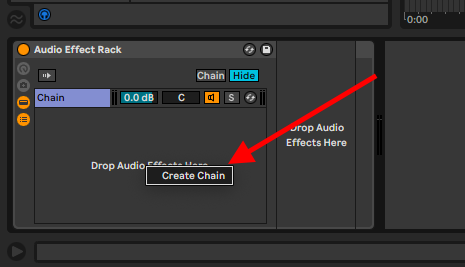
Step 4: Rebalance the volume difference between chains until you achieve desirable results
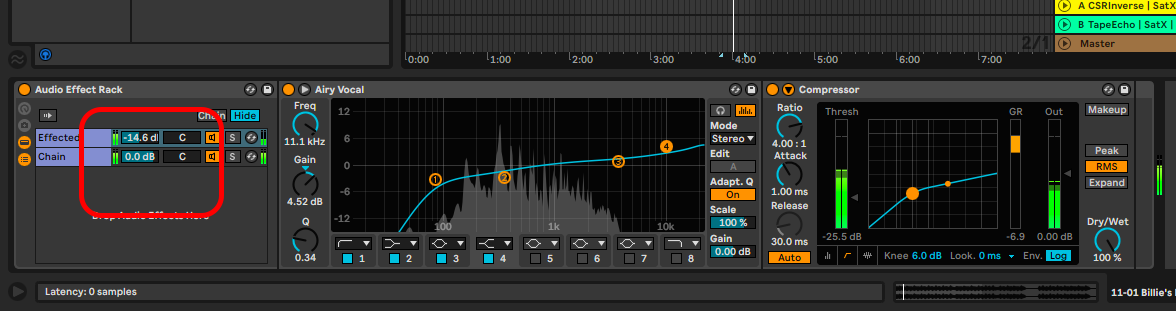
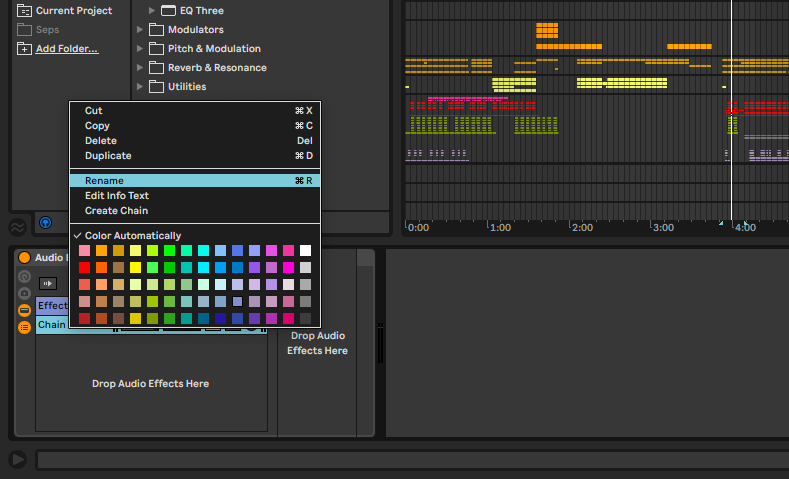
Tip! Rename the chains to keep track of which chain is dry, and which is processed (Right-click on the chain and select rename
Dry/Wet
This parameter allows you to blend the dry and wet signal (unprocessed and processed) signals within the audio effect. With this technique, you will not need to create any other tracks to achieve parallel compression. Some effects do not come with this function, like the equalizer and any modulation effects, but reverbs, delays and Ableton’s compressors all come with it. This is how you use the parameter to achieve parallel compression:
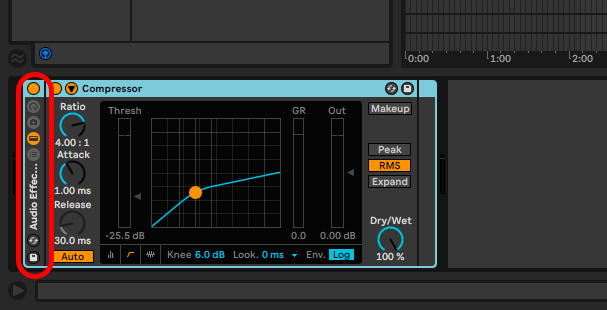
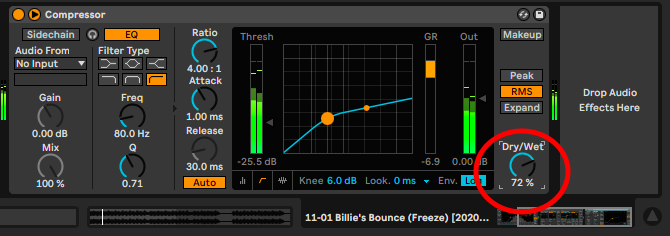
Step 1: load the compressor into your tracks and compress until you have the desired effect
Step 2: Now use the Dry/Wet knob to achieve a balance between the dry and wet signals
Side-chaining
This technique is an entire facet of audio mixing that I shall cover in a later article. For now, I shall simply cover how you can use side-chaining to parallel compress:
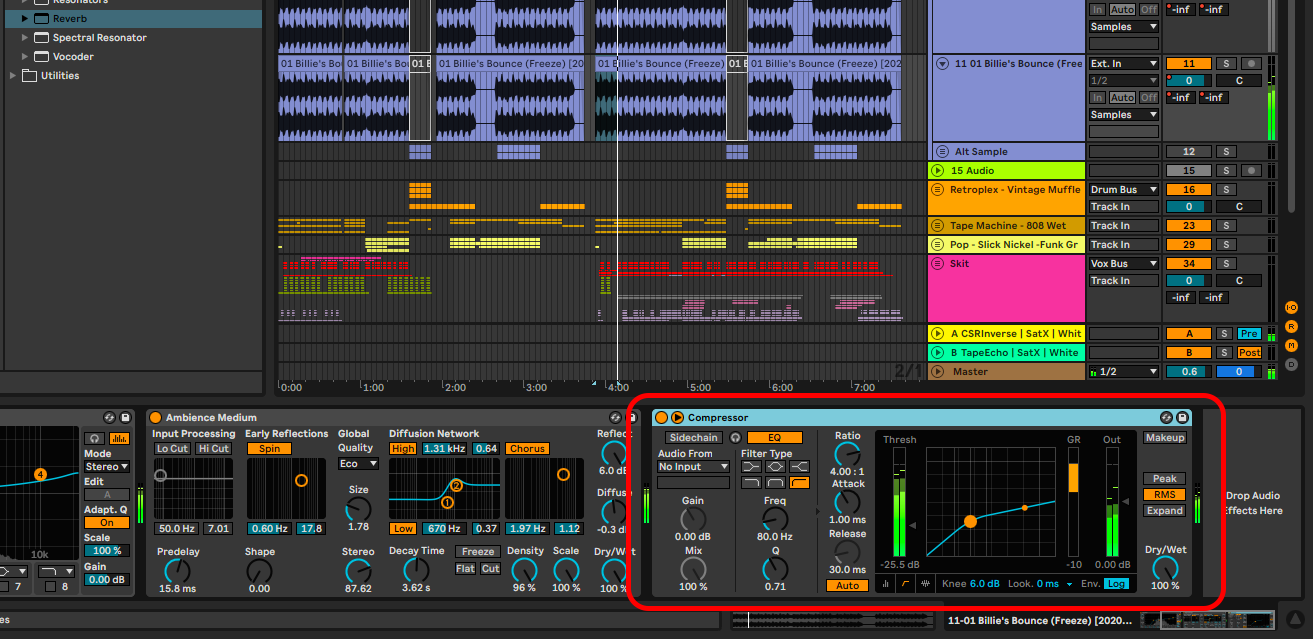
Step 1: Duplicate the dry track and in the auxiliary track load any of Ableton’s compressor
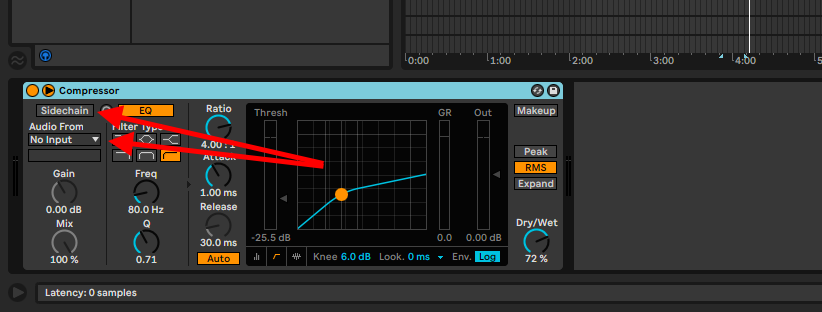
Step 2: Open the sidechain controls menu and activate sidechaining
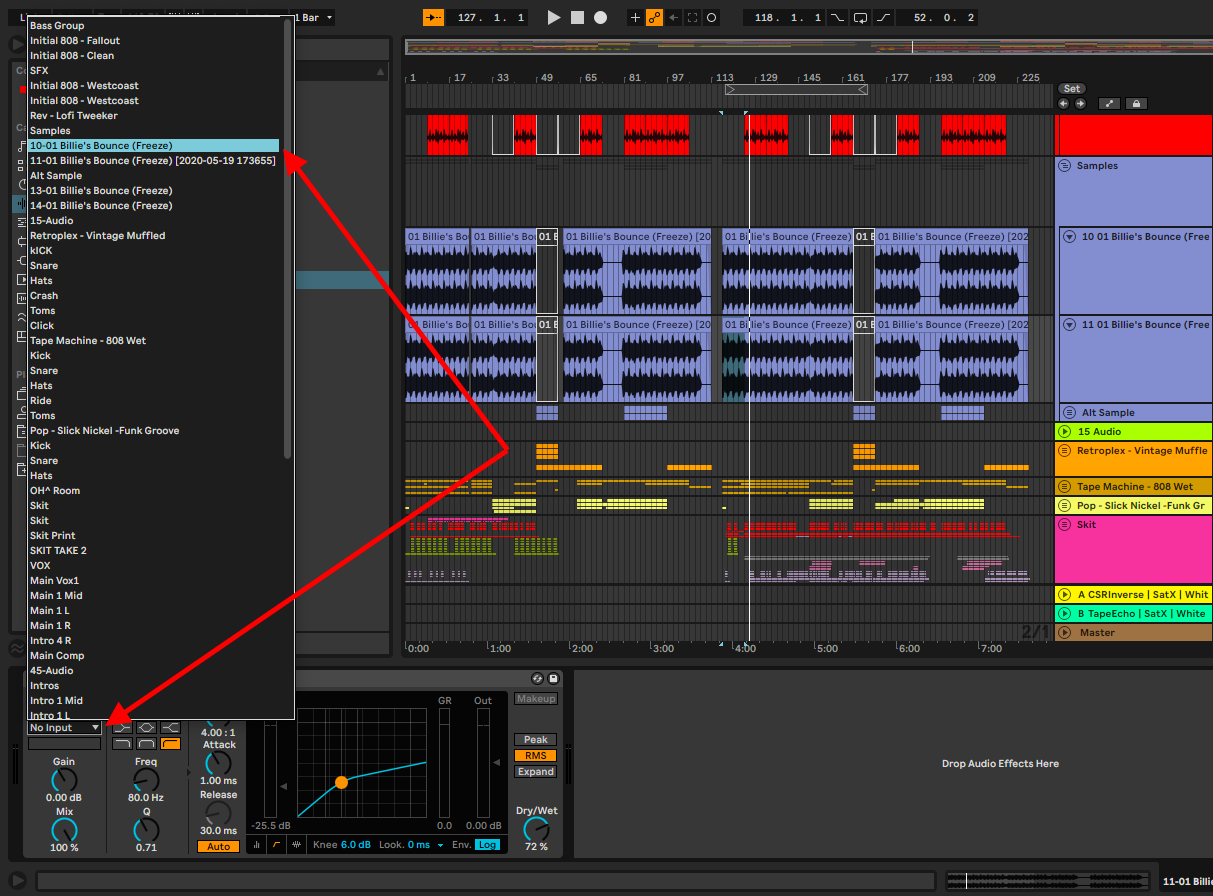
Step 3: Select your dry signal channel as an input
Step 4: control the input gain from the input track and the mix between the dry and wet signal in the sidechain control panel
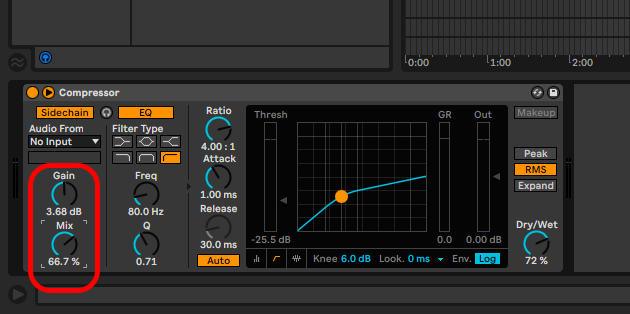
Tip! Now you can compress your signal using the input track to activate your compressor and use the input signal to dictate how your processed signal will react to the unprocessed signal input
Final Thoughts
I normally find myself using parallel compressing as a creative tool. If the recorded signal is good quality and needs no further effecting, I want to see how far I can use the sample to create a new sound while still preserving the original sample. There are different ways to achieve parallel compression, each with its case uses. Uses these techniques to fit your productions and most of all, Have fun!
- How to Use Ableton Live’s Arpeggiator? - September 18, 2023
- How to Use the Piano Roll in Ableton Live + Shortcuts - September 18, 2023
- Ableton Arrangement View (Optimization & Usage) - September 16, 2023


