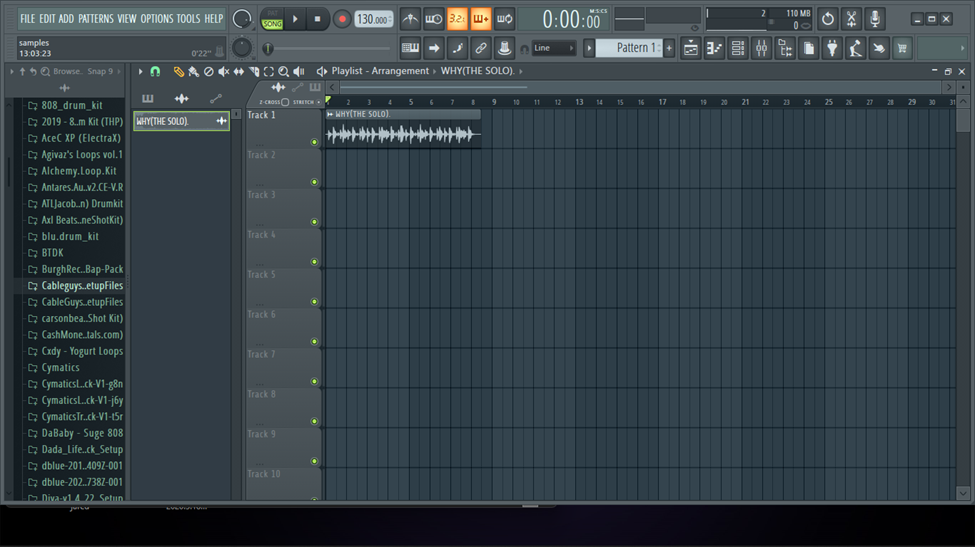
When I have a sample with some drums on it and I only want to use the melody, or just isolate other tracks for any given reason then there are a few hacks I try. I will go through the three different ways you can remove drums from your samples in FL. The process isn’t complicated for either of them, and you could do this with any existing or new samples that you may want to add or use in FL Studio.
Recommended Read: How to Sample in FL Studio [Step by Step]
EQ
In some samples, the drums occasionally break through the mix. When this occurs, a parametric equalizer can be used to reduce their impact. Most of these issues can be resolved with a single-band EQ (high-pass filter). A high pass filter, lets high frequencies pass and cuts off low frequencies. It is a decent place to start when trying to remove bass, kick drum, and the majority of snare frequencies.
Determine the frequencies of the drum parts in a song, such as the snare, kick, hi-hats, and cymbals, before applying any equalization. A standard drum kit has a large frequency range, making it challenging to isolate the drums using EQ.
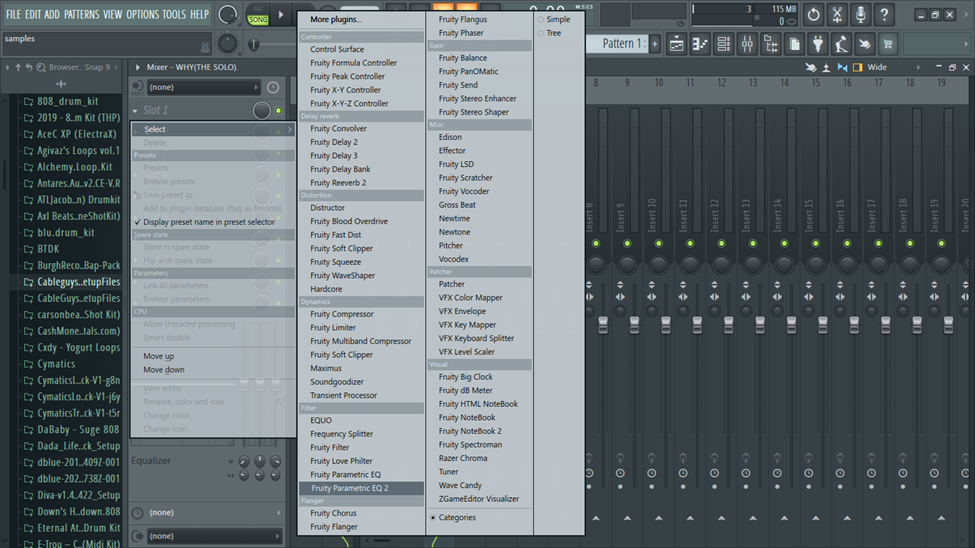
In FL studio, load the “Fruity Parametric EQ2” on the samples’ mixer track.
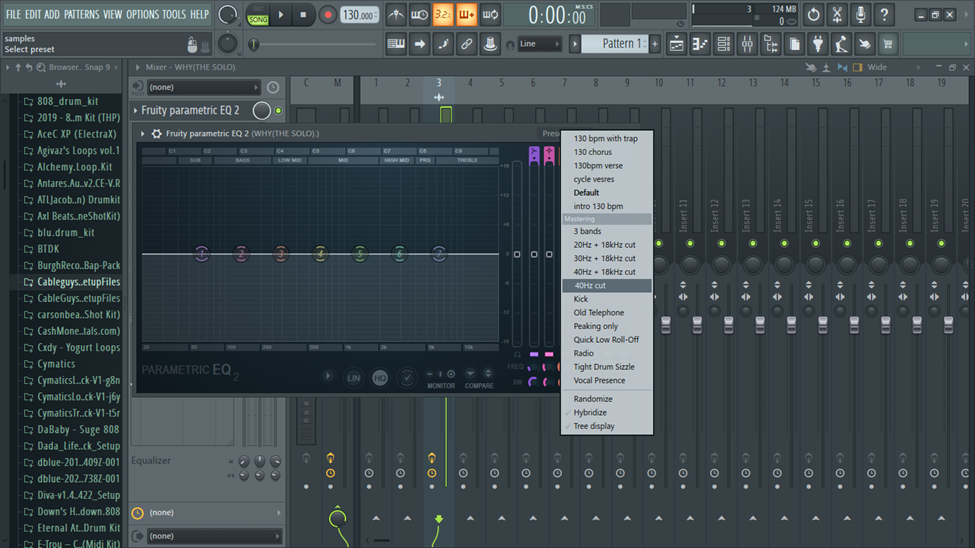
On the presets menu, select ’40Hz cut’.
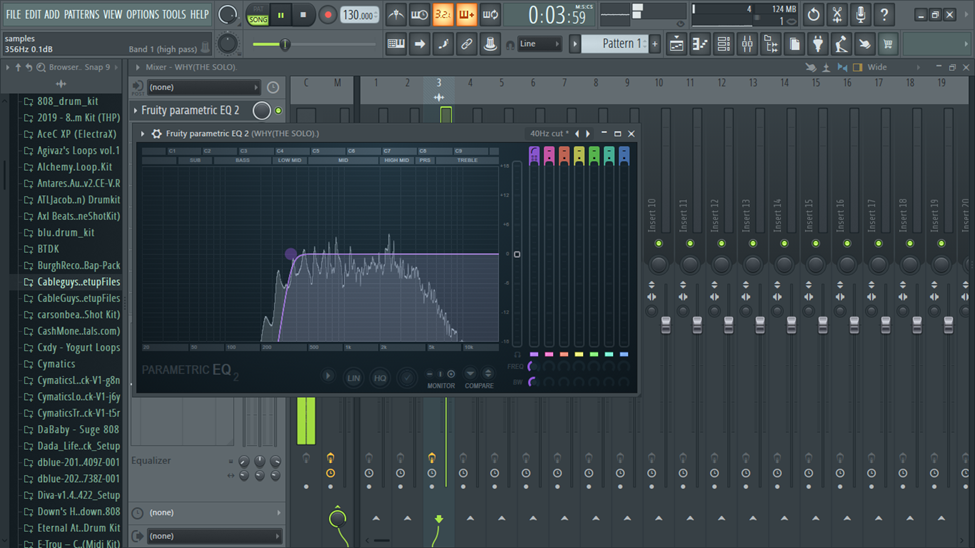
Increase the target frequency slowly by clicking the band and dragging towards the right as the sample plays. Depending on your sample, your target frequency may vary.
For a more clean sound, your best option is a multiband EQ. thill will let you dip and cut out frequencies where the drums are playing loudest. This technique works best when the percussion is spread throughout the sample’s frequency range. Depending on the song you’re working on, the frequencies to cut vary. Instead of strictly adhering to a set of frequency recommendations, it is preferable to pay close attention as you filter out the drum elements from your sample.
Chop Around the Sample
Recommended Read: How to Chop Samples in FL Studio
The melodic qualities of the song you’re sampling and the type of production you’re working on would truly determine if this method will suit the track. In many circumstances, removing the sample’s drums will only leave you with a stuttering sample to use in your beat. This often works great in Hip Hop production.
Apply Attack to Chops
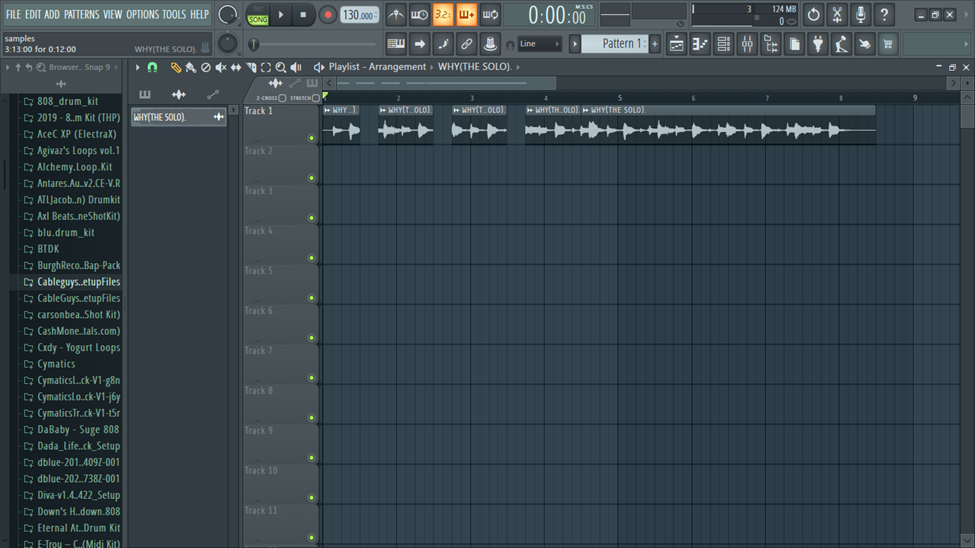
This technique can be a real lifesaver when filtering and EQing the sample doesn’t exactly get rid of the drumming. Start by chopping the sample on its drum hits or transients. You can check out this tutorial on how to chop samples.
Recommended Read: How to Sidechain in FL Studio [Complete Guide]
Applying a fast attack can solve this easily. In FL Studio, double click on the sample to open the channel settings. Increase the ‘in’ knob in the Precomputed Effects section as you listen to the sample..
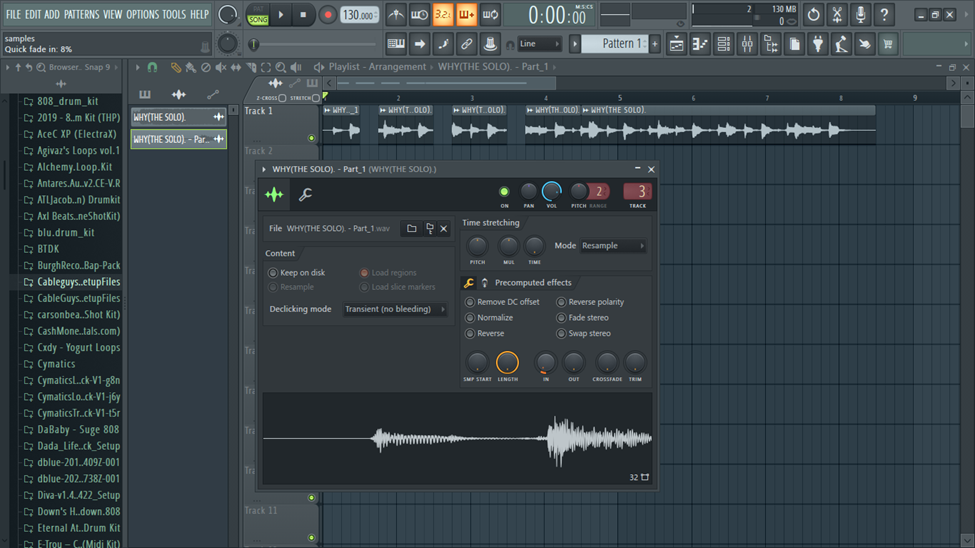
When activated, this will fade the start of the sample slice, subtly eliminating the sound of the drums. When you need to eliminate drums from a sample, this very subtle technique can really make a difference.
UNMIX Drums VST
These are just some of the ways you can remove drums manually from a mixed sample. There are way more advanced and automated ways to do this. There are a number of VSTs that you can use to remove drums in FL studio. They all have sophisticated AI algorithms that can recognize the tone and frequencies. They also possess amazing isolation abilities.
UNMIX Drums from Zynaptiq is my favorite. It’s not liquid gold. Not 100% perfect, but it does its job well enough for you not to hear the old drums when you layer your own.
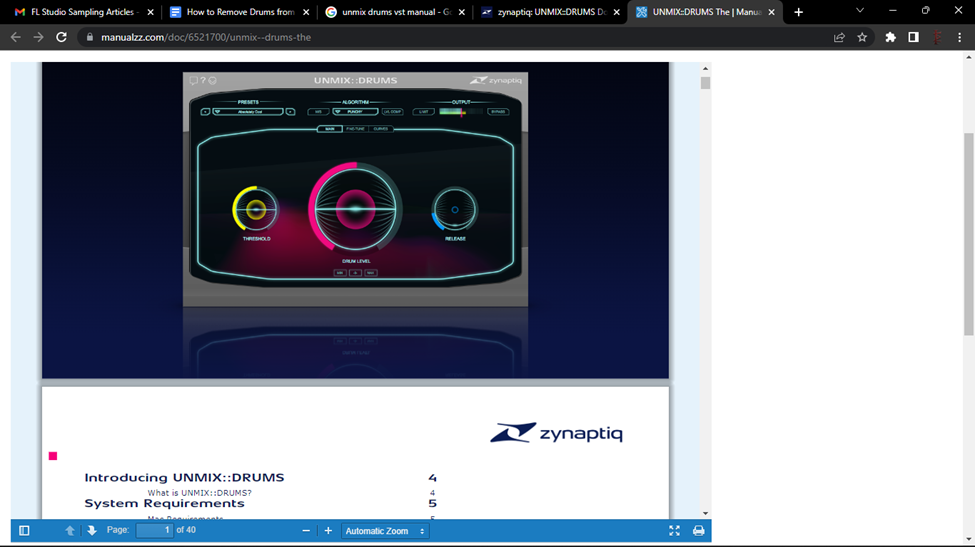
There are three main pages on the plugin
There are 3 more controls above the main section. Presets, Algorithm and Output. You can also activate Mid/side mode and apply automated Level compesation using the Limiter.
The main page has a simple interface with three controls: Drum Level, Threshold, and Release. The drum level controls the volume of drums detected in the sample. The threshold determines the discrimination point between the drums and melodic parts of the sample. Release sets the time it takes for the drum sound to fade out.
The first thing to do is to turn down the Drum level knob and turn up the Release knob to the max. You’ll hear that the plugin has started doing some work.
Next, turn the threshold knob all the way up then start taking it down as the sample plays till you find a sweet spot.
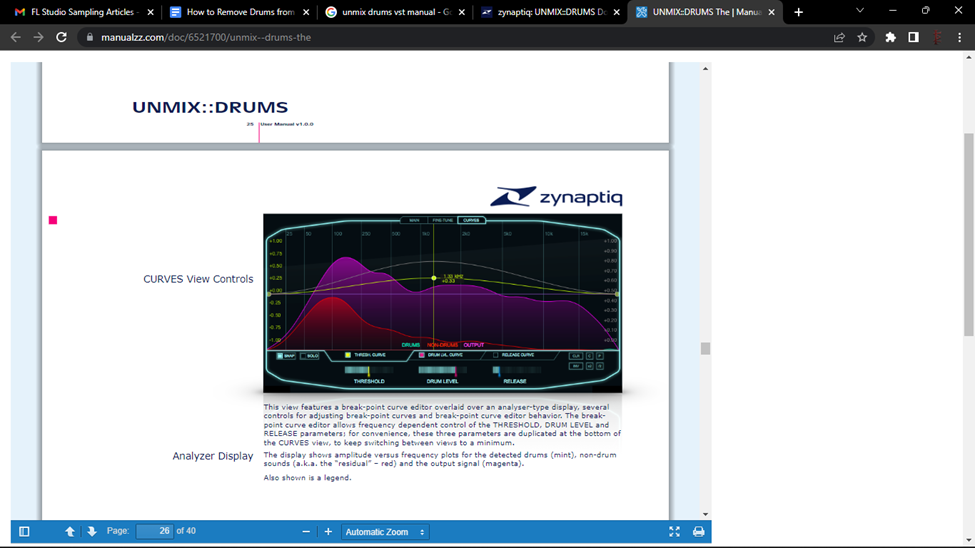
The Curves page increases the level of accuracy even further by using a graphical frequency curve editor to target the processing to particular drums. The filter curves control the same parameters as those on the main page of the plugin. For example, you can tweak the threshold and main level curves to specifically target snare frequencies
There is no setting that works for all your samples. So you’ll have to listen keenly and find what tweaks work for each sample.
Recommended Read: FL Studio not Loading Samples [FIXED]
Conclusion
If you are looking for a pre-production solution, today, we have advanced AI that can isolate the sample tracks into stems. Some of these include
Removing drums from a sample can be tricky at times. Most solutions do not offer 100% accuracy. It’s advisable to choose what works for your style of music.

- FL Studio Tempo Changes When I Press Play [FIXED] - January 14, 2023
- How to Speed up / Stretch Sample in FL Studio - January 14, 2023
- How to Find / Detect Tempo BPM in FL Studio - September 30, 2022
![FL Studio not Loading Samples [FIXED]](https://ProRec.com/wp-content/uploads/2022/09/image-103-180x180.png "FL Studio not Loading Samples [FIXED]")


![How to Sample in FL Studio [Step by Step]](https://ProRec.com/wp-content/uploads/2022/09/image-250-180x180.png "How to Sample in FL Studio [Step by Step]")