In the previous tutorial on the differences between VST 2.0 vs VST 3.0 in Ableton, in this tutorial, we look at plugin installation but before we do that, I’d like to give you a primer on what a plugin actually is.
Plug-ins add features not native to your DAW, For Ableton, your plug-ins will come in the VST 2.0 or VST 3.0 format, on MacBook, they will come as Audio Units (AU) so that your plug-ins can be used in conjunction with your audio or video editing software.
There are 3 main types of plug-ins:
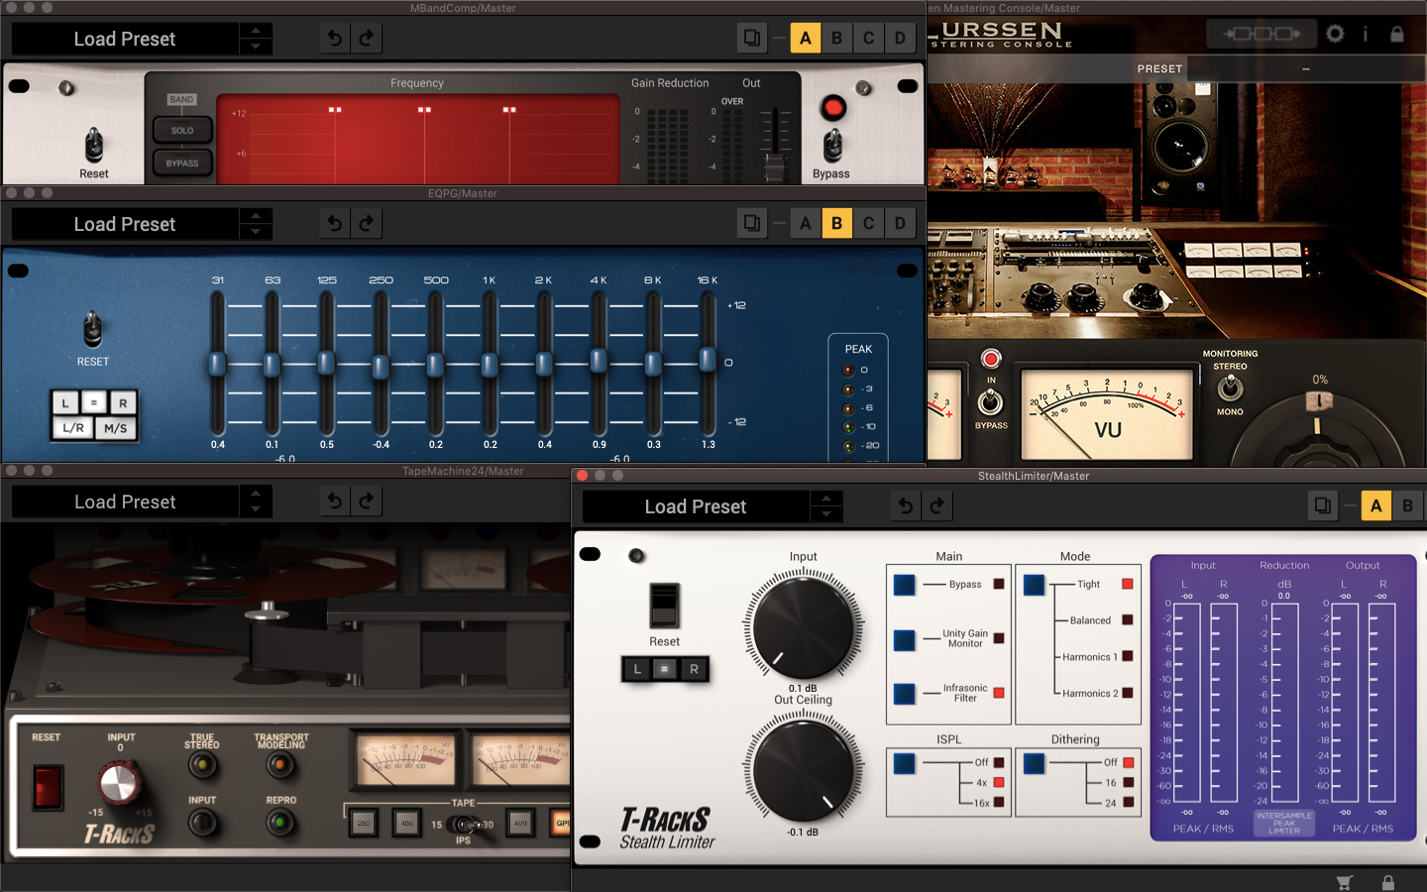
- Audio Effects VST Plug-ins – these were the original VST plug-ins. They do not generate audio, but receive audio from your DAW, process the audio, and send the audio back to your DAW affected. These include EQs, compressors, distortion, saturators, reverbs, delays, etc.
- Virtual Instrument Plug-ins (VSTis) – these types of plug-ins behave like virtual instruments as they produce sound. Since the development of VST 2.0, VSTs have been able to receive MIDI inputs and leading the way to a flurry of virtual instruments and instrument emulations to be developed.
- MIDI Effects VSTs – these are the less common VST types that affect MIDI input. These may include, chord generators, LFO effects, and arpeggiators.
Recommended Read: Plug-ins not Showing Up in Ableton [FIXED]
Installing Your Plug-in – What you need to know
Plug-in Acquisition
Plug-in manufacturers offer all sorts of plug-ins for either a subscription, purchase or for free (my favourite type):
- Purchase – these types of plug-ins are bought once off and require no additional charges
- Subscriptions – these plug-ins are purchased by licenses that can be ‘rented’ for some time and need a license renewal. With this format, you will always stay up-to-date the moment your plug-in is updated by the manufacturer
- Free Plug-ins – these plug-ins do not require a fee at check-out, and more often than not, just because they are free, does not mean that they are low quality.
Installation
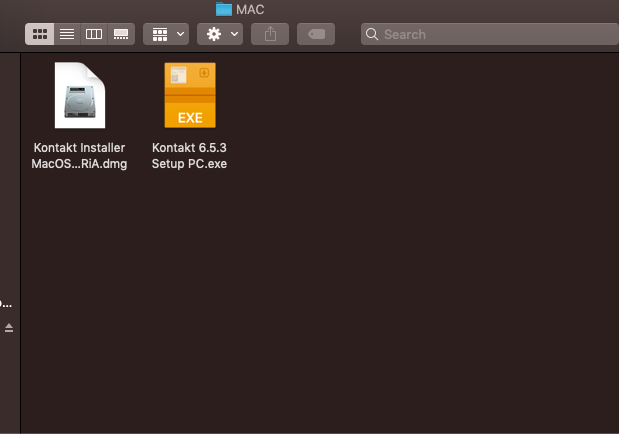
When on either Windows or MacBook the installation files will come as .exe or .dmg files.
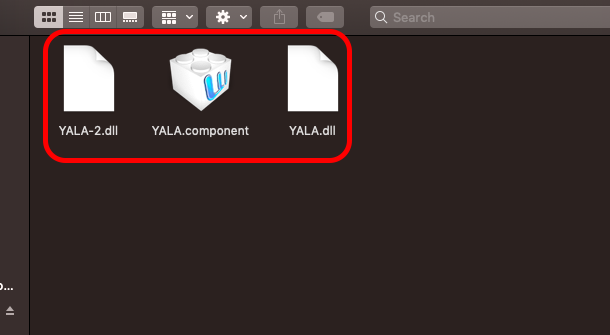
Upon installation, all VST 2.0 plug-ins will install with the .vst suffix on Mac and .dll on Windows. On both computer brands, all VST 3.0 plug-ins will install with the .vst3 suffix.
Note 1: the purchased plug-ins will often ask you to input your authorization code before, during, or after installation once you open the plug-in. in most cases, you will receive an installation guide to how you go about plug-in authorization
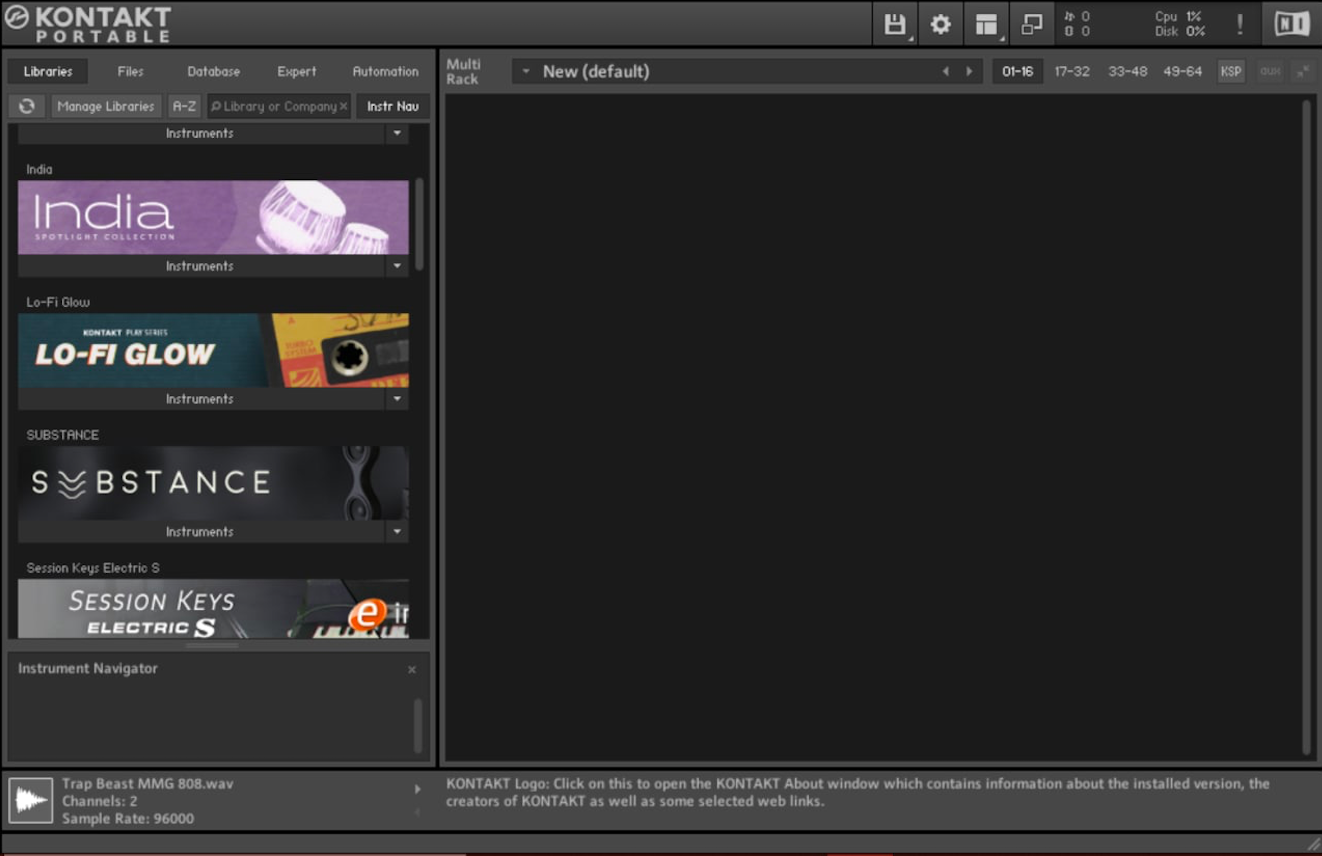
Note 2: some plug-ins act as hosts to other plug-ins. For example, Kontakt libraries will host other plug-ins mainly in the .nki format.
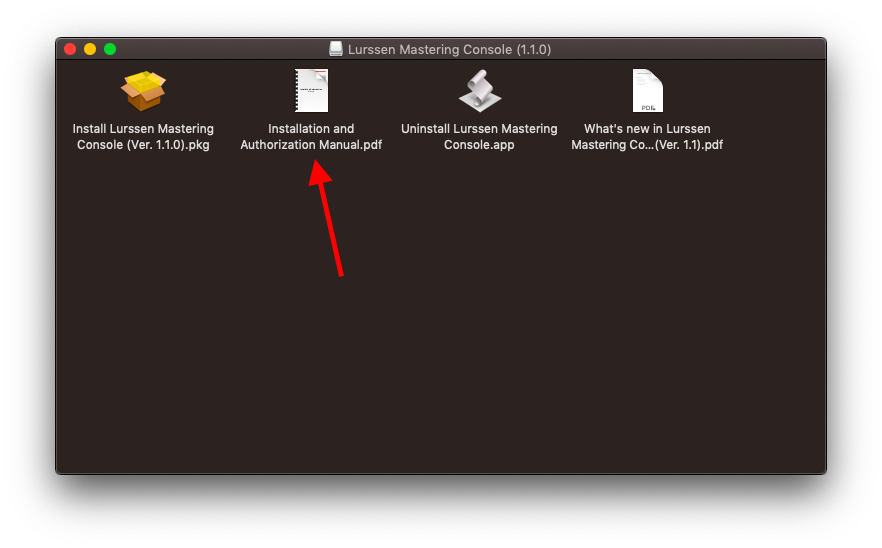
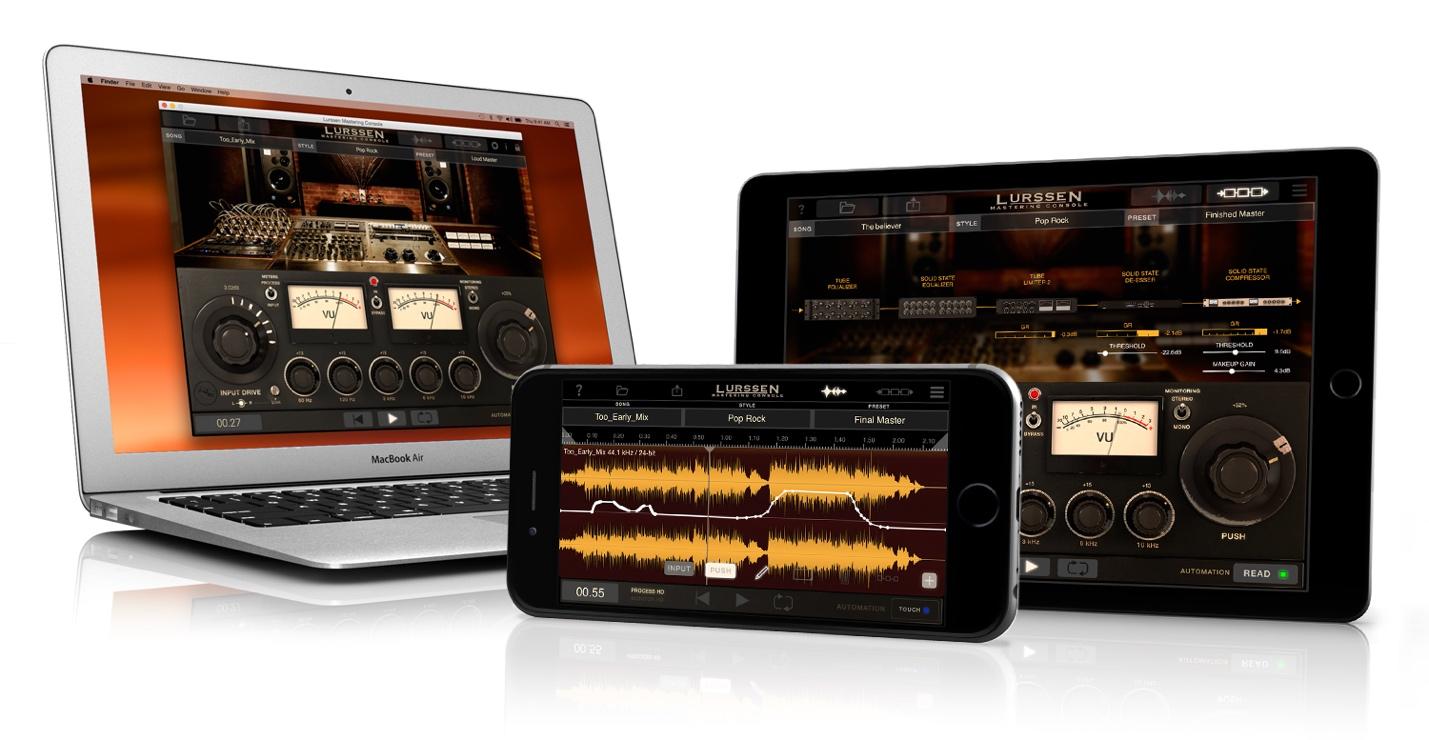
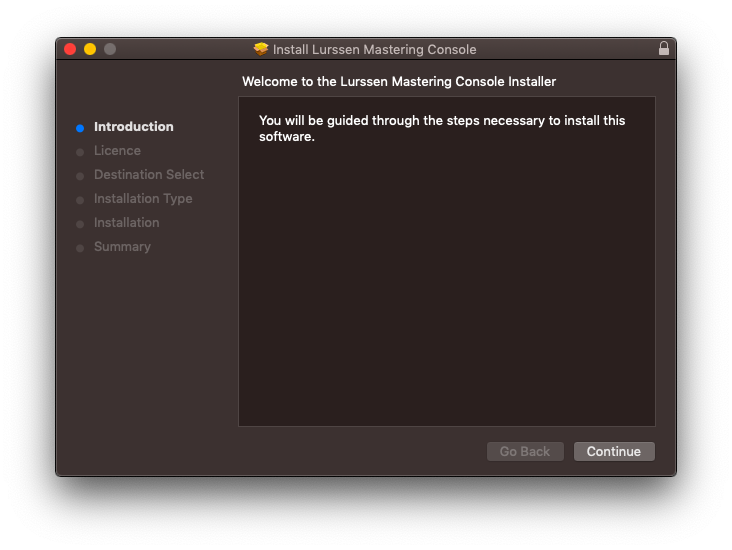
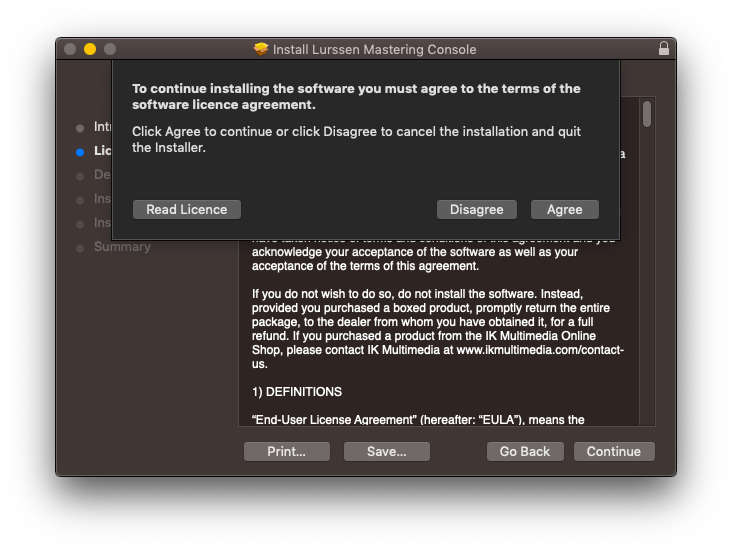
For this next segment, I shall be using the Lurssen Mastering Console by IK Multimedia plug-in as an example.
MacBook Installation
As mentioned, all your MacBook installation files come in the .dmg format. This will open the installation driver. This is how you go about installing plug-ins on MacBook
Step 1
Open your .dmg installation driver.
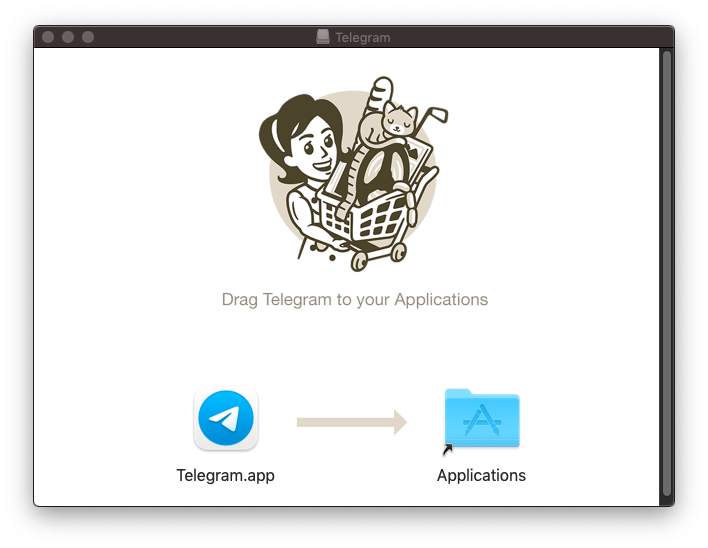
Most of your applications will simply ask you to drag and drop the application to your applications folder.
For your plug-ins, the installation file will be in the package format, I. E. .pkg

Step 2
Open the .pkg file and begin the installation process. The first page of the installer is generally an introduction to the installation process. If you have installed an application before this way, the installation process is similar.
Step 2
The next section is commonly the licensing section providing the licensing, distribution, and data-gathering clauses among others. I recommend you read this section carefully, and if you are comfortable with the terms of use, select agree and continue.
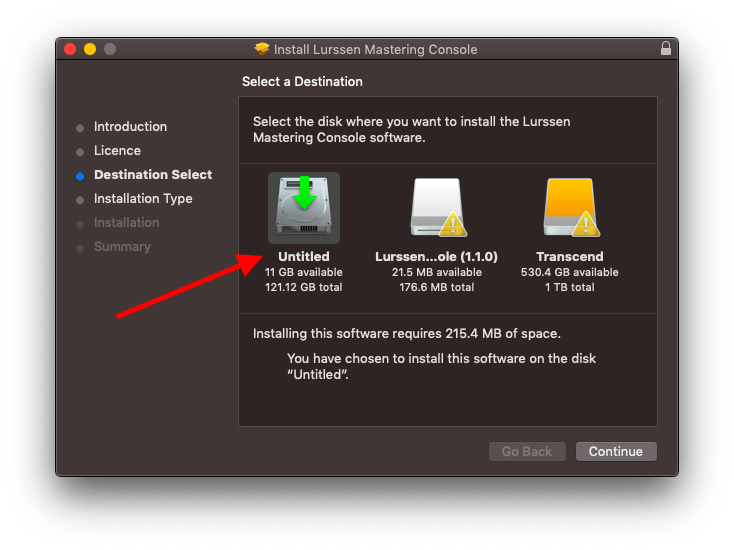
Step 3
Select your installation folder, this section is helpful with plug-in management
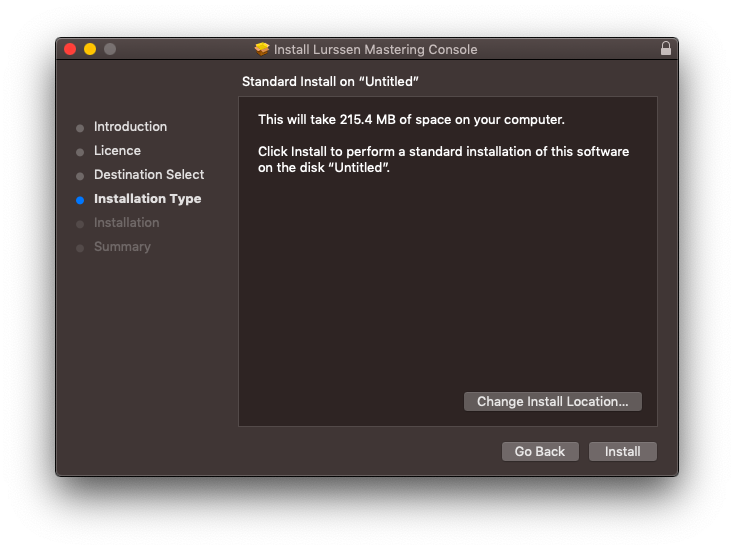
On MacBook, you are not able to choose the specific folder your plug-in will install in, only allowing you to select the drive in which you will install your plug-in. This is only limited to drives that have MacOS installed in them
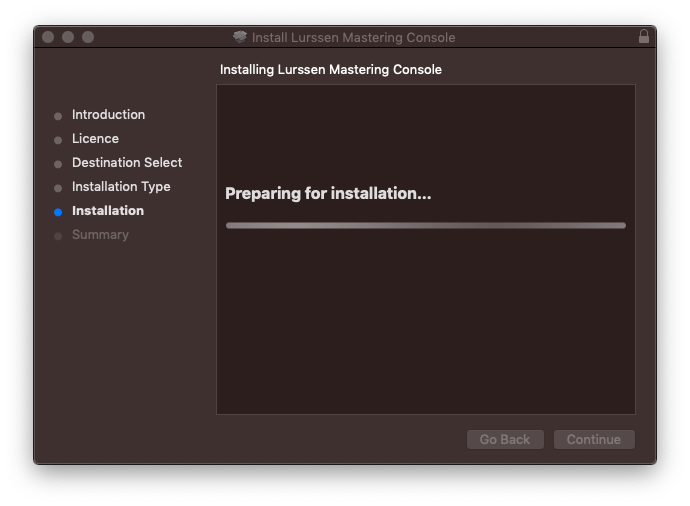
Step 4
Now install, and depending on your security status, put in your password and accept
Step 5
Now finalize the installation process and finish. Depending on the type of plug-in you may be required to authorize the plug-in before or after installation, once you open the plug-in, whether by authorization code, or authorization file.
Windows Installation
The installation process for windows and MacBook does not differ too much, the steps are similar, with a few variations. Here is how you go about installing your plug-in on Windows
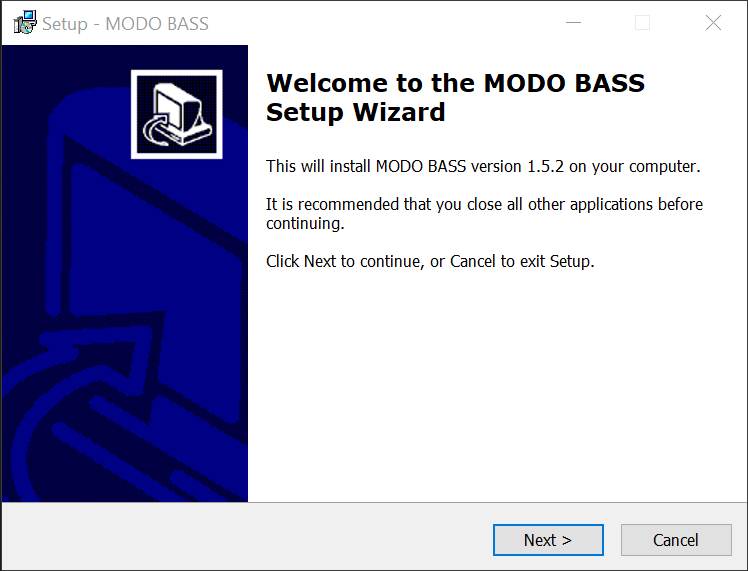
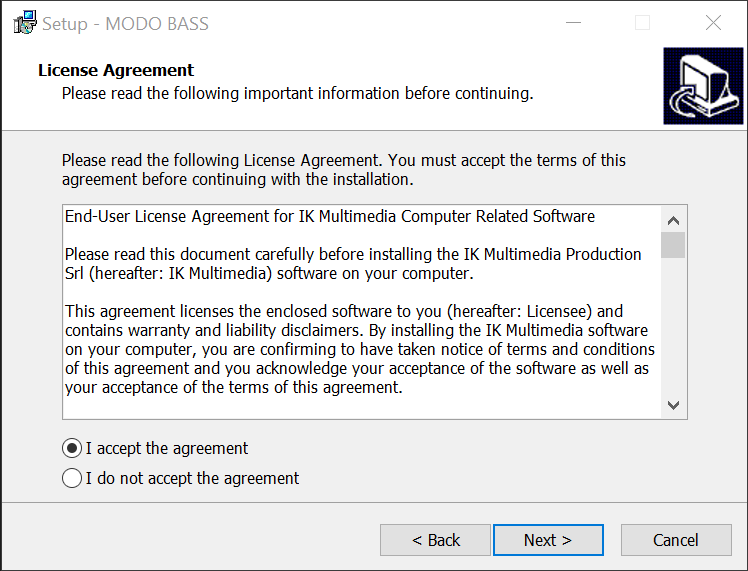
For this installation, I shall use the MODO Bass plug-in by IK Multimedia

Step 1
Open your plug-in .exe file. And begin the installation process. The process is similar in terms of the introduction section
As well as the license agreement page
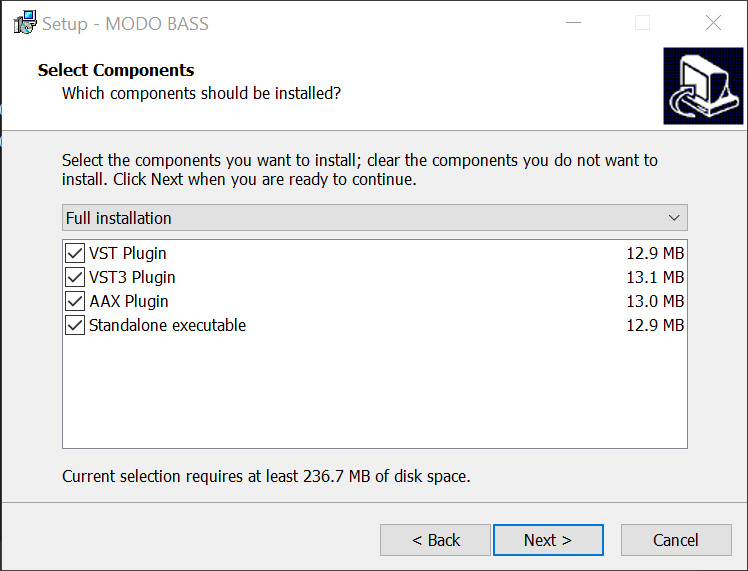
Step 2
Here is where Window holds the candle with the customization of your installation. You can choose which format you want to install your plug-in in. Depending you your installation preference (VST 2.0, 3.0, AAX, or RTAS), you can customize your plug-in here
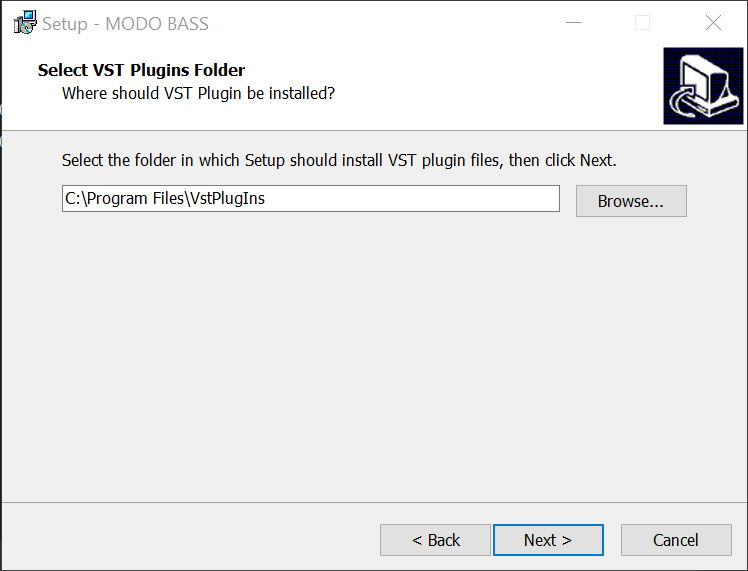
Step 3
Further on customization, you can select which folder you want to install your plug-in in, for plug-in management. Generally, your VST 2.0 and VST 3.0 will install in different folders.
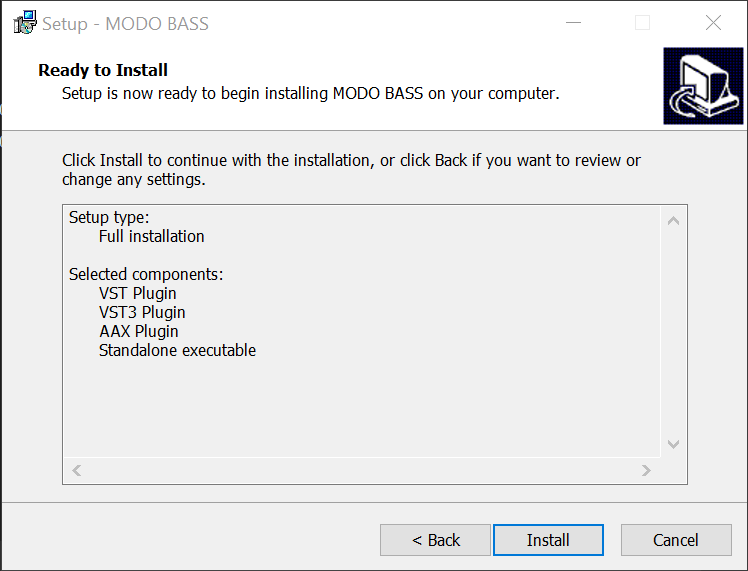
Step 4
Now install and finalize this process.
Note
Depending on your plug-in you may need to authorize your plug-in before, after, or during installation via an authorization code or file.
Free Plug-in Installation
These plug-ins can be installed by simply copying and pasting your plug-in file. If you are using either Windows or MacBook, you should copy and paste your plug-in into these folders. For file management and missing plug-in solutions, stay posted for a tutorial on this subject.
Conclusion
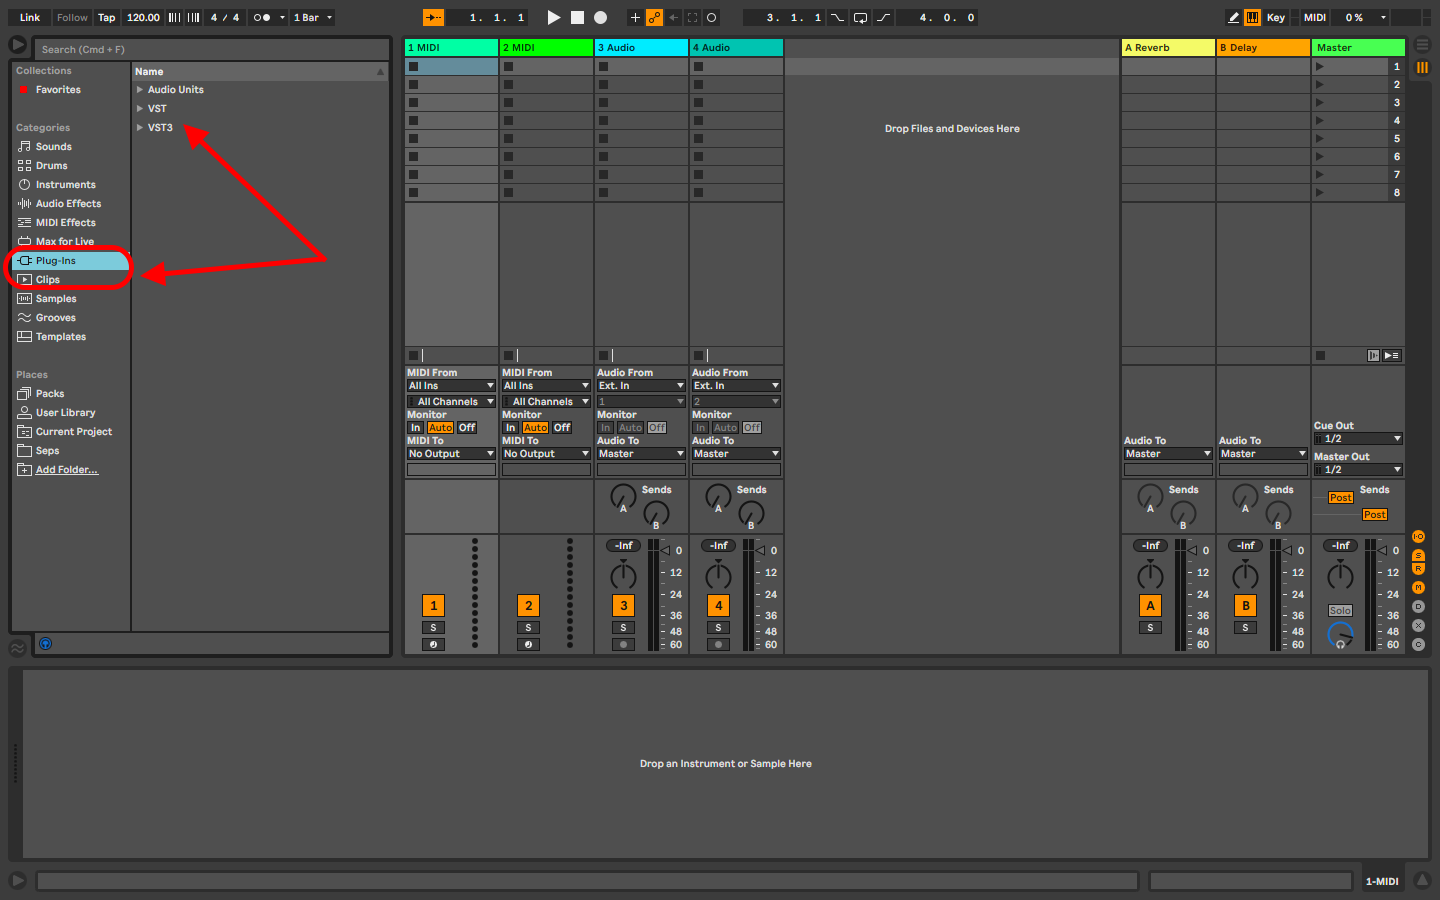
Once you have installed your plug-in, you may need to restart your DAW to load these plug-ins into your Ableton browser. Once done, you will find your plug-ins in your browser plug-in folder on Ableton, categorized by either VST (VST 2.0) or VST 3 in separate folders. From here, you can now open your plug-in by dragging and dropping into the audio or MIDI track depending on the plug-in type, or by double-clicking on your plug-in to open it.
I suggest that, please try not to pirate your plug-ins. These are incredible tools made with care and thought, consider buying your plug-ins to support manufacturers so they can continue to create and update these amazing tools. Plug-ins are an invaluable resource, and care is made and effected to make them your own, and make your songs and beats iconic. Use them to your advantage. For the best plug-ins by instrument, stick around, I shall be going through the best plug-ins by instruments soon. For now, look at my recommendation for the best plug-ins for drums here. Have fun!
- How to Use Ableton Live’s Arpeggiator? - September 18, 2023
- How to Use the Piano Roll in Ableton Live + Shortcuts - September 18, 2023
- Ableton Arrangement View (Optimization & Usage) - September 16, 2023


")
