After my tutorials on automation lanes, copy and volume automation, I want to go over the basics of how to enable, disable and re-enable automation in Ableton. This will generally help you create, remove and review the automation in your projects.
Let me break this down:
- Enable: knowing how to enable automation will enable you to create automation in your productions. You can do this in your arrangement view, or your sample-edit automation tab.
- Disable: this technique will help you remove automation if you are not happy with the results or if you want to start over. You can ‘disable’ your automation or delete it altogether.
- Re-enable: this will help you stop automation from taking effect without deleting it, and give you a before and after comparison of the automation created.
Let us get into these techniques:
Enable Automation
With this technique mastered, you will be able to create automation for any control parameter you want. It is very similar to what I have covered in my article on automation lanes.
There are two ways you can enable automation in Ableton – In the arrangement view, and the Sample-edit automation tab. Allow me to show you how:
Arrangement View
This is the primary way to enable automation in Ableton. It is simple and direct. Let me demonstrate:
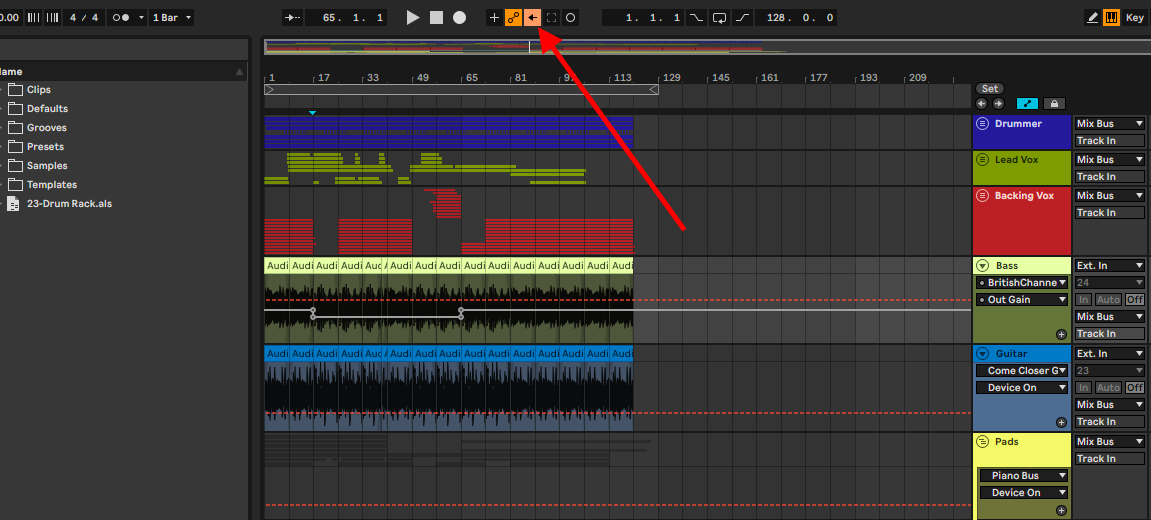
Step 1: Go into the arrangement view by using the shortcut ‘Tab’ or pressing the mix/arrangement view toggle
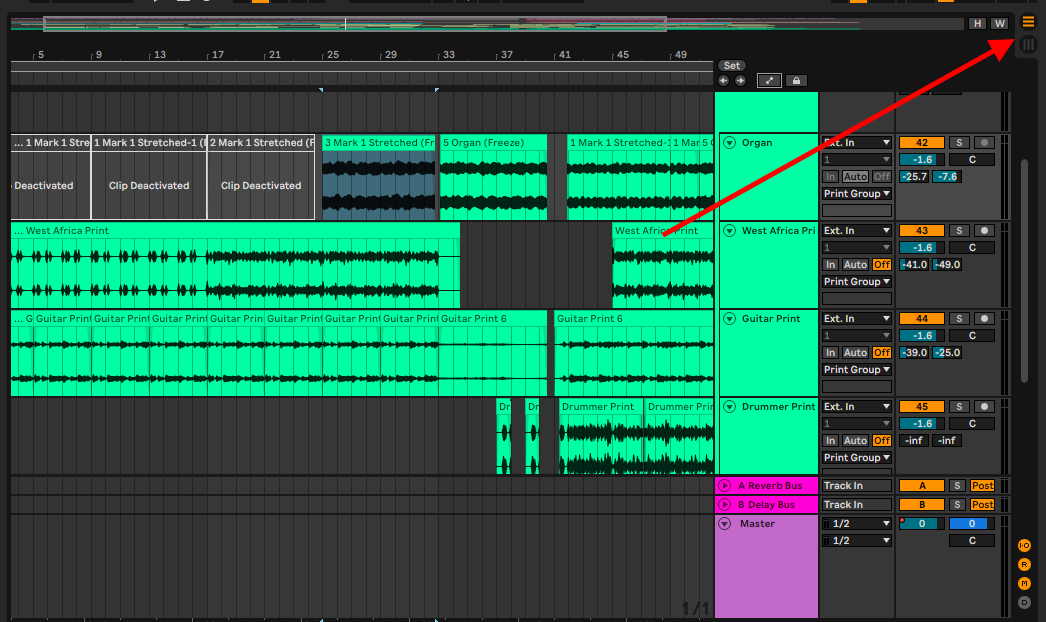
Step 2: Press the Function (fn) + A or the show/hide automation lanes
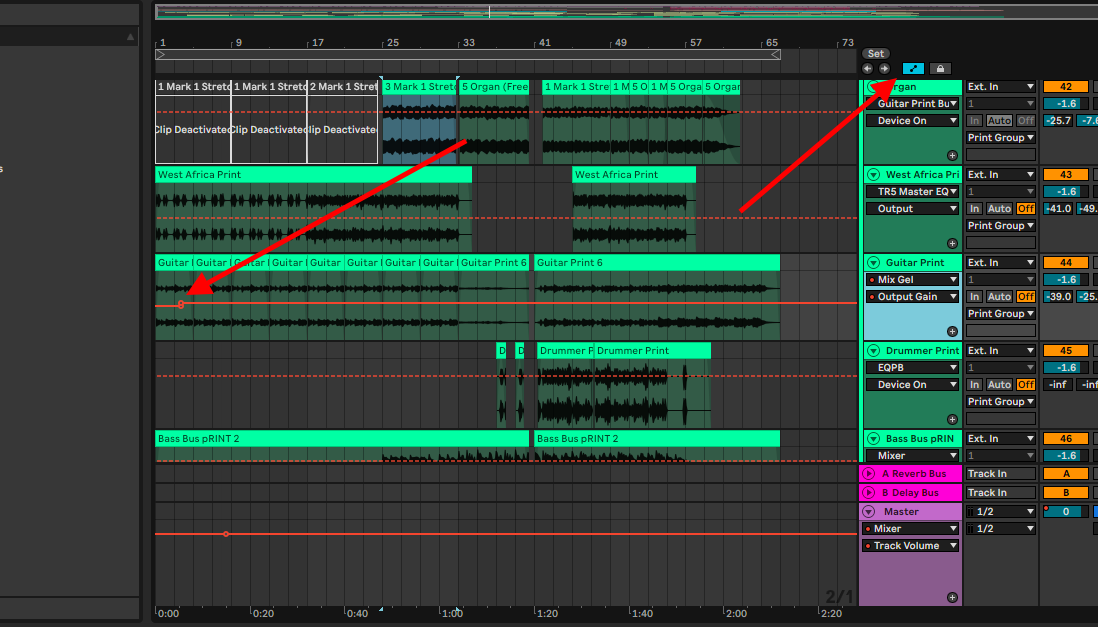
Step 3: Create automation lines on any parameter you would like
Sample-Edit Automation View
This technique is best suited for creating micro-automation. It is rather simple to execute and this is how you do it:
Step 1: Double-click on any sample clip, MIDI or audio. This opens the sample-edit view
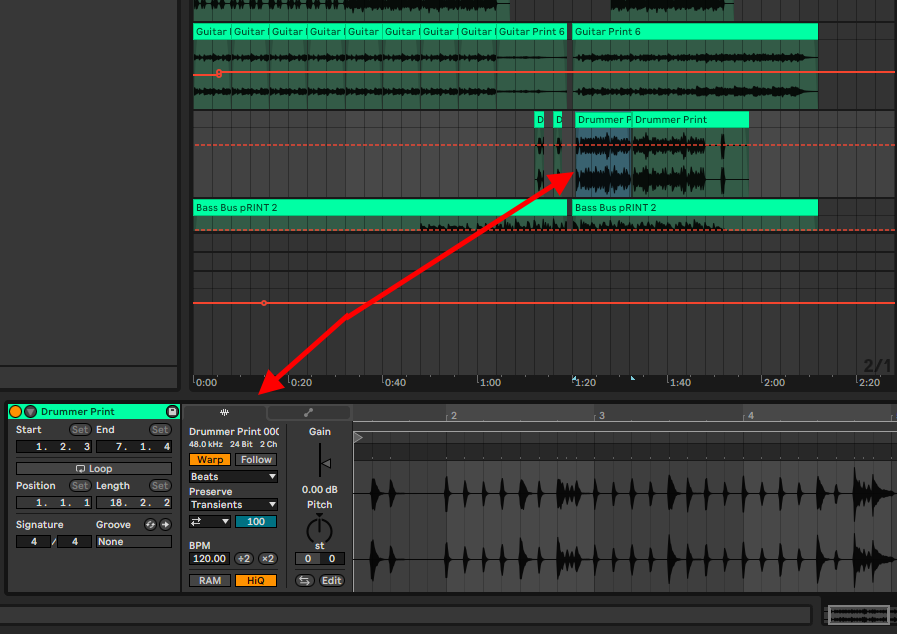
Step 2: go to the Automation tab
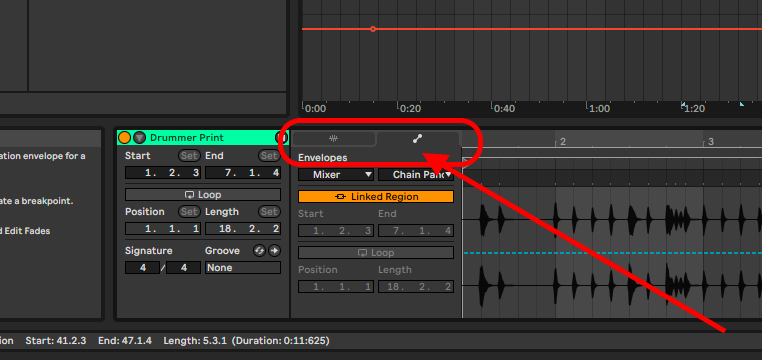
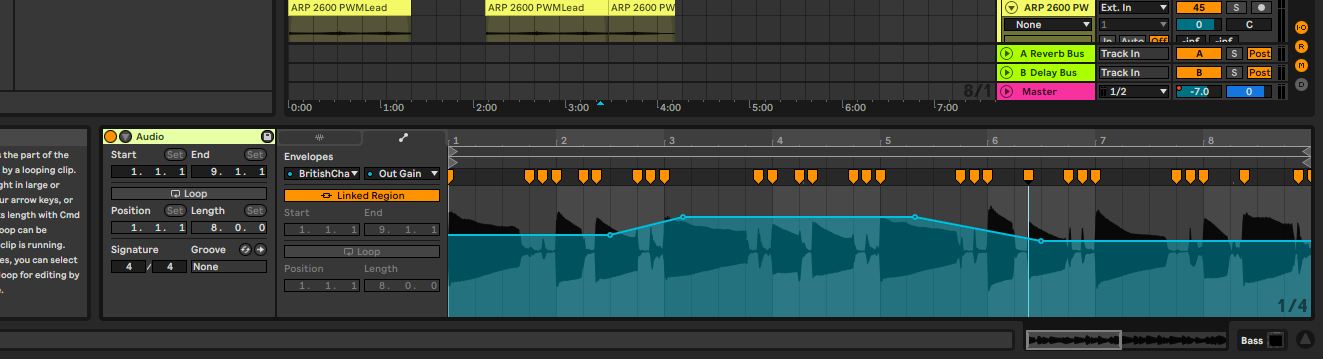
Step 3: Select any automation parameter you would like to create automation on
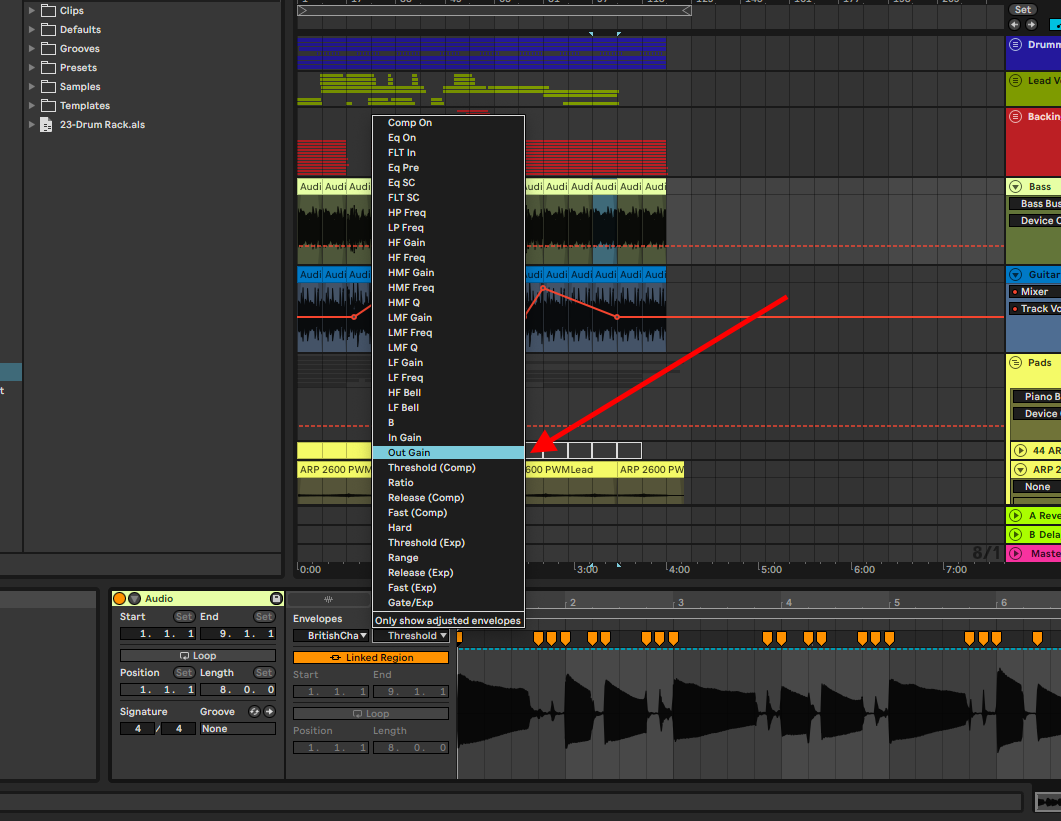
Step 4: Create automation
Disable Automation
Once you have created automation, you may need to change the values of your parameters or disable them altogether. When it comes to disabling your automation in Ableton, this process is often absolute in execution. With this, you will either delete the automation, or alter the value of the control parameter. Let me show you what I mean:
Delete Automation
Step 1: Highlight the section on the automation

Step 2: delete by selecting, backspace on your keyboard or right-clicking on an automation node and selecting ‘clear envelope’

Control Parameter Altercation
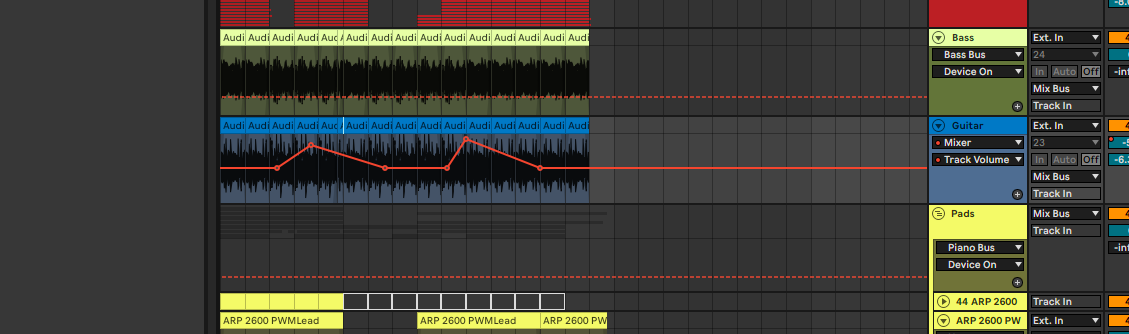
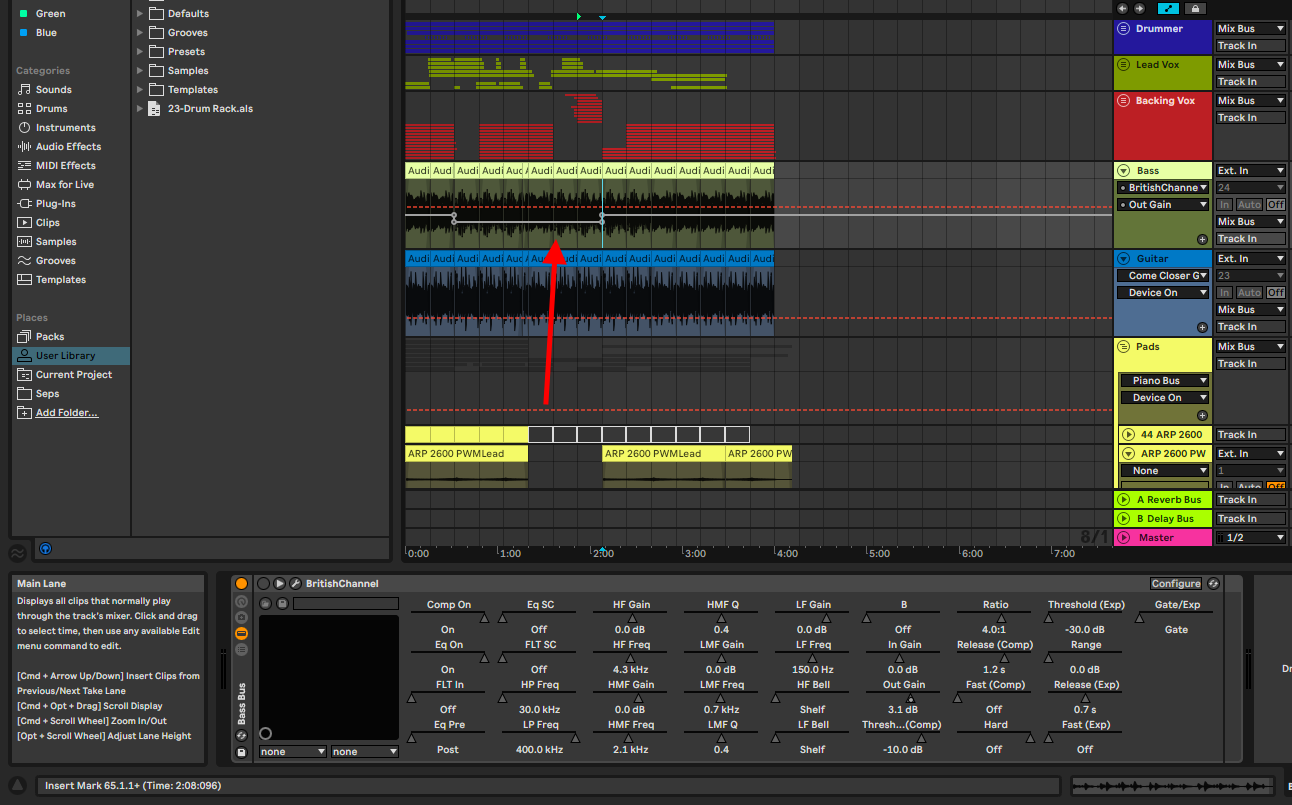
This technique is rather unintuitive if I do say so myself. If you are not aware of which parameters you are affecting when shifting between values, you may affect the value of an automated parameter, and by default disable the value of the automated parameter.
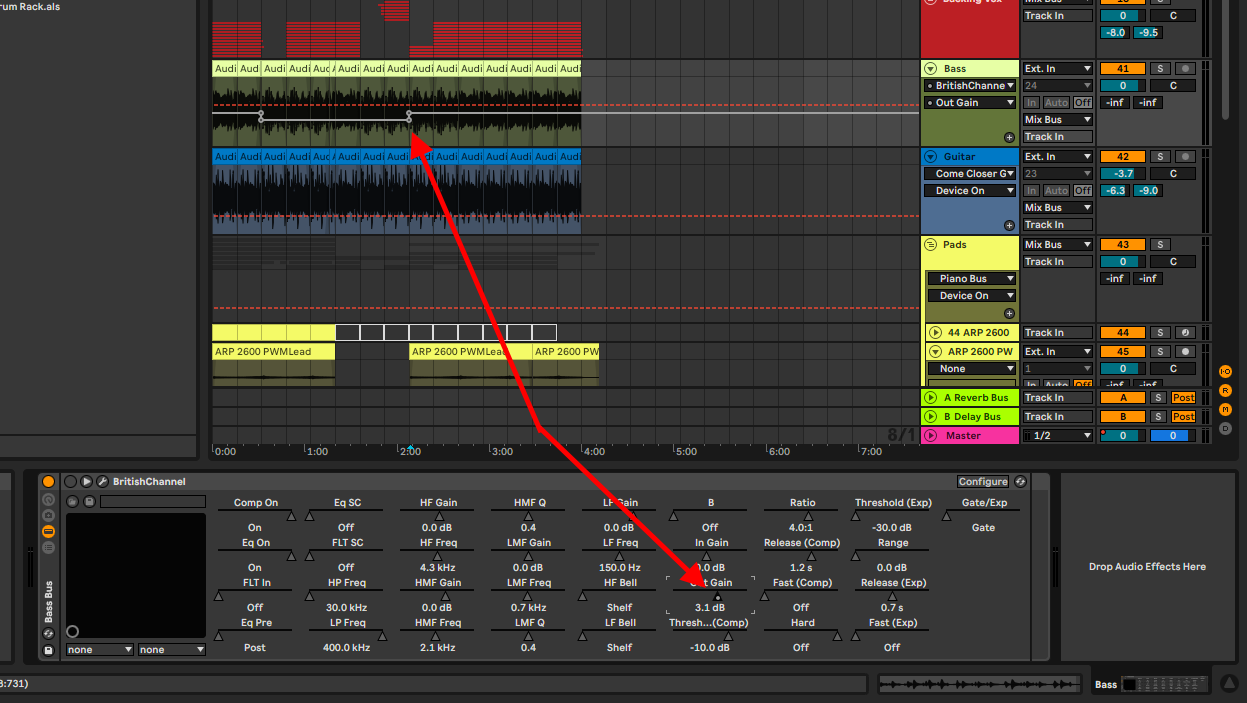
Note! Whenever you have disabled automation, it will be greyed out as you can see above
Re-enable Automation
Once you have enabled automation, you can disable and then ‘re-enable’ it to have a before and after comparison. Also, if you disabled your automation by accident, you can simply undo this change by pressing Ctrl + Z on Windows, or Cmd + Z on Mac, or Redo with Cmd + Shift + Z on Mac or Ctrl + Shift + Z on Windows. If you disabled your automation long before you realized this, then this is how you re-enable it:
Step 1: Go to your automation view on the arrangement view or Sample-edit tab view
Step 2: Select the automation to re-enable the toggle button
Or
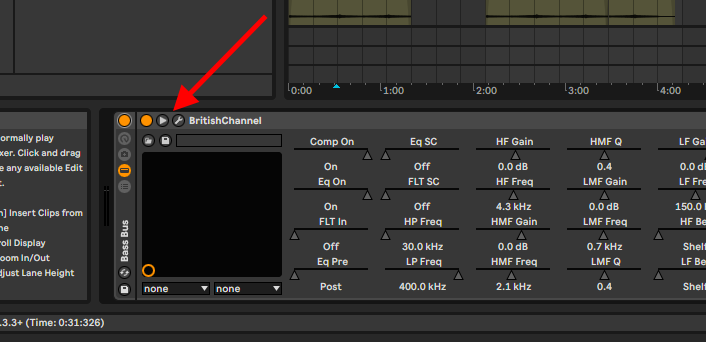
Step 1: Go to the plug-in where the automation is created and open the ‘unfold device parameters’ tab
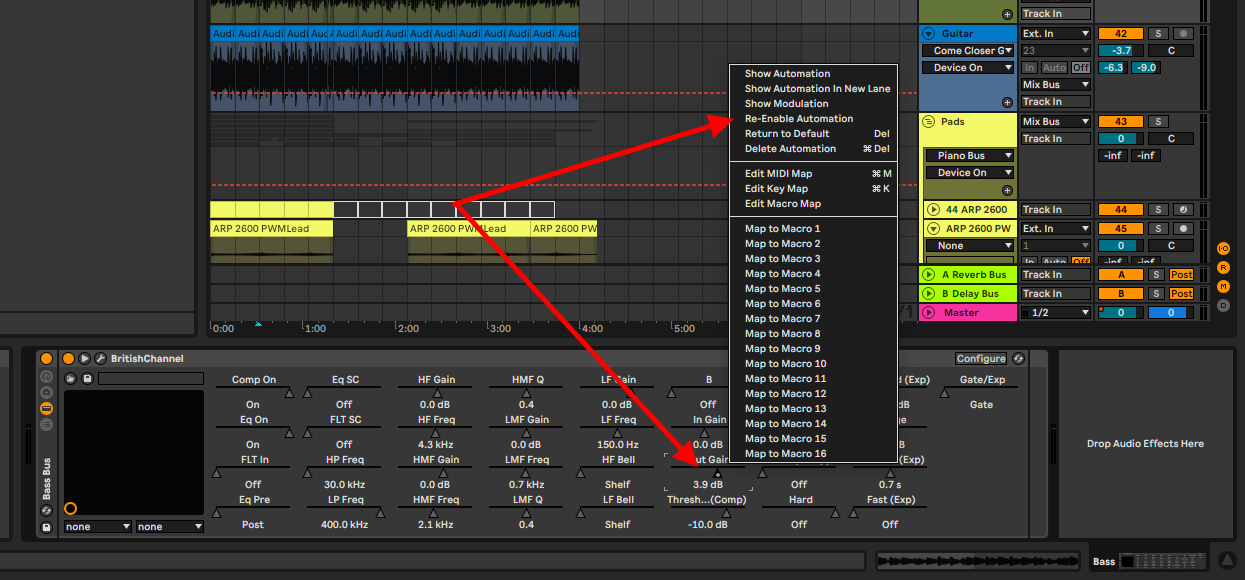
Step 2: Right-click on the automated parameter and select re-enable automation.
Final Thoughts
When creating automation, knowing how to enable, disable and re-enable automation is a useful skill when managing your session. Enabling automation will allow you to create automation, disabling will help you remove undesirable automation, or have an A/B (before and after comparison) and re-enabling automation will help you undo accidental or intentional changes to your automation lanes. Learn how to execute these techniques and see your production quality grow exponentially. Have fun!
- How to Use Ableton Live’s Arpeggiator? - September 18, 2023
- How to Use the Piano Roll in Ableton Live + Shortcuts - September 18, 2023
- Ableton Arrangement View (Optimization & Usage) - September 16, 2023

![Plug-ins not Showing Up in Ableton [FIXED]](https://ProRec.com/wp-content/uploads/2022/12/word-image-3394-3-180x180.jpeg "Plug-ins not Showing Up in Ableton [FIXED]")

