To Dynamically split an item, select the item, press D, tweak the settings on the window according to your need and click on the Split button. This is the TLDR, but if you dare to dive a little deeper in the settings and explore more use cases for this tool, allow me to be your guide.
Recommended Read: How to Cut in REAPER
What is a Dynamic Split?
Dynamic split is a REAPER feature that allows you to dramatically speed up the way you edit audio based on the transient information. It works very similar to Beat detective and Strip silence features in Pro Tools, these are the use cases we will be exploring in this article.
However, it’s not limited to just splitting items and erasing portions of them. It allows you to also split grouped items based on a reference, create stretch markers or transient guides, and even convert the transient information to MIDI notes. So without further ado, let’s start!
Recommended Read: How to Fade Out Tracks in REAPER
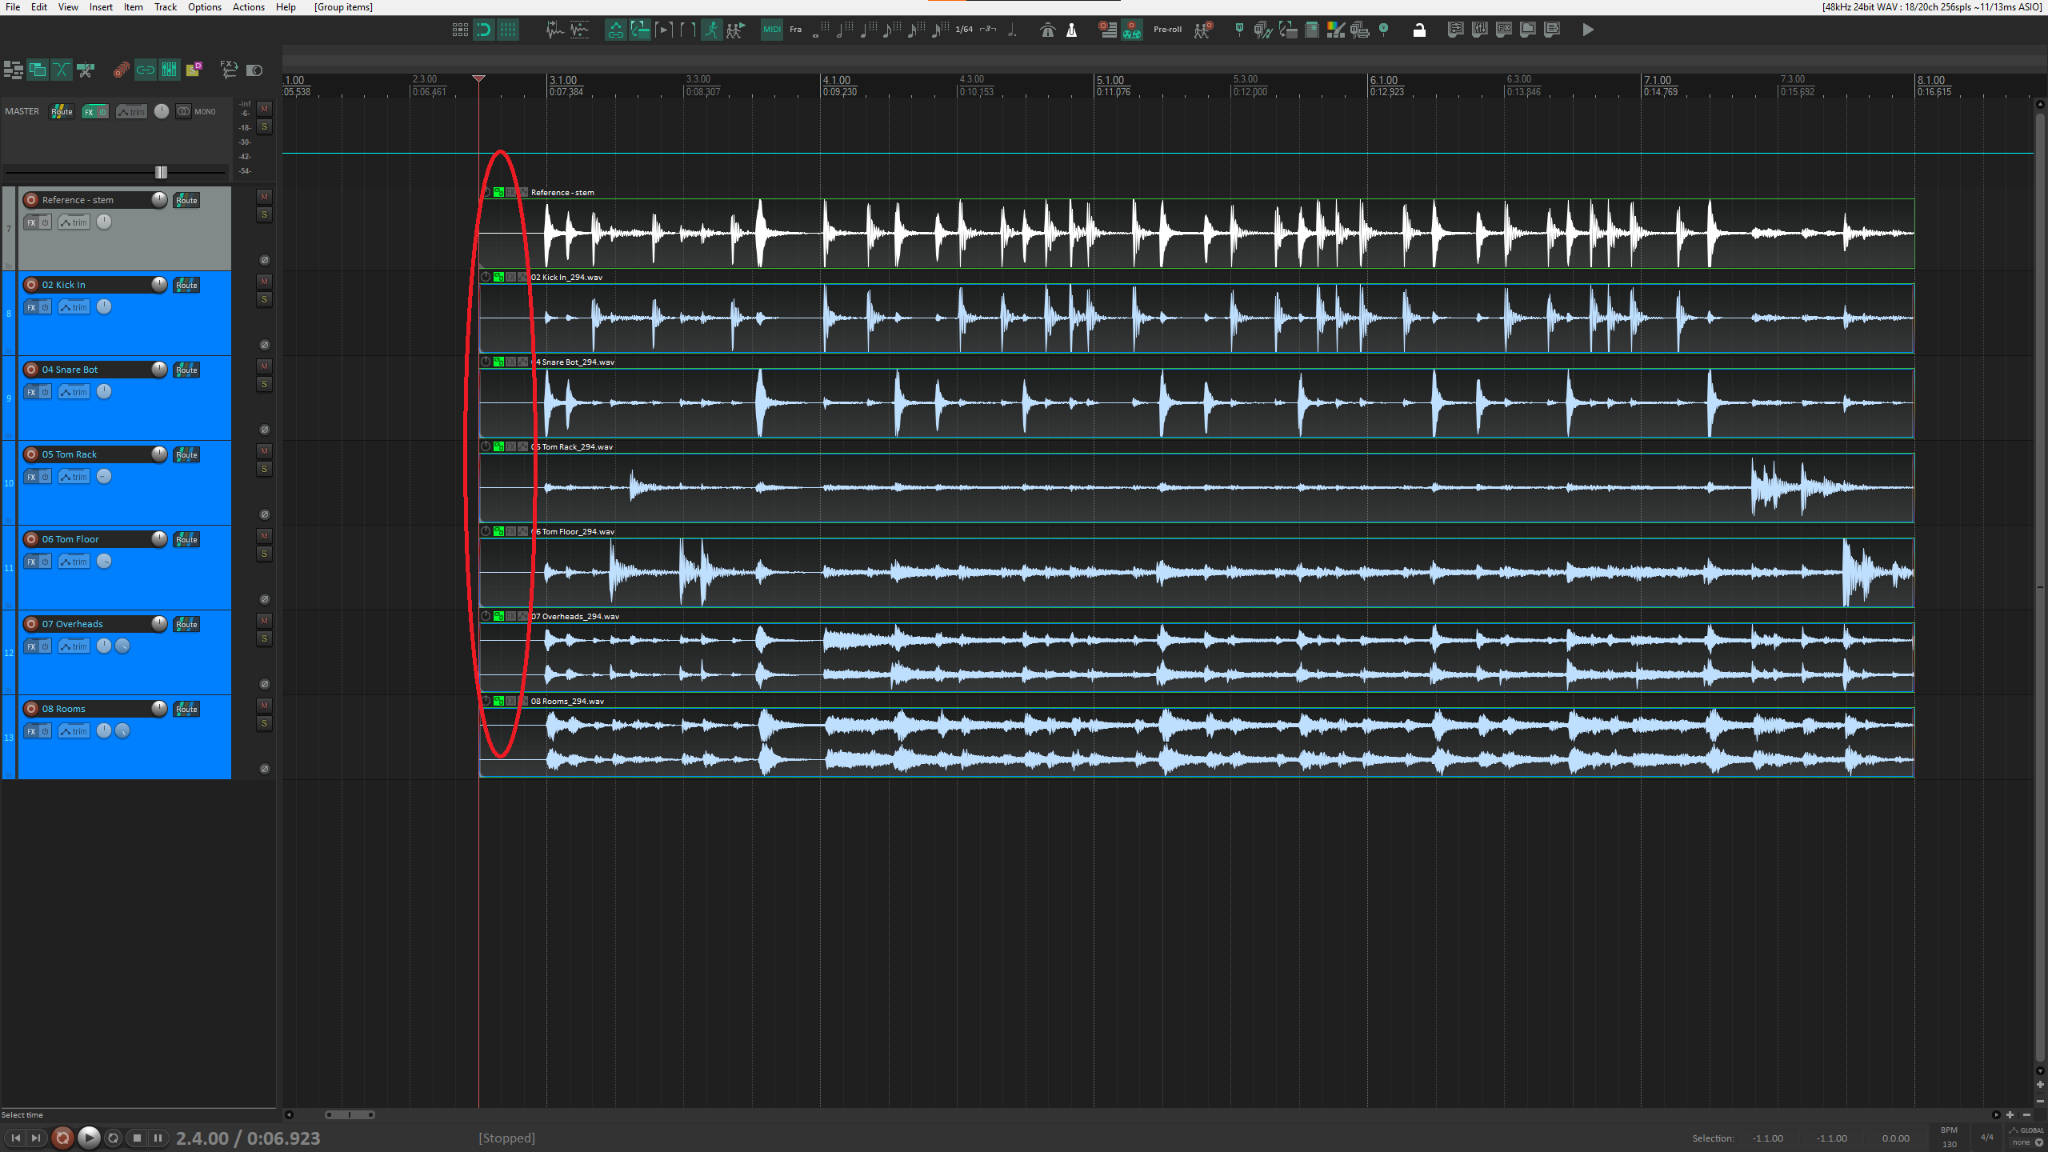
Dynamic Splitting a Multitrack Recording
Today I’ll use the dynamic split function to shorten the time it takes to edit this drum multitrack recording. I will also use some SWS extension actions to speed up some parts of the workflow after dynamic splitting the items, however, these are not necessary to use the Dynamic split function.

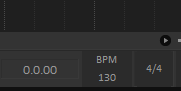
It’s important to have the tempo and grid setting properly set up for these types of applications, this recording was done with a bpm of 130,
Creating a Detector Track
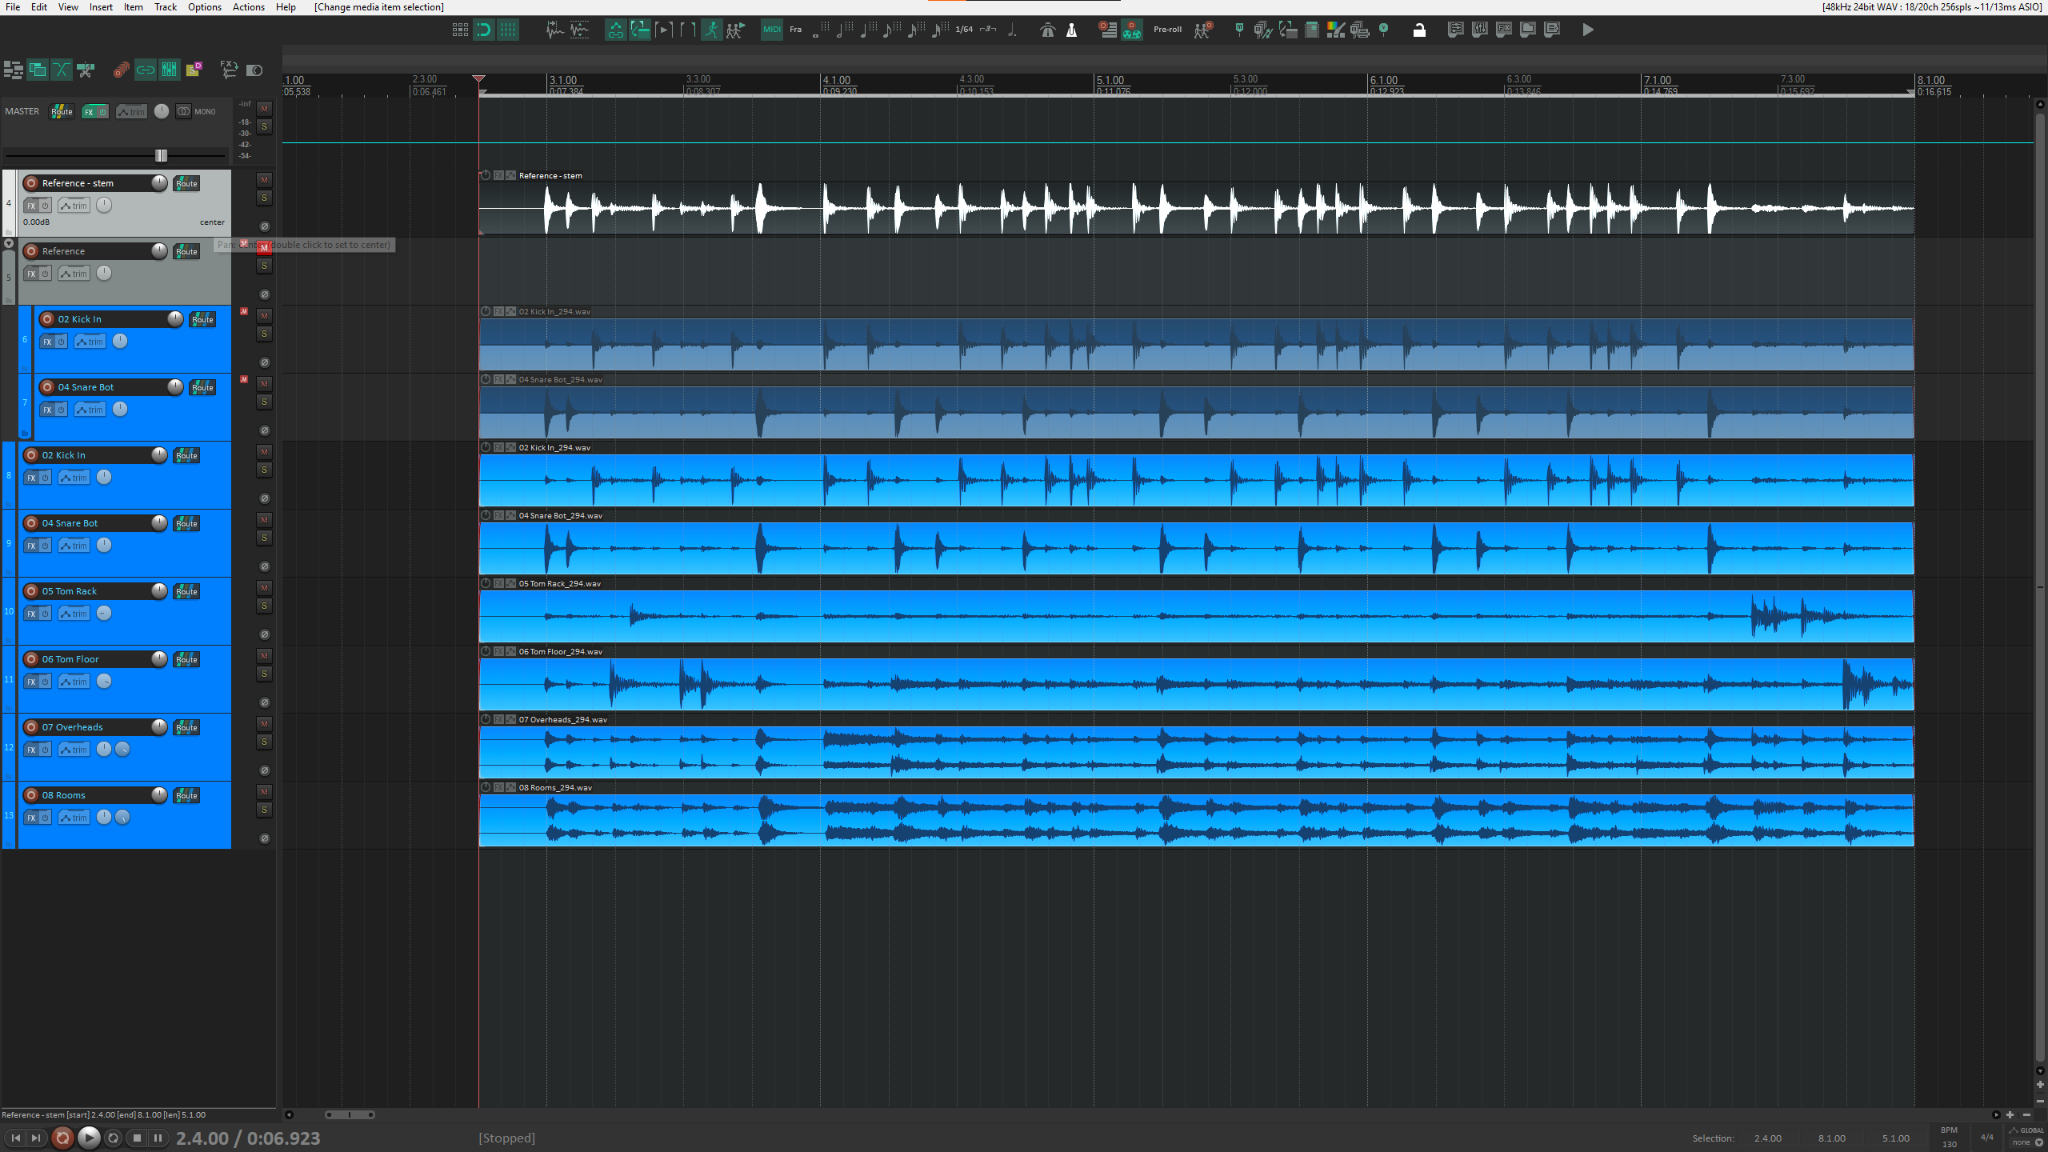
So first, since I only want to split based on the kick and the snare, I’ll create a detector track, it will give the dynamic split function the transient information that it needs to split all the items in the recording.
This can be done similarly to converting two mono files into a stereo file like it’s shown on the last part of this article. I will duplicate the kick and snare tracks, set the duplicates inside a folder track and set a time selection for the area I’ll be editing.
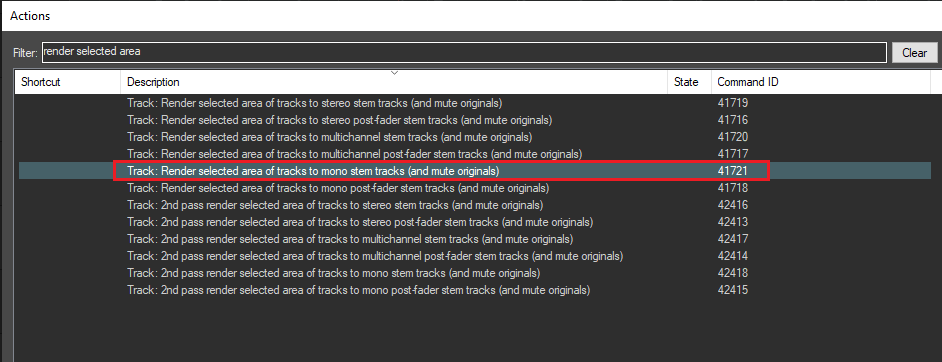
Then, render a mono file from the folder track that contains these two, the action is Track: Render selected area of tracks to mono stem tracks (and mute originals).
After rendering, you can delete the Reference folder track, you should end up with something like this.
Once this is done, you can safely delete or hide the duplicates and the folder track.
Grouping the Items
Now, marquee select all the items of the multitrack and group the items using the shortcut G. The grouped items should be highlighted with a green border and icon on the top left.
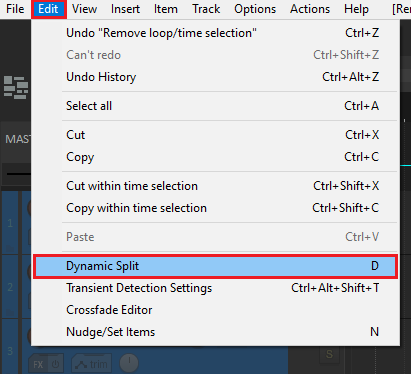
Next, select only the detector track and go to the edit menu on the top left to select the option Dynamic split, you can also use the default shortcut D. This will open the Dynamic split menu.
Setting up Transient Sensitivity
Now that the detector is selected and the Dynamic split menu is open, the next step is setting up the detector. Click on the Set transient sensitivity button on the bottom left.

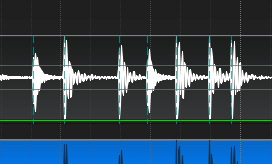
Check the option that says Display threshold in media items while this window is open. It will show a blue horizontal line for the threshold and indicate where the transients are detected, therefore, where the splits will be made.
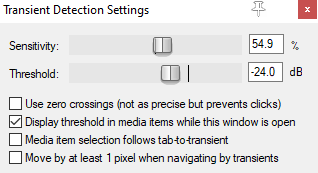
Now, you can adjust the Threshold and Sensitivity parameters making sure that at least most of the transients are detected.
Splitting the Items
For this application I will set the Dynamic split to split only At transients, if REAPER is detecting multiple slices per transient, you can increase the Minimum slice length slider.
Set the action to perform as Split selected and grouped items, check the option Set snap offset to peak value within first 50 ms, it’s usually a good idea to set a Leading pad of 10 or 20 ms.
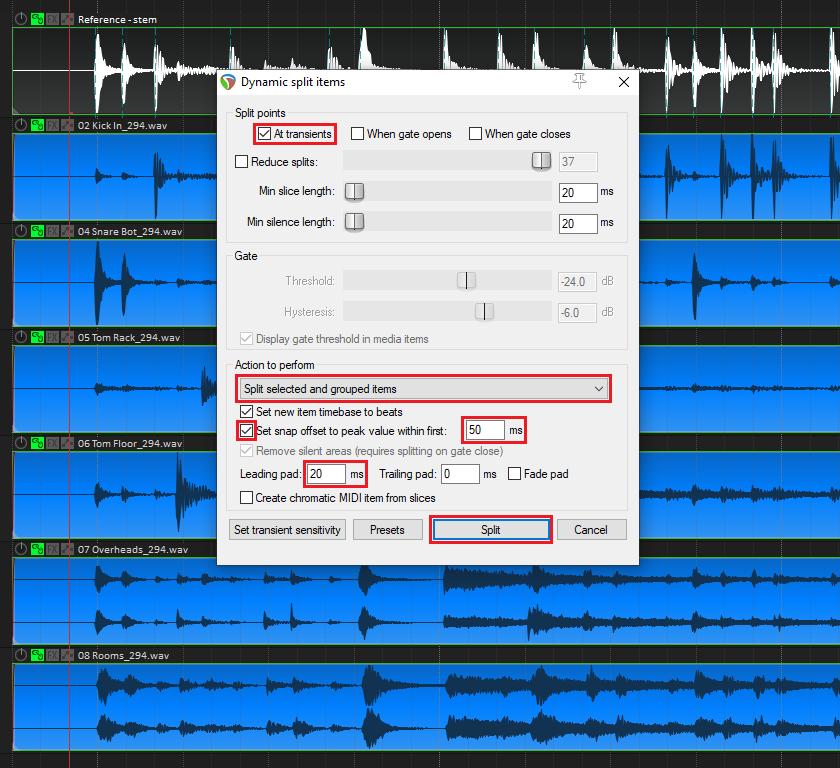
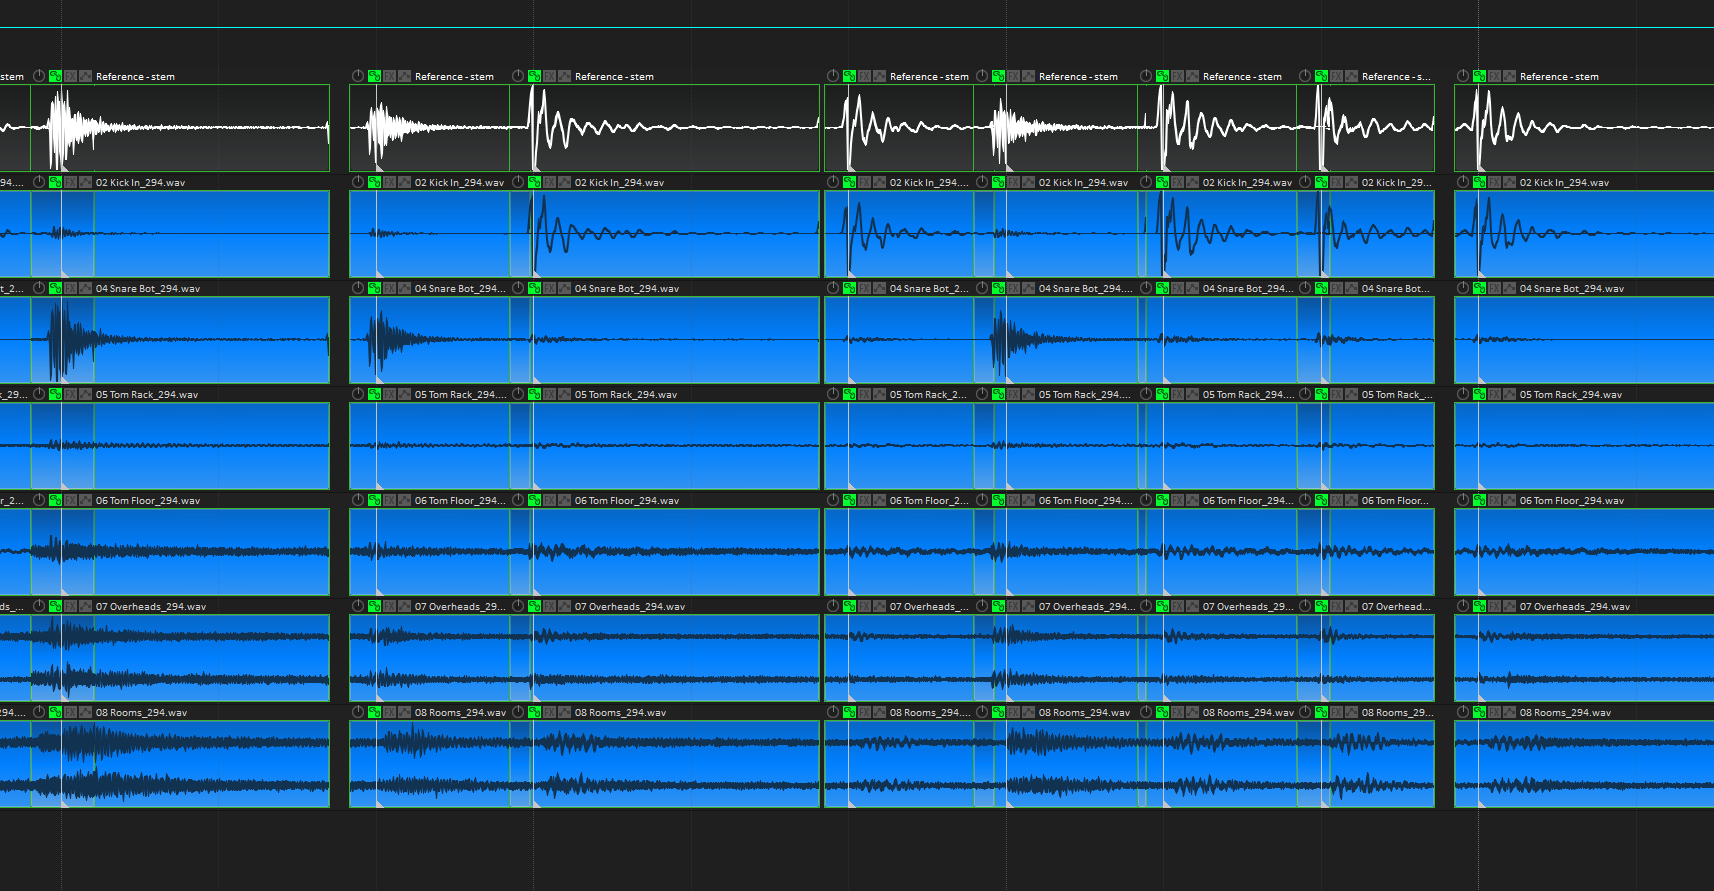
After clicking the Split button, REAPER will split all of the grouped tracks based on the transients of the detector track, place a white sync or snap point, and then leave a 20 millisecond space to the left of the snap point.

Finishing the Edit
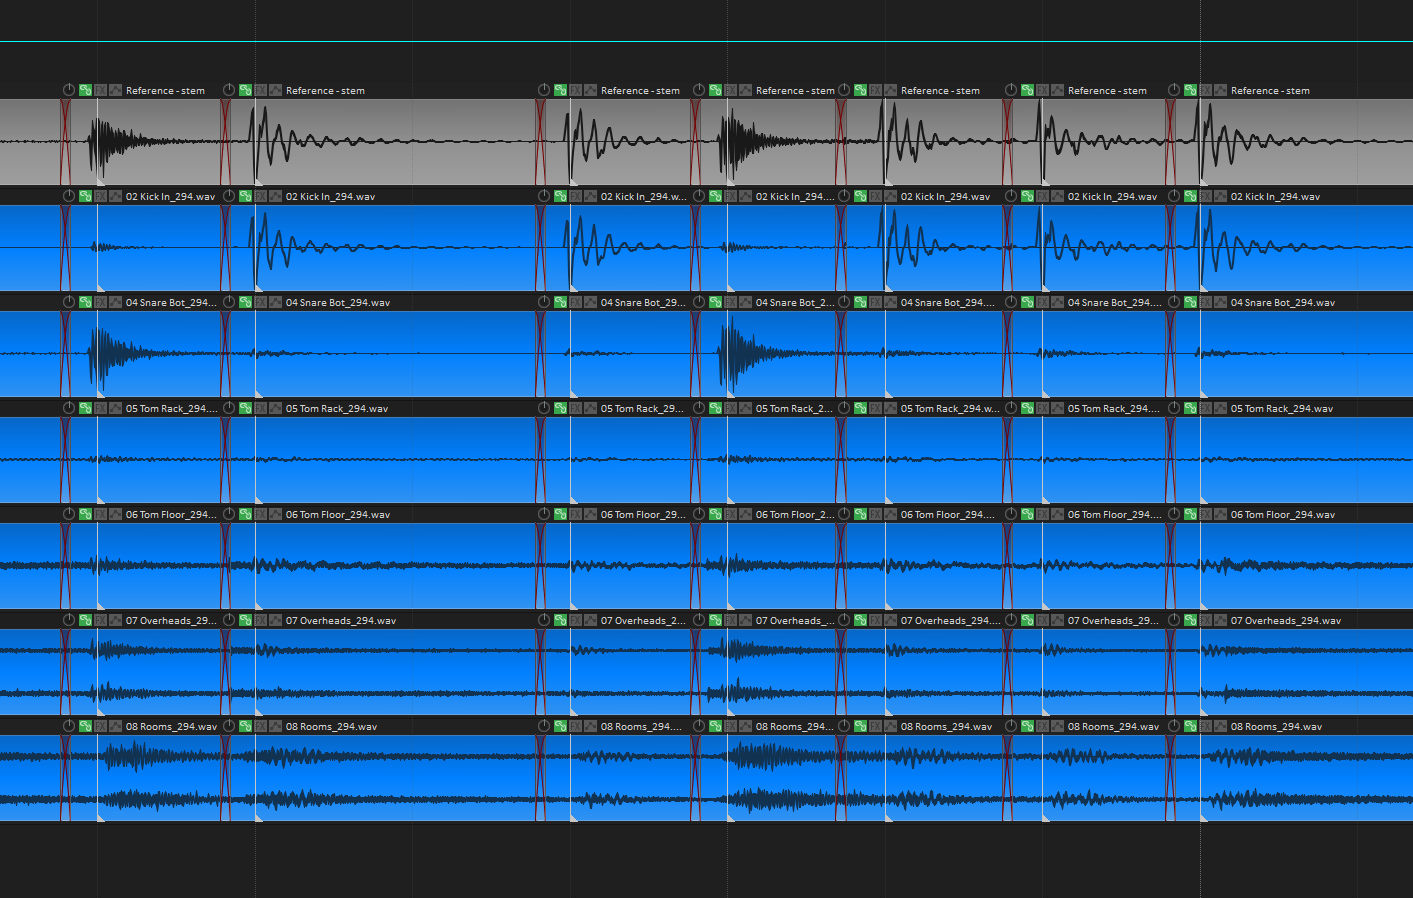
Having the split items, you can snap each transient to the grid with a simple action called Item: Snap items to nearest snap point, run it, and your transients will sync to the grid you have set up, in my case it’s 1/8th triplet
Now, to fill the gaps and crossfade the items, you can select all items and use the SWS extension action SWS/AW: Fill gaps between selected items (quick, crossfade using default fade length).
You may want to take a listen to recheck that all crossfades are ok and that nothing sounds weird.
Strip Silence
So apart from just splitting items, you can also use Dynamic split to strip silence from recordings. As an example, I will srip the silence from this voice over, while also removing the space between the splits!
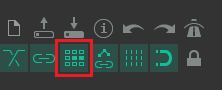
To do this I will enable Ripple editing, you can usually find it on your toolbar, click the button until it looks like the picture. This is the feature that will remove the space between the splits, if you don’t want that, disable it!
This time, I’ll use the Dynamic split gate instead of the transient detection, so disable the At transients option and activate When gate opens and When gate closes. I’ll set a Minimum silence length of 150 ms so that phrases are not chopped into words.
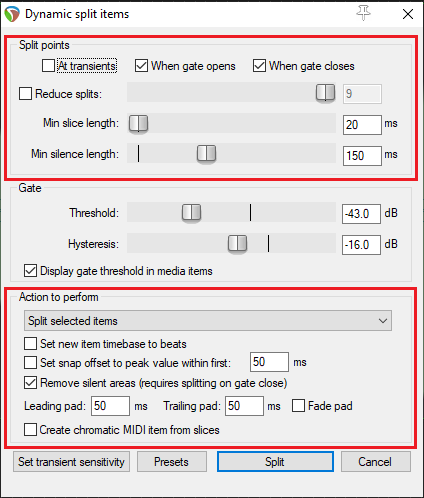
Set the Action to perform to Split selected items, there’s no need for a snap offset, but I’ll leave the Remove silent areas option activated. And for security sake, I recommend using the options to create a Leading and Trailing pad of at least 50 ms.
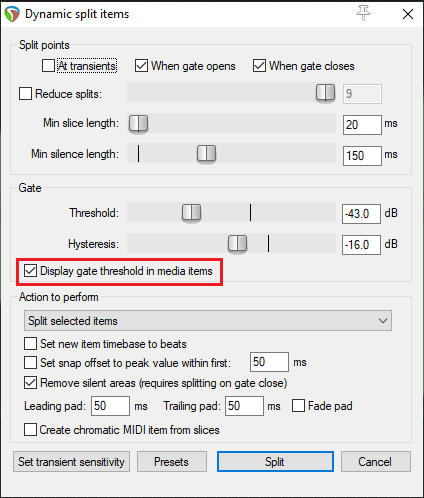
Then, set up the gate Threshold, make sure to check the Display gate threshold in media items so it’s easier to set up. REAPER will show the splits in the items as vertical dotted lines, and the silences will be grayed out, these are the ones that will be removed.
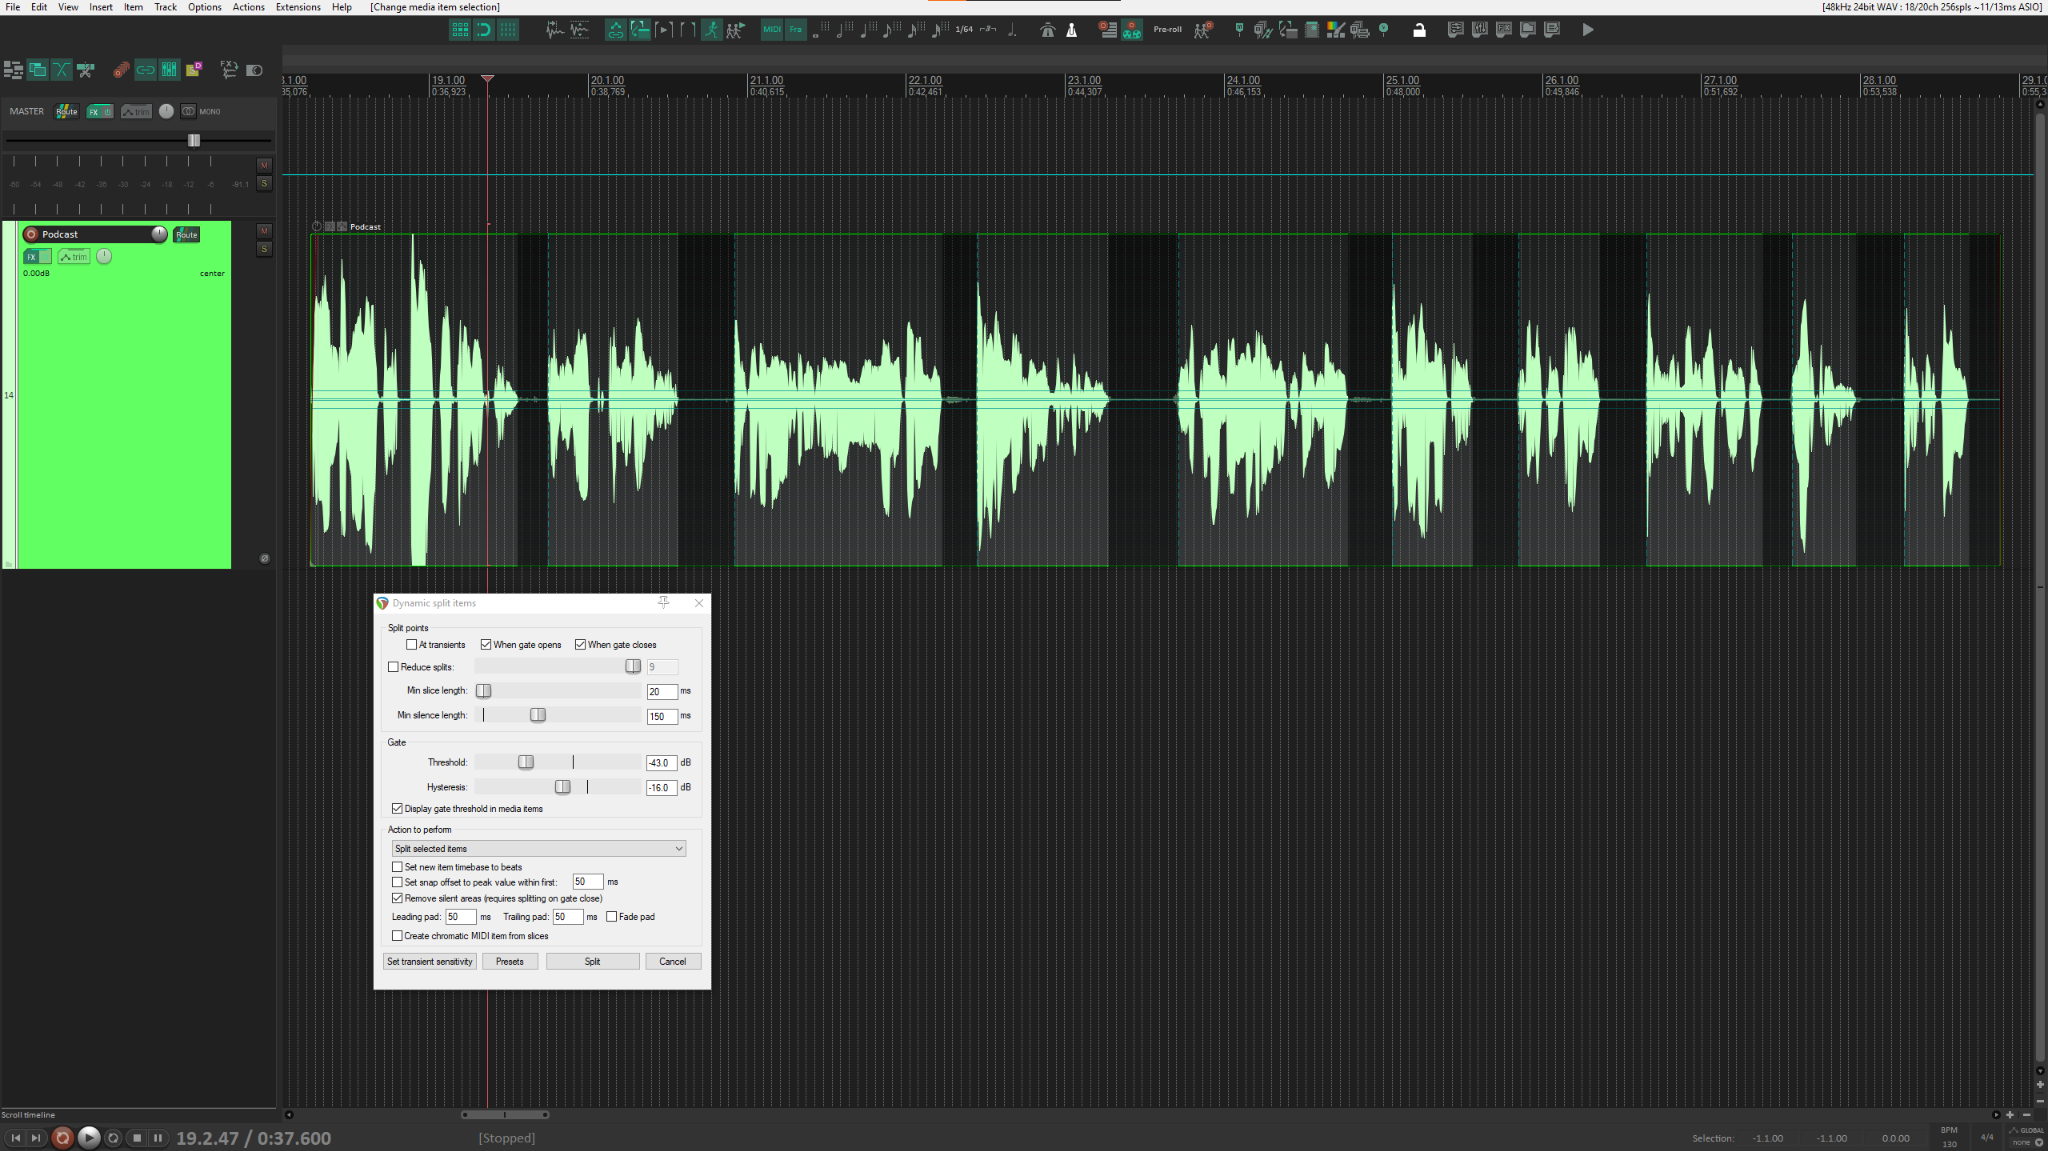
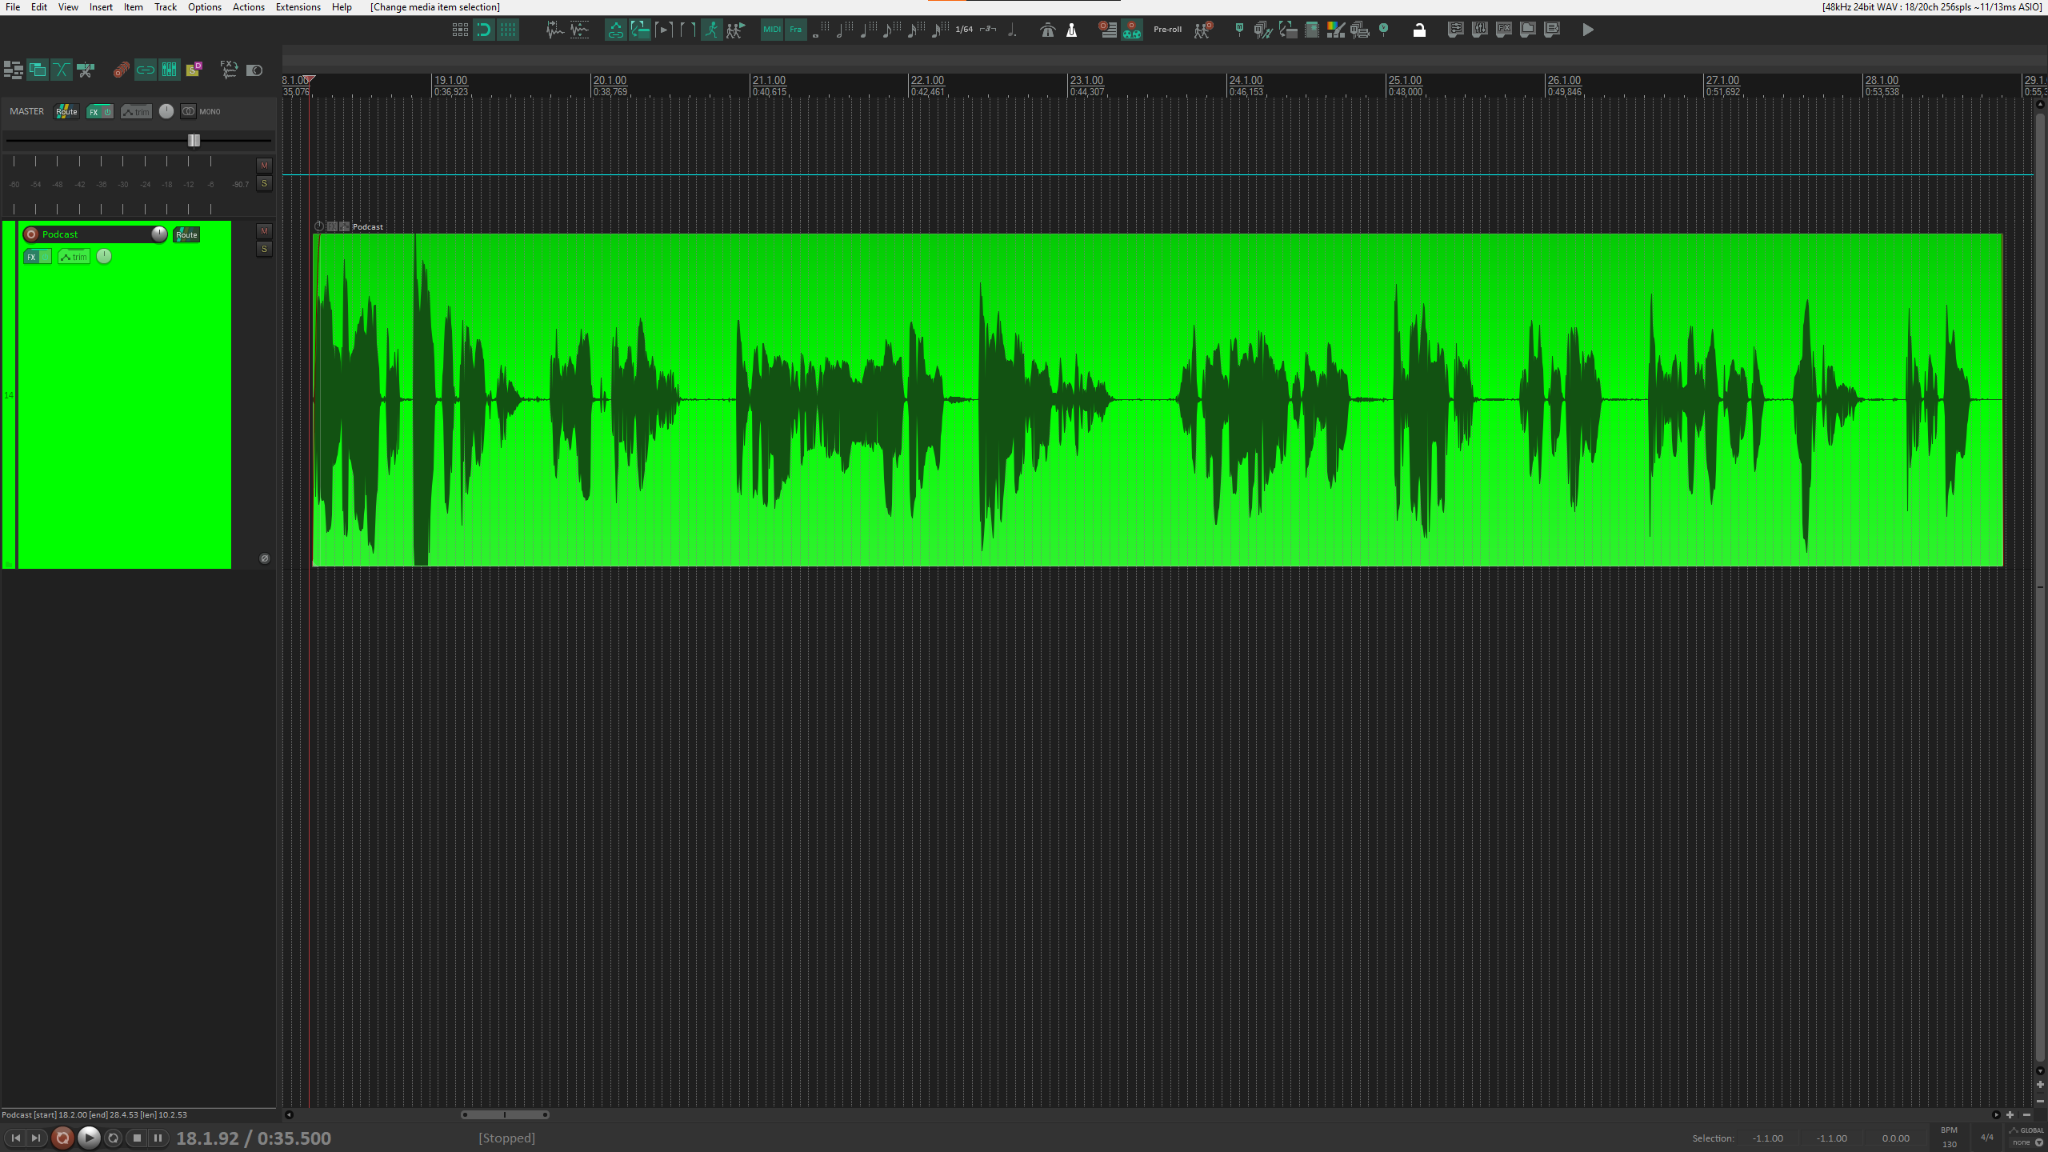
And, after clicking the Split button, the recording will look like this:
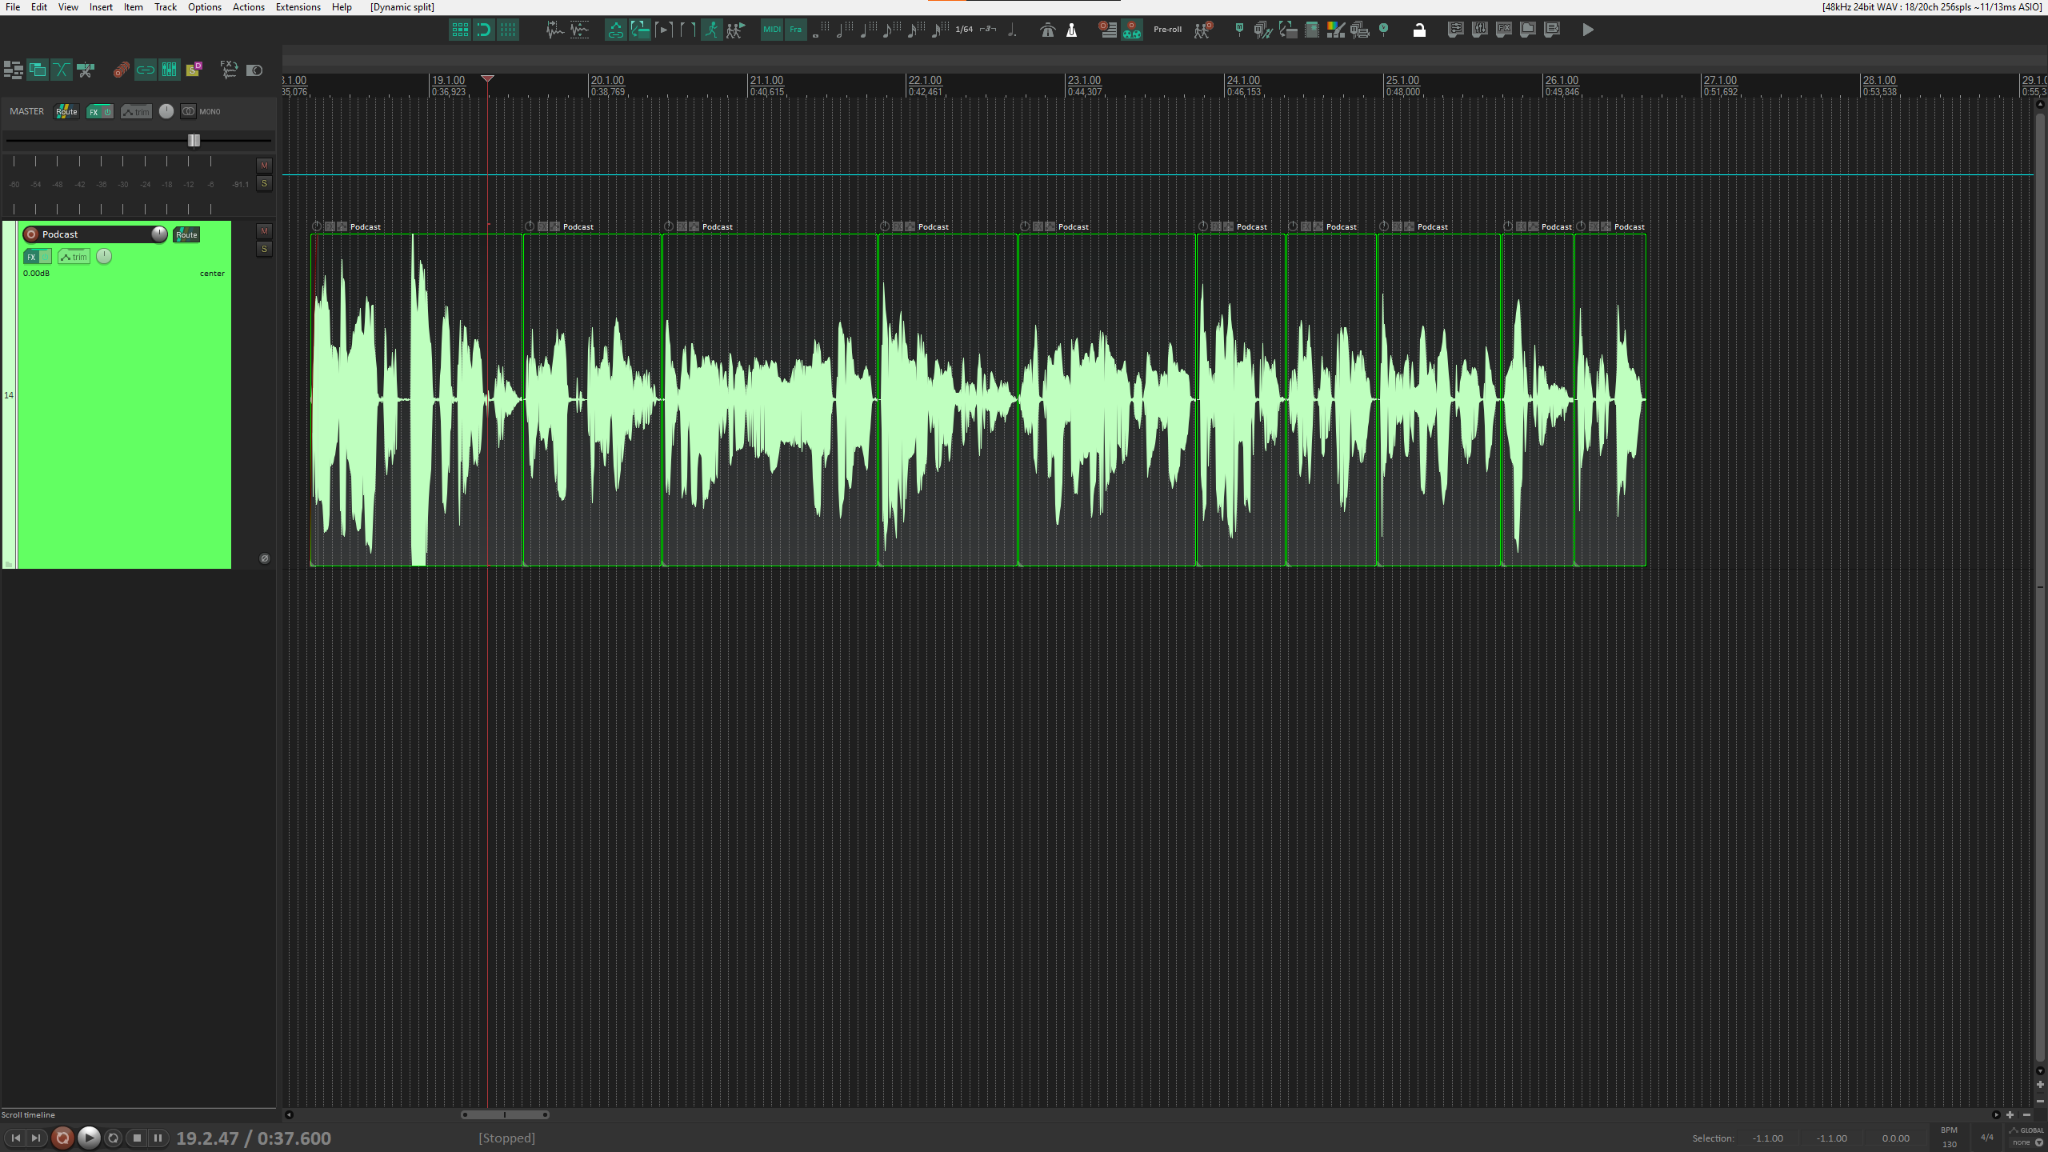
This is perfect for many radio formats, and VO for TV ads since you’ll usually have to reduce the space between words and sentences, and it usually takes some time.
Conclusion
Dynamic Split is a great tool that can reduce editing time if you know when to use it and how to use it properly. I know it can be hard to trust part of your work to the software, but I think it’s worth at least giving it a try in different situations. I dare you to explore the other actions available in the Action to perform drop-down men, these are very useful to correct wobbly recordings, they can help you to prepare a vocal for editing, and even replace a drum performance with MIDI! Just try thinking about what other applications this tool can be used in. I hope you learned something new, and have fun!

- Mixing in REAPER [ULTIMATE Guide!] - September 18, 2023
- How to Record in REAPER (Guitar & Vocals) - August 2, 2023
- Writing MIDI Drums in REAPER - July 3, 2023


")
