Manipulating the channel count on your files and tracks is a fundamental aspect of working with audio, and it often becomes second nature with time. Still, it can be a challenging concept to understand at first. So, in this article, I will break up some of the concepts and applications of working with mono and stereo files in REAPER, particularly how to convert a stereo file into mono, and mono to stereo. Once you are done with this, you should also check out how to split stereo tracks to dual mono in this article.
Recommended Read: How to Cut in REAPER
Mono to Stereo
The first thing you should know about working with REAPER is that mono tracks don’t exist as they do in other DAWs, all tracks are initially stereo tracks. REAPER instead plays back mono files through both channels of the track equally, effectively playing back as a mono source. So, while working inside of REAPER there’s usually no practical reason to convert a mono file to stereo, REAPER will handle it just fine.
However, there are times where you may want to convert a mono file into stereo. Perhaps you have to take the file elsewhere and it has to go as a stereo file despite the fact that it only contains mono information, and fortunately REAPER has several ways to accomplish this.
Render The Track as a Stereo File
The most common way of converting a mono file into a stereo file that comes to mind is exporting/bouncing/rendering it into one.
Recommended Read: How to Fade Out Tracks in REAPER
First, create a time selection of the part that you want to render, then select the track that you want to convert to stereo.
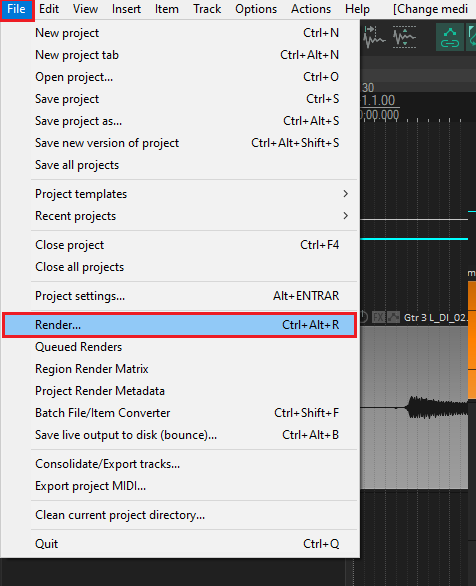
Next, go to the file menu on the top of the REAPER window, and select the option Render…
it can also be opened by using the shortcut Ctrl+Alt+R.
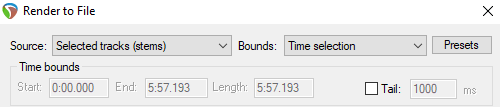
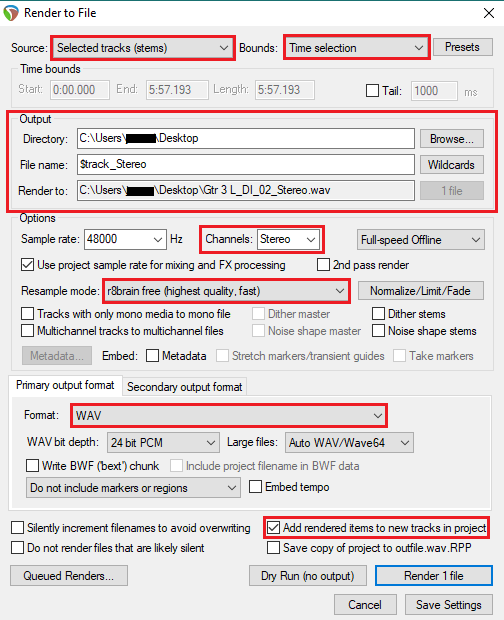
Set source to selected tracks (Stems) and bounds to Time selection.
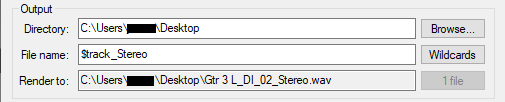
Select a directory in which REAPER will write the output file and give it a name. The Render to text box will show you the route where the file will be written and also, the name and format it will have.
Recommended Read: Dynamic Split Function in REAPER
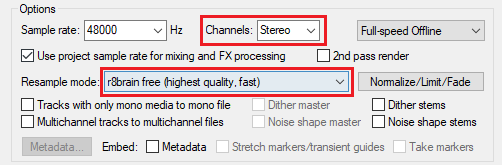
Select a sample rate (usually 44100 or 48000), and make sure that the channels option is set to Stereo. If your output sample rate is different than that of the file, or if you’re not sure about the sample rate, set the resample mode to r8brain free (highest quality, fast), this will make sure that if there’s any sample rate conversion in the rendering, the file won’t lose as much quality.
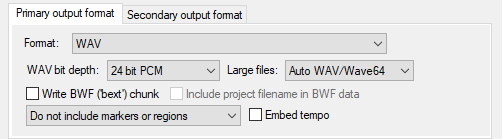
Set up the output format that you want, if you intend to process the output file elsewhere, it’s probably better to use the WAV format just as it is.
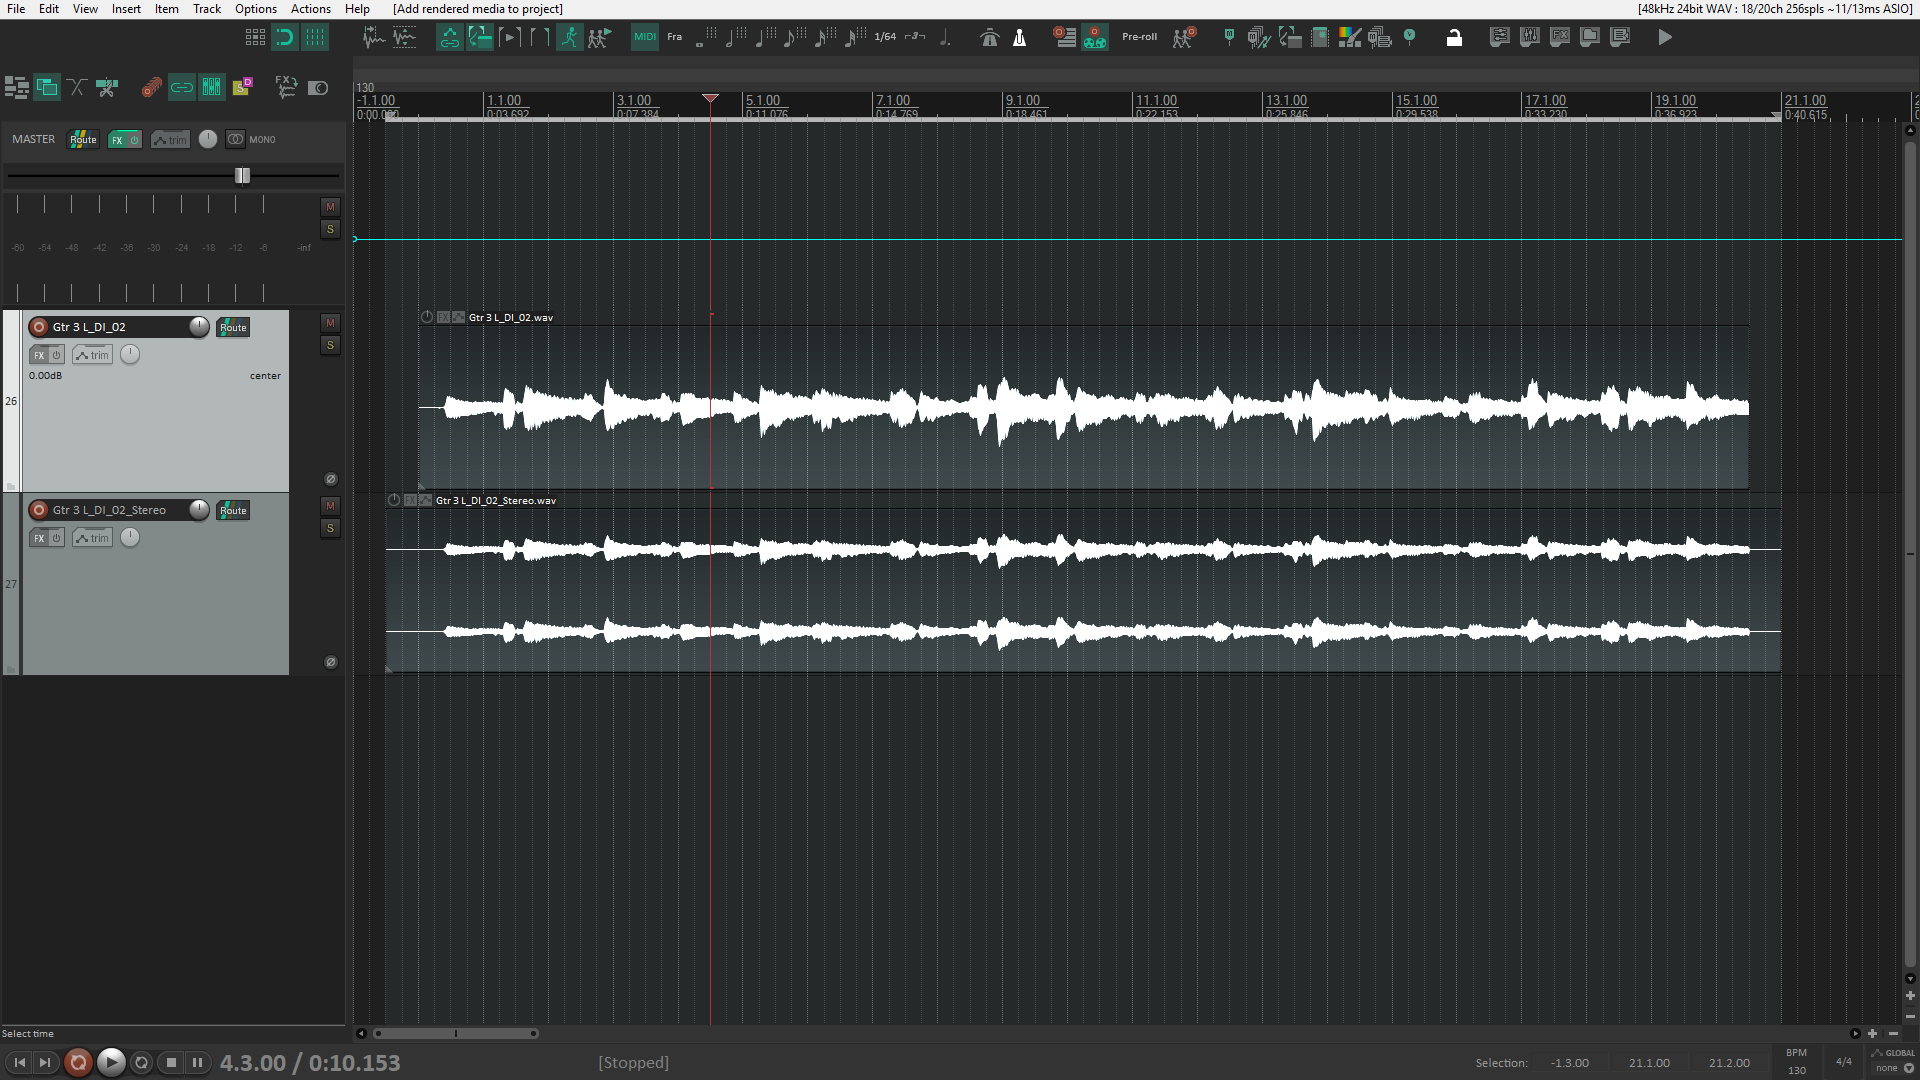
Next, if you want the file to be reimported to the REAPER timeline, check the box Add rendered items to new track in project. and click on Render file. Here’s a summary of how the prompt should look like.
After the render is done, you’ll also have the option to show the output file in your explorer or finder.
Render Item as New Take
This method is kind of a hack, but it’s absurdly fast and easy to pull off.
First, you have to add a fully transparent plugin to the item you want to convert to stereo. Go to the view menu on the top left, and select the option FX Browser. Or, press the shortcut Shift+F.
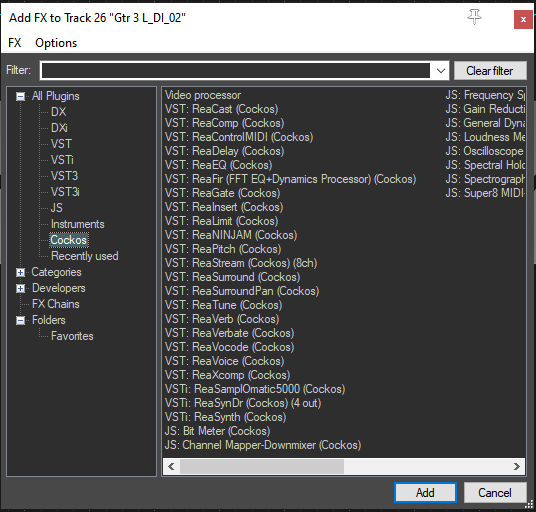
This will open the FX bowser list. Now you have to search for a transparent plugin like a digital paragraphic EQ. I’ll use the REAPER stock EQ ReaEQ, but any will do (FabFilter Pro-Q, Waves Q10, Slate Infinity Q, etc.). With this, you’ll make sure that the content of the audio file won’t be altered in any way. Now, Drag the plugin over to the item you want to convert.
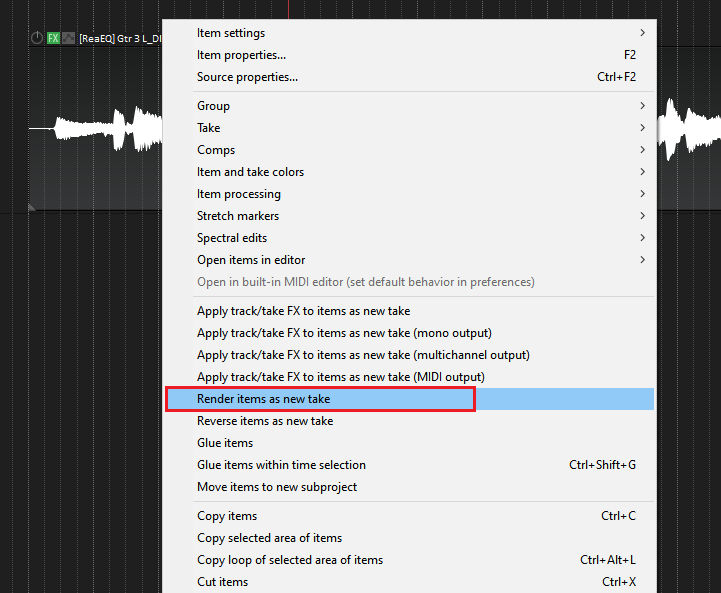
Next, right click the item and select the option Render items as new take. This will render an exact copy of the file as a new take in the same item but stereo.
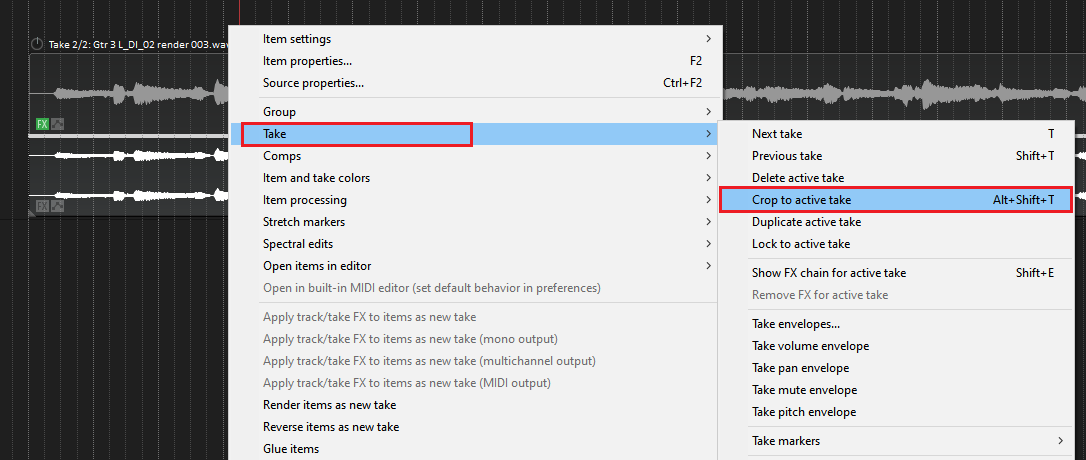
All that’s left to do is to crop the item to the new rendered file. Right click the item, go to Take, and select Crop to active take. Or use the shortcut Shift+Alt+T.
If you want to find the file in your file manager, select the item, open the action list by typing ?, then run the action Open selected item source media in explorer/finder.
Stereo to Mono
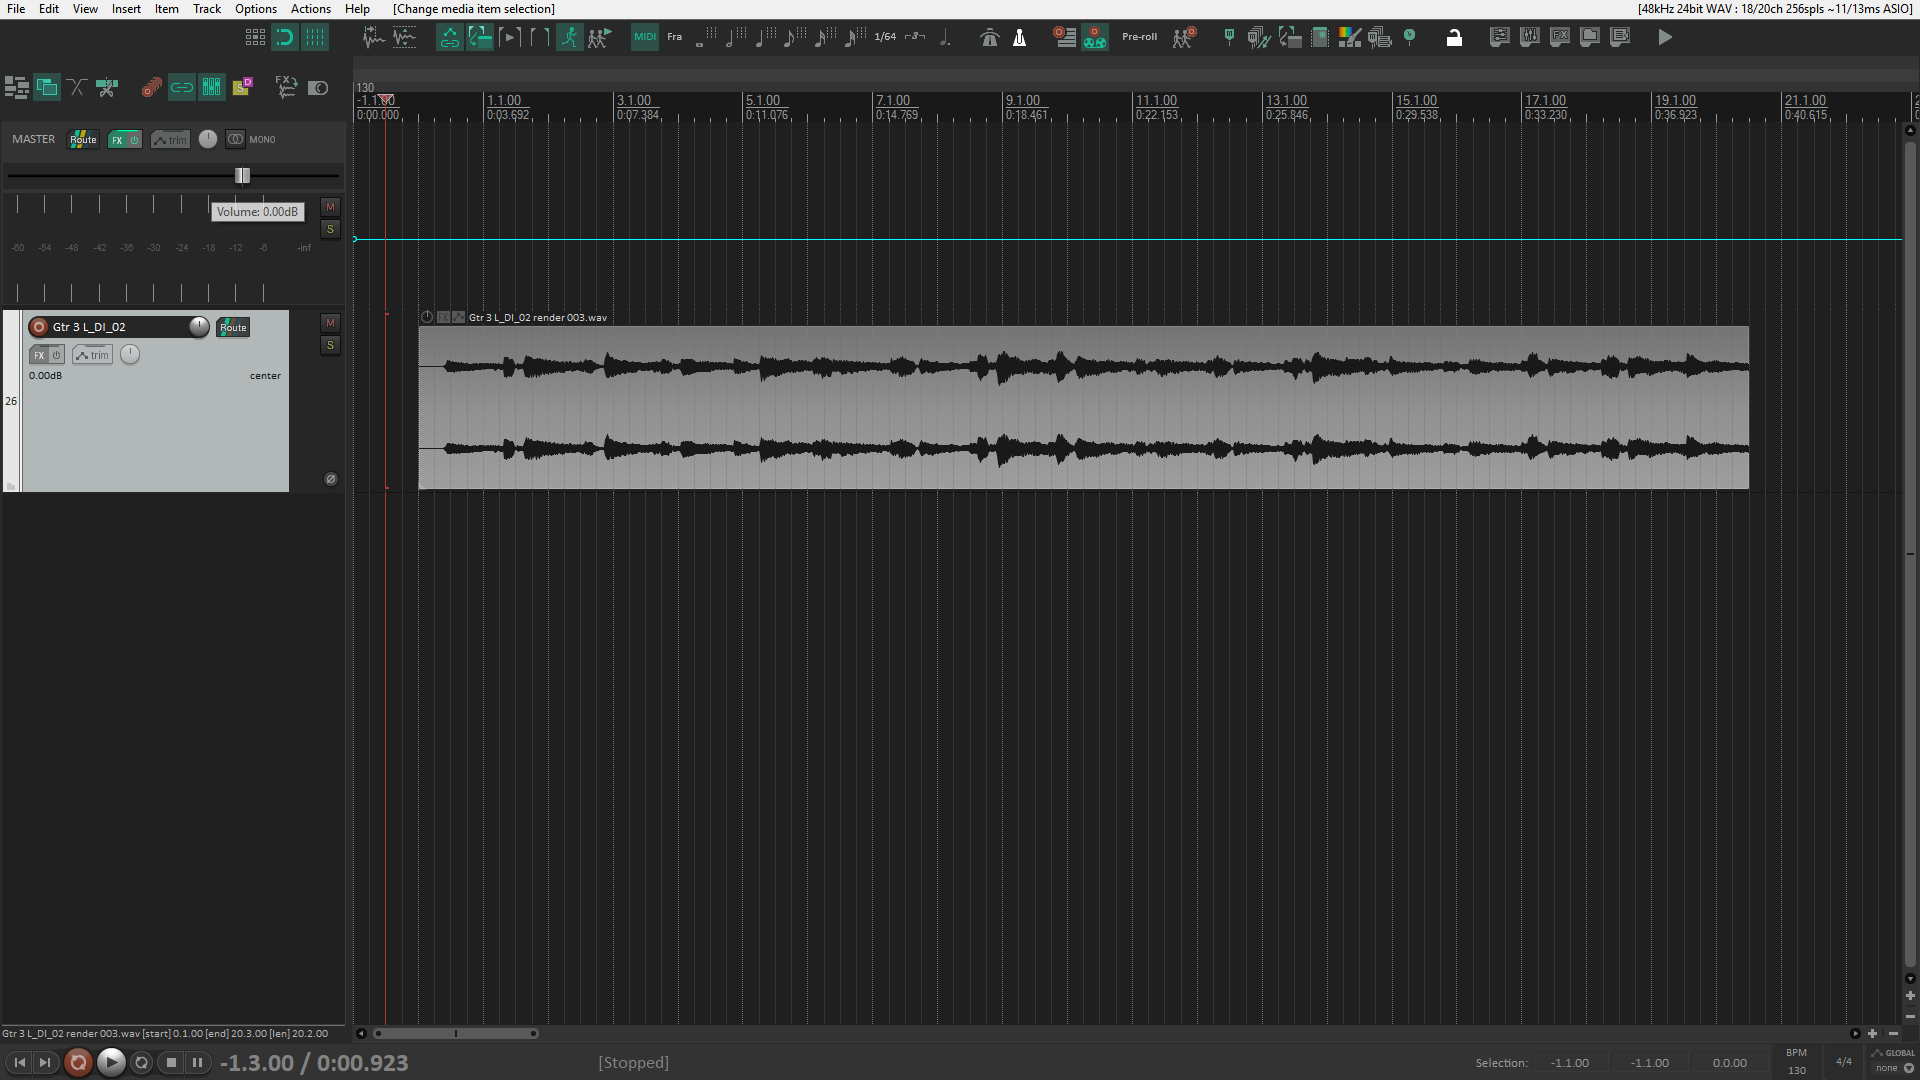
Now let ‘s say I received a stereo file marked as the Kick for a musical production, however, after listening to it and checking the meters, I realized it didn’t have any stereo information, it’s just the same information in the left channel as in the right channel. Knowing this, I can convert it to mono without worrying of losing any information for the mixing process.
Downmixing
The easiest way of working with this file, is to tell REAPER that it can work with this file as a mono file. To do this, just right click on the item and select Item settings.
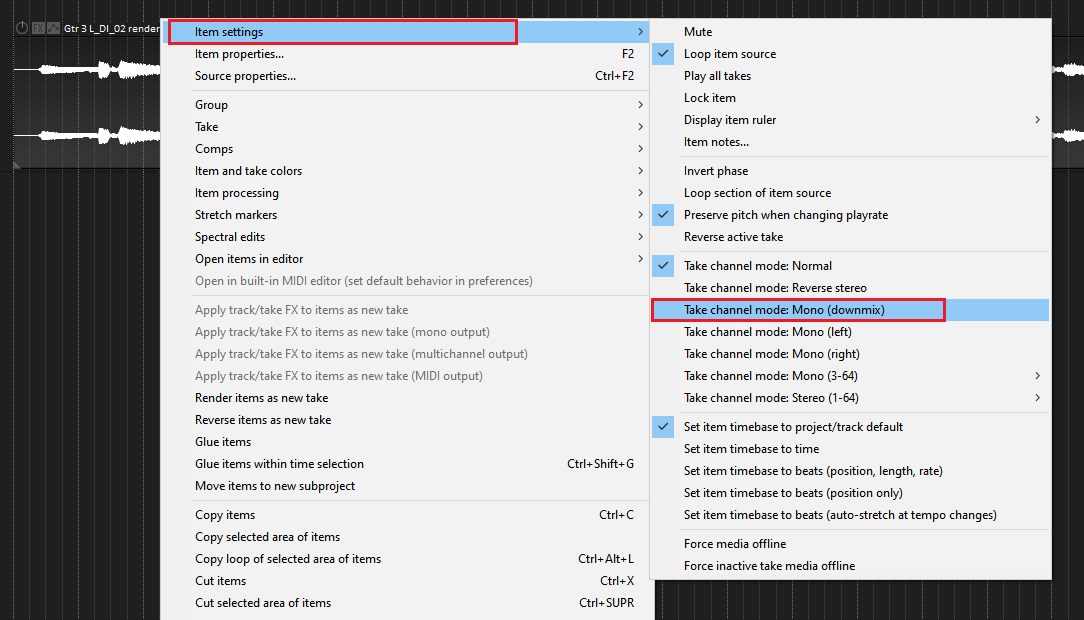
Then select the option Take channel mode: mono (downmix).
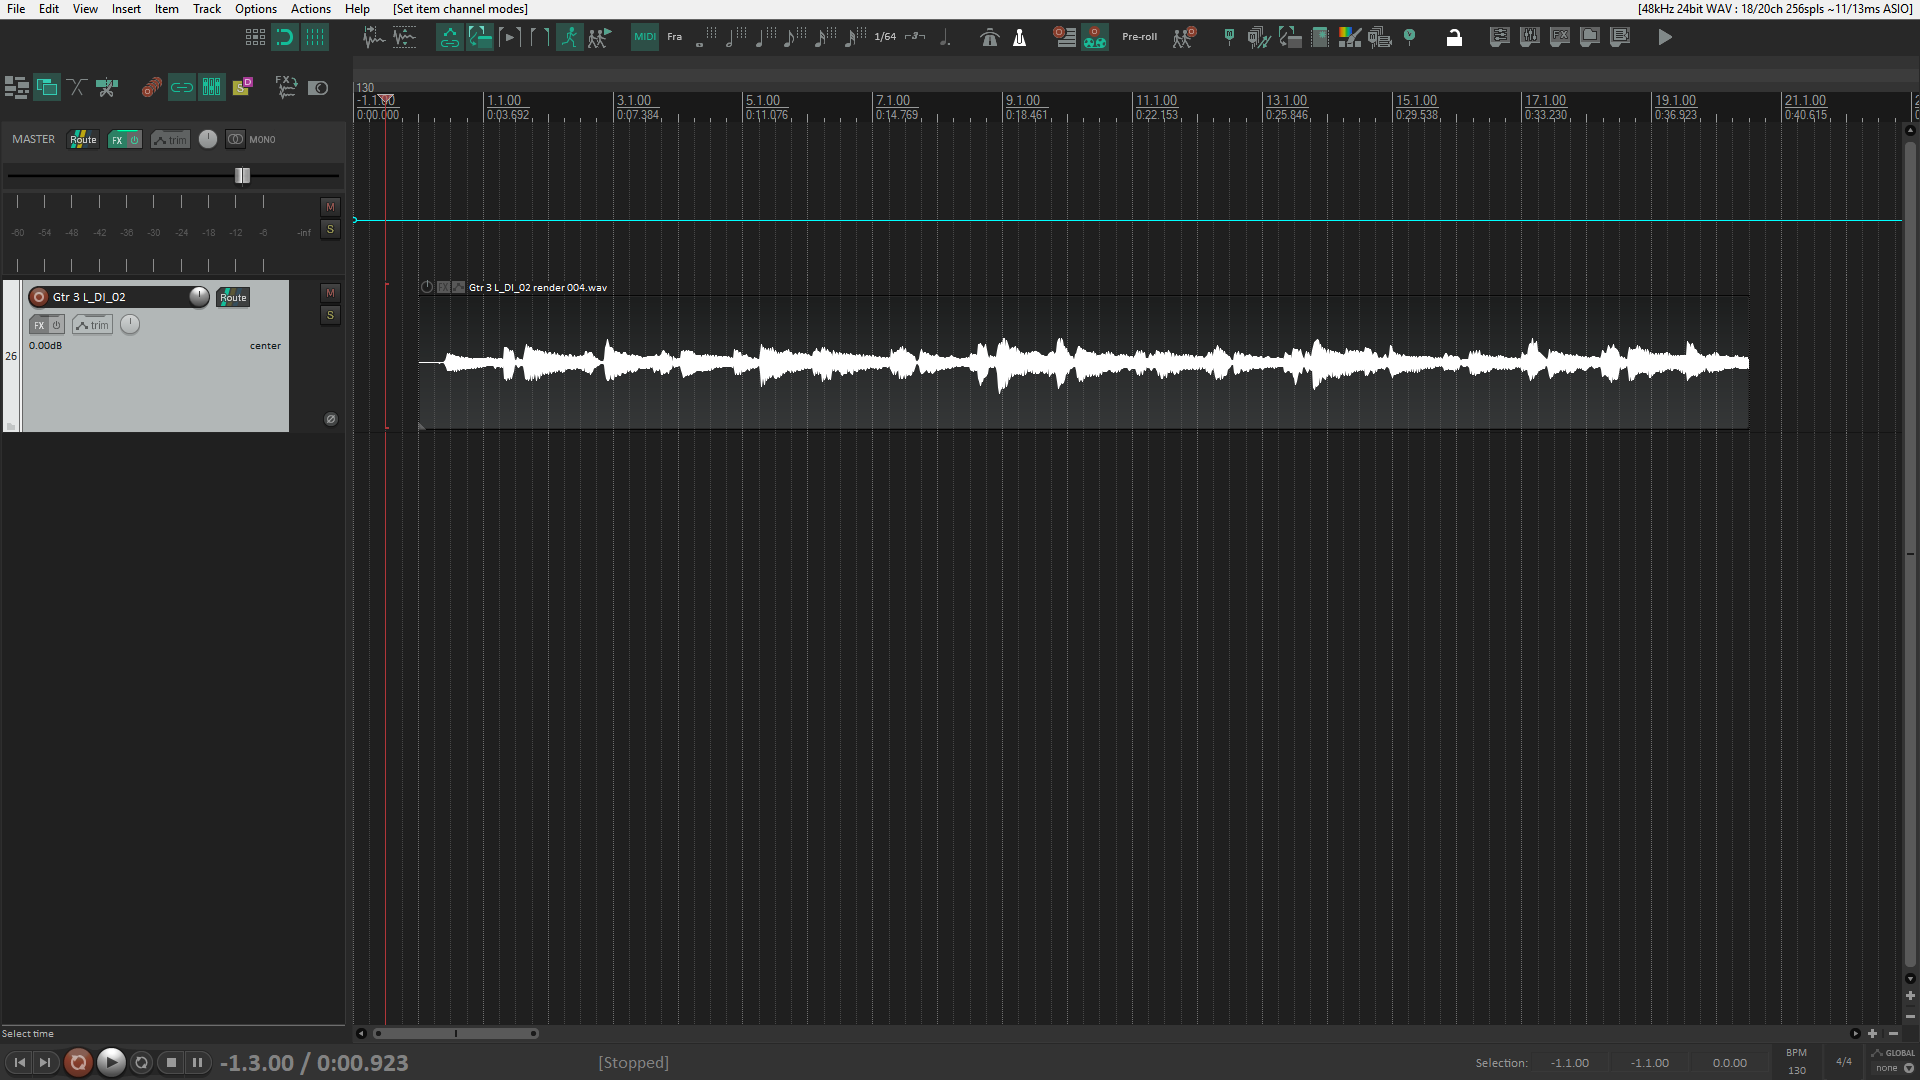
This will make it so that the file appears and plays back as a mono file. However, it will not change the original file, only the way REAPER reads it.
Exploding the item
If you want to work with a mono source file, you’ll have to resort to rendering the item or track into a mono file, similar to what I showed you in the previous section with the Render to file prompt. However, a faster way of going around this process is exploding the item into channels.
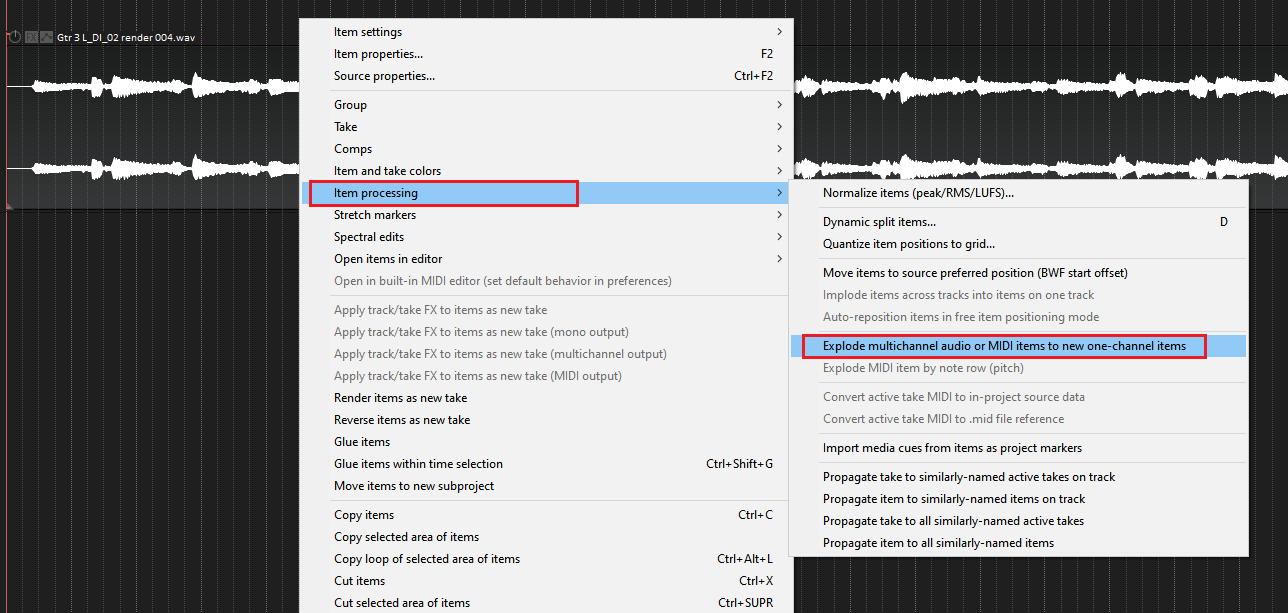
Right click the item you want to convert to mono, click the option item processing, and select the option explode multichannel audio or MIDI items to new one-channel items. This will create two new child tracks with each channel of the stereo item rendered into new files.
Now you can delete the original item, move one of the new items into the track where the original item was, and delete the two children tracks.
Conclusion
You probably don’t have to worry that much if your files are mono or stereo in REAPER, the beauty of it is that it just works! But if you still want to manually manipulate the number of channels in your items you can do it through various methods, give them a go and use the one that suits you the most depending on the situation. And above all, have fun!

- Mixing in REAPER [ULTIMATE Guide!] - September 18, 2023
- How to Record in REAPER (Guitar & Vocals) - August 2, 2023
- Writing MIDI Drums in REAPER - July 3, 2023


")
![REAPER Crackling & Lagging during Playback [FIXED]](https://ProRec.com/wp-content/uploads/2023/03/word-image-5054-1-180x180.png "REAPER Crackling & Lagging during Playback [FIXED]")