Compression is one of the most powerful tools for music production and using it properly is an absolute requirement for any serious audio professional. I’m the kind of person that thinks that once you know how to really use compression, you can absolutely dominate the world of mixing, so how about taking a look at a few compression techniques that have helped me along the way?
ReaComp is one of my favorite compressors, it just happens to be REAPER’s stock compressor, that can also be installed independently to be used in other VST hosts. Its versatility is hard to come by, especially for the price. So let’s see how it stands up for applying different compression techniques and what all it is capable of!
The ReaComp Layout
ReaComp has a really clean and user-friendly interface, perfect for when you’re just starting out. It shows Input and output level, as well as the gain reduction applied by the compressor, which I really like. Lowering the threshold below your peaks to get going is a breeze.
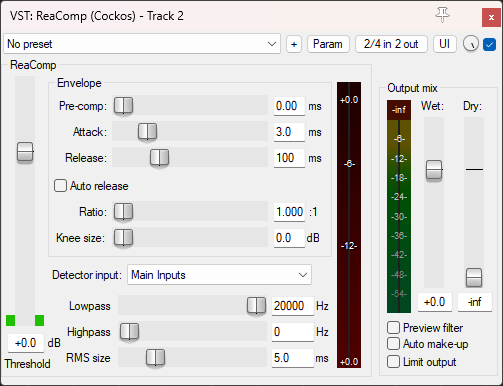
While ReaComp is extremely user friendly, this freebie is also packed with a ton of different features. Aside from the basic required parameters of Threshold, Attack, Release and Ratio, here’s a list of modifiable parameters available in ReaComp:
Pre-Comp: A look-ahead feature to decrease compression artifacts.
Knee Size: Allows the user to soften the curve of compression for a more transparent effect.
Auto-Release: Adapts the length of the release to depend on the source material as well as the set release number. This can be great for a more transparent compression.
Side-chain Filter: Allows the compressor to only detect certain frequencies. For instance, when you don’t want your master compressor to squash your low end. You can also preview the filtered signal, so you can hear what the compressor is listening to.
Detector Input: lets you change what the compressor is listening to by changing what is being fed into the detector or Side-chain. This feature can be used to apply ‘Side-chain compression’, or feed ReaComp its own output for ‘Feedback’ compression which gives a more snappy feel. When the detector is set to Feedback, the ratio control will only range from 1:1 to 2:1, so keep that in mind.
RMS Size: This is a nice feature that allows you to switch from peak (zero) threshold detection to a more RMS, averaging detection. This can lead to smoother, more leveling-like compression.
Auto make-up: Automatically raises the output level to compensate for the gain reduction of the compressor.
Limit Output: Another quality of life feature, activates a brickwall limiter over the output to prevent stray peaks from clipping. It’s a nice safety net for peaks that just won’t stay down.
The Classic attack curve and Weird knee are legacy parameters that may be enabled if you’d like to experience a previous version of ReaComp (several checkboxes denote the different legacy versions). You can find them by clicking on the UI button and dragging the Legacy Options slider to the right. They will be visible once you go back to the normal UI. I prefer the default sound though.
Applying the ReaComp Effect Plug-in
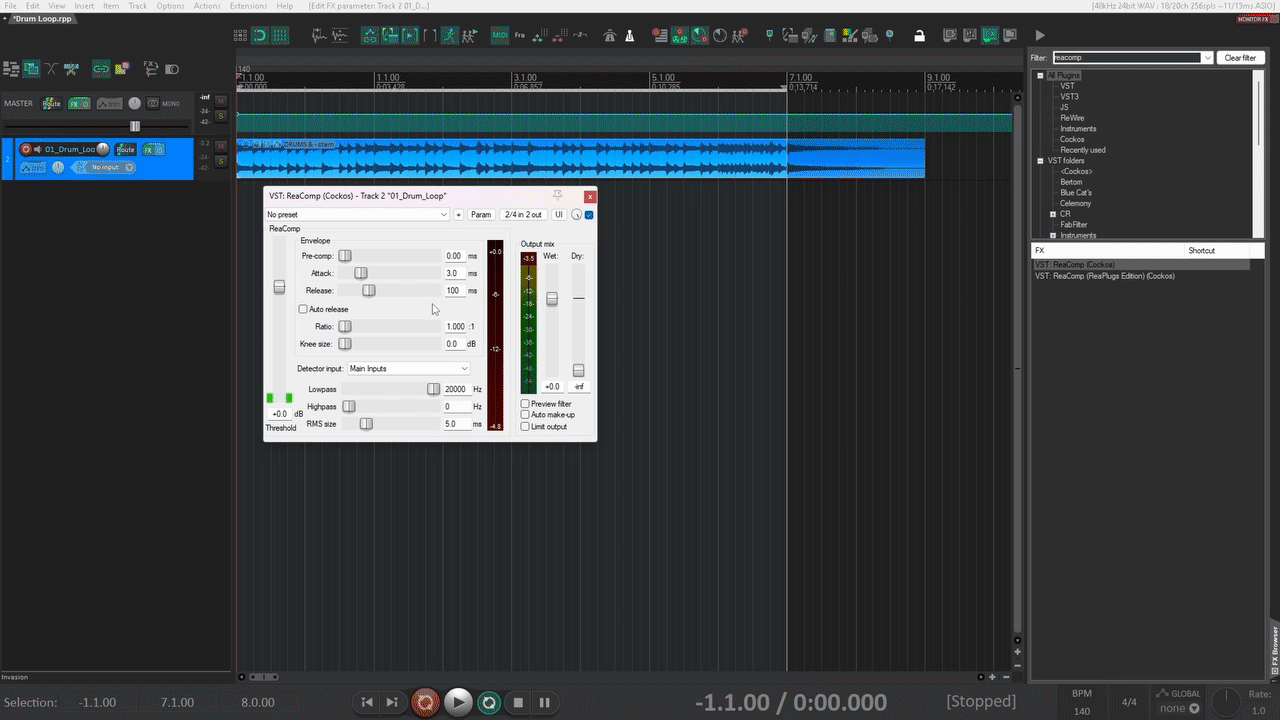
I will be using it on a peaky drum loop that I keep for testing. ReaComp always loads zeroed out and doesn’t affect the sound, I like that. Nothing like squashing your vocals on load to throw you off while mixing.
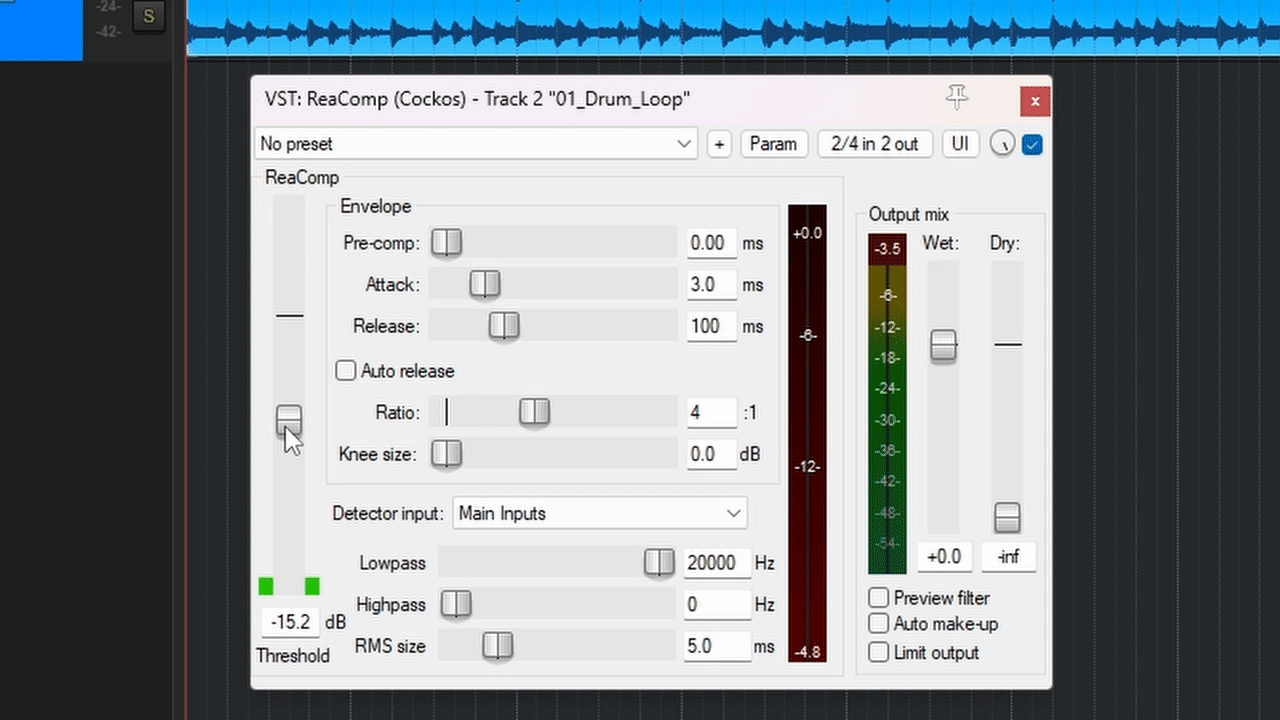
The Ratio is set to 1:1 so I’ll start by turning it up to 4:1 and bring the Threshold down to touch the green meters on each side.
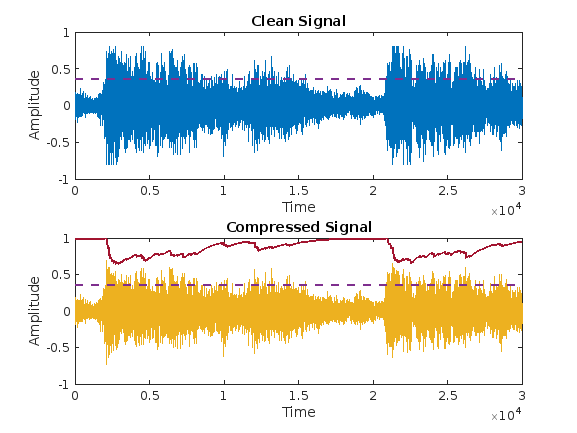
The top readout in the Gain Reduction (GR) meter shows the occurring GR dB value, which gives you clear visibility into when compression kicks in and how much of it is being applied
Controlling the Peaks
As the threshold dips below the peaks, it starts to grab the kick and the snare in a nice way, without affecting the sound much. I will compensate for the GR using the Output level slider. Another option is to use the Automatic gain make-up, which results in a significant bump in the output level. I prefer matching the perceived level of the Dry and affected signal to properly assess what the compression is doing. So far, it’s pretty transparent at moderate settings.
Now, let’s turn it up to 100:1!
… or infinity, rather. Once I pull the threshold down I’m reading an (un)healthy 10dB to 13dB of GR. Now this is a serious amount of crush with a decent snap. An even lower threshold starts to choke the transients and turns them into a “pop!”. Here’s when it occurs to me that there are a few possible compression pathways that can be applied to this drum loop, so I will go through them now.
Smashing Transients
Sometimes there are drum performances where smashing the crap out of the transients breathes life into your tracks. The interaction between the elements, the added sustain and the pumping make the track shine, especially for blending in parallel with the dry signal. So I try setting a faster attack. Sure enough, the transients disappear and the cymbals start to pump, maybe a little too much for my taste. However, activating the auto-release slightly improves it.
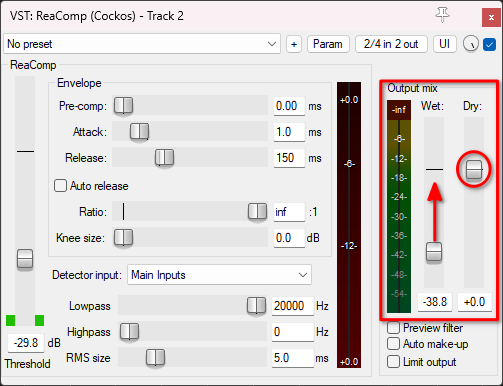
Now, I want to set this compression in parallel to fatten the drums, it’s easy to do with the output section faders. I turn off the auto make-up, set the Dry signal to 0, and slowly raise the Wet signal from -infinity to taste. In context, they start to pop out just enough without making them clip. Perfect!
However, I want to go all out and make this loop sound ‘phat!’. I set all the time constants to 0, including the RMS size and turn off the auto-release. This basically transforms ReaComp into a distortion effect. In this mode, I can adjust the hardness of the distortion using the Ratio and Knee parameters. Keeping the ratio high and lowering the knee hardens the distortion, and vice versa. The audio sample features only the distorted drums, but I dare you to try it in parallel.
Enhancing the Punch
Squashing the drum loop is fun, but for me, using the compressor to add punch or smack to a drum performance is my favorite. Enhancing the transients until the kick transforms into a chest punch and the snare into a whip or “crack!” just brings me joy. So I return the settings to where they were before smashing, and increase the Attack form 3 ms to 15 ms to try and regain the body and thump of the drums, which it does.
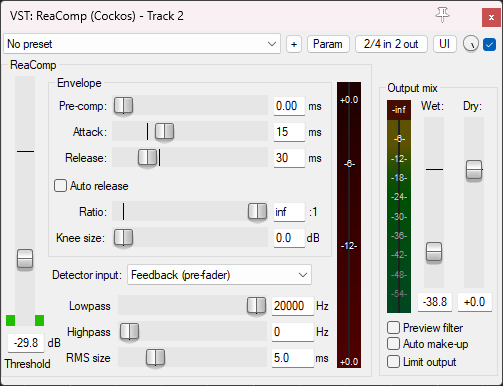
But I know I can get more punch out of this compressor, so I change the Detection to Feedback and lower the Release to 30 ms. Now these drums can pack a punch!
However, the kick still feels a little choked compared to the rest of the elements in the loop, so the icing on the cake will be to set the Highpass on the detection filters to about 70 Hz.
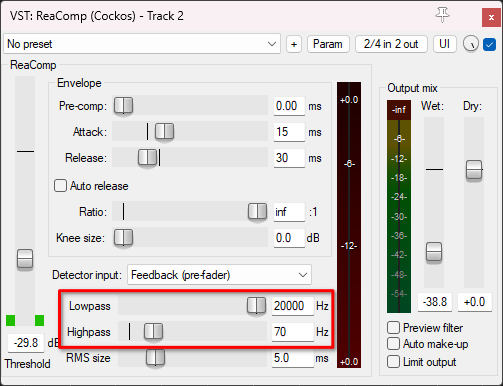
Now the kick can breathe just enough to balance out the punch and the weight.
Another way of letting the transients through is to increase the RMS size, which effectively switches the compressor from peak detection to RMS, or average level detection. I lower the Attack and Release way down to 0 ms and start raising the RMS slider.
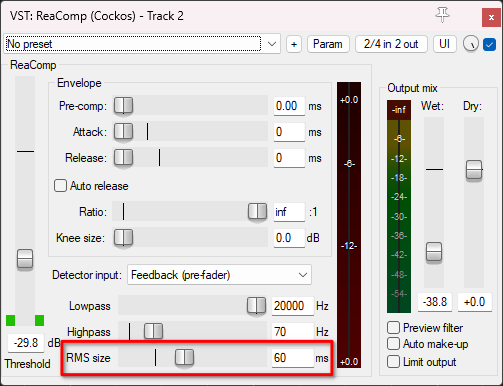
Instantly, the compression becomes more transparent. I have found that between 30-100 ms are a good compromise between clarity and character, but feel free to experiment on your own.
Final Thoughts
ReaComp is capable of an array of different styles that range from clean and transparent to pumping and squashing, with plenty of control along the way. I haven’t found a free (or even cheap) compressor with the versatility and amount of features that this compressor has, let alone having low CPU usage, it goes almost unnoticed by my CPU meter. I dare you to try these compression techniques on your mixes, you will find that it can absolutely fulfill most of what you throw at it. Happy mixing!

- Mixing in REAPER [ULTIMATE Guide!] - September 18, 2023
- How to Record in REAPER (Guitar & Vocals) - August 2, 2023
- Writing MIDI Drums in REAPER - July 3, 2023
")
![Rendering in REAPER [Process & Settings]](https://ProRec.com/wp-content/uploads/2023/09/render-settings-reaper-180x180.png "Rendering in REAPER [Process & Settings]")
 Tempo in REAPER + BPM Settings")

)