Tempo is one of the most important aspects of music production. It is the backbone of all pieces of music that get written all over the world. Along with time signature, tempo gives you the musical frame of reference for writing, reading, asynchronous recording, editing, and applying most time related effects. Learning how tempo works in your DAW is probably a big step up for your work.
Recommended Read: Speed Up and Slow Down Tracks in REAPER
REAPER has pretty extensive mechanics for working with your tempo, item timebase, click/metronome, and creating even quite complex tempo maps. Let’s check them out!
Project Tempo
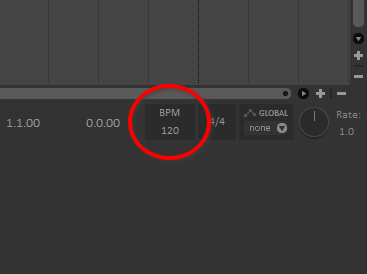
You can find your current tempo at the right side of your transport bar. For starters, you probably don’t have tempo markers, so it will show your project global tempo. And once you have more tempo markers, it will reflect the BPM of the section your cursor or playhead is in.
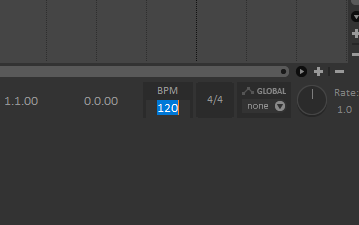
Click on the tempo value of your tempo indicator to change it. You can change it to whatever value you want between 40 and 280 BPM (by default), even decimals.
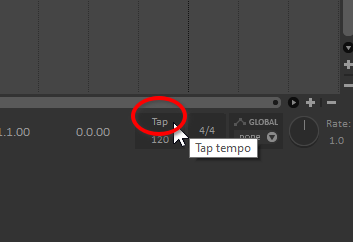
The BPM label over the tempo value also works as a Tap tempo button so you don’t have to chase numbers as much. Just click it to the tempo of your music and it will round to the nearest integer BPM value, you won’t get decimal tempo values from this tap tempo option.
Now, let’s say you already have audio items on your timeline and want to change your project tempo, in this case, you probably want to make sure you have your item timebase in check beforehand so that they don’t follow the tempo changes, or that the items follow them exactly the way you intend to. Please, read this article for a detailed guide on tempo changes.
Recommended Read: How to Stretch Audio in REAPER (Time Stretch)
Tempo Markers
Tempo markers are the way of creating tempo, signature, or metronome pattern changes in REAPER.
In order to create a tempo marker, first, place your cursor where you want to create your tempo marker. Then, go to the Insert menu at the top right, and select the option Tempo/time signature change marker, or use the default shortcut Shift+C.
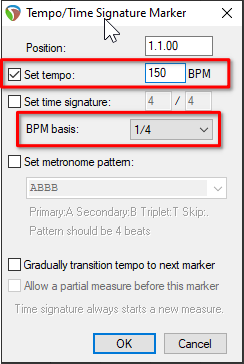
This will bring up a prompt window with options you can modify related to the tempo and time signature of your project timeline.
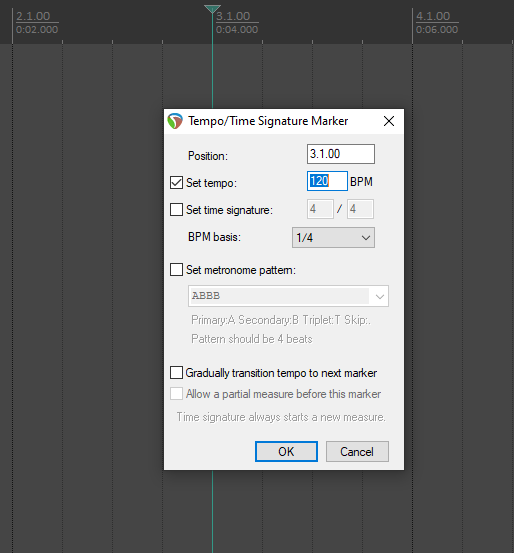
The tempo marker prompt will display all the properties regarding tempo and time signature of the section where you just created it. The first text input corresponds to the position of the tempo marker, it displays as [Measure number . Beat number . Beat subdivision], and you can also edit it via text.
Let’s explore a little more in depth of what tempo and time signature properties are available for editing in a Tempo/Time Signature Marker
Set Tempo
The first tempo/time signature property that you can edit is the tempo BPM from that position onwards. This will determine how fast your song is, musically it’s notated like this:
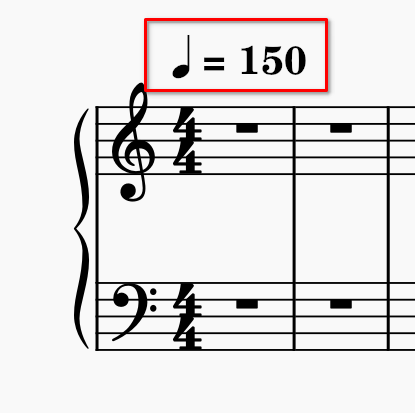
To set the marker tempo, check the Set tempo option, and give it a value in the text input on the right. by default it will set your BPM based on quarter notes.
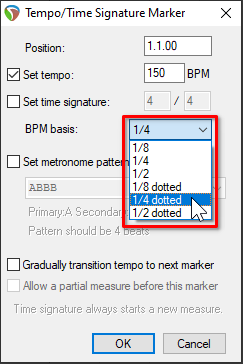
Now let’s say that you want to set your tempo based on dotted quarter notes, This is what the BPM basis field is for. On musical notation it would look like this:
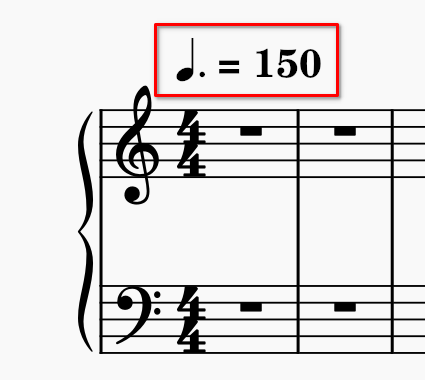
And in your Tempo marker, you would change the BPM basis field to ¼ dotted.
Time Signature
Next option you can edit is the Set time signature option. This will determine how to count and subdivide the measures in your music. Most music is written in 4/4 measures, but it’s also common to see music written in 2/2, 3/4, 2/4, or 6/8.
To set a time signature, check the Set time signature option. Next, place each number of the time signature in the corresponding input fields.
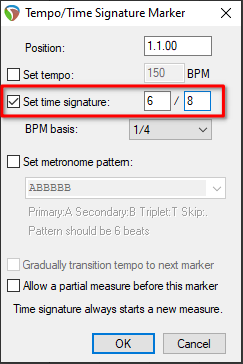
The first represents the amount of beats that each measure will have. The second, represents the type of figure that will represent each beat, the most common are half notes, quarter notes, eighth notes and sixteenth notes.
Metronome Pattern
The metronome pattern will depend on the time signature that you set for the marker, the first number of your time signature, determines the amount of letters that will appear on your metronome pattern.
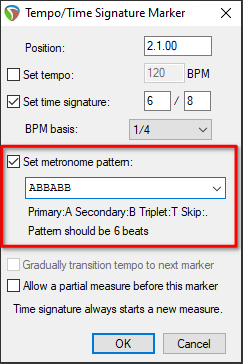
The metronome pattern opens the possibility of different ways of counting your bars, especially compound time signatures. (A) is a strong beat, (B) is a weak beat, (.) is a silent beat, and (T) allows you to count triplets.
Now, let’s say that you have a time signature of 6/8. The most common way of counting them is 3+3, this marking as a metronome pattern would be written as ABBABB.
But, you can sometimes count 6/8 as 2+2+2 or 4+2, which would be written as ABABAB and ABBBAB respectively
Once you finish creating your tempo marker, click OK and it will show as a little square just below the markers line over the time ruler indicating what type of change you made to the tempo of your project.
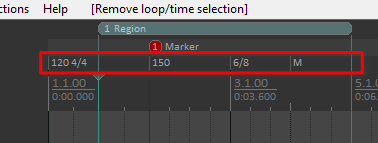
The tempo marker will show only a number if it’s strictly a tempo change, a fraction if it’s a time signature change, or an M if it’s a metronome pattern change.
Conclusion
These options are the basics of tempo and time signature options and markers in REAPER, with this knowledge in hand you can create new and interesting ways of spicing up your music. This information also opens up the possibility of basic tempo mapping, but the will be covered in another article.
How about experimenting and creating new music with interesting tempo and time signature changes? and if you can, why not share it with the community? I hope this knowledge serves you well and have fun!

- Mixing in REAPER [ULTIMATE Guide!] - September 18, 2023
- How to Record in REAPER (Guitar & Vocals) - August 2, 2023
- Writing MIDI Drums in REAPER - July 3, 2023

")
")
![REAPER Crackling & Lagging during Playback [FIXED]](https://ProRec.com/wp-content/uploads/2023/03/word-image-5054-1-180x180.png "REAPER Crackling & Lagging during Playback [FIXED]")
 Tempo in REAPER + BPM Settings)