In my tutorial on dithering, I explain the need to dither when downsampling. When you convert audio from a higher bit resolution to a lower bit depth, you risk having Quantization Distortion Errors. While these quantization errors can sometimes be desirable from a creative perspective, in most cases they are undesirable and need to be taken care of. Bitcrushing in Ableton is the process of reducing bit depth and sample rate to achieve the desirable distortion levels.
Recommended Read: Import & Export MP3, MIDI, Stems, Consolidating Clips & Export Settings
There are a few different ways to bit crush in Ableton, here is a quick summary of what we are going to cover in this article:
- Using Redux: This is Ableton’s native bit crusher. It is easy to use with manageable parameters.
- Using 3rd party bit crush plug-ins: you will get more functions available to you using 3rd party plug-ins
- Using non-bit crush plug-ins: you can use other plug-ins that are not necessarily bit-crush plug-ins, but still, get the job done
Using Redux
This is Ableton’s native bit crusher. It is simple and it is a native plug-in, it is optimized to function within Ableton, and therefore will be more CPU friendly than 3rd party plug-ins. Here is how you use redux:
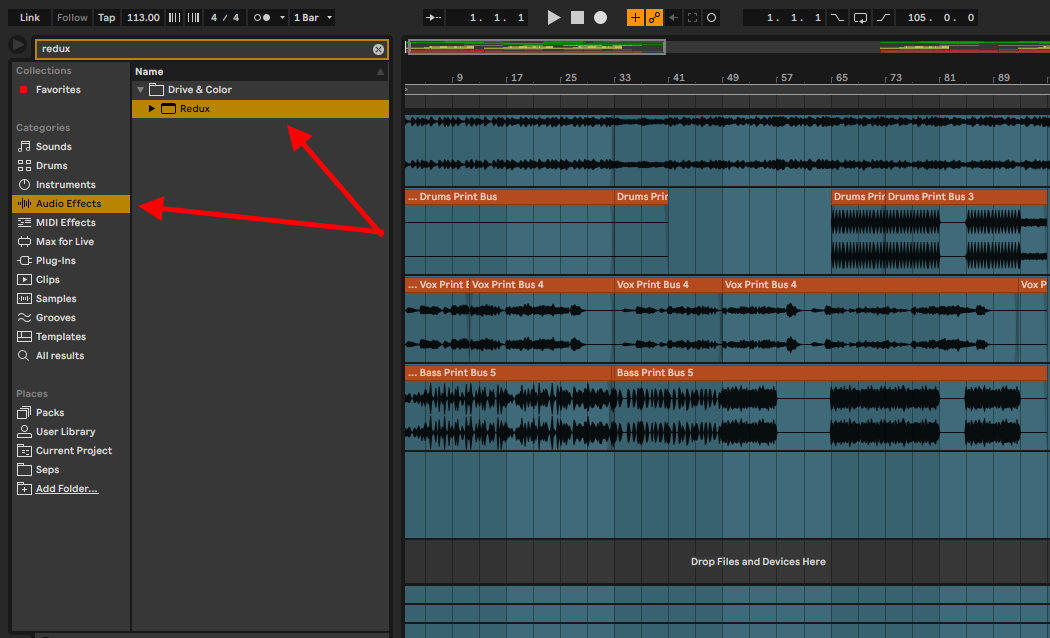
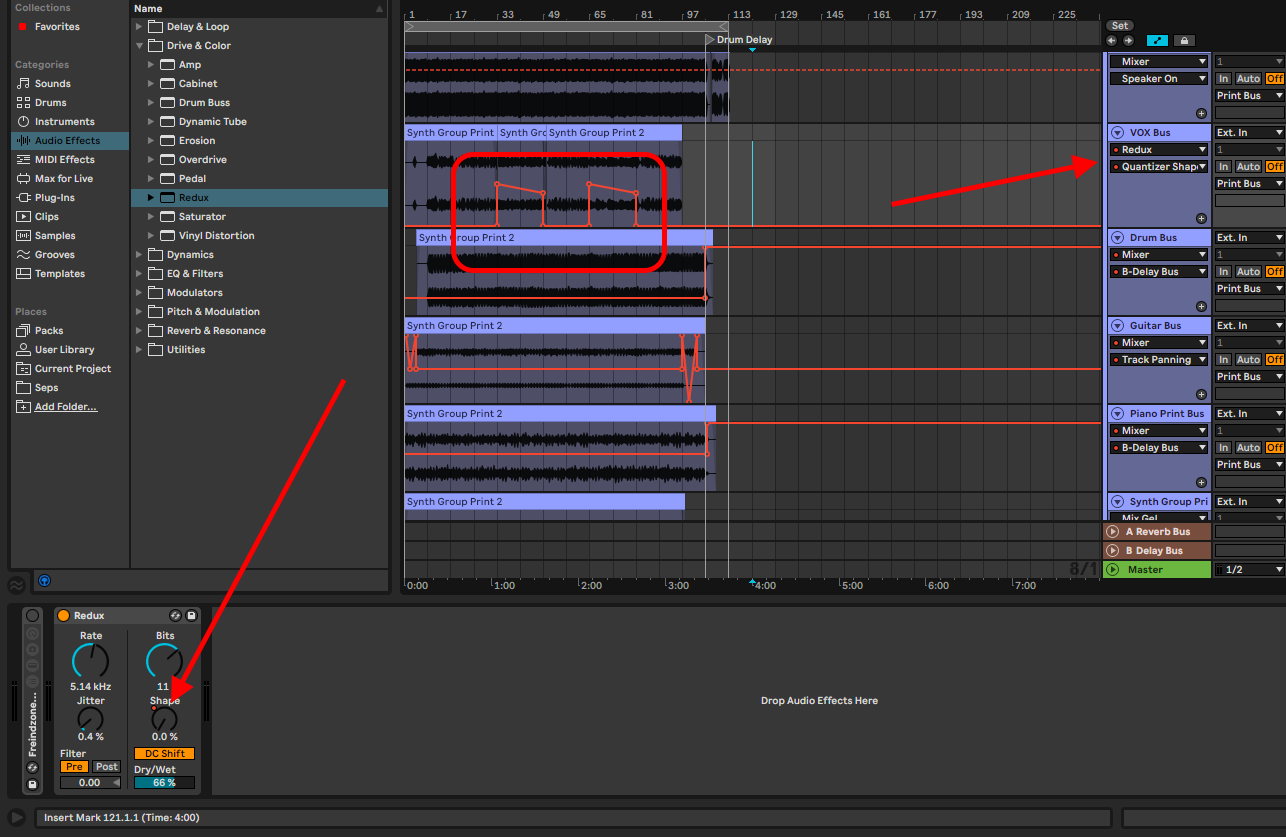
Step 1: Find Redux in the audio effects folder in Ableton’s browser
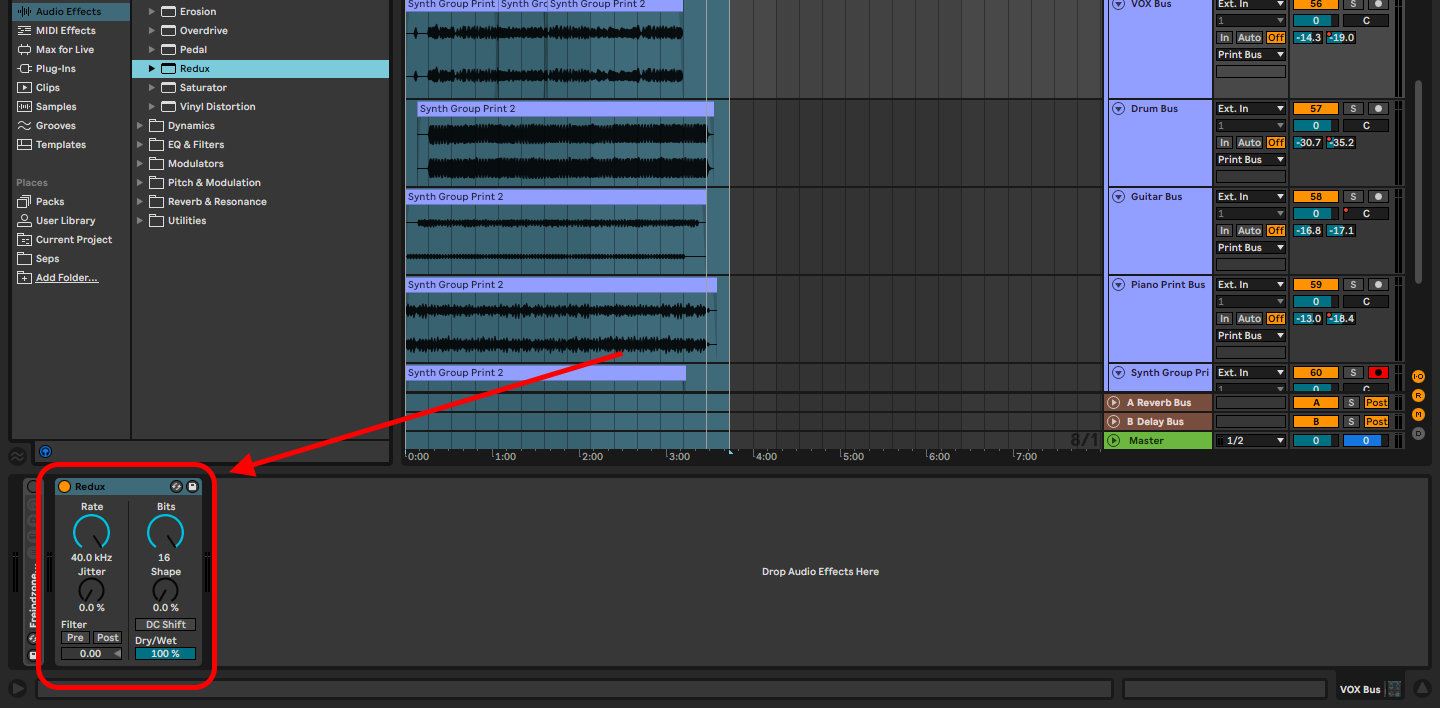
Step 2: open Redux in your selected track by dragging and dropping or double-clicking the plug-ins
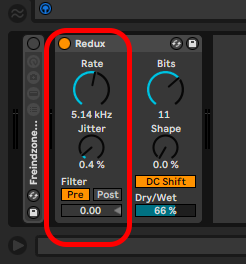
Step 3: adjust the parameters until you get a desirable effect
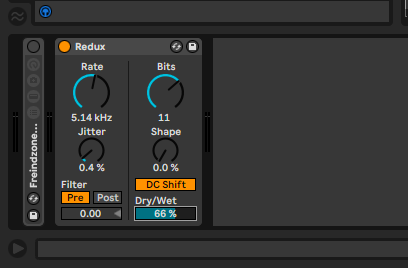
Redux Parameters
The Left Panel
- Rate: this is effectively a low-pass filter. This curve allows you to cut out high frequencies until your cutoff point. This range goes from 0 Hz to 40 kHz
- Jitter: This parameter adds noise to the audio.
- Filter: This antialiasing can be applied before (pre) or after (post) the rate and jitter. Anti-aliasing works just as dithering does. It adds low-level noise when you downsample, to polish up your audio output.
Recommended Read: How to Encode PCM & MP3 in Ableton
The Right Panel
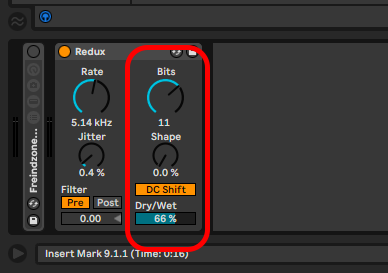
- Bits: this parameter will allow you to simulate the bit depth control. As bit depth is responsible for audio resolution, this parameter can be considered a tonal control
- Shapes: This parameter acts as LFO control. Whether you want to bite crush aggressively or smoothly
- DC Shift: this parameter acts as the DC control you will find in tape machine emulation plug-ins. This adds distortion and in some effects, plug-ins may be labeled as drive
- Dry/Wet: This parameter controls the overall bit crush effect. It controls the overall ratio between the original signal and the signal coming out of Redux
Tip! All these parameters can be automated to suit your production
Using 3rd party Bitctrush Plug-ins
You can use non-Ableton plug-ins to bit crush. These plug-ins will offer you many more controls to more significant effects. Some offer noise-shaping, LFO controls, etc. Here are some recommendations:
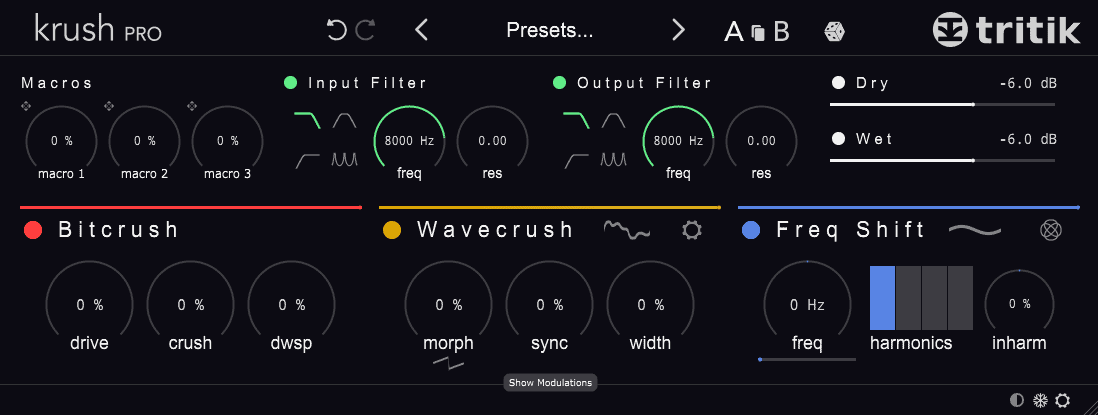
- Tritik Krush Pro by Whipped Cream Sounds is available here for $58
- Bite Harder by Specs is available here for $15
- TAL-Bitchrusher by TAL is available here for free!
Using Non-Bitcrush Plug-ins
You can use other types of effects plug-ins that are meant to do one thing but the effects can result in the bit crush effect. My strongest recommendation is the Cassette by Wavesfactory here for $59. It is meant to emulate all the aspects of a cassette tape from a new clean tape to a worn-out tape.
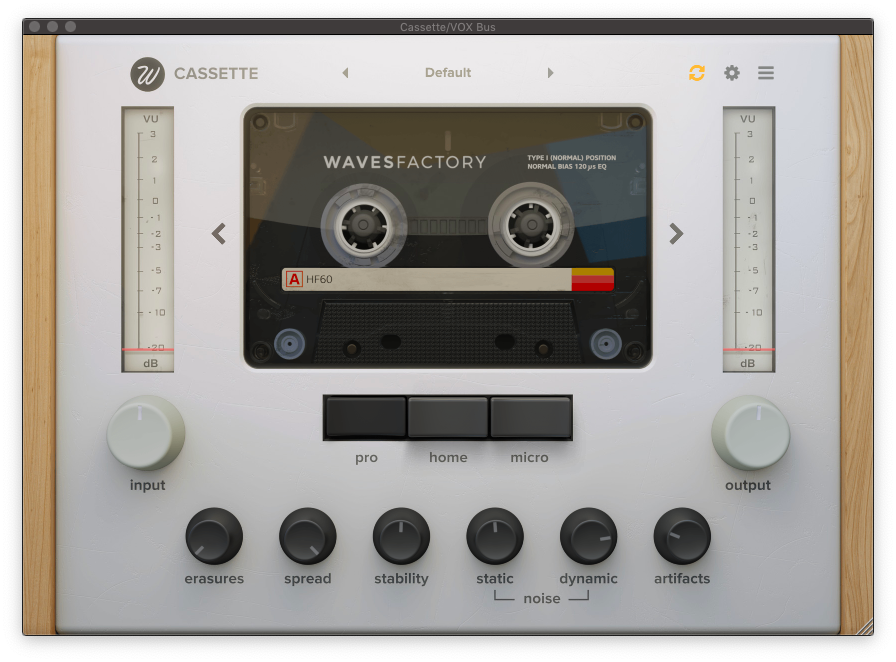
The noise parameters are similar to the jitter parameter in Redux. Erasure acts as the ‘bits’ parameter in redux. With this example just as the ones I have suggested above, you will get much more bit crush parameter controls.
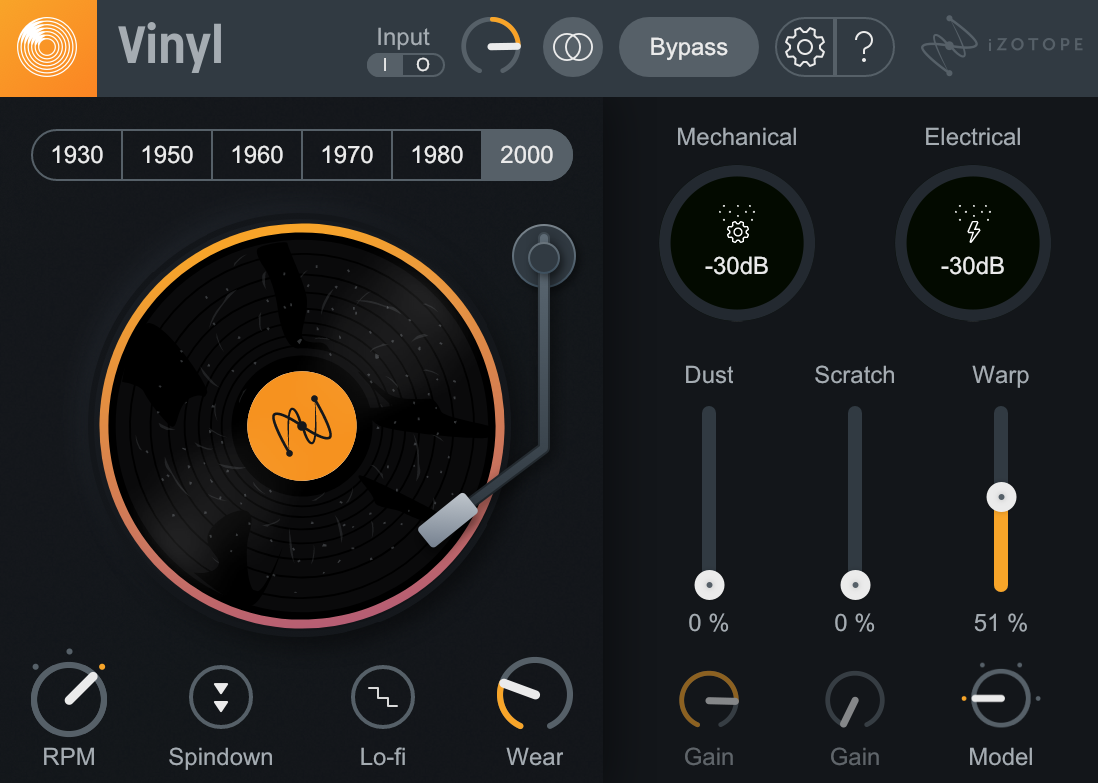
My second recommendation is iZotope’s Vinyl available here for free!
Final Thoughts
Quantization Distortion Errors, distortion, and other errors that come about when producing are not all detrimental. Some may spark ideas and creativity. Noise mistakes and errors can be sampled and resampled in Ableton to create new and fascinating sounds that can push your productions to a level above your peers, let us call them ‘happy mistakes’. For more about how to sample and resample in Ableton have a look at this article here. Stay creative and have fun!
- How to Use Ableton Live’s Arpeggiator? - September 18, 2023
- How to Use the Piano Roll in Ableton Live + Shortcuts - September 18, 2023
- Ableton Arrangement View (Optimization & Usage) - September 16, 2023
![Ableton Tuner Not Working [FIXED]](https://ProRec.com/wp-content/uploads/2023/07/default-tuning-settings-ableton-180x180.png "Ableton Tuner Not Working [FIXED]")


 [FULL GUIDE])