Quantizing is the process of aligning MIDI or audio to the Pro Tools grid. In simpler terms, quantizing is basically correcting small rhythm/timing mistakes that can occur when recording in your DAW.
In order for everything to be timed well, all notes need to be aligned to the grid system which represents the bars and beats on your sequencer. The human ear cannot tell if the notes are exactly where they are supposed to be; this is why we quantize to fix that issue.
In Pro Tools, you can automatically quantize the recorded data using input quantize or you can do this after recording, using the standard quantize command or MIDI real time properties. You can choose between quantizing to the groove or to the grid template.
Pre Quantize Steps in Pro Tools
First go to event menu > event operations > quantize

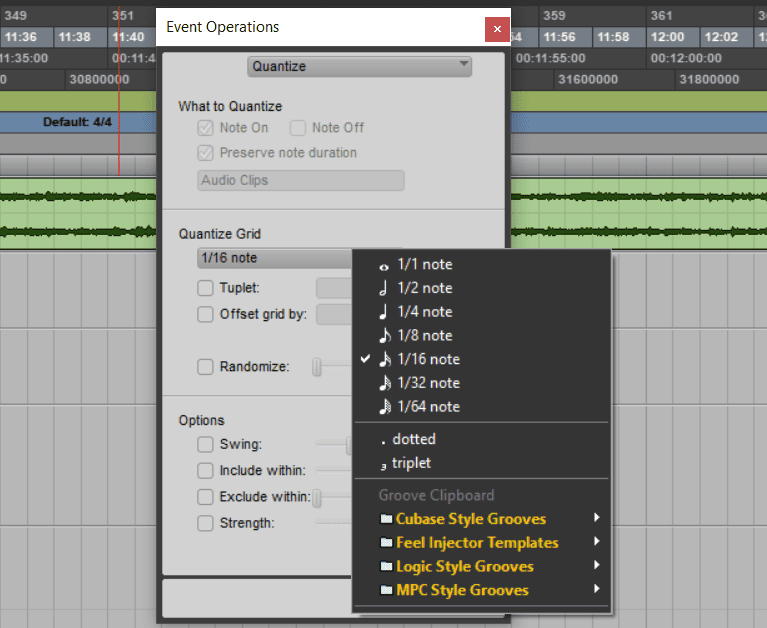
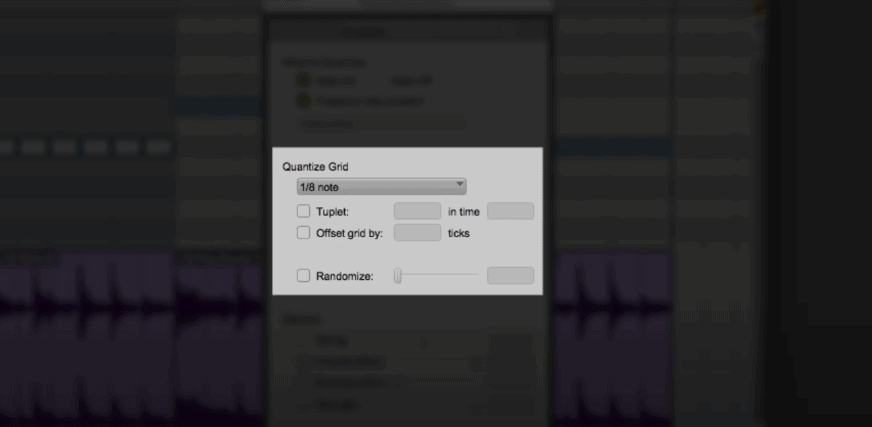
Next step is to click on the Quantize grid option.
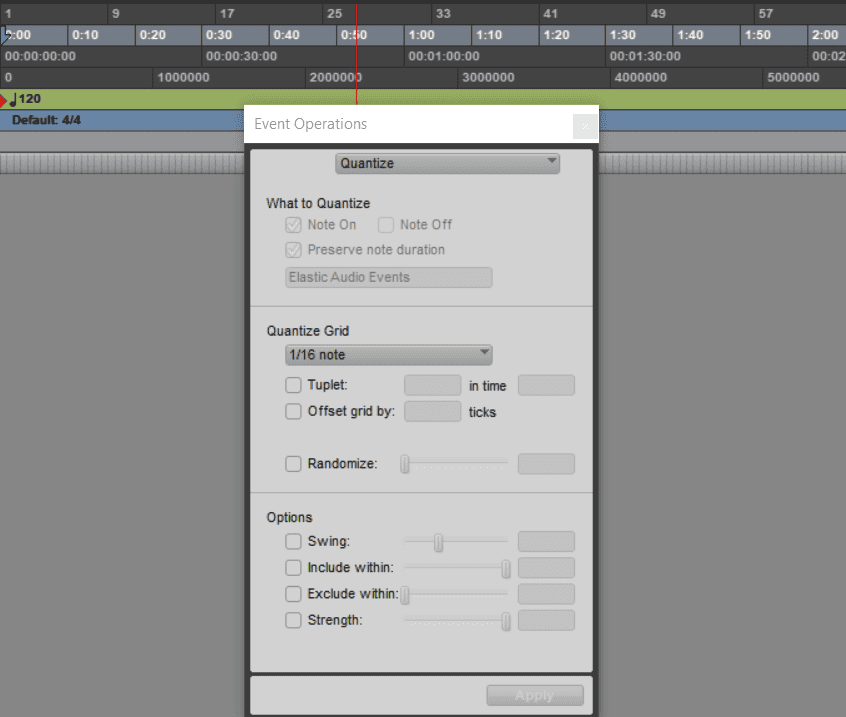
In the standard pro tools quantize grid, you can choose any of the note values in the popup menu and further modify those values enabling the dotted or triplet settings.
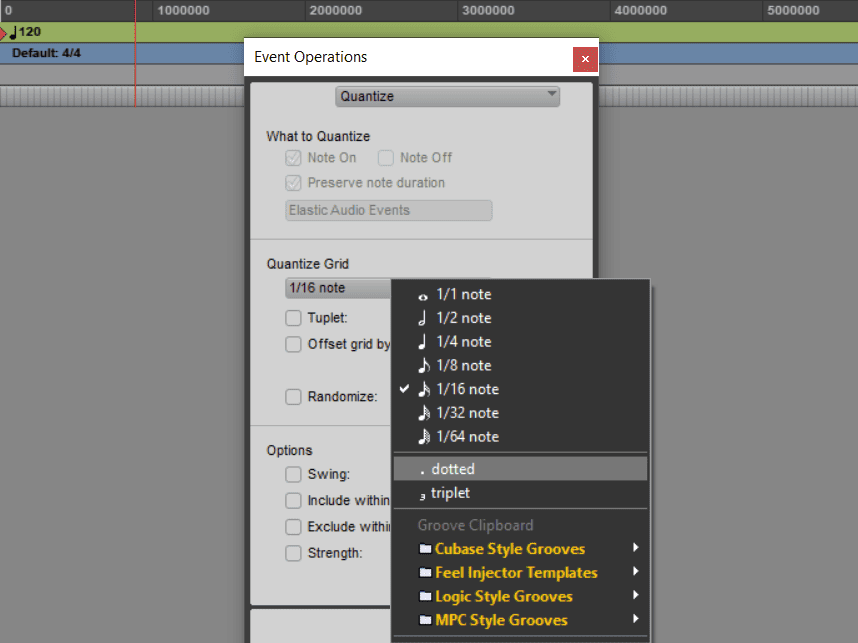
If you want to quantize to a groove template, go to the bottom section of the pop-up menu and choose the setting that you want.
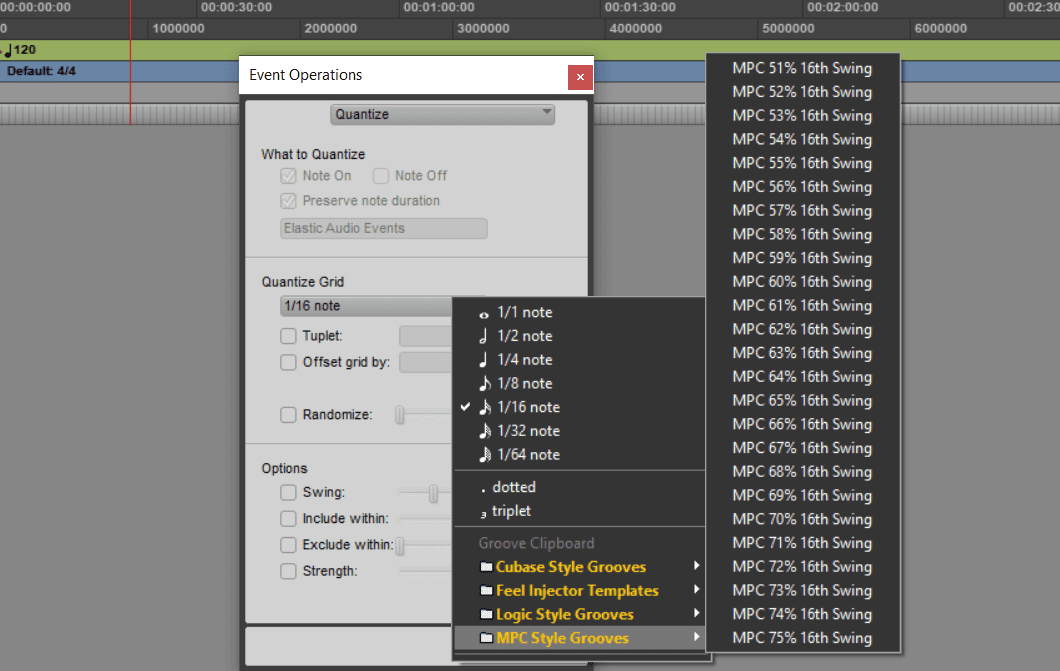
Groove templates normally contain timing and dynamics information that have been extracted from a real performance in order to give your MIDI data a more natural and rhythmic feel.
Whether you choose to quantize to the grid or to a groove template, select your desired setting and you’re ready to go.
Quantizing Methods in Pro Tools
Input Quantize
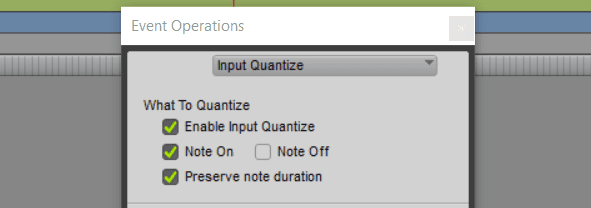
This method is super easy. This helps quantize incoming MIDI data while you’re recording. Most of the time, this is usually all you need. To enable Input quantize, go to the event menu and select event operations and then Input quantize
And then, in the Input quantize window, select enable input quantize
You can then configure the rest of the options to your satisfaction just like you would using the standard quantize function.
When you’re finished, close the pop up window and the input quantize will continue to function in the background.
Always disable input quantize when you’re finished recording if you don’t want it to stay active throughout the recording session.
Quantizing MIDI
If you need to quantize MIDI that is already recorded, you need to use the Standard quantize function as shown above in the article.
Easier shortcut is shown below.
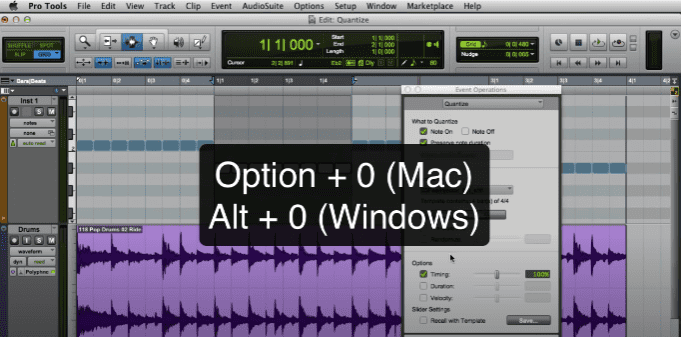
Click on the setting you want on the menu and hit apply to quantize the selection.
Quantizing Without Elastic Audio Enabled
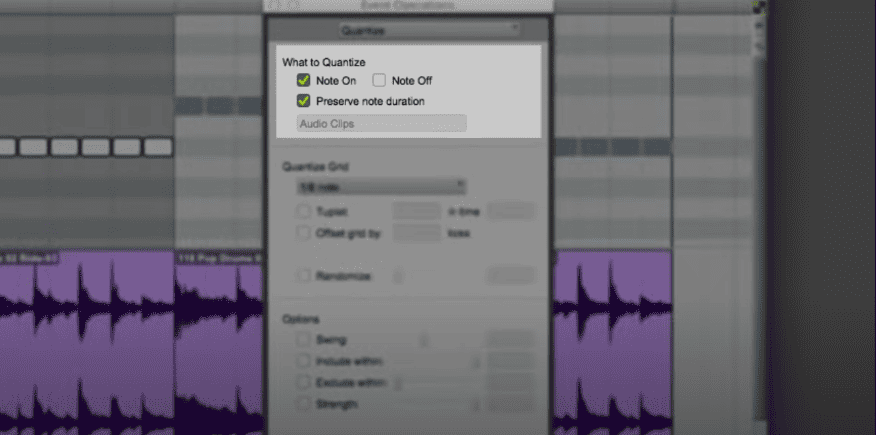
First open the quantize window, then select ‘Audio clips’ from the ‘what to quantize’ pop-up menu.

Next thing you will do is click on your desired settings by clicking the note you want from the quantize grid options as shown below and then hit apply.
Because elastic audio is not enabled, quantizing an audio clip will only change the clips start time.
The internal data of the clip will not be modified in any way.
Quantizing with Elastic Audio Enabled
If you have a simple drum groove on your track with the rhythmic elastic audio plugin enabled, open the quantize window then choose ‘elastic audio events’ as shown below and then choose the note you would want from the ‘quantize grid’ selection and then click apply.
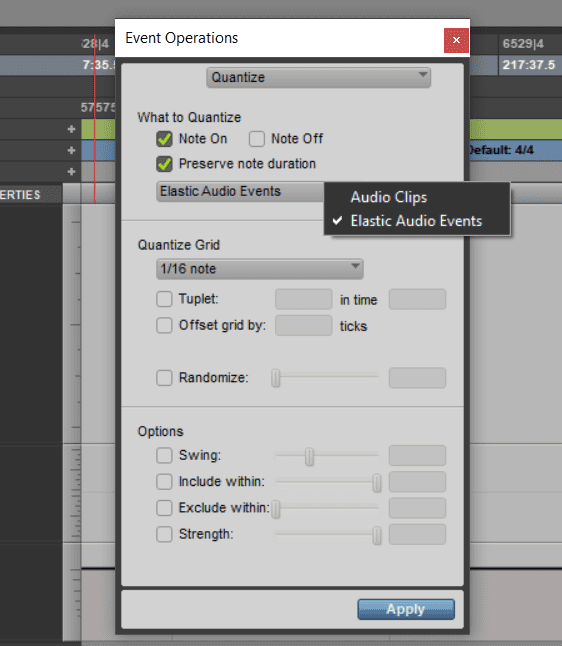
The audio data inside the clips will then be quantized to the grid that you select. Pro tools will quantize the audio data by automatically quantizing the work markers and event markers that are closest to the quantize grid, applying small amounts of Time compression and expansion between the markers in order to quantize the data.
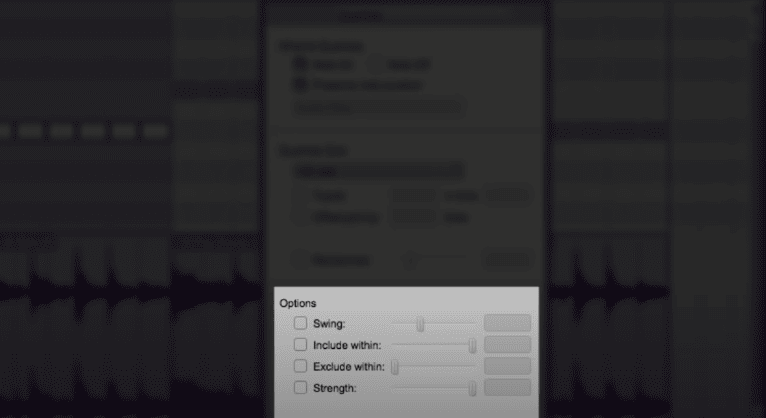
Quantizing Options and Parameters
First let us look at the ‘What to quantize’ section.
As show above, you can enable the ‘Note On’ option which aligns the start of the note to the nearest grid value and ‘Note Off’ aligns the end of the note to the nearest grid value.
‘Preserve note duration’ moves the note on and off together to make sure that the original note duration is preserved.
‘Grid’ and ‘Groove’ Settings
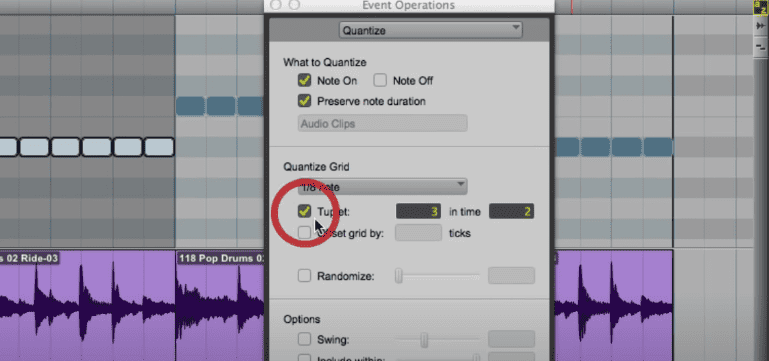
Next we have the ‘Tuplet’ setting which allows you to create note groupings like triplets or quintuplets.
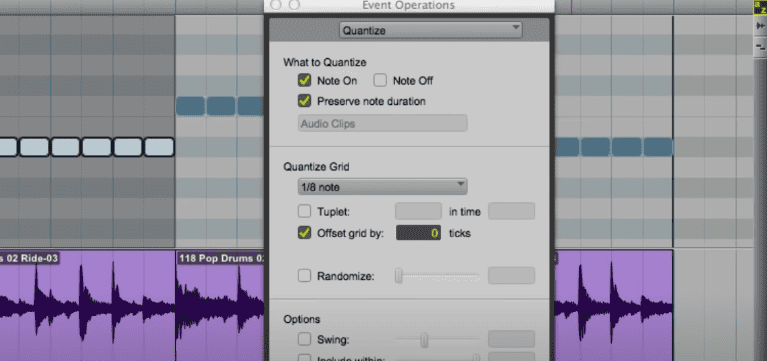
We also have the ‘Offset grid by’ setting which allows you to shift the grid forward or backward in time by specified tick value which can be negative to move the grid earlier in time or a positive value to move the grid later.
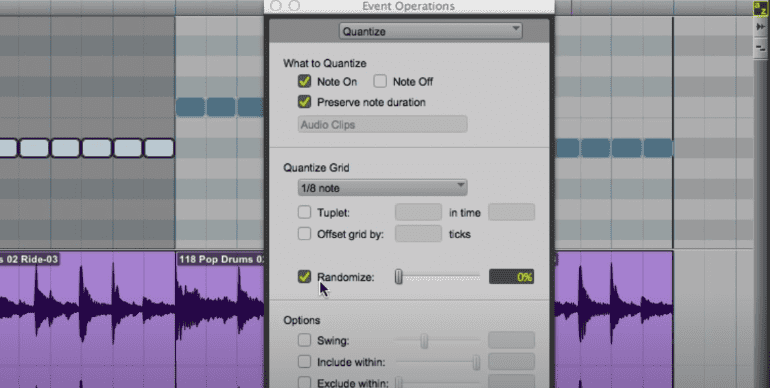
The ‘Randomize’ setting will randomly move notes forward or backward in time so that the note placement isn’t so rigid.
We also have the ‘Options’ section where we can enable ‘swing’ which enables a swing triplet feel.
‘Include within’ will only include notes within a certain proximity to the grid.
‘Exclude within’ allows you to exclude notes within a certain proximity to the grid.
The ‘strength’ setting determines if notes are moved all the way to the grid or are just partially quantized.
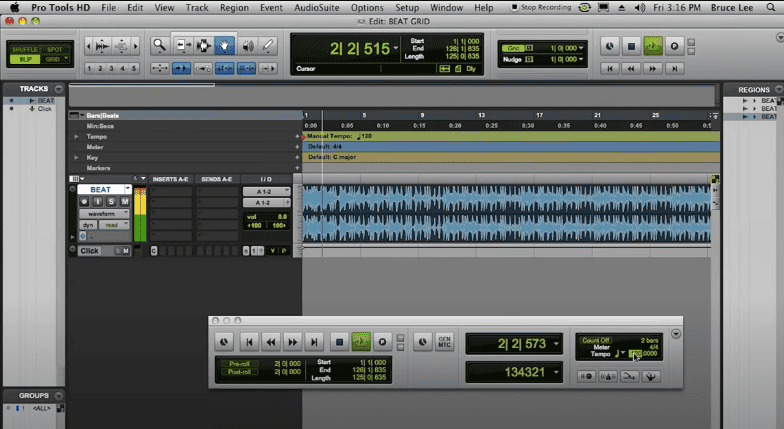
Manual Quantization
The Conductor Track basically changes the mode in order to change your tempo manually.

Click on the ‘Tempo’ box and once you are ready to tap the tempo in, tap ‘T’ on your keyboard in time with the downbeats if this is an audio/music track. It will average out the fix. Hit ‘enter’ and will save the tempo.
Turn your metronome on and hit play.
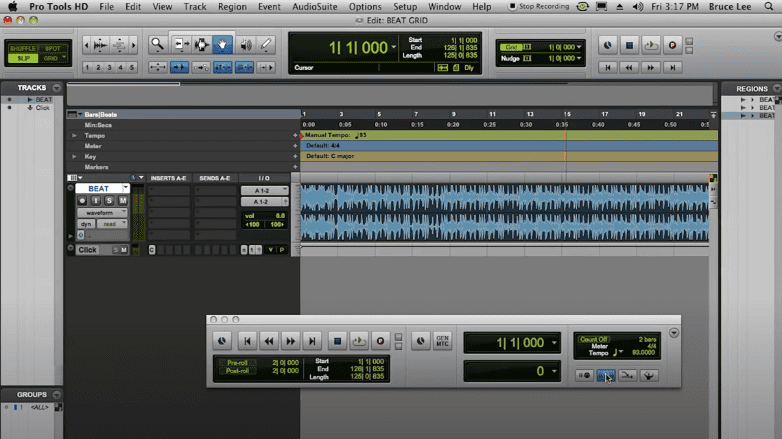
Play around with the tempo and make sure the metronome and audio are in sync.
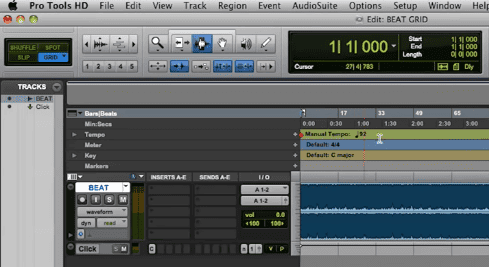
You can switch to ‘Grid’ mode as shown below to check if your file is well quantized.
Conclusion
That basically covers all that you need to know about quantizing. In general, quantizing is key if you want your MIDI/note values to be on time and for your composition to follow the metronome/tempo of your project. Have fun!


![Pro Tools Won’t Play [No Playback FIXED]](https://ProRec.com/wp-content/uploads/2023/04/pro-tools-buffersize-180x180.png "Pro Tools Won’t Play [No Playback FIXED]")