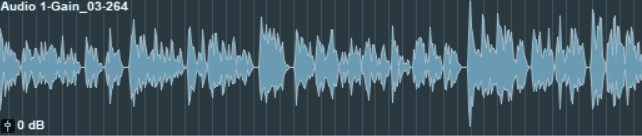
An audio file can have different volume dynamics. At certain points it is louder and at some it is quieter. You can think of these volume differences as the loudest and quietest parts of an audio file or waveform.
The reason why we use a compressor is to control and manage the dynamic range of a particular audio file. A compressor makes the audio tighter and consistent so you get a similar feel and sound across the entire track.
Sidechaining works exactly the same way as a compressor does. It is the act of making one sound duck when it is triggered by another. For example, to make drum sounds pop more, a kick drum can be a trigger. That way, anytime the kick drum is played, the other sound that is sidechained to the kick drum temporarily gets quieter making the kick drum shine through.
What does a Compressor consist of? (Compression Parameters)
Before we get into the sidechaining process, you should have a basic understanding of the main compression parameters listed below:
Threshold is the level at which the effect of compression is engaged or put more simply, only signals that cross this threshold get compressed.
Attack is how fast or slow the signal takes to become compressed.
Release is the opposite of attack. This is how fast it takes the compressed signal to return back to its original state or rather, how it sounded before compression was triggered.
Ratio this is the amount of reduction applied to the signal above the threshold. Ratio is shown as dB. So if 10:1 is your ratio, then anytime the signal exceeds the threshold by 10 dB, it automatically gets reduced down to 1 dB.
Step by Step SideChain Compression in Pro Tools
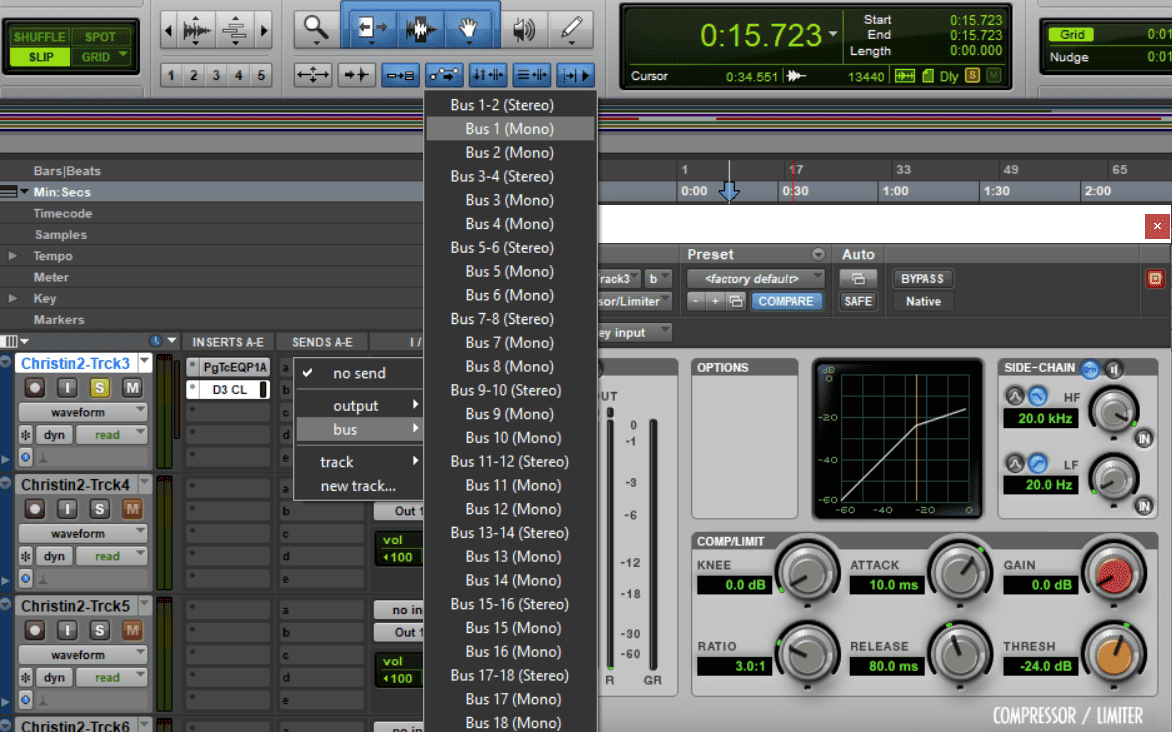
Step 1: First you need to insert a compressor to the track you want to sidechain.Your standard digital compressor is perfectly fine.
Go to your plug-in menu and select the compressor.

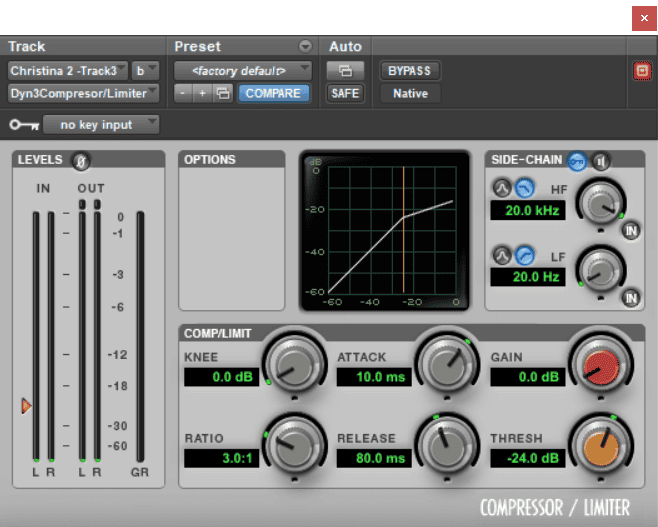
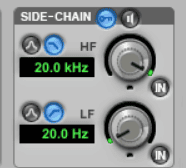
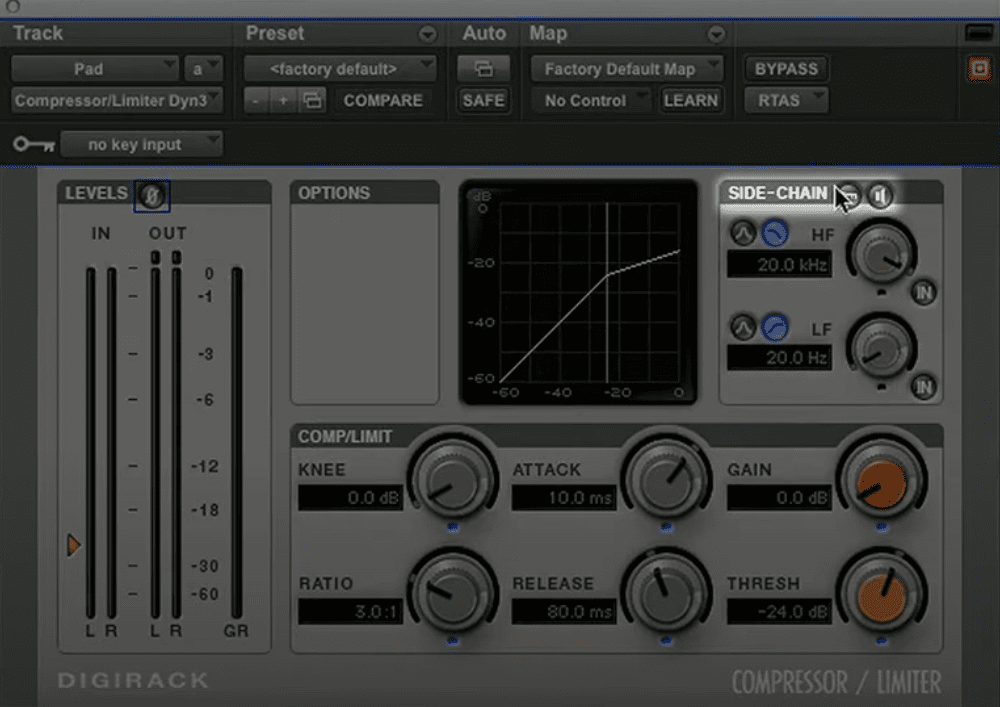
Step 2: Turn on ‘SIDE-CHAIN’ (click on the key icon).
Step 3: Select no key input to select a bus, choose bus 1 as shown below.
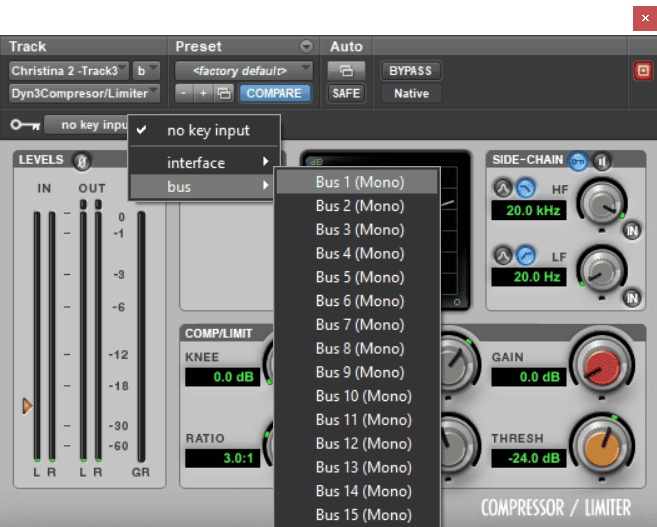
I know you’re wondering what a Bus is and what does it do?
A bus basically helps separate a signal to its own track so that you control the amount of compression or any other effect you want to apply when you side chain. If you increase the volume of the bus, it increases the amount of side-chain compression effects, and if you reduce the volume of the bus track, it also reduces the amount of side-chain compression effects.
Step 4: Once the bus track is all set, set the volume fader to 0 dB as shown below.
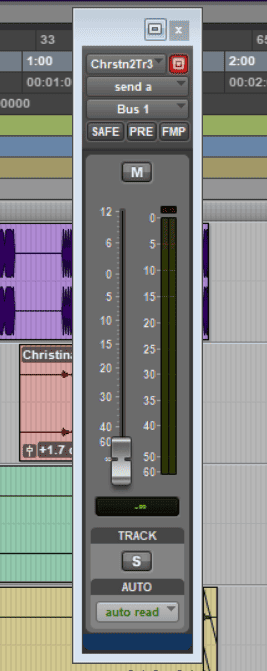
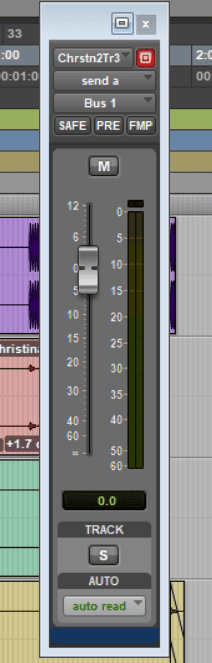
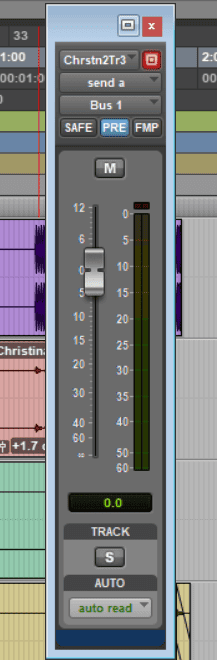
Step 5: Adjust your send to ’pre-fader.’ Which means, if you mute your instrument or vocal track, you will not lose the key input to your compressor.
A send is a replica of the original audio track that is sent to a bus without affecting the original audio.
Tip: You can use a short bass kick, with no attack, a quick delay, no sustain or release to trigger the side chain, then mute the trigger in the arrangement. This way you will be able to set the sidechain much faster.
Based on how you want your track to sound:
- Increasing the ratio will make the compression or the general side chain effect more pronounced or audible.
- A short attack will cause the compressor to react faster.
- A longer attack will cause the compressor to react slower.
- A short release will sound slightly harsh and a long release will not really affect the amount of compression and no side chaining will be heard. Just tweak it to your taste, the tempo of the song and what groove you want to create.
Uses of Sidechain Compression
Kick Drum
Most of the time the kick and bass are usually muddy up the mix.
Use sidechain compression plus an EQ to get the most out of your kick and bass without them clashing or muddying up the low end of your mix so that everytime the bass hits the kick drops. Making them both stand out in your mix.
Vocal Clarity
Side chaining the lead vocal helps it sound pushed forward and an in-your-face kind of effect.
Use a fast attack and a fast release so that when the vocal hits, all other instruments drop immediately and come back up just as fast. Tweak the gain reduction to your satisfaction until you fill that it seats right in your mix.
Go ahead and side chain your chorus and see how that sounds for a different/interesting sounding mix.Give it a try!
Pumping
This technique is mostly used in electronic music production, but can be applied anywhere depending on how you want your mix to generally sound like. This is more of a creative effect.
This can also be called ducking.When you use this method it makes the kick or bass more pronounced by giving the other room instead of both clashing. You can do this with your clap or any other percussion that you would want to stand out on its own.
Snares and Strings
The impact of a snare drum is usually around 100-200 hz. This is also where a lot of the low end of strings are. Reducing between 100-200 hz will make your strings sound weak, but sidechaining them together will get you a clean, smooth sound.
Conclusion
You can use side chaining as an effect for extreme pumping and off beat feel for pads and synths. You can also use it to clear up and clean up your mix when you have two instruments competing for the same space, such as a kick and a bass to let either one breath.
![Pro Tools Loop Playback Not Working [FIXED]](https://ProRec.com/wp-content/uploads/2022/09/image-205-180x180.png "Pro Tools Loop Playback Not Working [FIXED]")
![Waves Plug-ins NOT Showing up in Pro Tools [FIXED]](https://ProRec.com/wp-content/uploads/2023/01/word-image-3980-1-180x180.png "Waves Plug-ins NOT Showing up in Pro Tools [FIXED]")

![Pro Tools Won’t Open [FIXED]](https://ProRec.com/wp-content/uploads/2022/09/image-36-180x180.png "Pro Tools Won’t Open [FIXED]")